File upload is to get the temporary path of the file to be uploaded and move it to the corresponding folder under the server.
File upload, must be written in the form tag in the form: enctype="multipart/form-data" to upload the file, upload the file using the file field, the code is < input type = "file" name = "file" />.
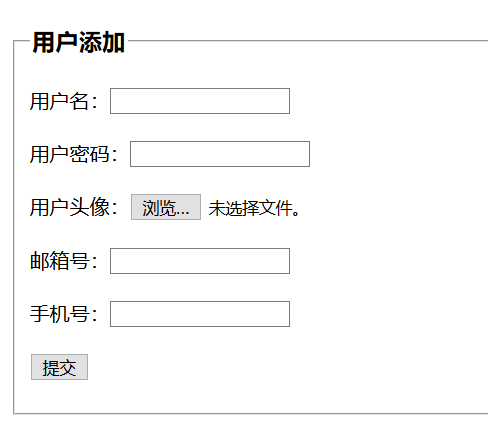
Here's a simple html code for file upload:
<html>
    <head><title>User additions</title></head>
        <fieldset>
        <legend><h3>User additions</h3></legend>
    <form action="add" method="post" enctype="multipart/form-data">
        User name:<input type="text" name="name"><br><br>
        <input type="hidden" value="{$row['id']}" name="id"/>
        User password:<input type="password" name="password"><br><br>

        User avatars:<input type="file" name="photo"/><br><br>

        E-mail number:<input type="text" name="email"><br><br>

        Cell-phone number:<input type="text" name="mobile"><br><br>

        <input type="submit" value="Submission">
        </fieldset>
    </form>
</html>
Page effect:
Next, we need to do php processing. Except for files, there is no difference between other items, such as receiving user name code: $name = I('post.name'); it can be done. Focus on the connection value of the file
The hinkPHP file upload operation uses the ThinkUpload class. Assuming that the previous form is submitted to the add method of the current controller, let's look at the implementation code of the add method:
    public function add(){
        $upload = new \Think\Upload();// Instantiate upload classes
        $upload->maxSize   =     3145728 ;// Set attachment upload size
        $upload->exts      =     array('jpg', 'gif', 'png', 'jpeg');// Set the attachment upload type
        $upload->rootPath  =     './Uploads/'; // Set up the attachment upload root directory
        $upload->savePath  =     ''; // Set up attachment upload (subdirectory)
        // Upload files
        $info   =   $upload->upload();
        if(!$info) {// Upload error message
            $this->error($upload->getError());
        }else{// Upload Success
            $this->success('Upload success!');
        }
    }
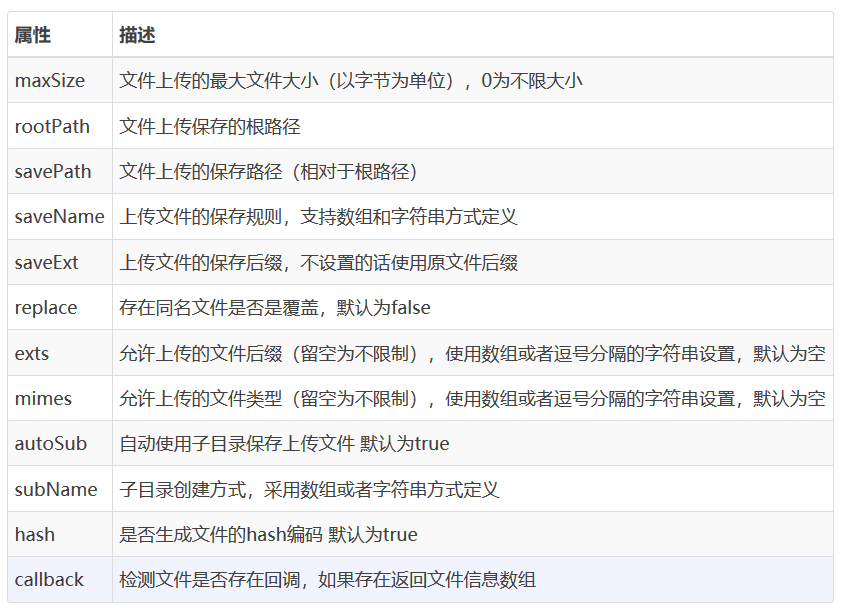
In the upload code above, we first instantiate the pre-encapsulated class of ThinkPHP, and then there are many attributes that we can call, such as file size, file type, etc. We can call assignment according to need.
Then use the object to call upload () method, upload is successful, we can print the results. It will be found that: Array ([photo]=> Array ([photo]]]=> Array ([name]]=>news2.jpg [type]]=> image/jpeg [size] =>> 89326 [key] =>>photo [ext]] =>>> jpg [md5]]=>> 16da768d0f77847777779f81959f819595000003cc598 [1] [1] [1]]]]]]]]=>>>> 16da768d0f778d00f7777777777771f2f019313131ae021313131ae862c8686222222222222222222222222savepath]=> 2019-07-30/); there are many Value, we can pass the path of the picture into the database according to these.
Complete upload code:
//Additional processing
    public function add(){

        $upload = new \Think\Upload();
        $upload->maxSize   =   3145728 ;// Set attachment upload size
        $upload->exts      =   array('jpg', 'gif', 'png', 'jpeg');// Set the attachment upload type
        $upload->rootPath  =    './Uploads/'; // Set up the attachment upload root directory
        $upload->savePath  =    ''; // Set up attachment upload (subdirectory)
        $info = $upload->upload();
        //print_r($info);die();

        if($info){
            $data['name']=I('post.name');
            $data['email']=I('post.email');
            $data['mobile']=I('post.mobile');
            $data['password']=I('post.password');
            $data['time']=time();
            $data['status']='1';
            //Stitching Path
            $data['photo']='/Uploads/'.$info['photo']['savepath'].$info['photo']['savename'];
            $res = D('news');
            $row = $res->add($data);
            //print_r($row);die();
            if($row){
                $this->success('Successful addition of user information','/index.php/home/index/index',3);
            }else{
                $this->error('Failed to add user information','/index.php/home/index/index',3);
            }
        }else{
            //Reasons for Failure of Output Upload
            $this->error($upload->getError());
        }
    }
As we have said above, the results of successful upload can be printed, so we can judge that after successful upload, splice the path into the database.
When we need to modify the picture, we can upload a new picture and replace the original path.
//Modified processing page receives new values and modifies them
    public function upd(){
        $upload = new \Think\Upload();
        $upload->maxSize   =   3145728 ;// Set attachment upload size
        $upload->exts      =   array('jpg', 'gif', 'png', 'jpeg');// Set the attachment upload type
        $upload->rootPath  =    './Uploads/'; // Set up the attachment upload root directory
        $upload->savePath  =    ''; // Set up attachment upload (subdirectory)
        $info = $upload->upload();
        if(!empty($info)){
            $path='/Uploads/'.$info['photo']['savepath'].$info['photo']['savename'];
            $data['photo']=$path;
        }
        $res = D('news');
        $data['name']=I('post.name');
        $data['email']=I('post.email');
        $data['mobile']=I('post.mobile');
        $data['password']=I('post.password');
        $data['status']=I('post.status');
        $data['time']=time();
        $id = I('post.id');
        //echo $id;
        $where = array('id'=>$_POST['id']);
        $row = $res->where($where)->save($data);
        if($row)
            {
                $this->success('Successful modification of user information','/index.php/home/index/index');
            }else{
                $this->error('Failed to modify user information','/index.php/home/index/index');
            }
    }