
Script environment
1.linux centos 7 system
2. The CD-ROM image file has been mounted
3. The system can connect to the external network.
4. Font links: https://pan.baidu.com/s/1m9WJys5aGuUi-WgBG-zrxw
Extraction code: qq6r
Experimental steps
1. Upload font files and zabbix scripts to the Linux system / root directory
Method 1: Mount Method 2: Upload by Xftp Software

2. Detailed description of the script zabbix.sh
#!/bin/bash
#this is auto install lamp + zabbix shell!
#
#Obtain ip address
ip=`ifconfig ens33 | grep "netmask" | awk '{print $2}'`
#Get the host name
name=`hostname`
#Close firewalls, security
systemctl stop firewalld.service
setenforce 0
#
#Download all installation packages
if [ $? -eq 0 ];then
rpm -ivh http://repo.zabbix.com/zabbix/3.5/rhel/7/x86_64/zabbix-release-3.5-1.el7.noarch.rpm && yum install zabbix-server-mysql zabbix-web-mysql mariadb mariadb-server php-bcmath php-mbstring httpd php php-mysql php-gd libjpeg* php-ldap php-odbc php-pear php-xml php-xmlrpc php-mhash -y && sleep 5
#
if [ $? -eq 0 ];then
#Modify httpd,php configuration file
sed -i "s/^Listen 80/Listen $ip:80/g" /etc/httpd/conf/httpd.conf
sed -i '164s/$/ index.php/' /etc/httpd/conf/httpd.conf
sed -i "s/^;date.timezone =/date.timezone = PRC/g" /etc/php.ini#start-up httpd,mariadb service
systemctl start httpd.service
systemctl start mariadb
else echo -e "\e\t\t\t[31m package down error,check! \e[0m"
exit 0
fi
#
#inspect mysql,http Service startup status
port=`netstat -ntap | egrep '(80|3306)'|wc -l`
if [ $? -eq 0 ]&&[ $port -gt "2" ];then
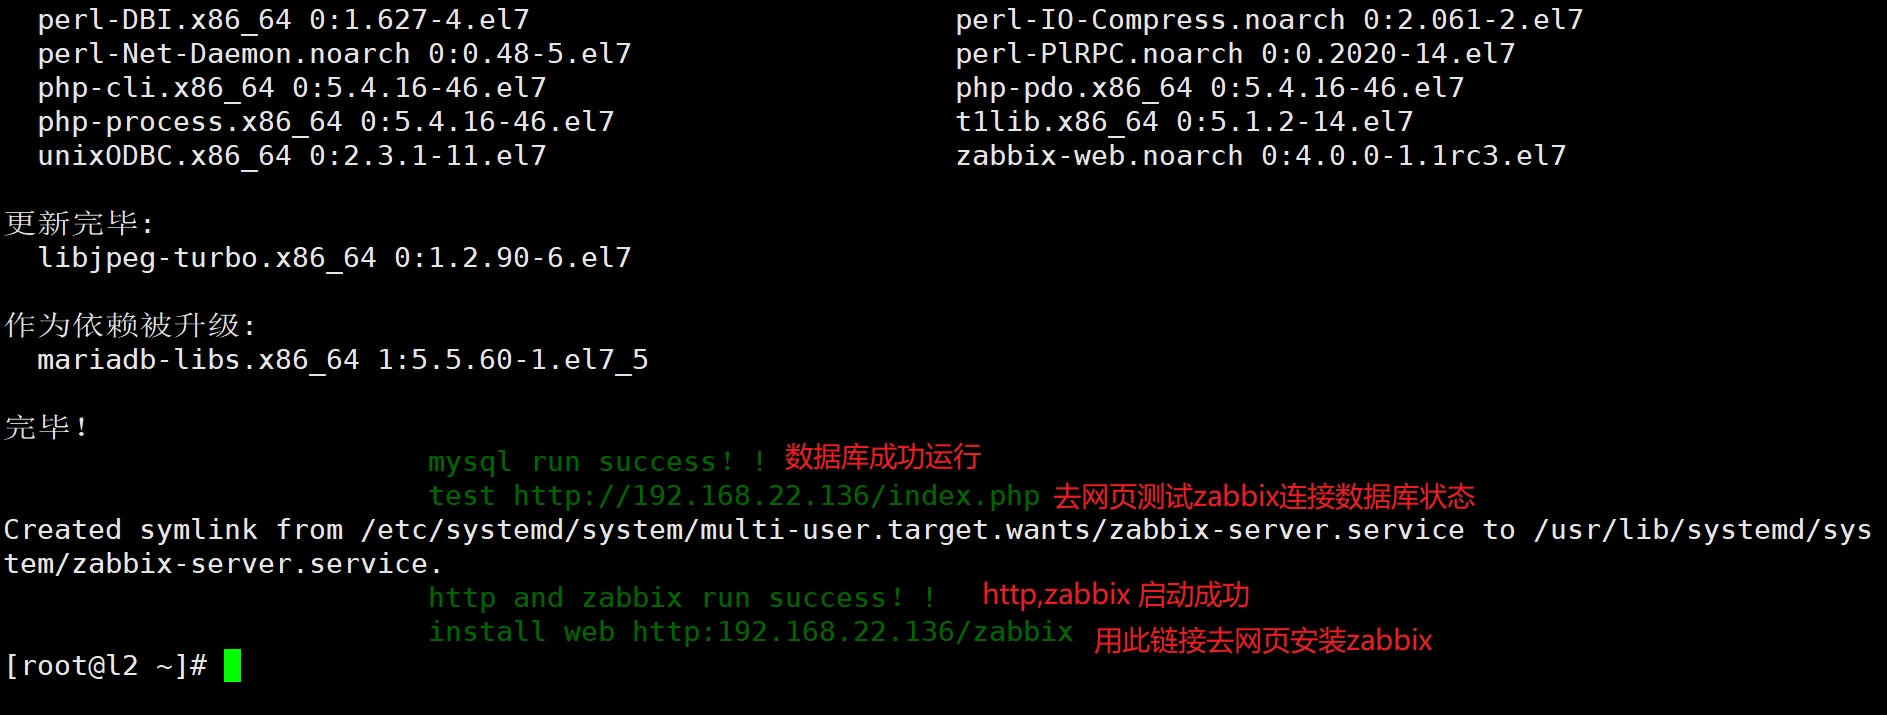
echo -e "\033\t\t\t[32m mysql run success!! \033[0m"
#
#Establish zabbix Library, password
mysql -e "create database zabbix character set utf8 collate utf8_bin;grant all privileges ON . TO 'zabbix'@'%' identified by 'admin123';flush privileges;drop user ''@localhost;drop user ''@$name;"
#
#Database Setting Password(Customizable)
# mysqladmin -u root password 'admin123'
else
echo -e "\033\t\t\t[5;31m mysql start error,check!! \033[0m"
exit 0
fi
#
#zabbix Installation and configuration
if [ $? -eq 0 ];then
#zabbix Connect to the database
echo -e '<?php\n$link=mysql_connect(localhost);\nif($link) echo "Success!!";\nelse echo "Fail!!";\nmysql_close();\n?>' >>/var/www/html/index.php
sed -i "s/localhost/'$ip','zabbix','admin123'/g" /var/www/html/index.php
echo -e "\e\t\t\t[32m test http://$ip/index.php \e[0m"
#
#zabbix Import database
zcat /usr/share/doc/zabbix-server-mysql-4.0.0/create.sql.gz |mysql -uzabbix -padmin123 zabbix
#
#modify zabbix configuration file
sed -i "s/^# DBPassword=/DBPassword=admin123/g" /etc/zabbix/zabbix_server.conf
sed -i "20iphp_value date.timezone Asia/Shanghai" /etc/httpd/conf.d/zabbix.conf
#
#Modifying font
sed -i "s/graphfont/kaiti/g" /usr/share/zabbix/include/defines.inc.php
cp /root/STKAITI.TTF /usr/share/zabbix/fonts/
#
#open zabbix service
systemctl start zabbix-server.service && systemctl enable zabbix-server.service
systemctl restart httpd && sleep 3
else echo -e "\e\t\t\t[31m zabbix set error,check! \e[0m"
exit 0
fi
#
#inspect zabbix Service port
http_port=`netstat -antp | grep :80 | wc -l`
zabbix_port=`netstat -antp | grep :10051 | wc -l`
if [ $? -eq 0 ]&&[ $http_port -ne 0 ]&& [ $zabbix_port -ne 0 ];then
echo -e "\033\t\t\t[32m http and zabbix run success!! \033[0m"
echo -e "\033\t\t\t[32m install web http:$ip/zabbix \033[0m"
else
echo -e "\033\t\t\t[5;31m zabbix install fail,check!! \033[0m"
exit 0
fi
#Firewall Stop Error
else
echo -e "\e\t\t\t[31m stop firewalld error,check! \e[0m"
fi
3. Add script execution privileges
chmod +x zabbix.sh
4. Writing python selenium module
from selenium import webdriver
import time
# Using Google Browser
driver = webdriver.Chrome()
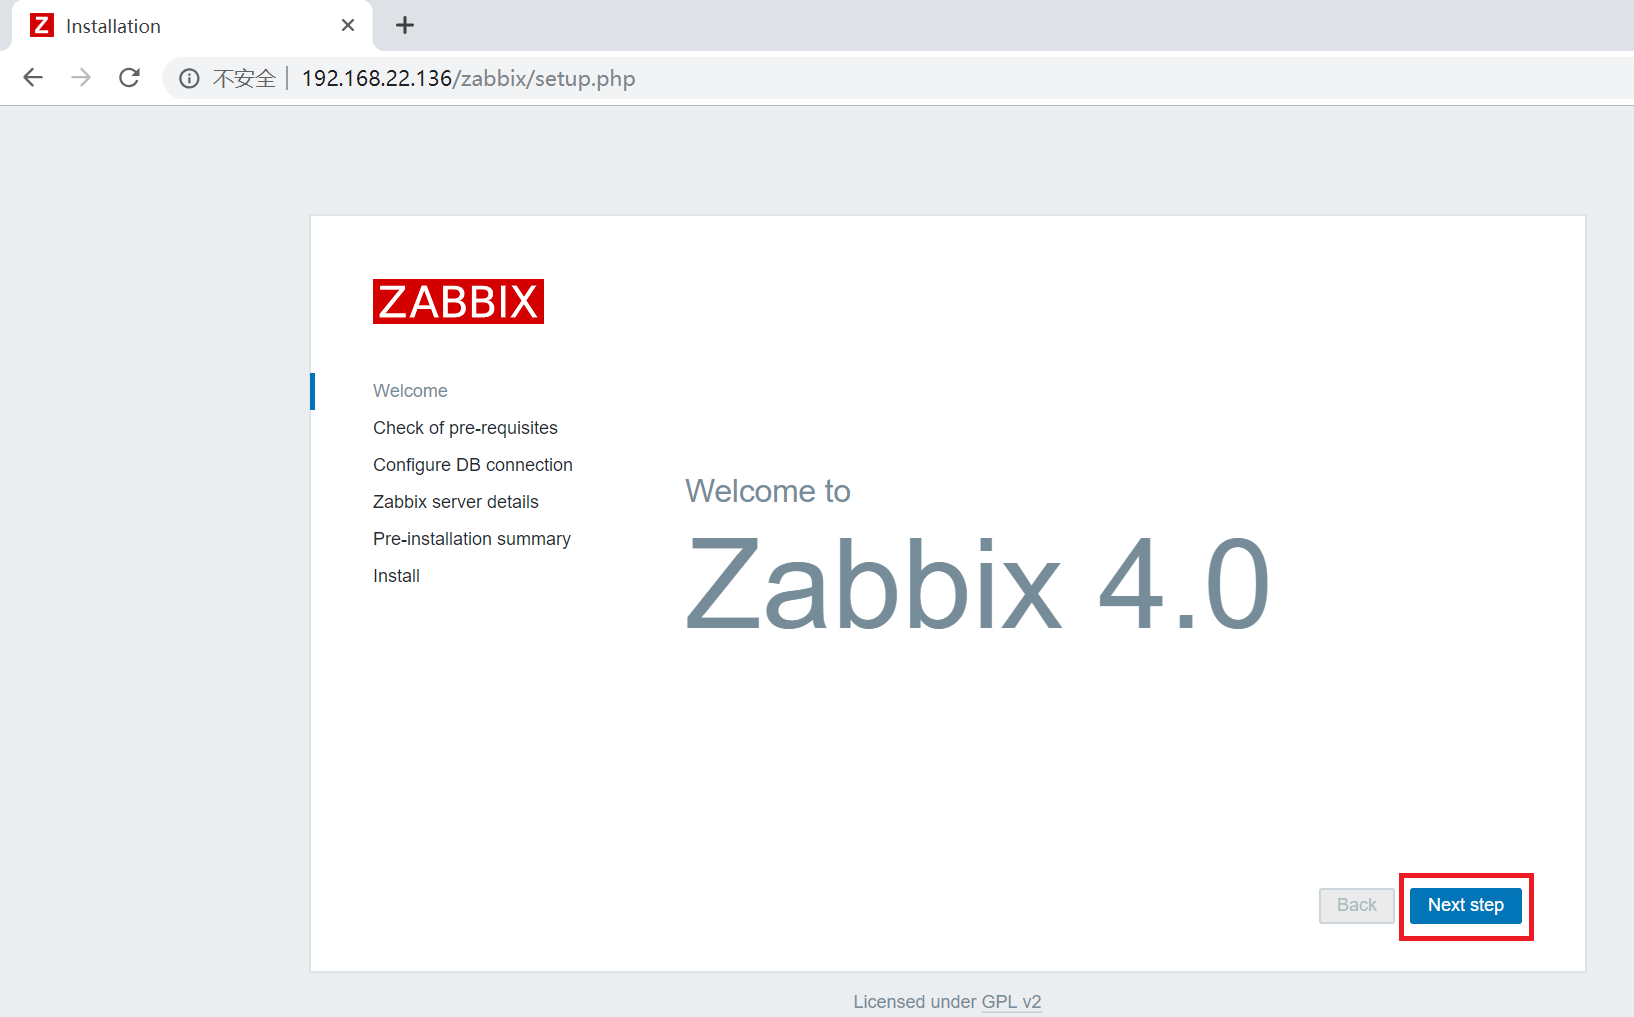
# Enter the Installation Link
driver.get("http://192.168.22.136/zabbix")
print(driver.title)
# Locate the "next" element and click the mouse (that is, click next)
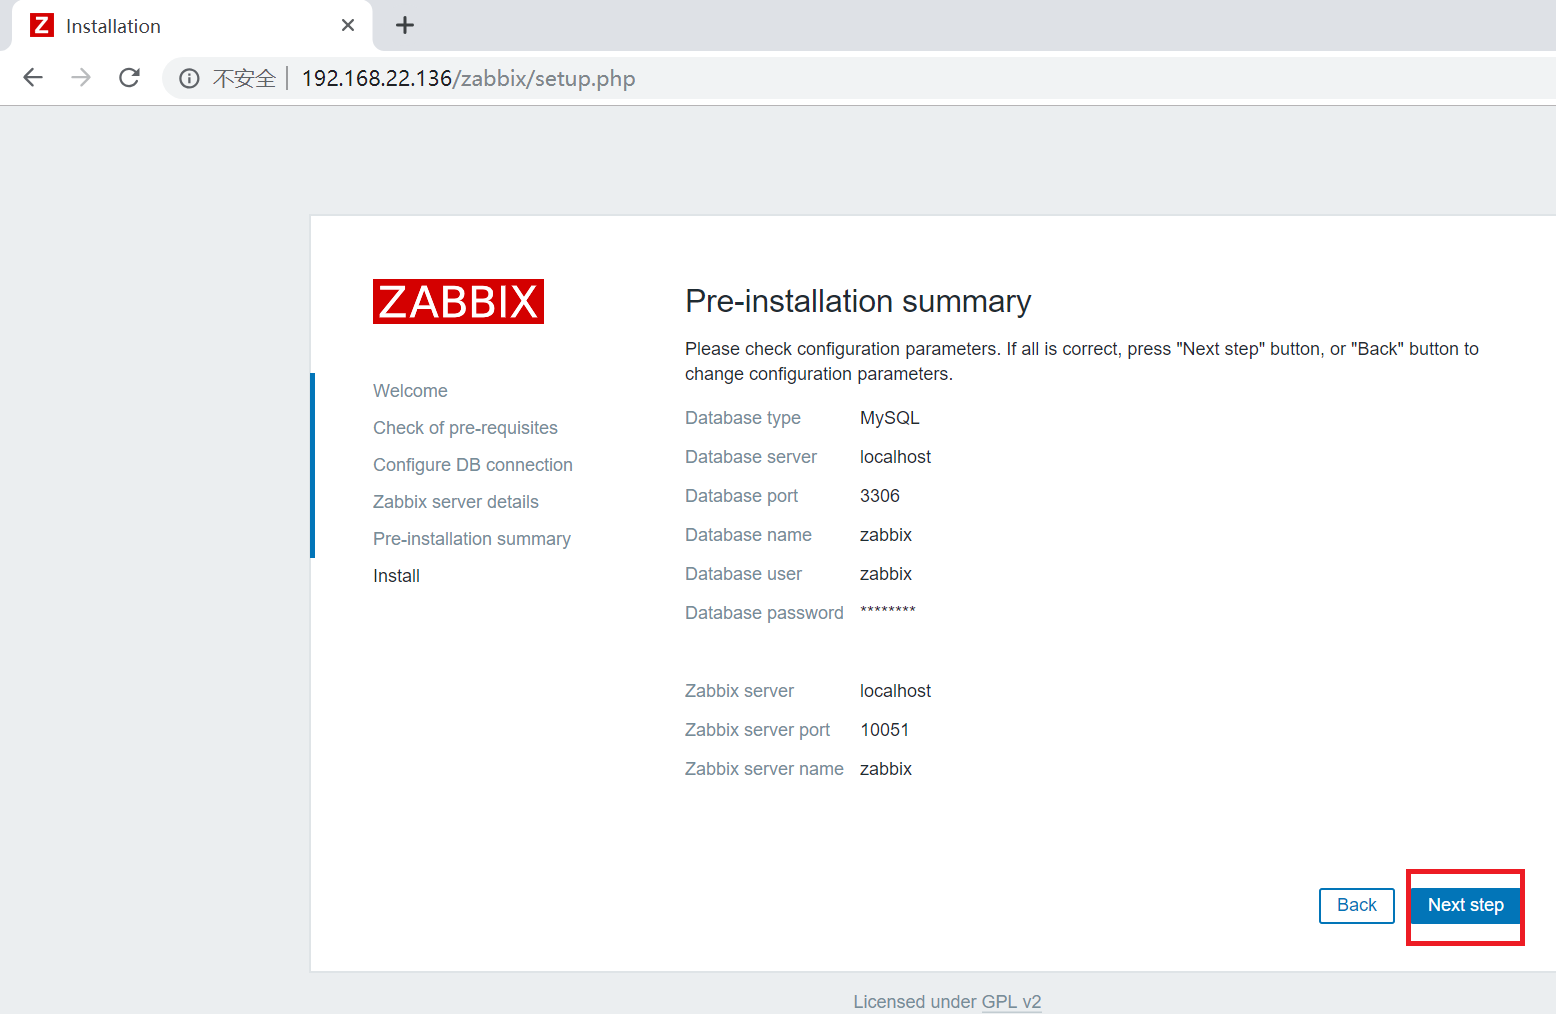
driver.find_element_by_id("next_0").click()
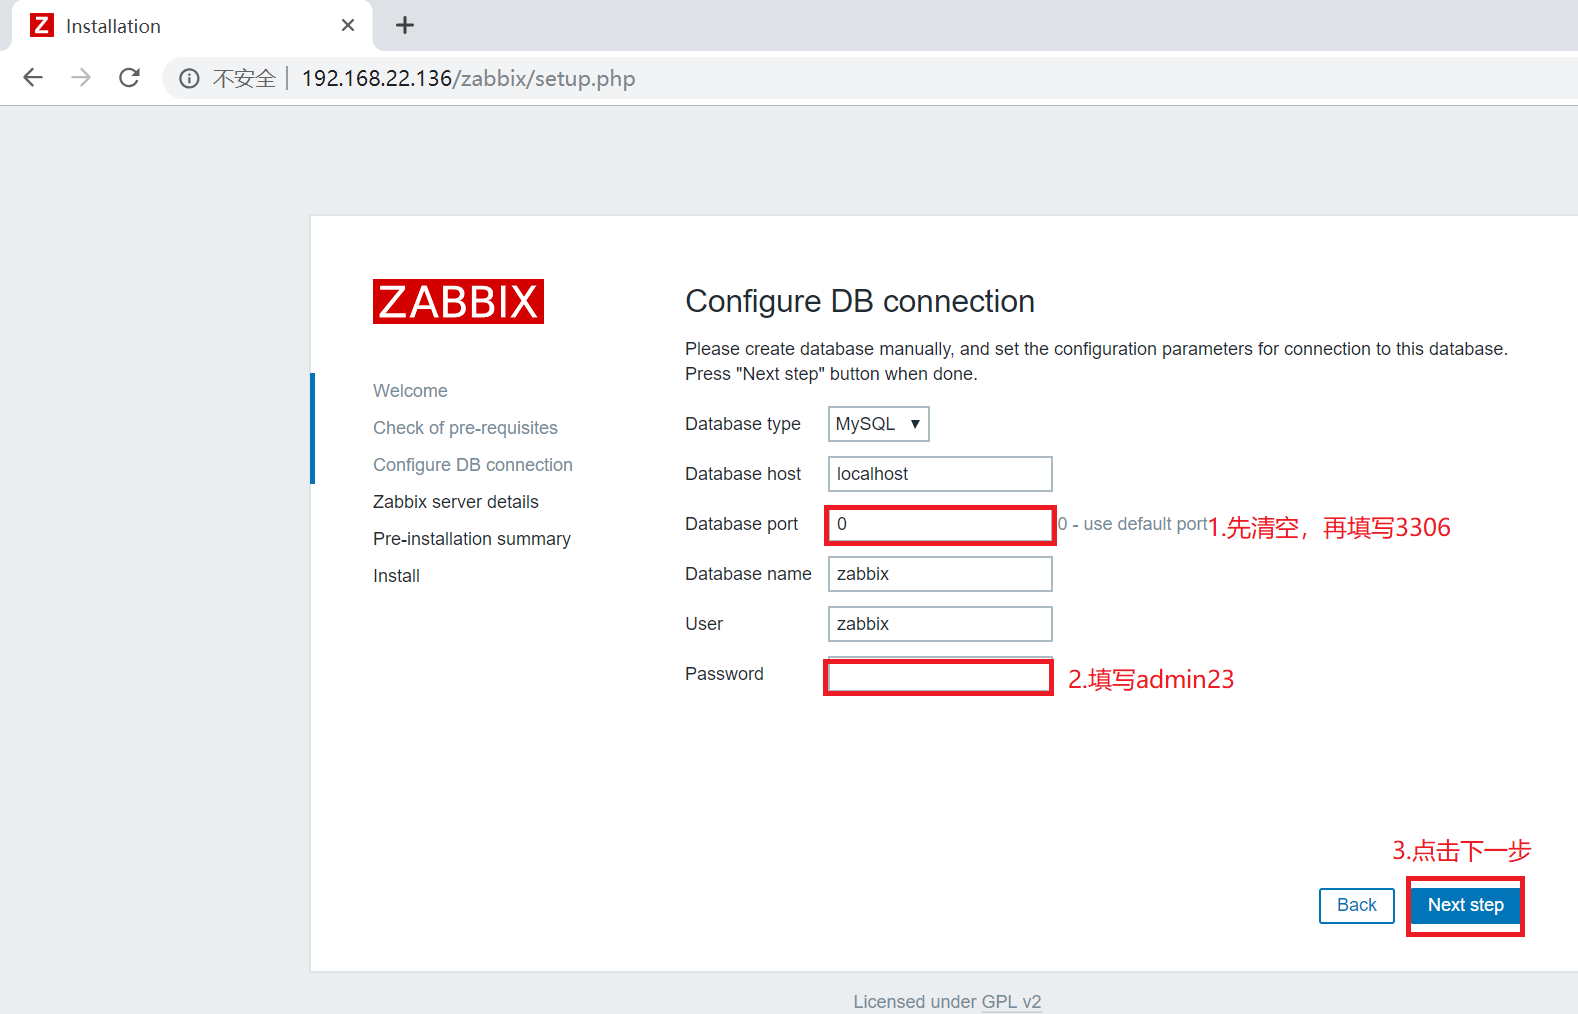
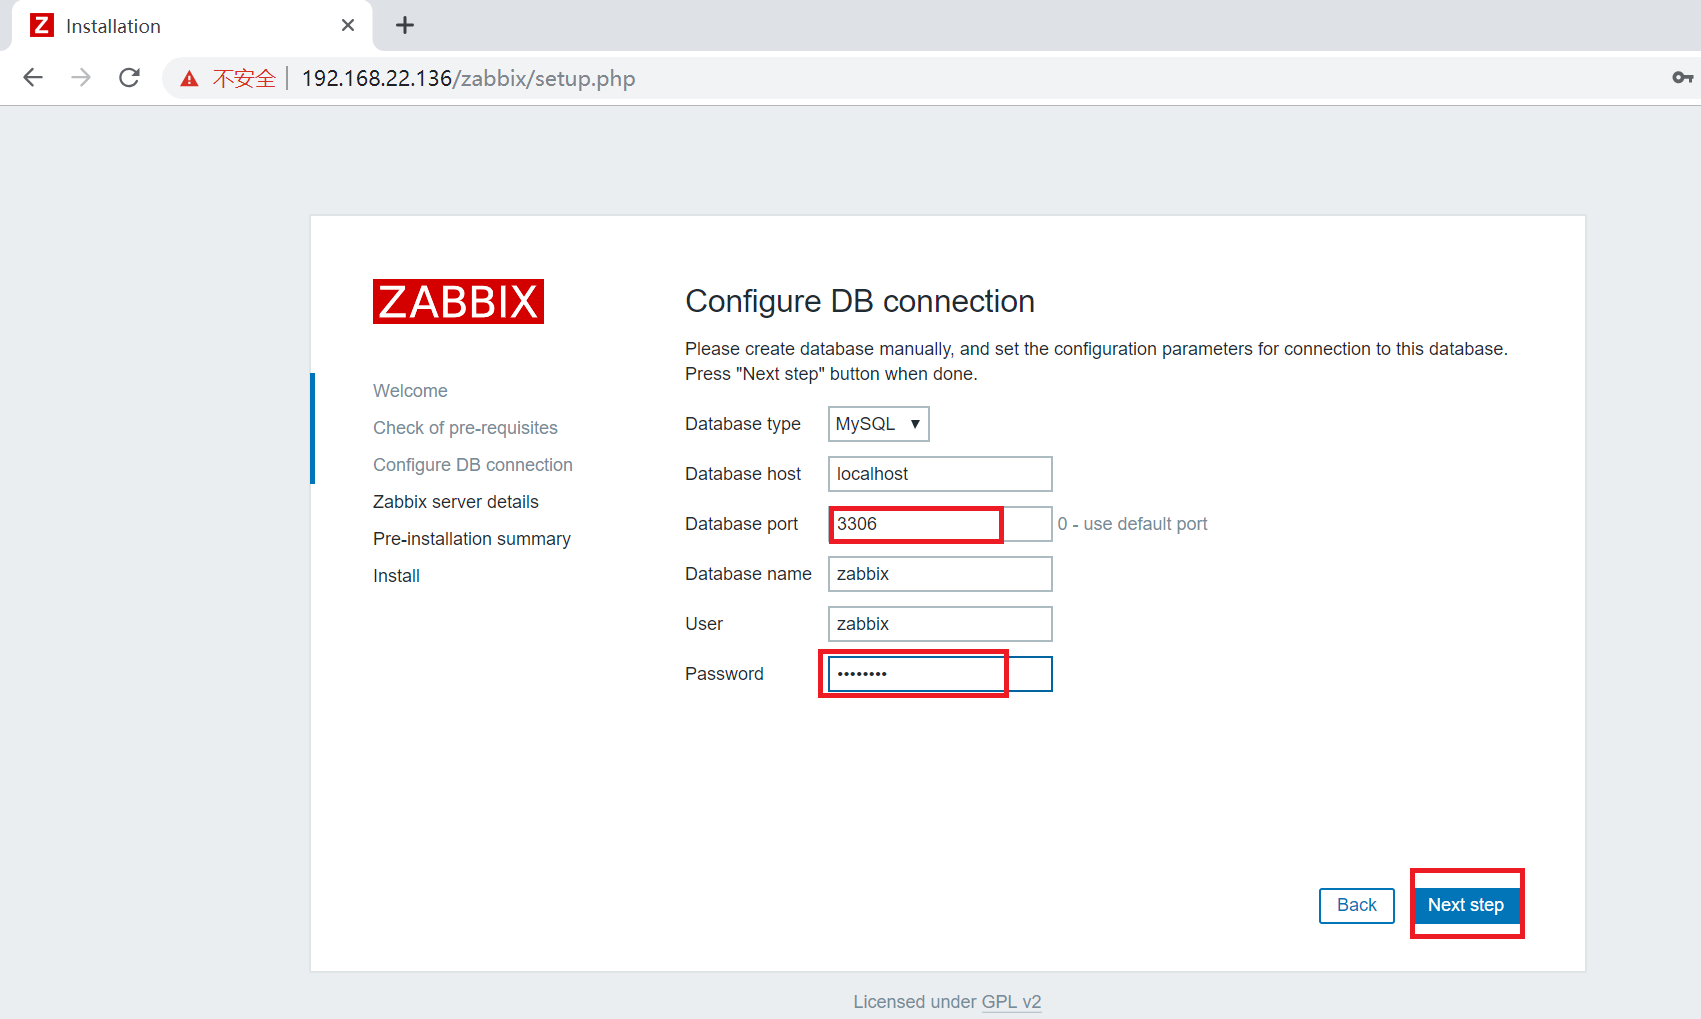
# Click Next
driver.find_element_by_id("next_1").click()

# After clearing the text
driver.find_element_by_id("port").clear()
# Enter new text
driver.find_element_by_name("port").send_keys("3306")
driver.find_element_by_name("password").send_keys("admin123")
driver.find_element_by_id("next_2").click()
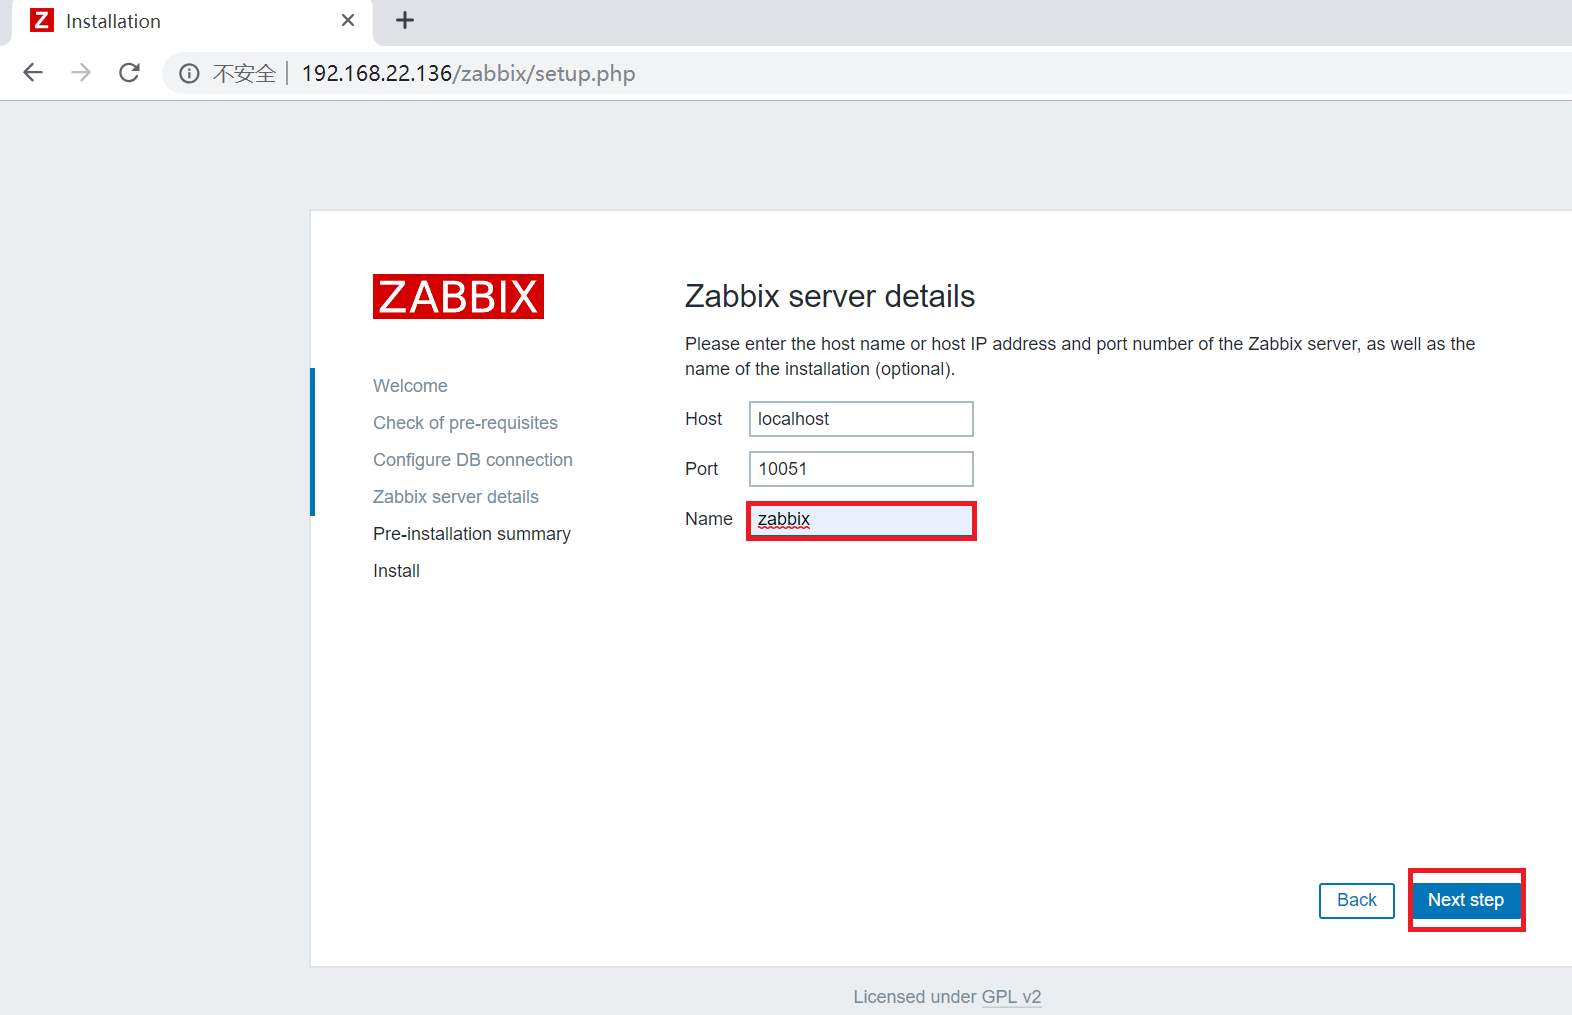
# Fill in the name and click Next
driver.find_element_by_id("zbx_server_name").send_keys("zabbix")
driver.find_element_by_id("next_3").click()
# Click Next
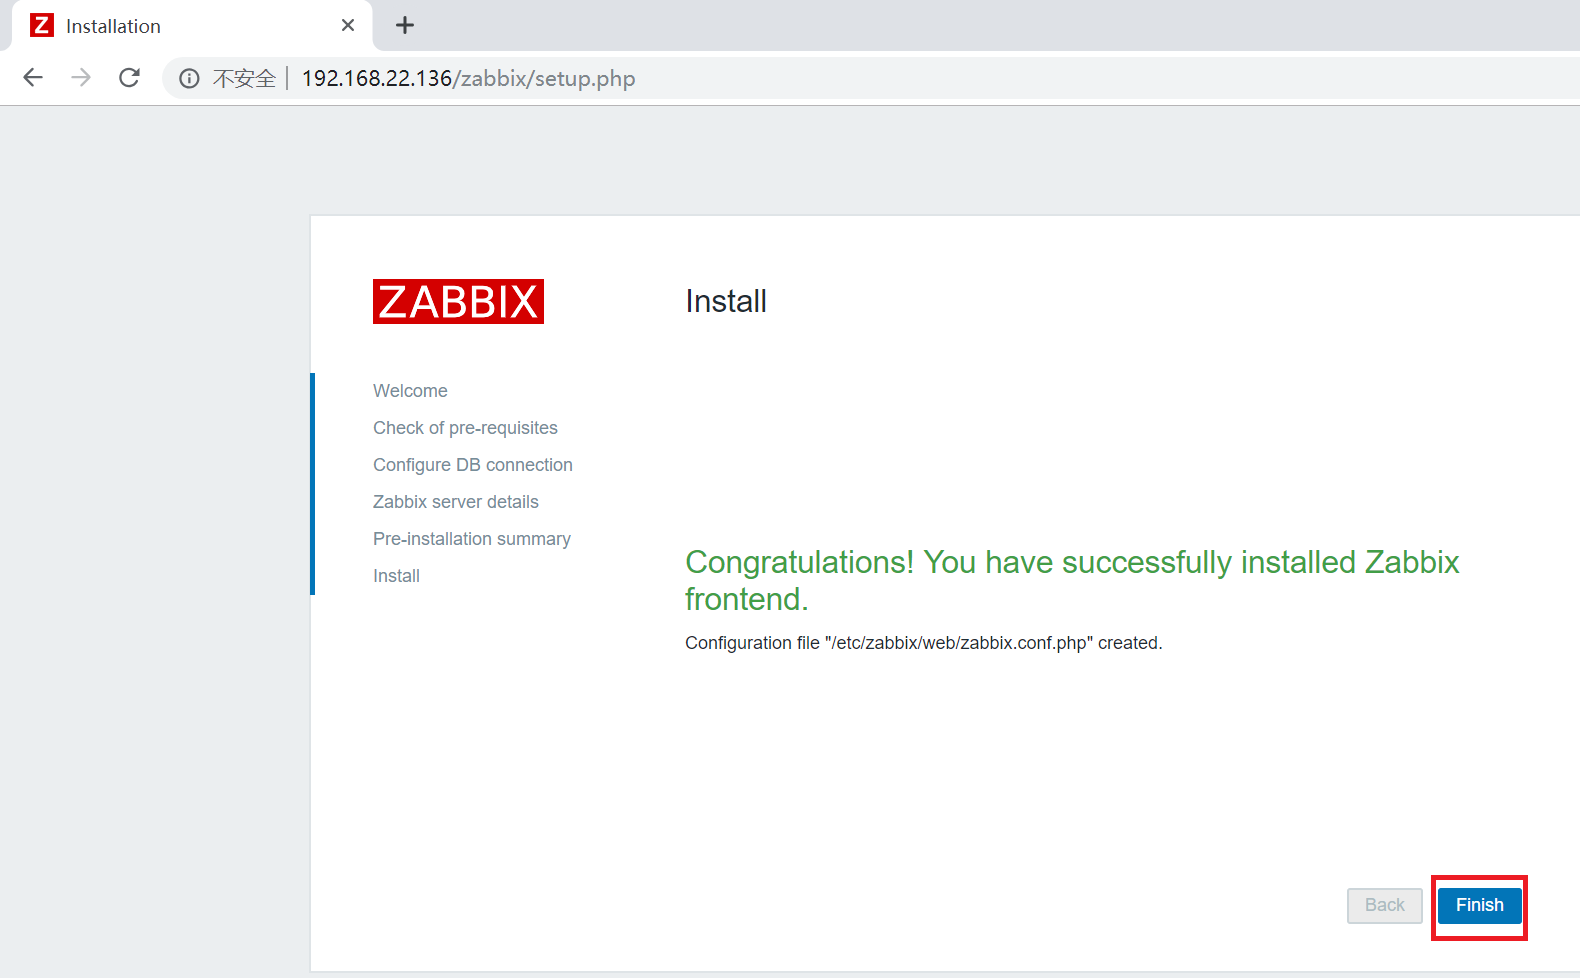
driver.find_element_by_id("next_4").click()
# Click Finish
driver.find_element_by_id("finish").click()
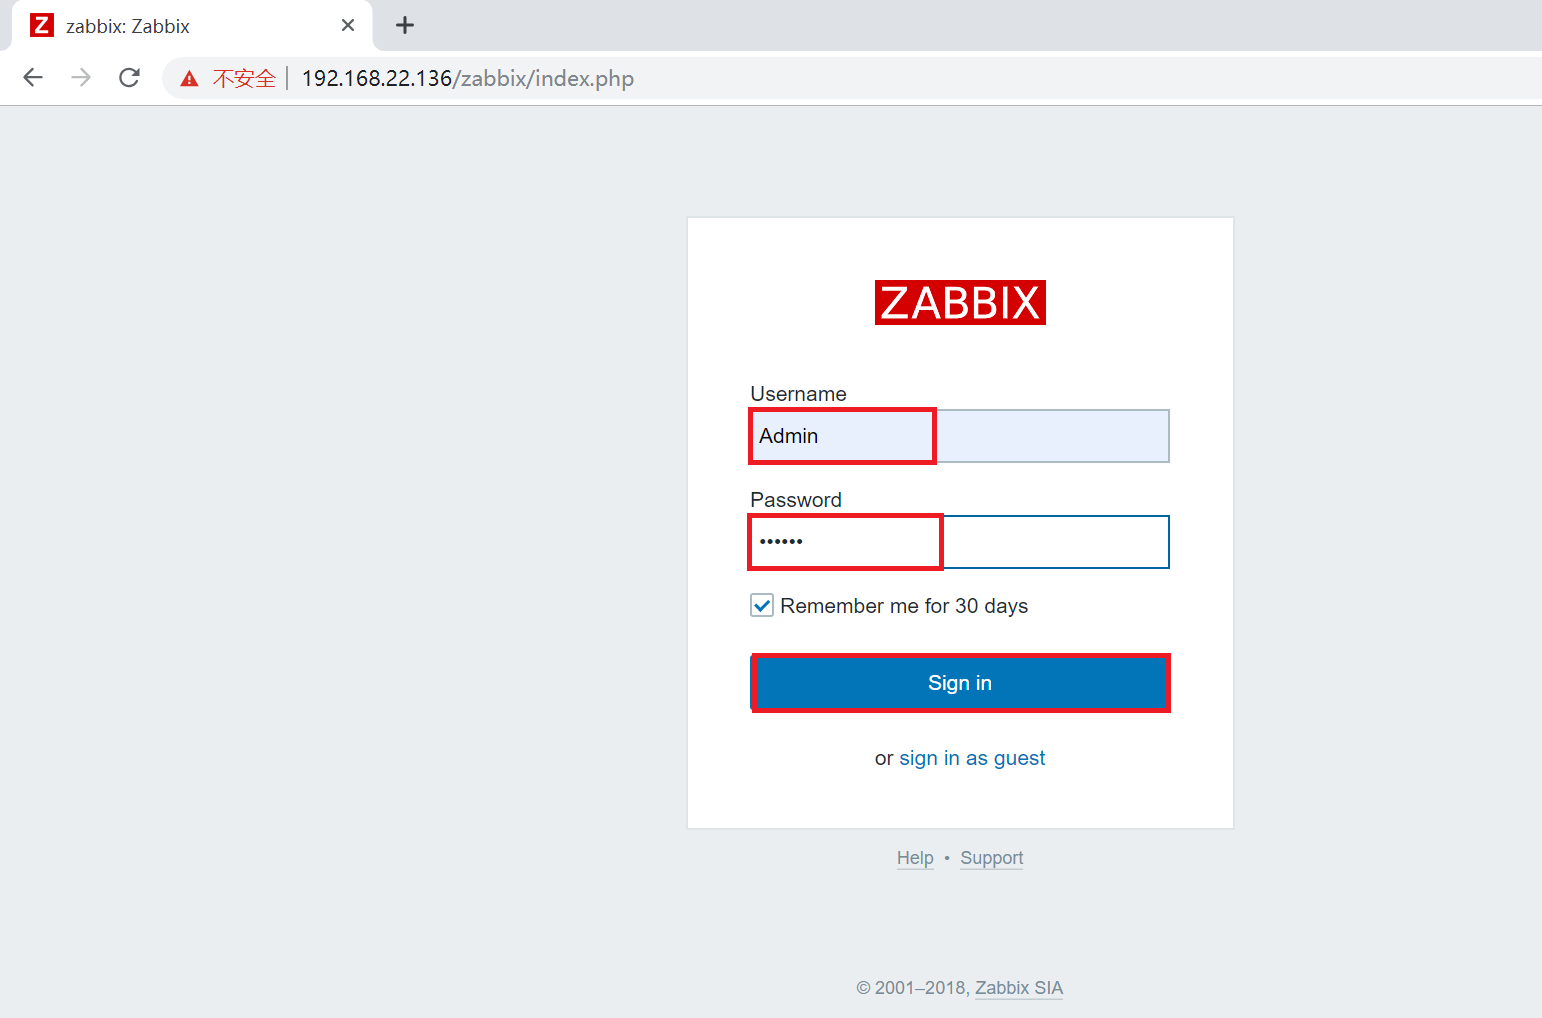
# Fill in user login information
driver.find_element_by_id("name").send_keys("Admin")
driver.find_element_by_id("password").send_keys("zabbix")
driver.find_element_by_id("enter").click()
5. Execute shell scripts first
sh zabbix.sh
6. Execute python selenium, save and click F5.

Conclusion:
1. Writing shell scripts must allow some commands to run sequentially, and there must be a place to judge!
2. Sleep for a few seconds when downloading software packages (seep 5) or run the following commands before the download is complete.
3. zabbix installation here is based on lamp architecture, lamp is yum installation, not recommended to use source package installation, too time-consuming!
4. The database settings here are all default. In order to be safe, we should encrypt the code later (there are commands in the script, annotations, go to).
5. When zabbix is installed on the web page, the location element can find "id" directly.
6. The script file is not recommended for direct copy. You can download the script from my data at http://down.51cto.com/data/2460609.
7. This script is only installed on the monitoring side. There will be installed scripts on the monitoring side later. Please look forward to it!