Overview: Monitoring system is very important in a system. It will display a lot of important information, such as memory information, cpu information and hard disk information. When the system has problems, we can locate and repair the errors in time. The monitoring system introduced today is a lightweight monitoring system, Cacti, with the cacti statistical picture collection script written by python.
Cacti version: cacti-0.8.8h
A Cacti Software Environment Preparation
All configurations are available Official Documents Found in
[root@rs1 pub]# yum install httpd php php-mysql mysql-server net-snmp -yCacti is equivalent to a web program written in php, so we need to build a simple lamp framework before that.
php configuration
php.ini
date.timezone = "Asia/ShanghaiThere is still a lack of php support for snmp. Let's look at our php version first.
[root@rs1 pub]# rpm -qa php
php-5.3.3-26.el6.x86_64
We need to find the same version of php-snmp as this one. After a long time, we finally found it on a website outside the wall.
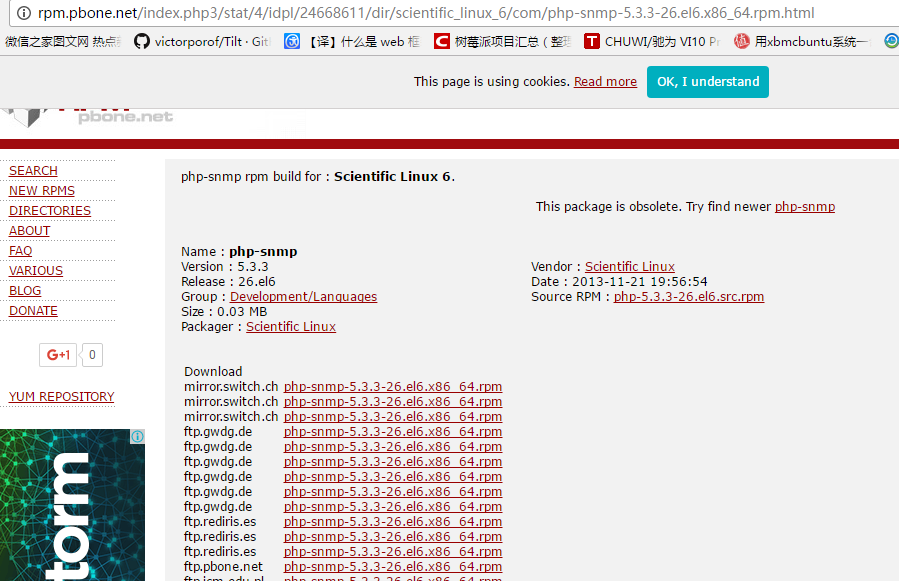
Direct rpm installation, if you find anything missing in the middle, then continue to install, yum can solve the dependency.
snmp configuration
There are many different configurations of snmp. Here we use a simpler configuration method.
rocommunity public 127.0.0.1
rocommunity test 172.25.254.3

includeAllDisks
disk /
disk /usr
disk /var
disk /oracle
Install snmp's command line tools and we test whether the configuration is successful.
[root@localhost ~]# snmpwalk -v 1 -c public localhost .1.3.6.1.2.1.2.2.1.2
IF-MIB::ifDescr.1 = STRING: lo
IF-MIB::ifDescr.2 = STRING: eth0
Correct output represents successful configuration
cacti configuration
[root@localhost ~]# tar -xvf cacti-0.8.8h.tar.gz -C /var/www/html/Files into cacti
We will see the following files in cacti
cacti.sqlWe use this file to create our database environment.
[root@localhost cacti]# mysqladmin create cacti
[root@localhost cacti]# mysql cacti < cacti.sql
Create mysql users for cacti
mysql> grant all privileges on cacti.* to 'cactiuser'@'localhost' identified by 'redhat';
Query OK, 0 rows affected (0.00 sec)
mysql> flush privileges;
Query OK, 0 rows affected (0.00 sec)
Create a cacti system user
useradd cacti
Configure config.php in the cacti/include directory
$database_type = "mysql";
$database_default = "cacti";
$database_hostname = "localhost";
$database_username = "cactiuser";
$database_password = "cactiuser";
$database_port = "3306";
$database_ssl = false;

/*
   Edit this to point to the default URL of your Cacti install
   ex: if your cacti install as at http://serverip/cacti/ this
   would be set to /cacti/
*/
$url_path = "/cacti/";

/* Default session name - Session name must contain alpha characters */
$cacti_session_name = "Cacti";
Writing cron files
cacti scans the system periodically through poller.php, so we configure it in cron as follows, allowing the system to perform a scan in five minutes.
*/5 * * * * cacti php /var/www/html/cacti/poller.php > /mnt/errorlog 2>&1Install Cacti
The environment of Cacti has been set up just now, and the installation is now in progress.
Enter the url where cacti is located in the browser. The following web interface appears 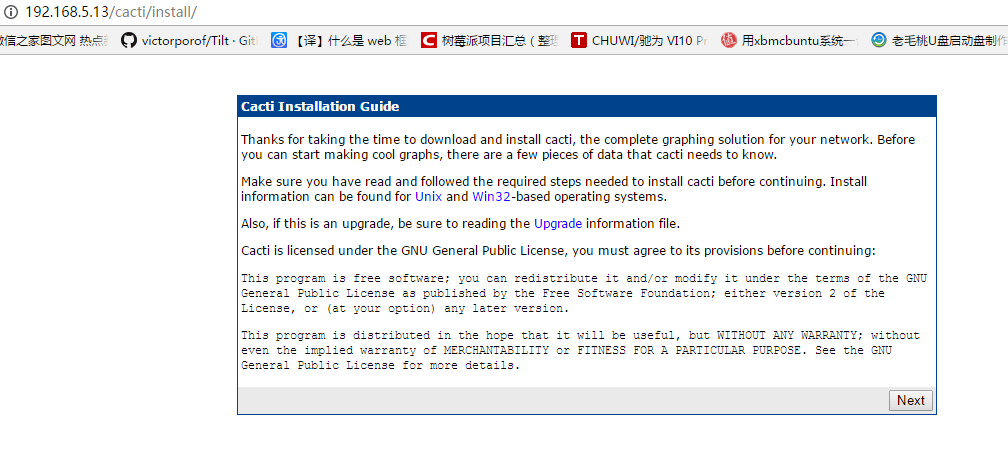
Configure directly next. 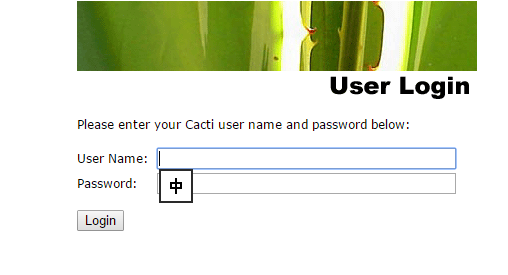
Here the user name and password are admin. 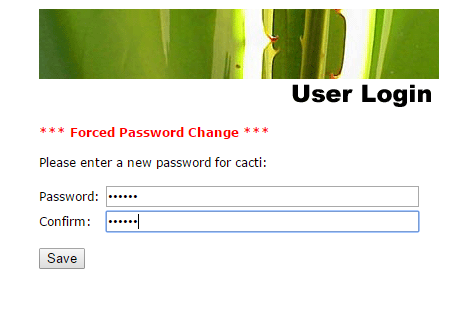
The system forces password changes.
Now enter the image interface of the monitoring system. 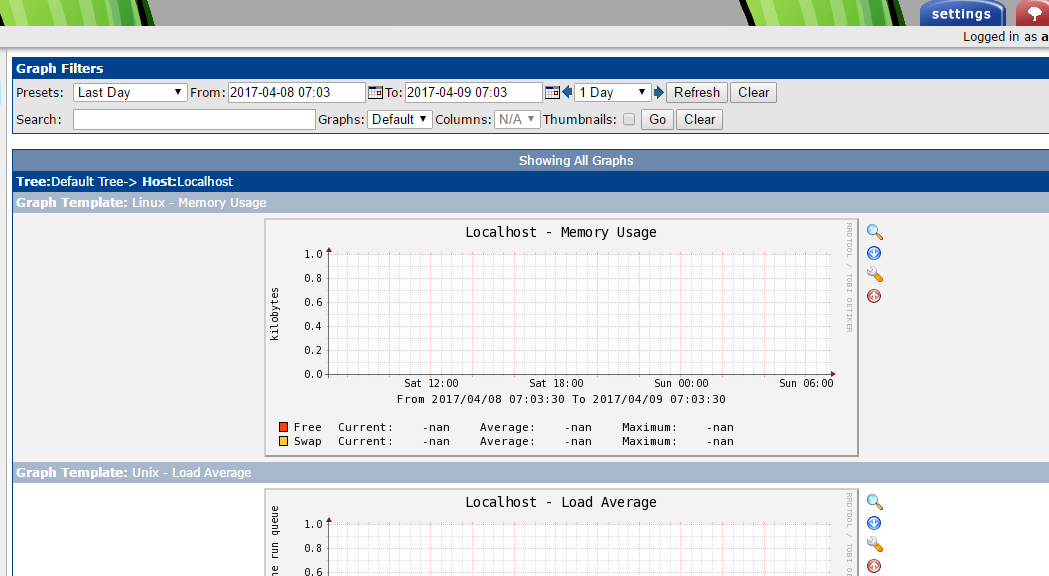
There may be problems with the display of images, as in the screenshots, where there are images but no data. Find a satisfactory answer on Google link
The principle is to change the permissions of the three directories, cacti/log cacti/rra cacti/plugin, to 777.
Unfinished...