-
View jps
[root@master ~]# jps 7445 Jps
If this happens, you can move on to the next step.
If not, please refer to jdk environment construction -
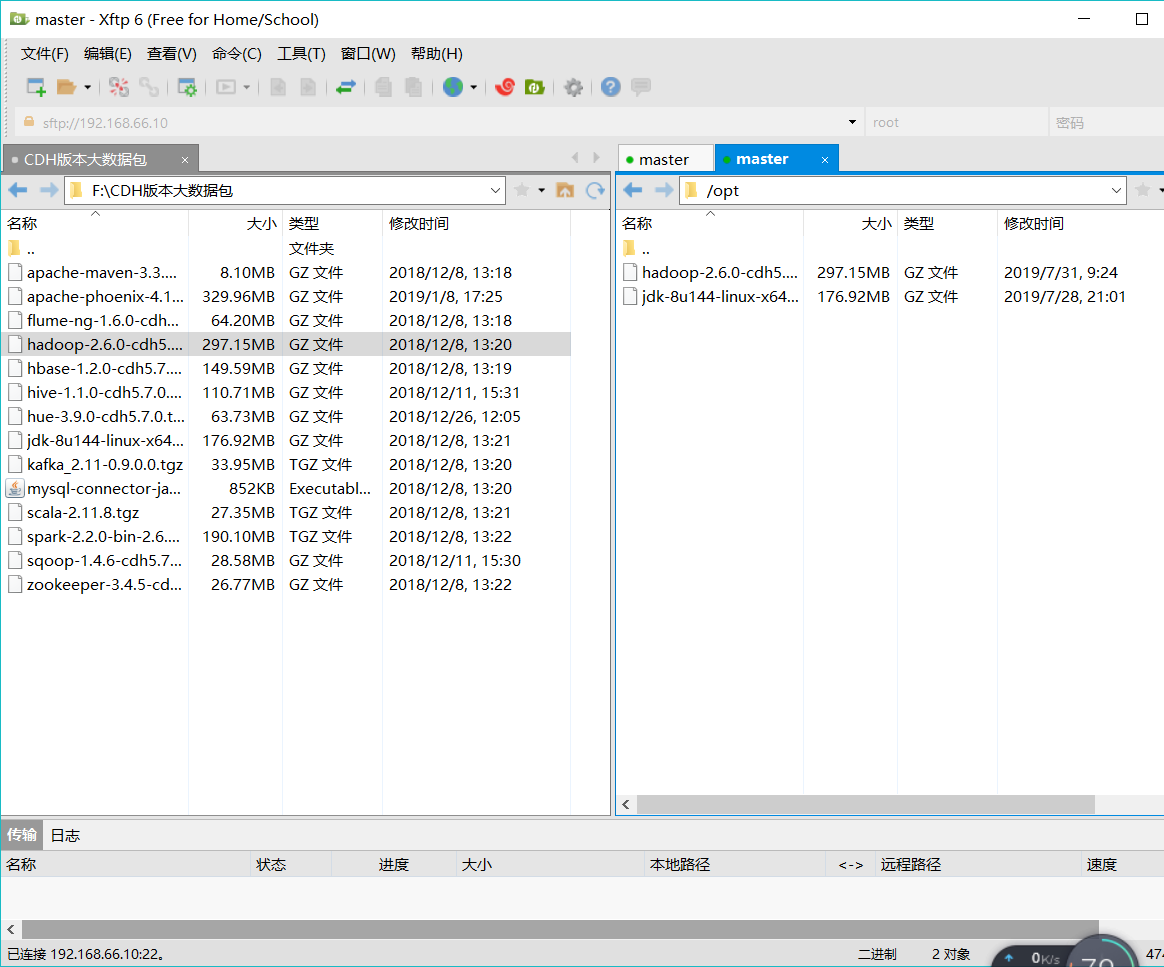
Import the Hadoop package and place it in the / opt directory
-
Check if the Hadoop package is imported
[root@master ~]# cd /opt
[root@master opt]# ll
total 485452
-rw-r--r--. 1 root root 311585484 Jul 31 09:24 hadoop-2.6.0-cdh5.7.0.tar.gz
-rw-r--r--. 1 root root 185515842 Jul 28 21:01 jdk-8u144-linux-x64.tar.gz
-
Unzip Hadoop
[root@master opt]# tar -zxvf hadoop-2.6.0-cdh5.7.0.tar.gz -C /usr/local/
- Following C is the unzipped folder
-
Configuring the Hadoop environment
Step 1: Enter the hadoop configuration environment[root@master /]# cd /usr/local/hadoop-2.6.0-cdh5.7.0/etc/hadoop
1. modify hadoop-env.sh file ``` [root@master hadoop]# vim hadoop-env.sh ``` modify JAVA_HOME Route export JAVA_HOME=/usr/local/jdk1.8.0_144  2. modify core-site.xml file ``` [root@master hadoop]# vim core-site.xml ``` Editor: ``` <configuration> <!-- Appoint HDFS in NameNode Address --> <property> <name>fs.defaultFS</name> <value>hdfs://Host ip or mapping name: 9000</value> </property> <!-- Appoint hadoop Storage directory of files generated at runtime --> <property> <name>hadoop.tmp.dir</name> <value>/usr/local/hadoop-2.6.0-cdh5.7.0/tmp</value> </property> </configuration> ``` 3. modify hdfs-site.xml File copy backup mechanism `[root@master hadoop]# vim hdfs-site.xml ` ``` <configuration> <!-- Appoint HDFS Number of copies --> <property> <name>dfs.replication</name> <value>1</value> </property> </configuration> ``` 4. To configure /etc/profile And come into force ``` [root@master hadoop-2.6.0-cdh5.7.0]# pwd /usr/local/hadoop-2.6.0-cdh5.7.0 [root@master hadoop-2.6.0-cdh5.7.0]# vim /etc/profile ``` Edit at the end of the document ``` export JAVA_HOME=/usr/local/jdk1.8.0_144 export HADOOP_HOME=/usr/local/hadoop-2.6.0-cdh5.7.0 export PATH=$PATH:$JAVA_HOME/bin:$HADOOP_HOME/bin:$HADOOP_HOME/sbin ``` Effective and View ``` [root@master hadoop-2.6.0-cdh5.7.0]# source /etc/profile [root@master hadoop-2.6.0-cdh5.7.0]# hadoop // / Check to see if it works ``` 5. Format ``` [root@master hadoop-2.6.0-cdh5.7.0]# hadoop namenode -format ``` If the end of the file appears successfull,It proves that the formatting is successful.Step 2, Start
 1. Slves under the tmp file
	```
	[root@master current]# vim slaves
	```
	The name of the virtual machine where the file content datanode resides
	Default native


2. Enter/usr/local/hadoop-2.6.0-cdh5.7.0/sbin
	```
	[root@master sbin]# start-dfs.sh
	```
	Then enter the jsp command
	```
	[root@master sbin]# jps
	7812 SecondaryNameNode
	7653 DataNode
	7915 Jps
	7535 NameNode
	```
	If this happens, it proves that the startup is successful.
3. View firewalls
	```
	[root@master /]# firewall-cmd --state
	```
	If running, close
	```
         [root@master /]# systemctl stop firewalld.service

	  ```
Step 3
Open the browser and enter 192.168.xx.xx:50070
The following page demonstrates the success of the environment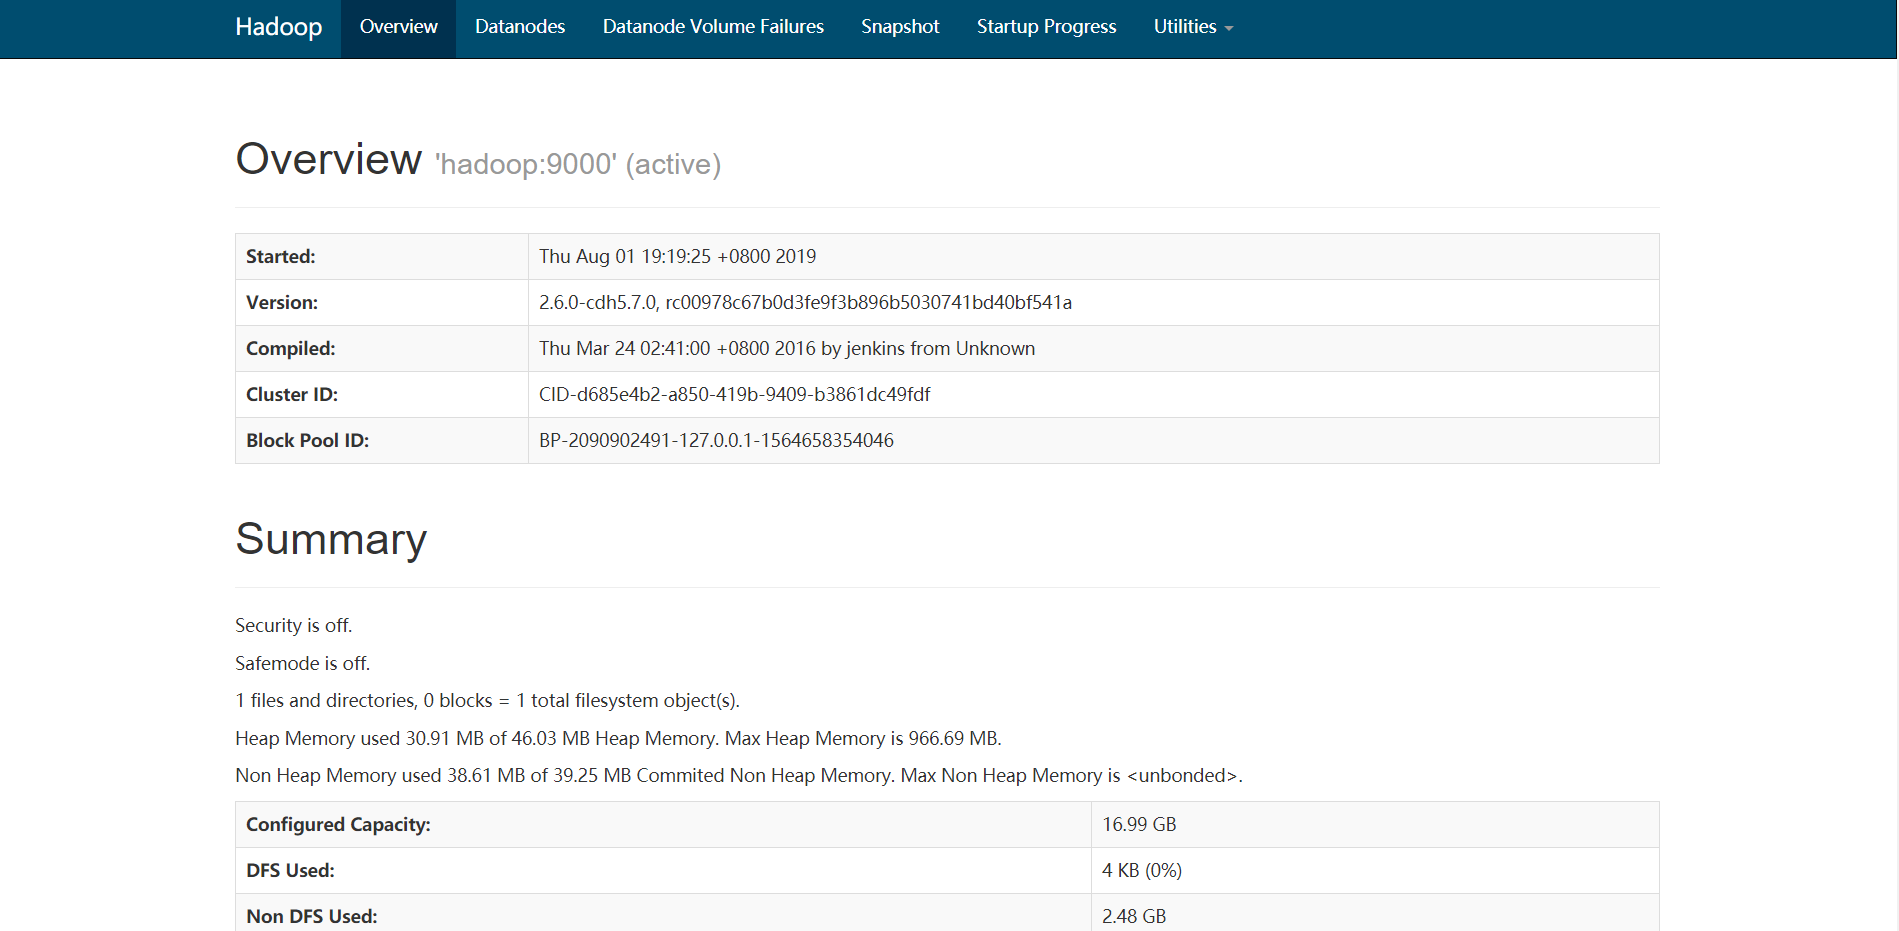 If not, please check that the configuration file is correct and the firewall is closed!
Construction of Pseudo-Distribution Environment for Configuring Hadoop under Linux
Posted by angelssin on Wed, 31 Jul 2019 15:20:34 +0200