Install opencv4.1.1 under Ubuntu 16.04 (learn from many articles, climb a few pits)
Download
First go to github to download the corresponding opencv version and opencv_contrib version. I downloaded opencv 4.1.1, so contrib also needs to download version 4.1.1.
Be careful! Version must correspond!!!
Opencv download address [[link]https://github.com/opencv/opencv/releases], download Source code,zip or tar.gz.
contrib Download Website[ link]. 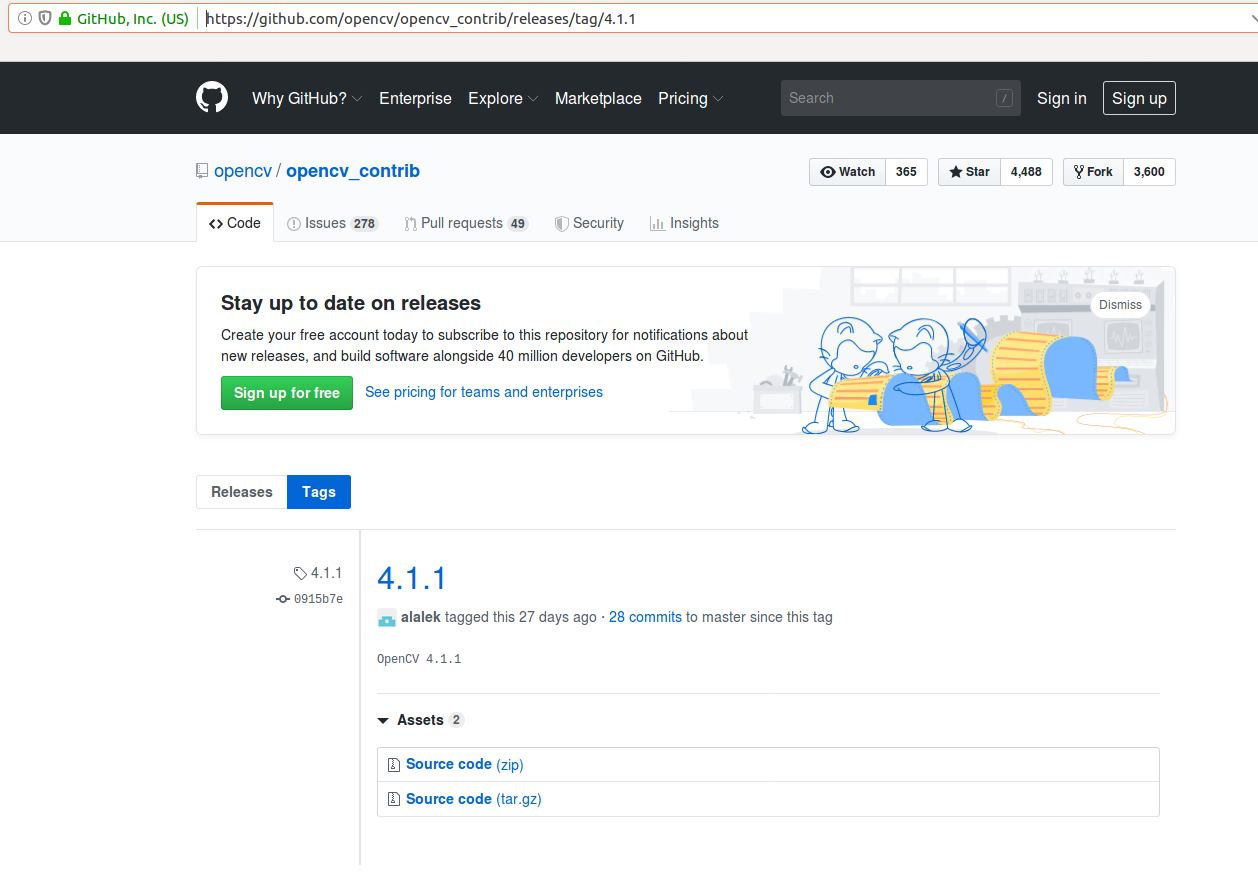
II. Installation
1. Installation Dependence
sudo apt-get installbuild-essential
sudo apt-get install cmake git libgtk2.0-dev pkg-config libavcodec-dev libavformat-dev libswscale-dev
sudo apt-get install python-dev python-numpy libtbb2 libtbb-dev libjpeg-dev libpng-dev libtiff-dev libjasper-dev libdc1394-22-dev
After installation, put the contrib folder in the opencv directory, and create the build folder, where the source code file has been decompressed.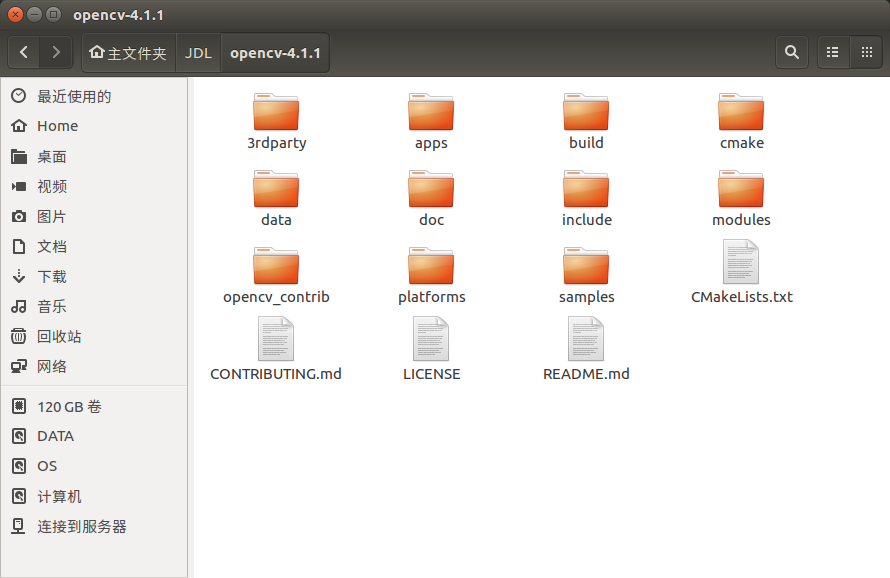 For convenience, I removed 4.1.1 after the name contrib.
Here's another reference blog environment
# Because installing the libjasper-dev dependency package may cause problems, first execute the following commands to perform subsequent installation of dependency packages
sudo add-apt-repository "deb http://security.ubuntu.com/ubuntu xenial-security main"
sudo apt update
sudo apt install libjasper1 libjasper-dev
# And I've made some mistakes along the way (specific error - > question 4). It's safe to say that lib gt k dependency precedes some opencv dependency installation (-> Reference 9).
sudo apt-get install libgtk-3-dev libgtk2.0-dev pkg-config

# Next, follow-up commands can be executed
# You can enter the following one-time package to save your effort.

# Step-by-step clothing
sudo apt-get install build-essential
# opencv4.1.0 requires libgtk-3-dev
sudo apt-get install cmake libgtk-3-dev libgtk2.0-dev pkg-config libavcodec-dev libavformat-dev libswscale-dev
sudo apt-get install python3-dev python3-numpy python-dev python-numpy libpython3.6-dev libtbb2 libtbb-dev libjpeg-dev libpng-dev libtiff5-dev libjasper-dev libdc1394-22-dev # Packets needed to process images
sudo apt-get install libavcodec-dev libavformat-dev libswscale-dev libv4l-dev liblapacke-dev
sudo apt-get install libopenexr-dev
sudo apt-get install libxvidcore-dev libx264-dev # Packets needed to process video
sudo apt-get install libatlas-base-dev gfortran # Optimizing opencv function
sudo apt-get install ffmpeg

# One load (that is, to write all the dependencies in one line, save worry, some dependencies in the download process need your confirmation, - y is to input y for you, save effort)
sudo apt-get -y install build-essential cmake libgtk-3-dev libgtk2.0-dev pkg-config libavcodec-dev libavformat-dev libswscale-dev python3-dev python3-numpy python-dev python-numpy libpython3.6-dev libtbb2 libtbb-dev libjpeg-dev libpng-dev libtiff5-dev libjasper-dev libdc1394-22-dev libavcodec-dev libavformat-dev libswscale-dev libv4l-dev liblapacke-dev libopenexr-dev libxvidcore-dev libx264-dev libatlas-base-dev gfortran ffmpeg
If you encounter the problem of not being able to install or not finding software, Baidu can find a solution here without further elaboration.
2. Install cmake-gui
Some have been installed directly with cmake, but when configuring the pkgconfig path, it was found that the folder was not generated under lib, so choose cmake-gui after referring to other blog posts.
sudo apt-get install cmake-gui
3. Install and configure opencv
Enter the build file path created above, and then enter:
cmake-gui ..
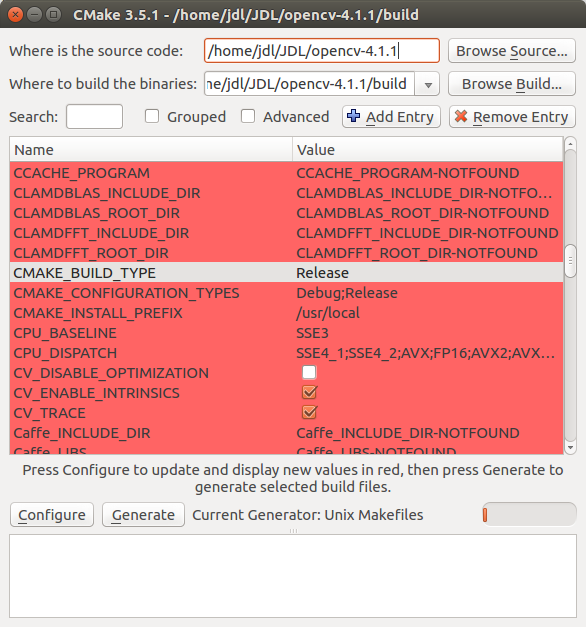
After confirming that the path is OK, click configure to select Unix Makefiles, and the rest by default, click finish. You need to download some files and wait for a while. Then CMake loads the default configuration, as shown in the following figure: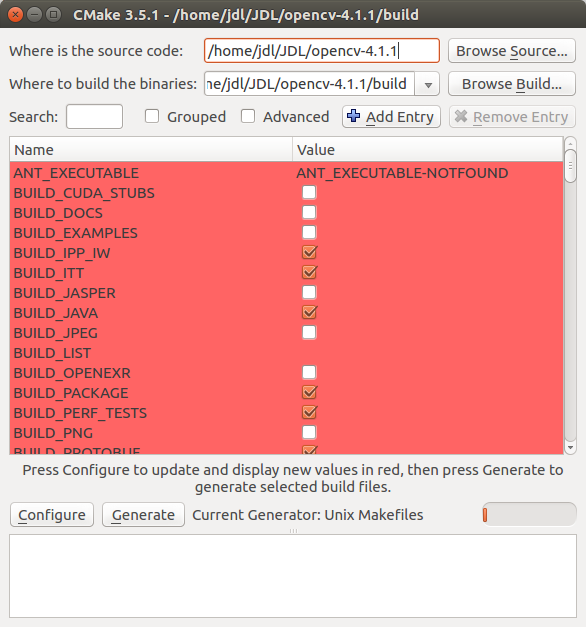 This is very important!!!
Several modifications are needed here:
(1) Check the BUILD_opencv_world, otherwise an error may be generated.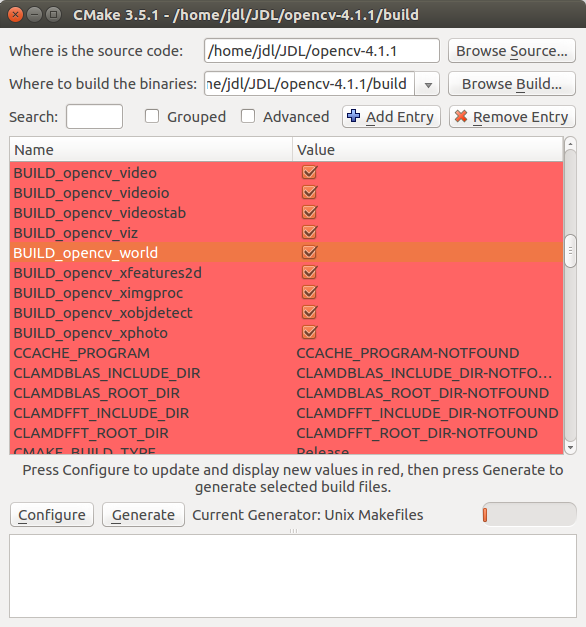
(2) Enter RELEASE at the value of CMAKE_BUILD_TYPE, and the others remain unchanged (if they already exist, they need not be modified).
The CMAKE_INSTALL_PREFIX below shows the default installation directory, which will be installed when the makefile file is generated and the final make install is executed. This directory can be changed according to personal needs. But the suggestion is to follow the default path, do not change!
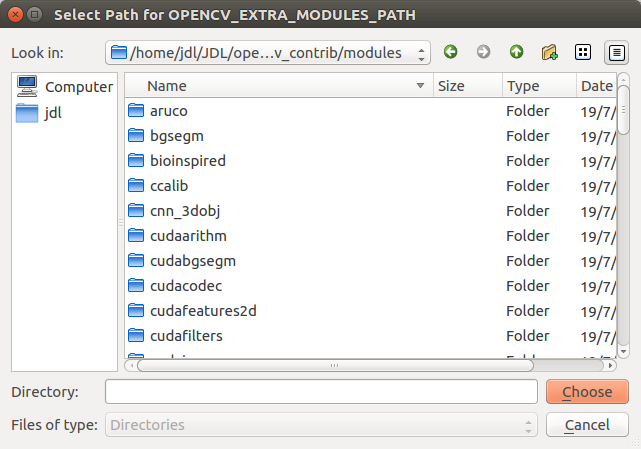
(3) At OPENCV_EXTRA_MODULES_PATH, select the input directory (click the blank behind this line to select it).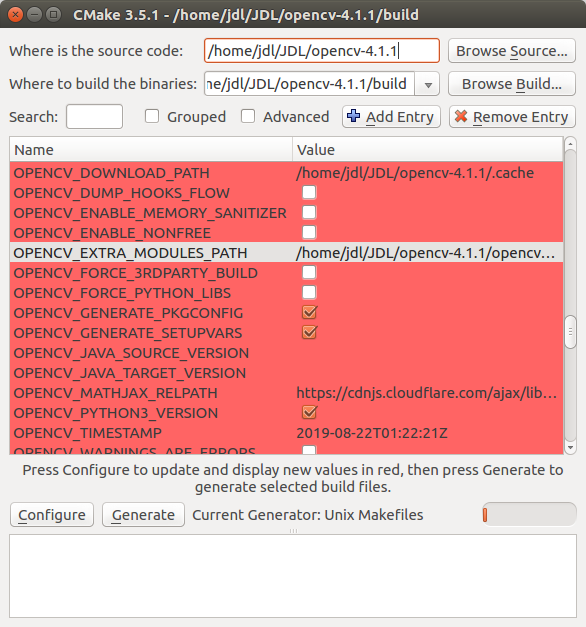 Next, select the modules folder in the opencv_contrib folder. Note that not just the opencv_contrib folder is selected, you need to click in to select the modules folder inside! As shown in the figure below, you can choose your own installation location. Then click Choose.
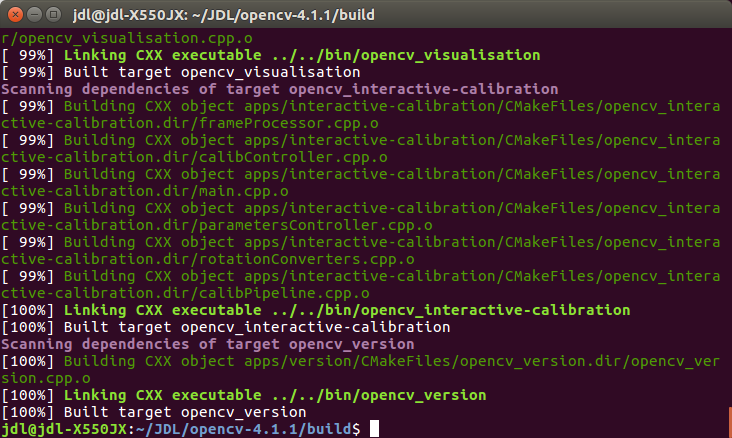
(4) Important one is also the reason for installing it twice or three times. If OPENCV_GENERATE_PKGCONFIG is checked, the pkgconfig folder will not be generated under the / usr/local/lib path I chose, and the opencv.pc file will not be generated.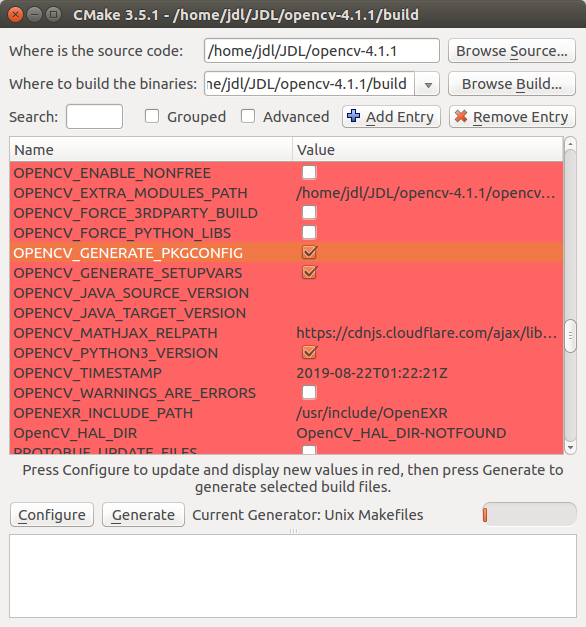 After Configure done and Generate done, I quit cmake-gui, continue to type make in the build path and start compiling. The process is very long. Some blogs recommend make-j2, and then he made a mistake, so I did not try.
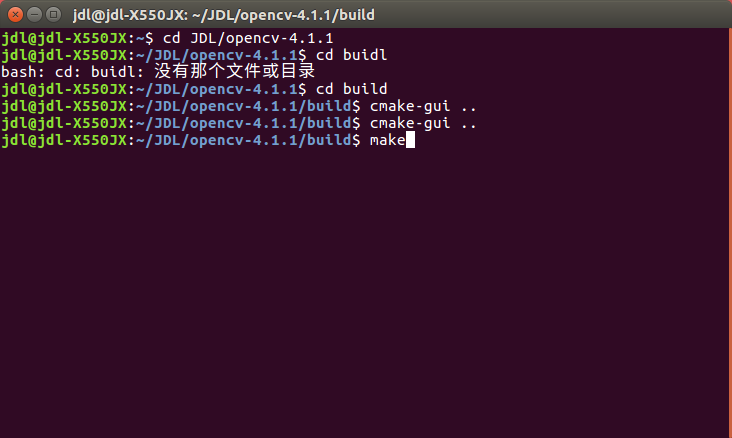
 Finally, enter again
sudo make install
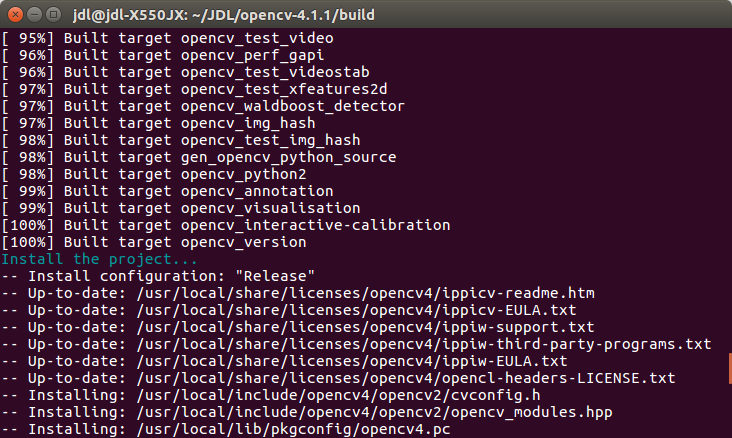 In this way, the installation part succeeds
4. Configuration environment
(1) opencv environment variables need to be set after successful installation. Open the file:
sudo gedit /etc/ld.so.conf.d/opencv.conf
(2) Add the following to the end: (My file is blank, just put it on the first line)
/usr/local/lib
(3) Next, the configuration library:
sudo ldconfig
(4) Change environment variables:
sudo gedit /etc/bash.bashrc
(5) Add:
  PKG_CONFIG_PATH=$PKG_CONFIG_PATH:/usr/local/lib/pkgconfig
  export PKG_CONFIG_PATH
Save and exit. At this point, the opencv installation is complete!
5. Testing
Use config to see if the configuration is successful.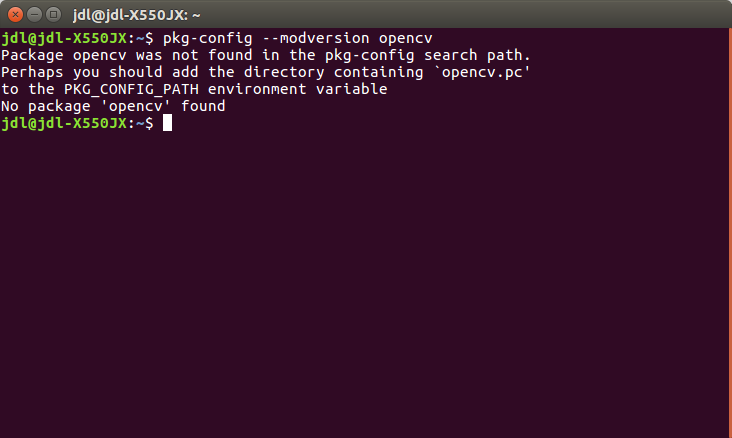 No opencv was found. Referring to other blog posts, we found that under / usr/local/lib/pkgconfig is opencv4.pc, so:
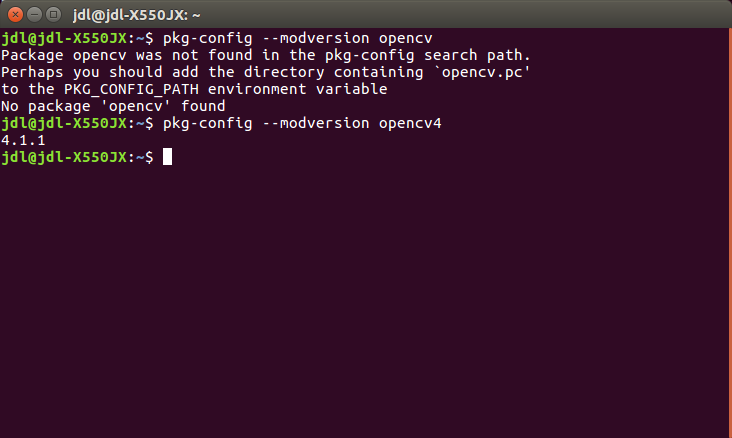 So far the installation is complete.
I don't know what's wrong with it.
Two blog posts for reference:
https://blog.csdn.net/echoamor/article/details/83022352
https://blog.csdn.net/u011897411/article/details/89743448