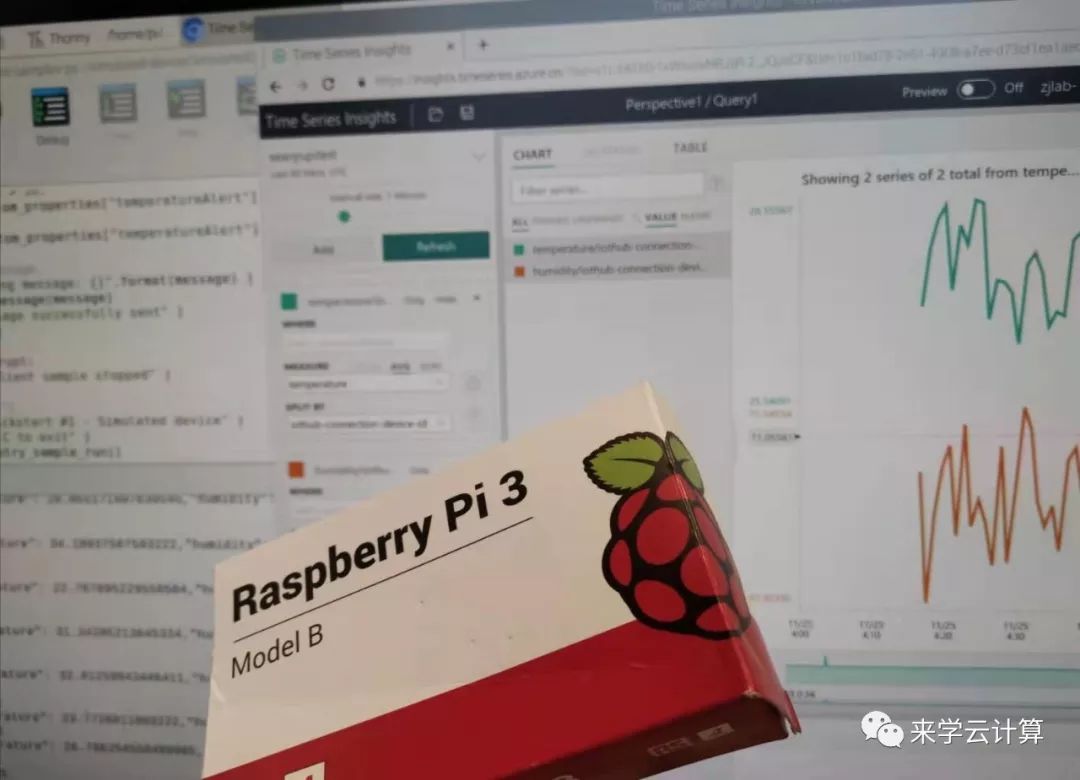
Raspberry pie is a necessary toy for many hands-on people. In this section, let's take out raspberry pie, connect it to Microsoft cloud Azure's IoT Hub in 30 minutes, and then visualize the temperature and humidity curve.
More content, please pay attention to the public number "cloud computing actual combat".
For the complete operation video of this article, please refer to: https://v.qq.com/x/page/f3025q4e75x.html

In this section, the data sent by raspberry pie is simulated, and there is no real connection to the sensor. You can choose different sensors to collect real environment information.
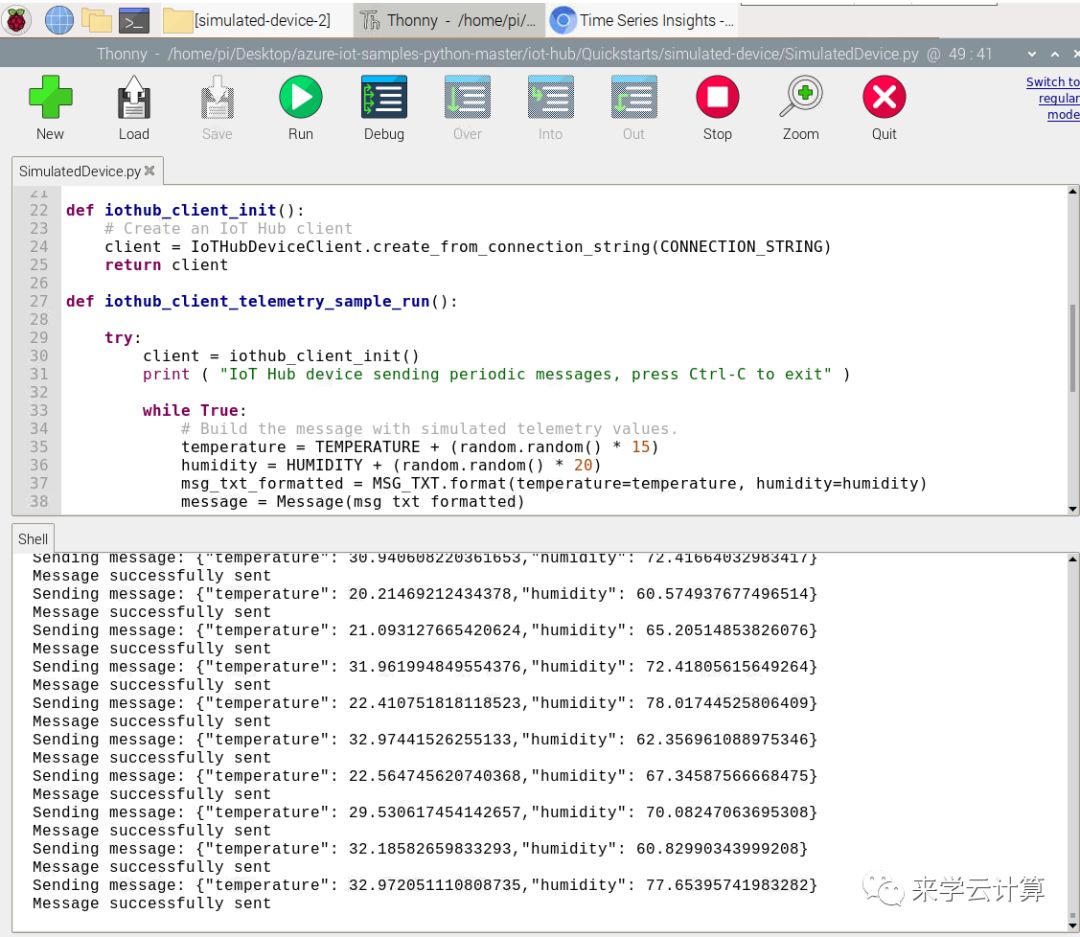
Azure IoT Hub provides us with the ability of two-way communication between devices and cloud. Through SDK s in multiple languages, we can easily and quickly connect raspberry pie to cloud. In this case, Microsoft official code is used, and the sample code is about 70 lines in total, which is very simple.

For more information about IoT Hub, please refer to:
Introduction to Internet of things services on Azure
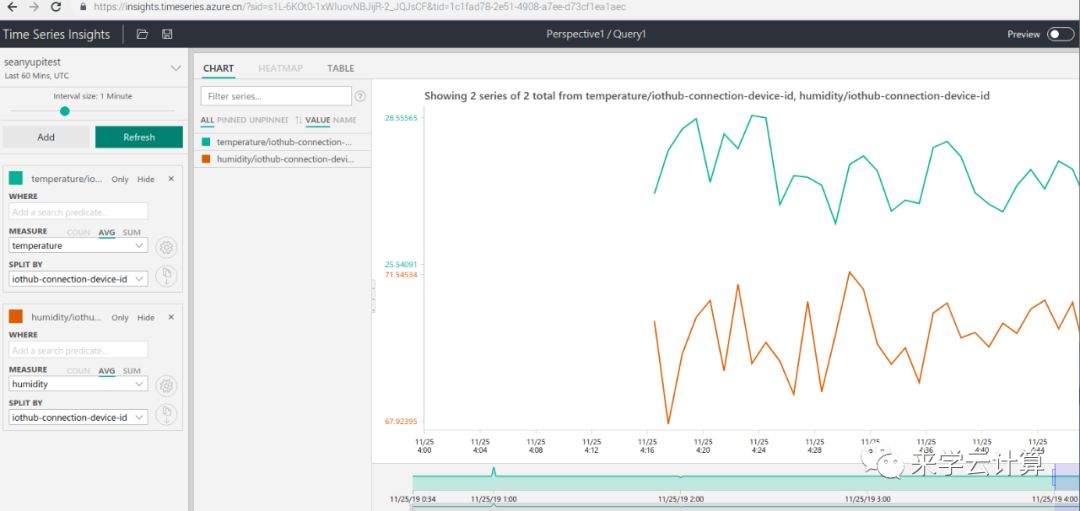
Azure Time Series Insights is used to store the values of time series and provide UI to visualize the data.

For more on timing insights, please refer to:
Azure Time Series Insights (1)
Timing insights and IoT Hub can be seamlessly linked, and data uploaded to IoT Hub can be visualized without writing code.
Code of raspberry pie upload data:
import random
import time
import sys

# Using the Python Device SDK for IoT Hub:
#   https://github.com/Azure/azure-iot-sdk-python
# The sample connects to a device-specific MQTT endpoint on your IoT Hub.
import iothub_client
# pylint: disable=E0611
from iothub_client import IoTHubClient, IoTHubClientError, IoTHubTransportProvider, IoTHubClientResult
from iothub_client import IoTHubMessage, IoTHubMessageDispositionResult, IoTHubError, DeviceMethodReturnValue

# The device connection string to authenticate the device with your IoT hub.
# Using the Azure CLI:
# az iot hub device-identity show-connection-string --hub-name {YourIoTHubName} --device-id MyNodeDevice --output table
CONNECTION_STRING = "HostName=iothubforsatest.azure-devices.cn;DeviceId=test001;SharedAccessKey=kev0eMtTv2UfUU+JD6WAQN2sSdNI9QnRbs4nv2n+1vg="

# Using the MQTT protocol.
PROTOCOL = IoTHubTransportProvider.MQTT
MESSAGE_TIMEOUT = 10000

# Define the JSON message to send to IoT Hub.
TEMPERATURE = 100.0
HUMIDITY = 60
MSG_TXT = "{\"temperature\": %.2f,\"humidity\": %.2f,\"deviceid\": 'test0001'}"

def send_confirmation_callback(message, result, user_context):
    print ( "IoT Hub responded to message with status: %s" % (result) )

def iothub_client_init():
    # Create an IoT Hub client
    client = IoTHubClient(CONNECTION_STRING, PROTOCOL)
    return client

def iothub_client_telemetry_sample_run():

    try:
        client = iothub_client_init()
        print ( "IoT Hub device sending periodic messages, press Ctrl-C to exit" )

        while True:
            # Build the message with simulated telemetry values.
            temperature = TEMPERATURE + (random.random() * 15)
            humidity = HUMIDITY + (random.random() * 20)
            msg_txt_formatted = MSG_TXT % (temperature, humidity)
            message = IoTHubMessage(msg_txt_formatted)

            # Add a custom application property to the message.
            # An IoT hub can filter on these properties without access to the message body.
            prop_map = message.properties()
            if temperature > 30:
              prop_map.add("temperatureAlert", "true")
            else:
              prop_map.add("temperatureAlert", "false")

            # Send the message.
            print( "Sending message: %s" % message.get_string() )
            client.send_event_async(message, send_confirmation_callback, None)
            time.sleep(3)

    except IoTHubError as iothub_error:
        print ( "Unexpected error %s from IoTHub" % iothub_error )
        return
    except KeyboardInterrupt:
        print ( "IoTHubClient sample stopped" )

if __name__ == '__main__':
    print ( "IoT Hub Quickstart #1 - Simulated device" )
    print ( "Press Ctrl-C to exit" )
    iothub_client_telemetry_sample_run()
For IoT Hub access documents, please refer to:
https://docs.azure.cn/zh-cn/iot-hub/quickstart-send-telemetry-python
Download the raspberry pie system:
https://www.raspberrypi.org/downloads/
Micro SD card formatter:
https://www.sdcard.org/downloads/index.html
Raspberry pie system write to Micro SD card tool:
https://sourceforge.net/projects/win32diskimager/