List of articles in this series (under planning)
- Basic k8s yaml script Publishing
- helm+shell script optimizes a large number of redundant configuration releases
- Streamline deployment of jenkins user audit
- service mesh(istio) service grid Publishing
preface
Previous Using lancher2 + kubernetes + skywalking to deploy the spring cloud project (II [helm version]) In this paper, the automatic deployment of the project is realized through the shell script written by ourselves.
To trigger deployment by executing shell scripts, you have to operate linux input commands. Although B-grid is high, it is still a little inconvenient.
You should be a little more idiotic about publishing this kind of thing. So, just use jenkins!
Which module you want to publish!
For a project like spring cloud, there are dozens of sub modules that can't move. It's inconvenient to publish through the traditional jenkins project. To modify the configuration of a project, you need to fill in a little bit. If you can manage the publishing process with code, that's fine.
The big guys who may develop jenkins have already thought about this, so jenkins launched the pipeline plug-in as early as a few years ago, allowing users to write deployment scripts to uniformly manage the release process. I also remember that I tried it at that time. I felt it was really good. Then I wrote a blog post to record: Jenkins 2.0 + pipeline experience notes.
Seeing that the article was released in 2017 (the year of graduation) reminds me of the lyrics of a song:
- I still remember that year when we were very young
- And now the sound of the piano is so quiet that you haven't heard my waiting
- ......
Yes! Time flies, three years after graduation
It's easier to use jenkins's pipeline to transform the released process, just write it on the road! For convenience, decide to install jenkins through docker
Demonstration effect
Another Blue Ocean
Install jenkins in docker
docker pull jenkins/jenkins:lts
Create a jenkins directory for jenkins
sudo mkdir -p /data/jenkins_home
Run the jenkins container and expose port 8081
docker run -d --name jenkins -p 8081:8080 -v /data/jenkins_home:/var/jenkins_home jenkins/jenkins:lts
Change directory permissions
chown -R 1000:1000 /data/jenkins_home/
Check the log to see if it starts normally
docker logs -f jenkins
After startup, the log will prompt that the default password is in the initialAdminPassword file, so check the log file
cat /data/jenkins_home/secrets/initialAdminPassword
After obtaining the password, log in directly and install the corresponding plug-in
Install plug-ins
After logging into jenkins system, enter plug-in management interface and add pipeline plug-in
The menu is under system management - > plug in management
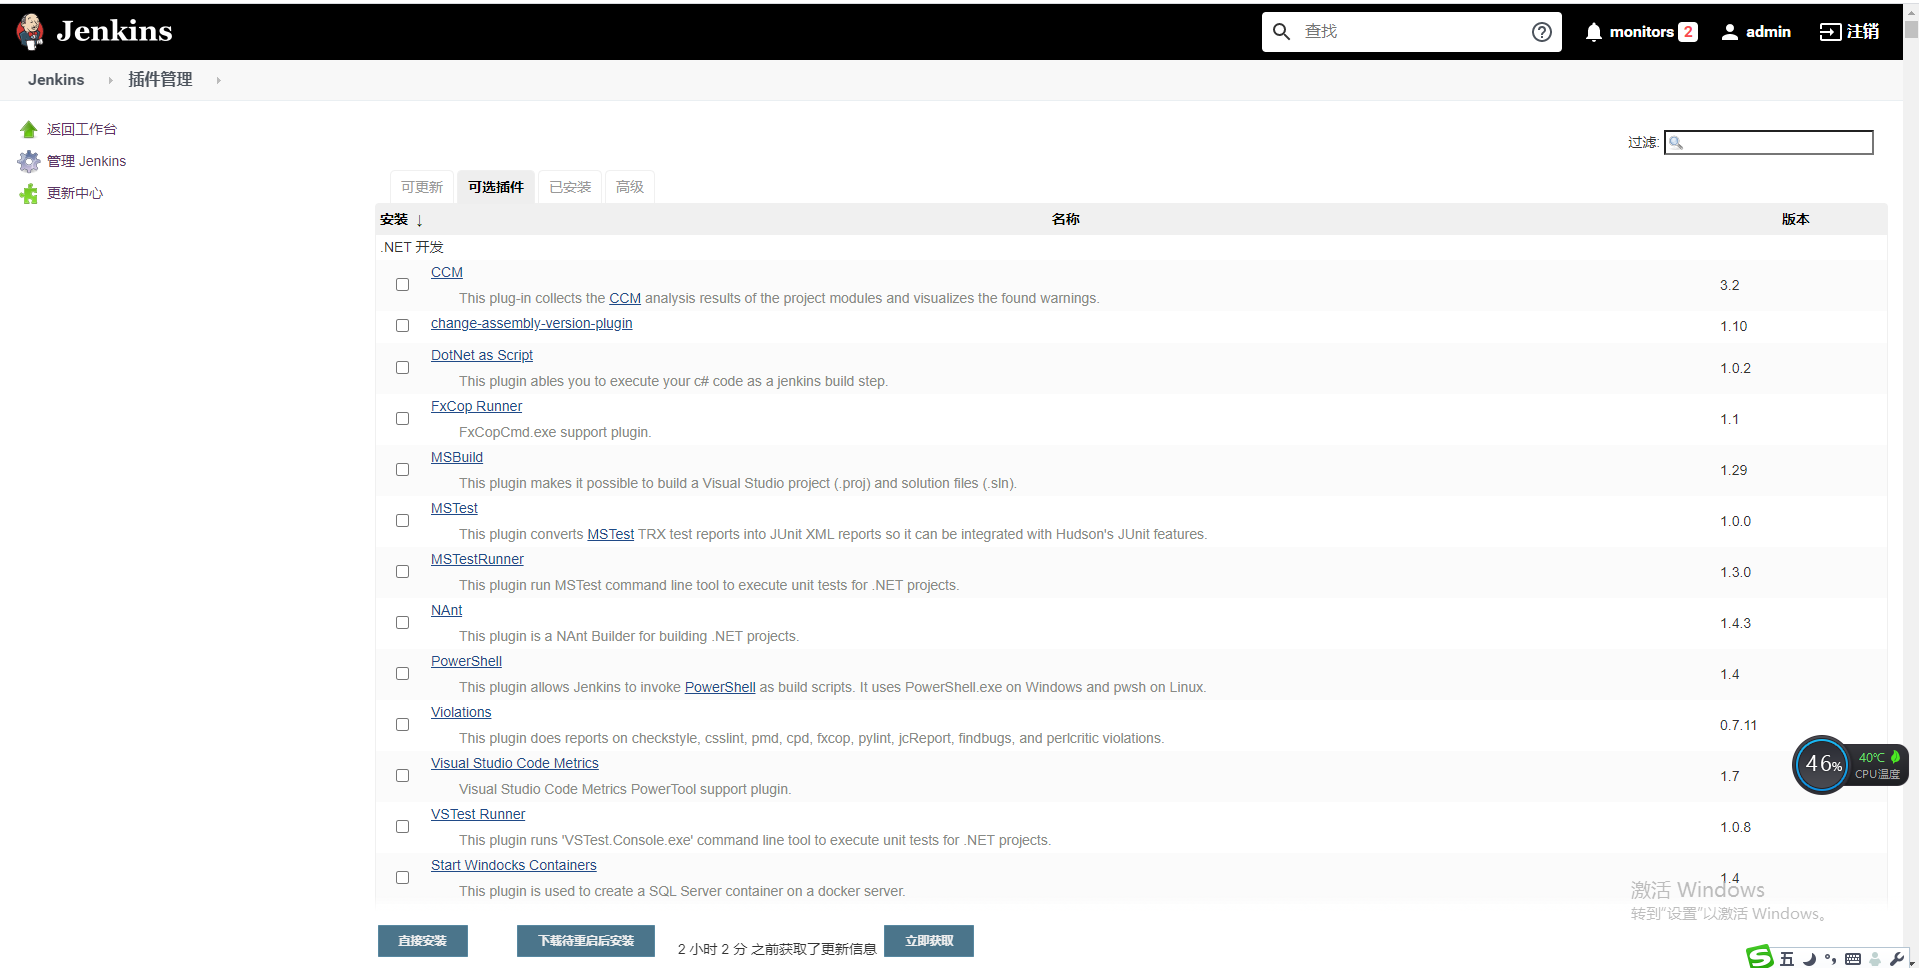
Then search for the following plug-in names:
- Blue Ocean (nice interface)
- Pipeline (pipeline plug-in)
- Dingtalk (pin message)
Script pipeline
First, write a more general script, which mainly includes the nailing message and approval function
/**
 * Get the list of project modules
 */
def static getModuleList() {
    return ['auth-service', 'config', 'gateway', 'monitor', 'registry', 'svca-service', 'svcb-service', 'zipkin']
}


/**
 * Send pin audit message
 * @param deployModuleName Deployed project name
 * @param packageSubmitter Application issuer
 * @param auditSubmitterDingTalkMobile Auditor's pin mobile number
 * @return
 */
def sendDingtalkAuditMsg(deployModuleName, packageSubmitter, auditSubmitterDingTalkMobile) {
    dingtalk(
            robot: dingTalkRobotId,
            type: 'ACTION_CARD',
            title: 'Approval notification message',
            text: [
                    'Approval reminder',
                    '---',
                    'How are you? You have an approval reminder to release the project!',
                    "- Module name: ${deployModuleName}",
                    "- Sponsor: ${packageSubmitter}"
            ],
            btns: [
                    [
                            title    : 'Go to approval',
                            actionUrl: 'https://www.dingtalk.com/'
                    ],
                    [
                            title    : 'Not to be dealt with',
                            actionUrl: 'https://www.dingtalk.com/'
                    ]
            ],
            at: [auditSubmitterDingTalkMobile]
    )
}
/**
 * Publish notification of successful deployment
 * @param deployModuleName Module name
 * @param packageSubmitter Employer
 * @param aduitInputResult Reviewed by
 */
def sendDeploySuccessDingtalkMsg(deployModuleName, packageSubmitter, aduitInputResult) {
    dingtalk(
            robot: dingTalkRobotId,
            type: 'MARKDOWN',
            title: 'Deployment completion notification',
            atAll: true,
            text: [
                    'Deployment completion notification',
                    '---',
                    "Hello, everyone!",
                    "- Module name: <font color=blue>${deployModuleName}</font>",
                    "- Sponsor: ${packageSubmitter}",
                    "- Approved by: ${aduitInputResult}",
                    "",
                    "Deployment completed"
            ]
    )
}

pipeline {
    agent any

    environment {
        //Package input box results
        packageInputResult = ''
        //Approval input box results
        aduitInputResult = ''
        packageSubmitter = 'puhaiyang'
        auditSubmitter = 'puhaiyang'
        dingTalkRobotId = 'ffc31242-2293-4b85-a30c-36797b844966'
        auditSubmitterDingTalkMobile = '15700352233'
        moduleList = getModuleList()
    }

    stages {
        stage('pack') {
            steps {
                script {
                    //List of deployed modules
                    packageInputResult = input id: 'Test_deploy_001', message: 'Please select the module to be published', ok: 'determine',
                            parameters: [choice(choices: moduleList, description: 'Please select the deployed project', name: 'deployModuleName')],
                            submitter: "${packageSubmitter}", submitterParameter: 'packageSubmitter'
                }
                echo "${packageInputResult.deployModuleName} will deploy!!!"
            }
        }

        stage('Approval') {
            steps {
                //Send a notice to inform the approver that a new task needs to be approved
                sendDingtalkAuditMsg(packageInputResult.deployModuleName, packageInputResult.packageSubmitter, auditSubmitterDingTalkMobile)
                script {
                    aduitInputResult = input message: "Confirm release ${packageInputResult.deployModuleName}Module?",
                            ok: 'determine', submitter: "${auditSubmitter}", submitterParameter: 'auditSubmitter'
                }
                echo "${aduitInputResult}Audit completed"
            }
        }

        stage('release') {
            steps {
                //TODO executes publishing script; SH SSH - I / data / keys / mykeys test@192.168.6.66  "~/helm- deploy.sh  registry"
                echo "${packageInputResult.deployModuleName}Finished Publishing"
                //After publishing, inform everyone that the publishing is finished
                sendDeploySuccessDingtalkMsg("${packageInputResult.deployModuleName}", "${packageInputResult.packageSubmitter}", "${aduitInputResult}")
            }
        }
    }
}
Create a pipeline project
After the above plug-ins are installed, create a pipeline project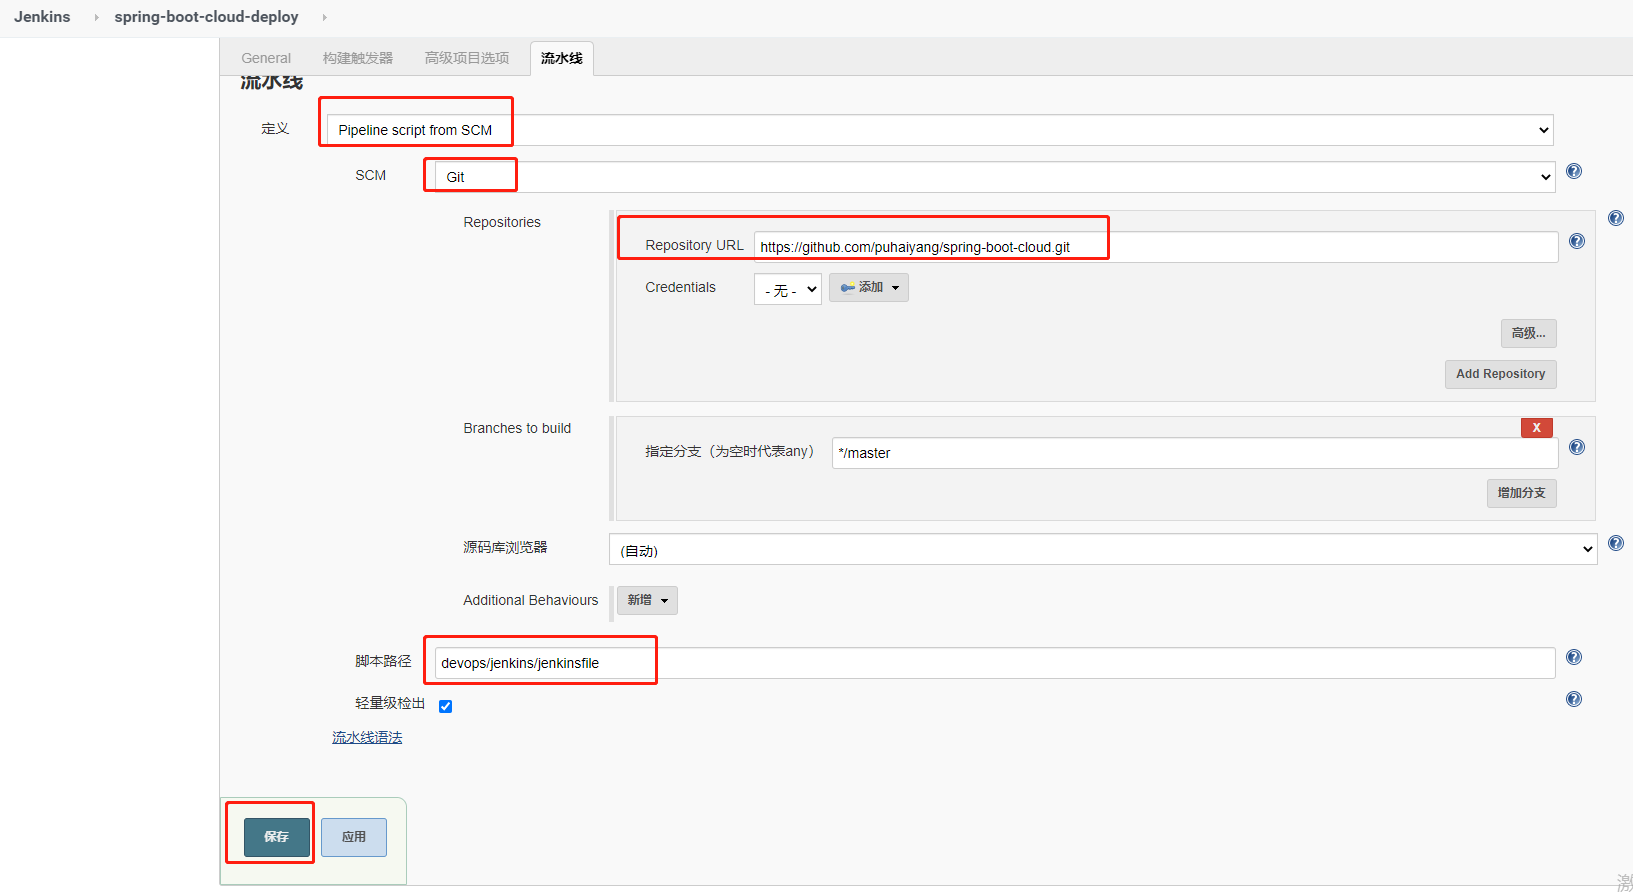
There are two ways to configure the pipeline script
- One is to directly paste the pipeline script into the frame
- The other is to configure a warehouse address, and jenkins will automatically pull the address from the configured address every time it runs (more flexible, the same as writing code, which is used in this article)
Fill in the git address in the Repository URL, as shown here:
https://github.com/puhaiyang/spring-boot-cloud.git
Fill in the path of jenkinsfile at the script path( https://github.com/puhaiyang/spring-boot-cloud/blob/master/devops/jenkins/jenkinsfile ), as I have here:
devops/jenkins/jenkinsfile
Run view effect
After filling in, click Build Now
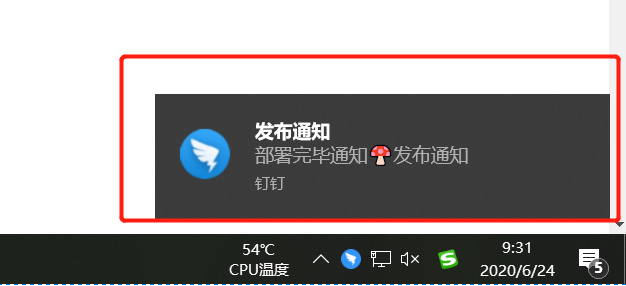
Take another screenshot of the nail notice
And this lovely little mushroom: