catalog
1. HD reproduction
The code function written in the previous several articles is more from the technical level, to get through the business logic needed by the website, but not how to consider the appearance style and code structure of the web page. At the same time, I think it's difficult to add more functions and styles on this basis because the code structure is too messy.
So I started from scratch, wrote the entire express framework, and wrote a high-definition remake with angular. In terms of style, bootstrap is not used. On the one hand, it feels that bootstrap still needs some css foundation. On the other hand, it is very convenient to use flex handwriting layout, which can basically meet all the needs, and is more flexible. You can know the impact of each attribute on html elements.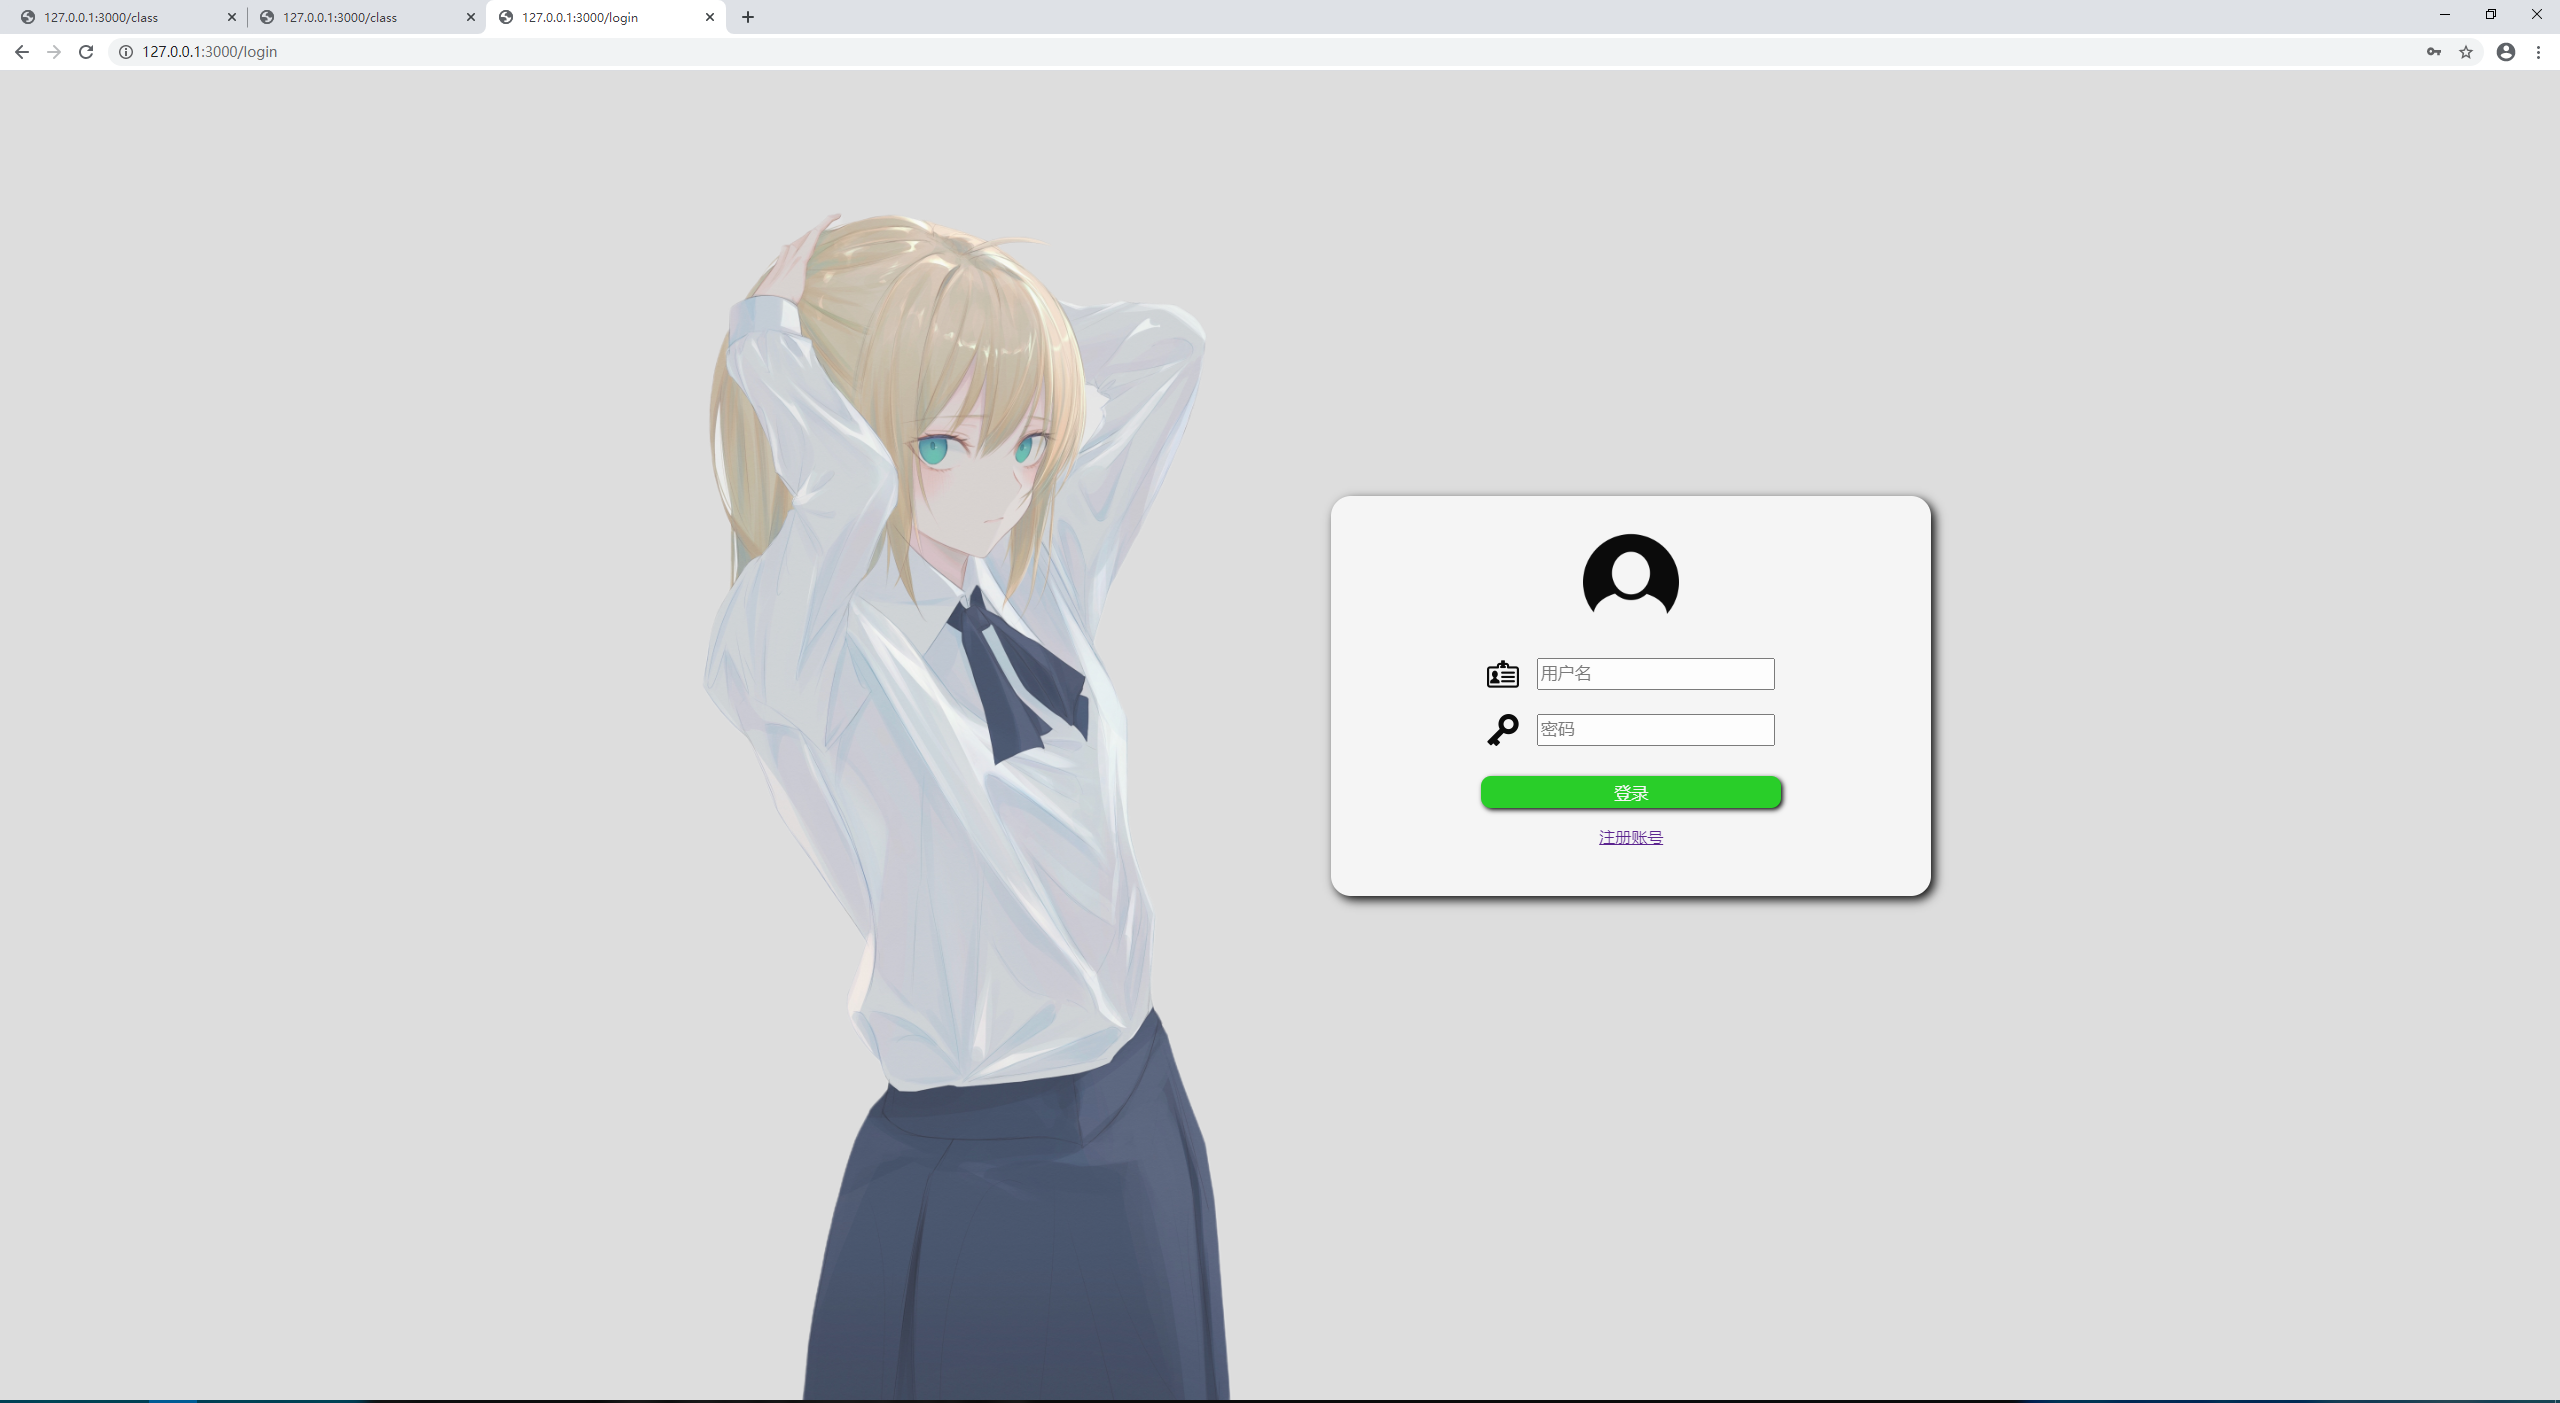
Most of the technical logic has been reflected in the first two blogs. If you need some styles, you can also directly read the code, which will not be covered here.
Say some of the more experienced points and pits in the process of remaking.
1. Re understanding of Express
There is a sentence in the express document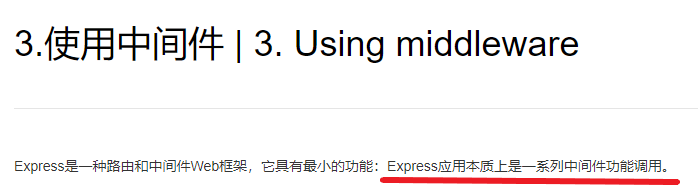
The so-called middleware refers to the use of app.use Some of the parts called are built-in to express, and some are customized. In my opinion, middleware can only be understood as a way to process http requests. As long as the address of this http request is satisfied app.use The first parameter of the (default is' / '), the middleware of the second parameter will be called.
From the router used frequently before:
router.get('/',function(req,res,next){
    res.send('hello~');
})
This code is easy to understand. As long as the get request is received under this route, the response of 'hello ~' will be returned to the page. It can be said that function(req,res,next) is a middleware and a component "called" after receiving a request.
So it can be understood with this idea app.use , the difference is app.use It is not limited to get requests but can accept any type of http request. At the same time, express.Router() itself can be in the main program app.js Used as a middleware:( express.Router() is a built-in routing middleware, which essentially helps us separate code according to different paths.)
var indexRouter = require('./router/index.js');
app.use(indexRouter);//The default value of the first parameter is' / '
Some middleware is just to introduce a certain function. In the words of the document, this middleware is not a function call, but a "enable" meaning, such as enabling the back-end to parse req.body :
//Used to parse req.body , corresponding to application/json and application / x-www-form-unlincoded respectively
app.use(express.json());
app.use(express.urlencoded({ extended: false }));
Some third-party middleware can have various other functions, such as:
//Print and record request information
app.use(logger('dev'));
//Enable pass req.cookies Get cookies
app.use(cookieParser());
Others are responsible for responding to http requests. Usually we define some middleware. In order to keep the code clean and clear, we usually put these Middleware in the router and then use the routing middleware express.Router() execution.
It is worth mentioning that the http request includes not only the direct access to the URL, but also the indirect access to the src attribute in the html element. A get request for the home page may contain many requests, including css style, script code, various image resources, etc. introduced by html. For example, I visited the home page once, and nine get requests actually occurred: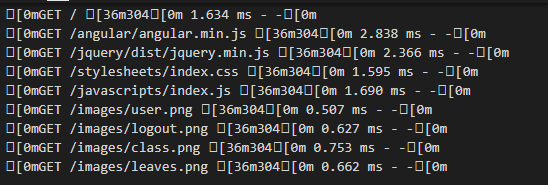
For every get request, whether directly or indirectly, it will go through the middleware. In order to find these static resources, you need to use express.static() this middleware sets the path of static resources (which can be understood as redirection).
app.use(express.static(path.join(__dirname+'/public')));
app.use('/angular',express.static(path.join(__dirname+'/node_modules/angular')));
app.use('/jquery',express.static(path.join(__dirname+'/node_modules/jquery')));
This is my understanding of middleware.. In fact, understanding middleware is equivalent to understanding the express framework itself. When writing express, you often find problems that you haven't encountered before (for example, they can't be used req.body Get post request data, can't use req.cookie s After half a day's tossing, it was found that no corresponding middleware was introduced. So this process can deepen the understanding of the role of middleware, understand what functions each middleware corresponds to, how these functions work, and then understand why to write this middleware. On this basis, it will be much easier to look at the attributes and methods of the request and response of various custom Middleware in the document.
reference:https://www.expressjs.com.cn/4x/
2. The problem of angular scope and automatic synchronization
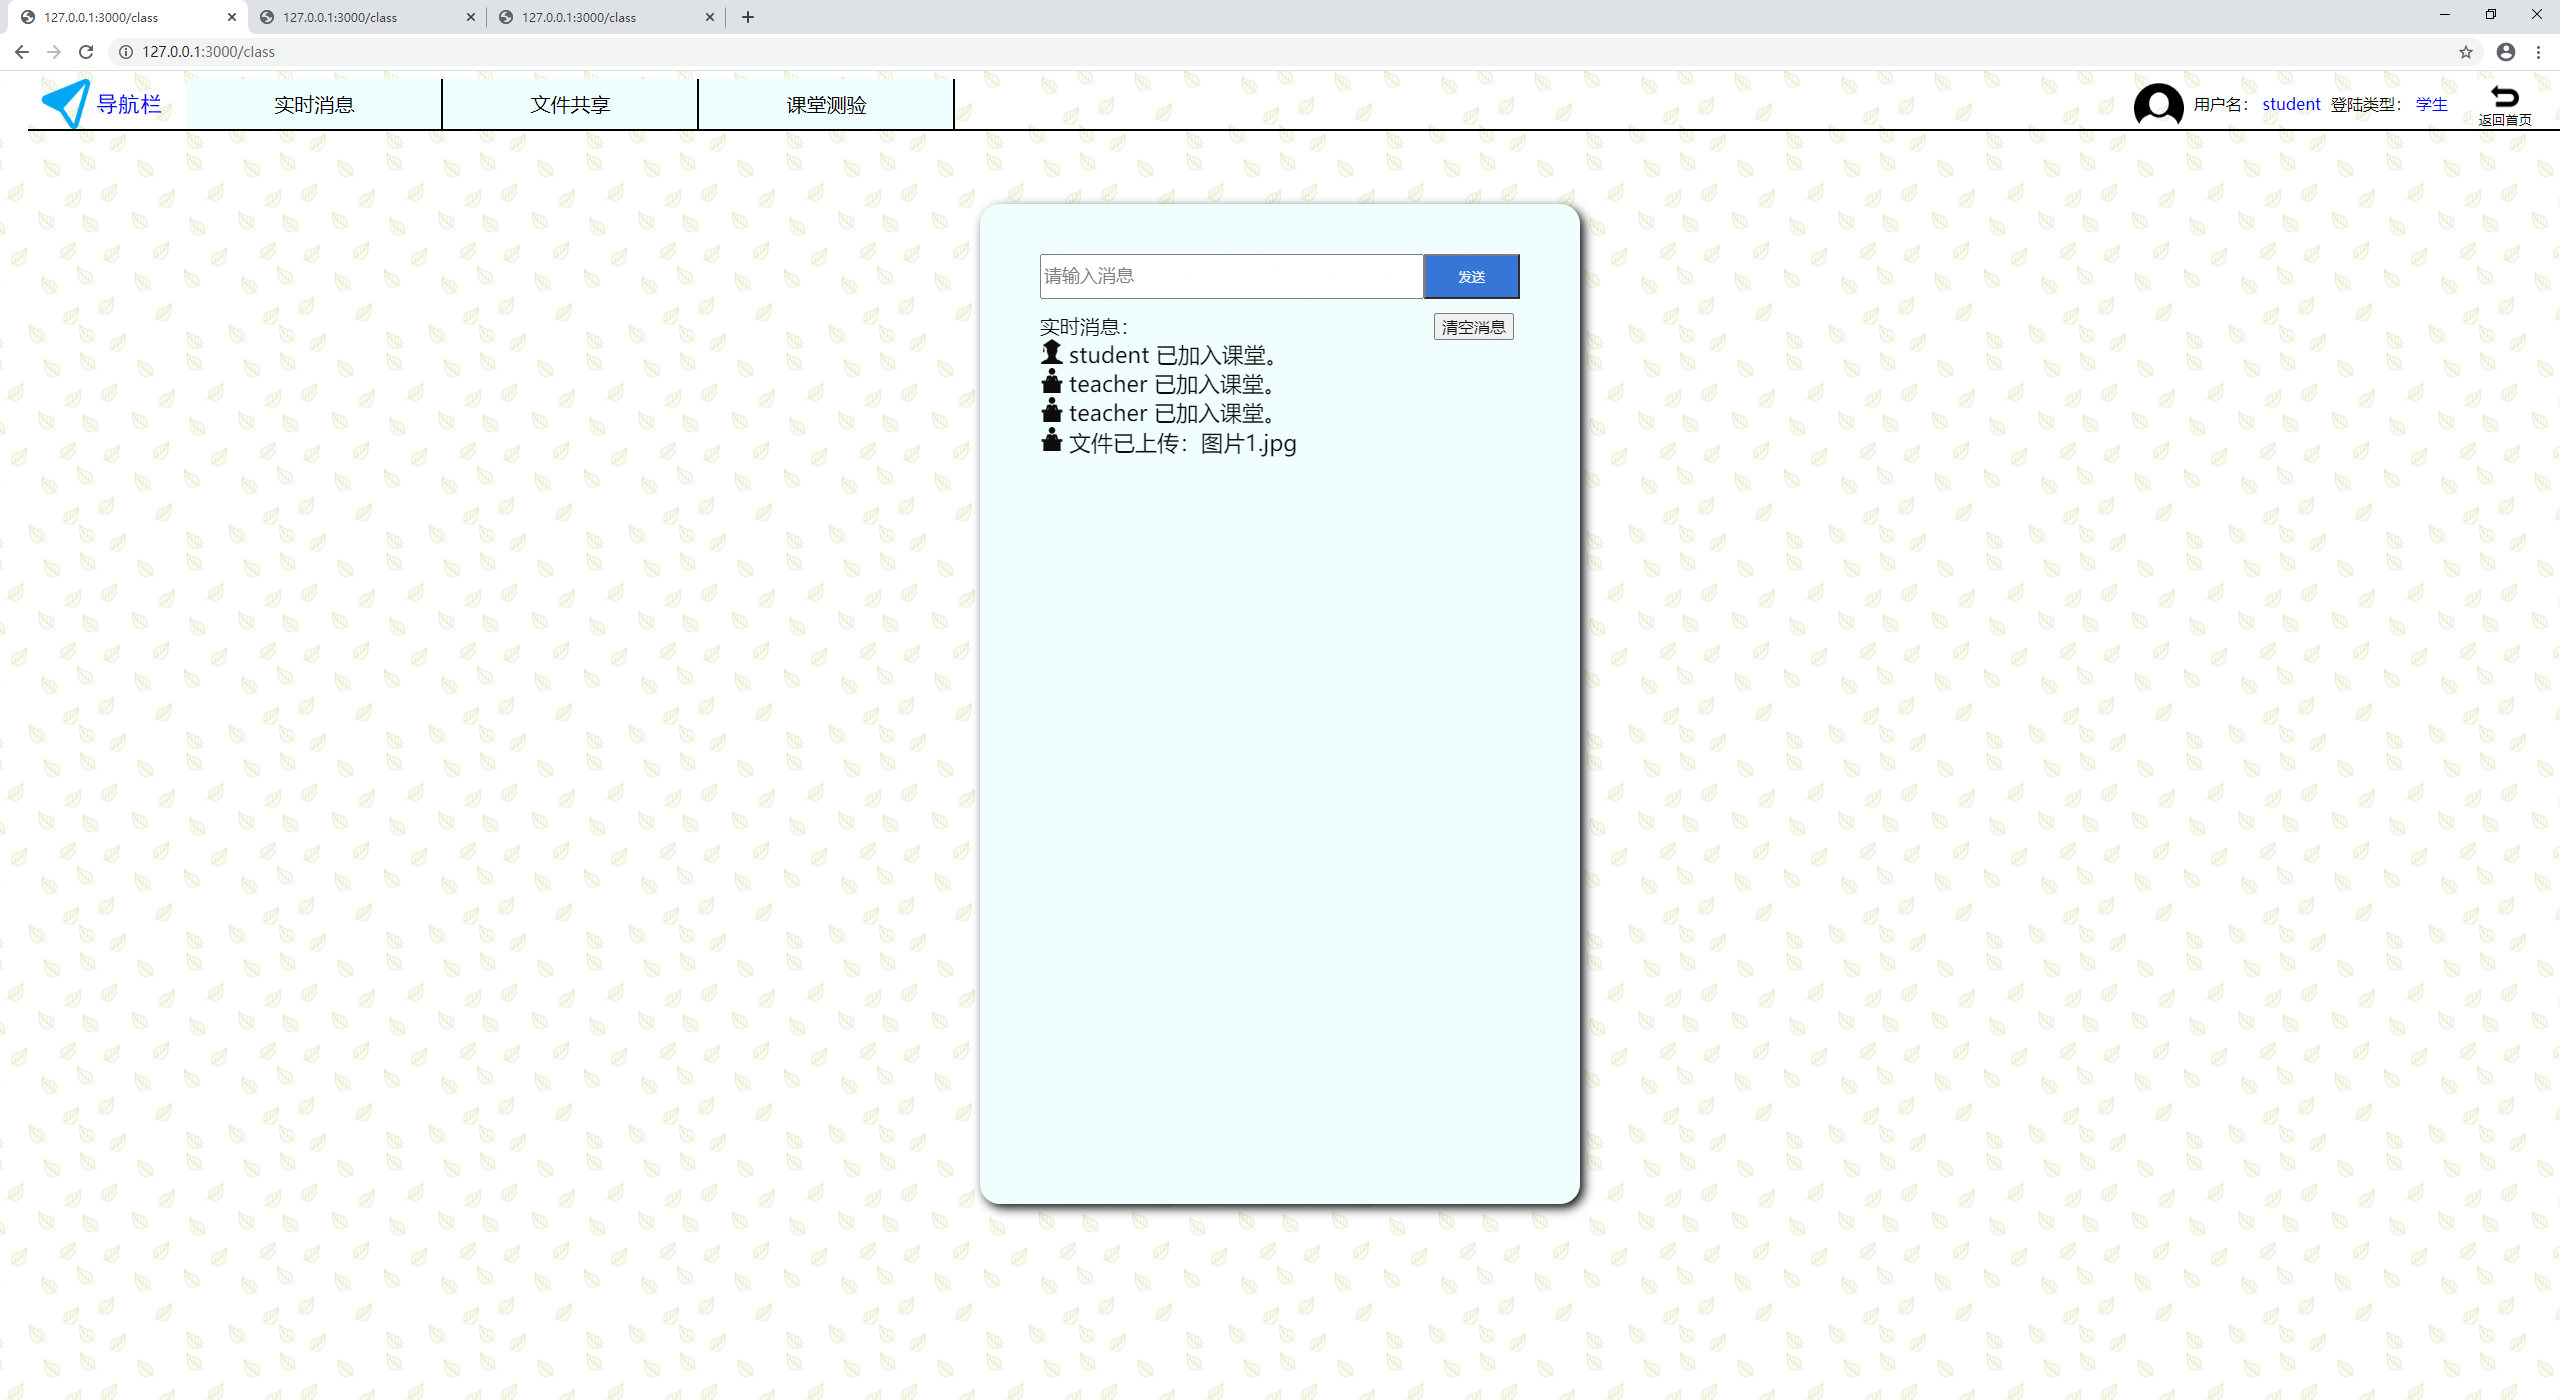
This is the navigation bar of my classroom page
Using angular, I thought of a more elegant writing method when writing the classroom page, which can realize the page switching and ensure that the data of each page can be updated in real time.
<div ng-include="'html/chat.html'" class='container' ng-show="chatIsShow"></div>
<div ng-include="'html/file.html'" class='container' ng-show="fileIsShow"></div>
<div ng-include="'html/problem.html'" class='container_problem' ng-show="problemIsShow"></div>
That is to say, three pages are introduced through ng include and placed in the class page at the same time. Use ng show to control page visibility and ensure that only one page is displayed at the same time, and the other two pages are hidden. In this way, even if I currently display the "classroom test" page, the "real-time message" page still exists, and the content can still change normally. When users switch over, they can see the real-time messages in this period.
However, there is a problem. In ng include, variables bound through ng model cannot be captured normally in class.
for instance chat.html An input element of
<input class='message_input' ng-model="chatMessage" type='text' placeholder="Please enter a message">
Usually$ scope.chatMessage You can get the contents of this input box, but not now. Later, I checked that the reason why I couldn't catch it was because there was a ng include outside. In angular, ng include (including ng repeat, ng switch, ng view, ng controller) actually creates a new scope, which is out of the scope of $scope in class. The solution is to add $parent before chatmessage, because this new scope inherits from the parent scope. You can use $parent to call the parent scope ($parent is a reference from the child scope to the parent scope), that is, bind the input content to the class scope.
<! -- $parent solves the sub page scope problem, otherwise the data cannot be updated in real time -- >
<input class='message_ input' ng-model="$ parent.chatMessage "Type ='text 'placeholder =" please enter message ">
At the same time, there is also a small problem. The angular ng model binding can be automatically synchronized, that is, after changing the variable value, the content displayed in the page will change synchronously. However, this feature is sometimes lost after a layer of NG include is applied.. Preliminary speculation is also due to the change of scope. The solution is also very simple. Every time you change the value of a variable, you can use the scope.scope.scope.apply() manually propagates the model change (i.e. update the page).
After these two problems are solved, a concept called "angular scope" is naturally introduced. Although there is no other understanding for the time being, most problems can be solved by tracking parent-child relationship with $parent.
3. A way to write html page
In fact, I think it's more tired to write html than js.. But I have to write.. I think a good html code should try to do the following:
- Front, back, style separation
- Every page structure (such as a row) should be contained in a block (such as a < div >), while minimizing redundant parent elements (for style design)
- Pattern reuse rate as high as possible
- The naming of class and id has a certain level of logic (but not too complex). The same class controls the same style to ensure that the id is unique and easy to get with getElementById
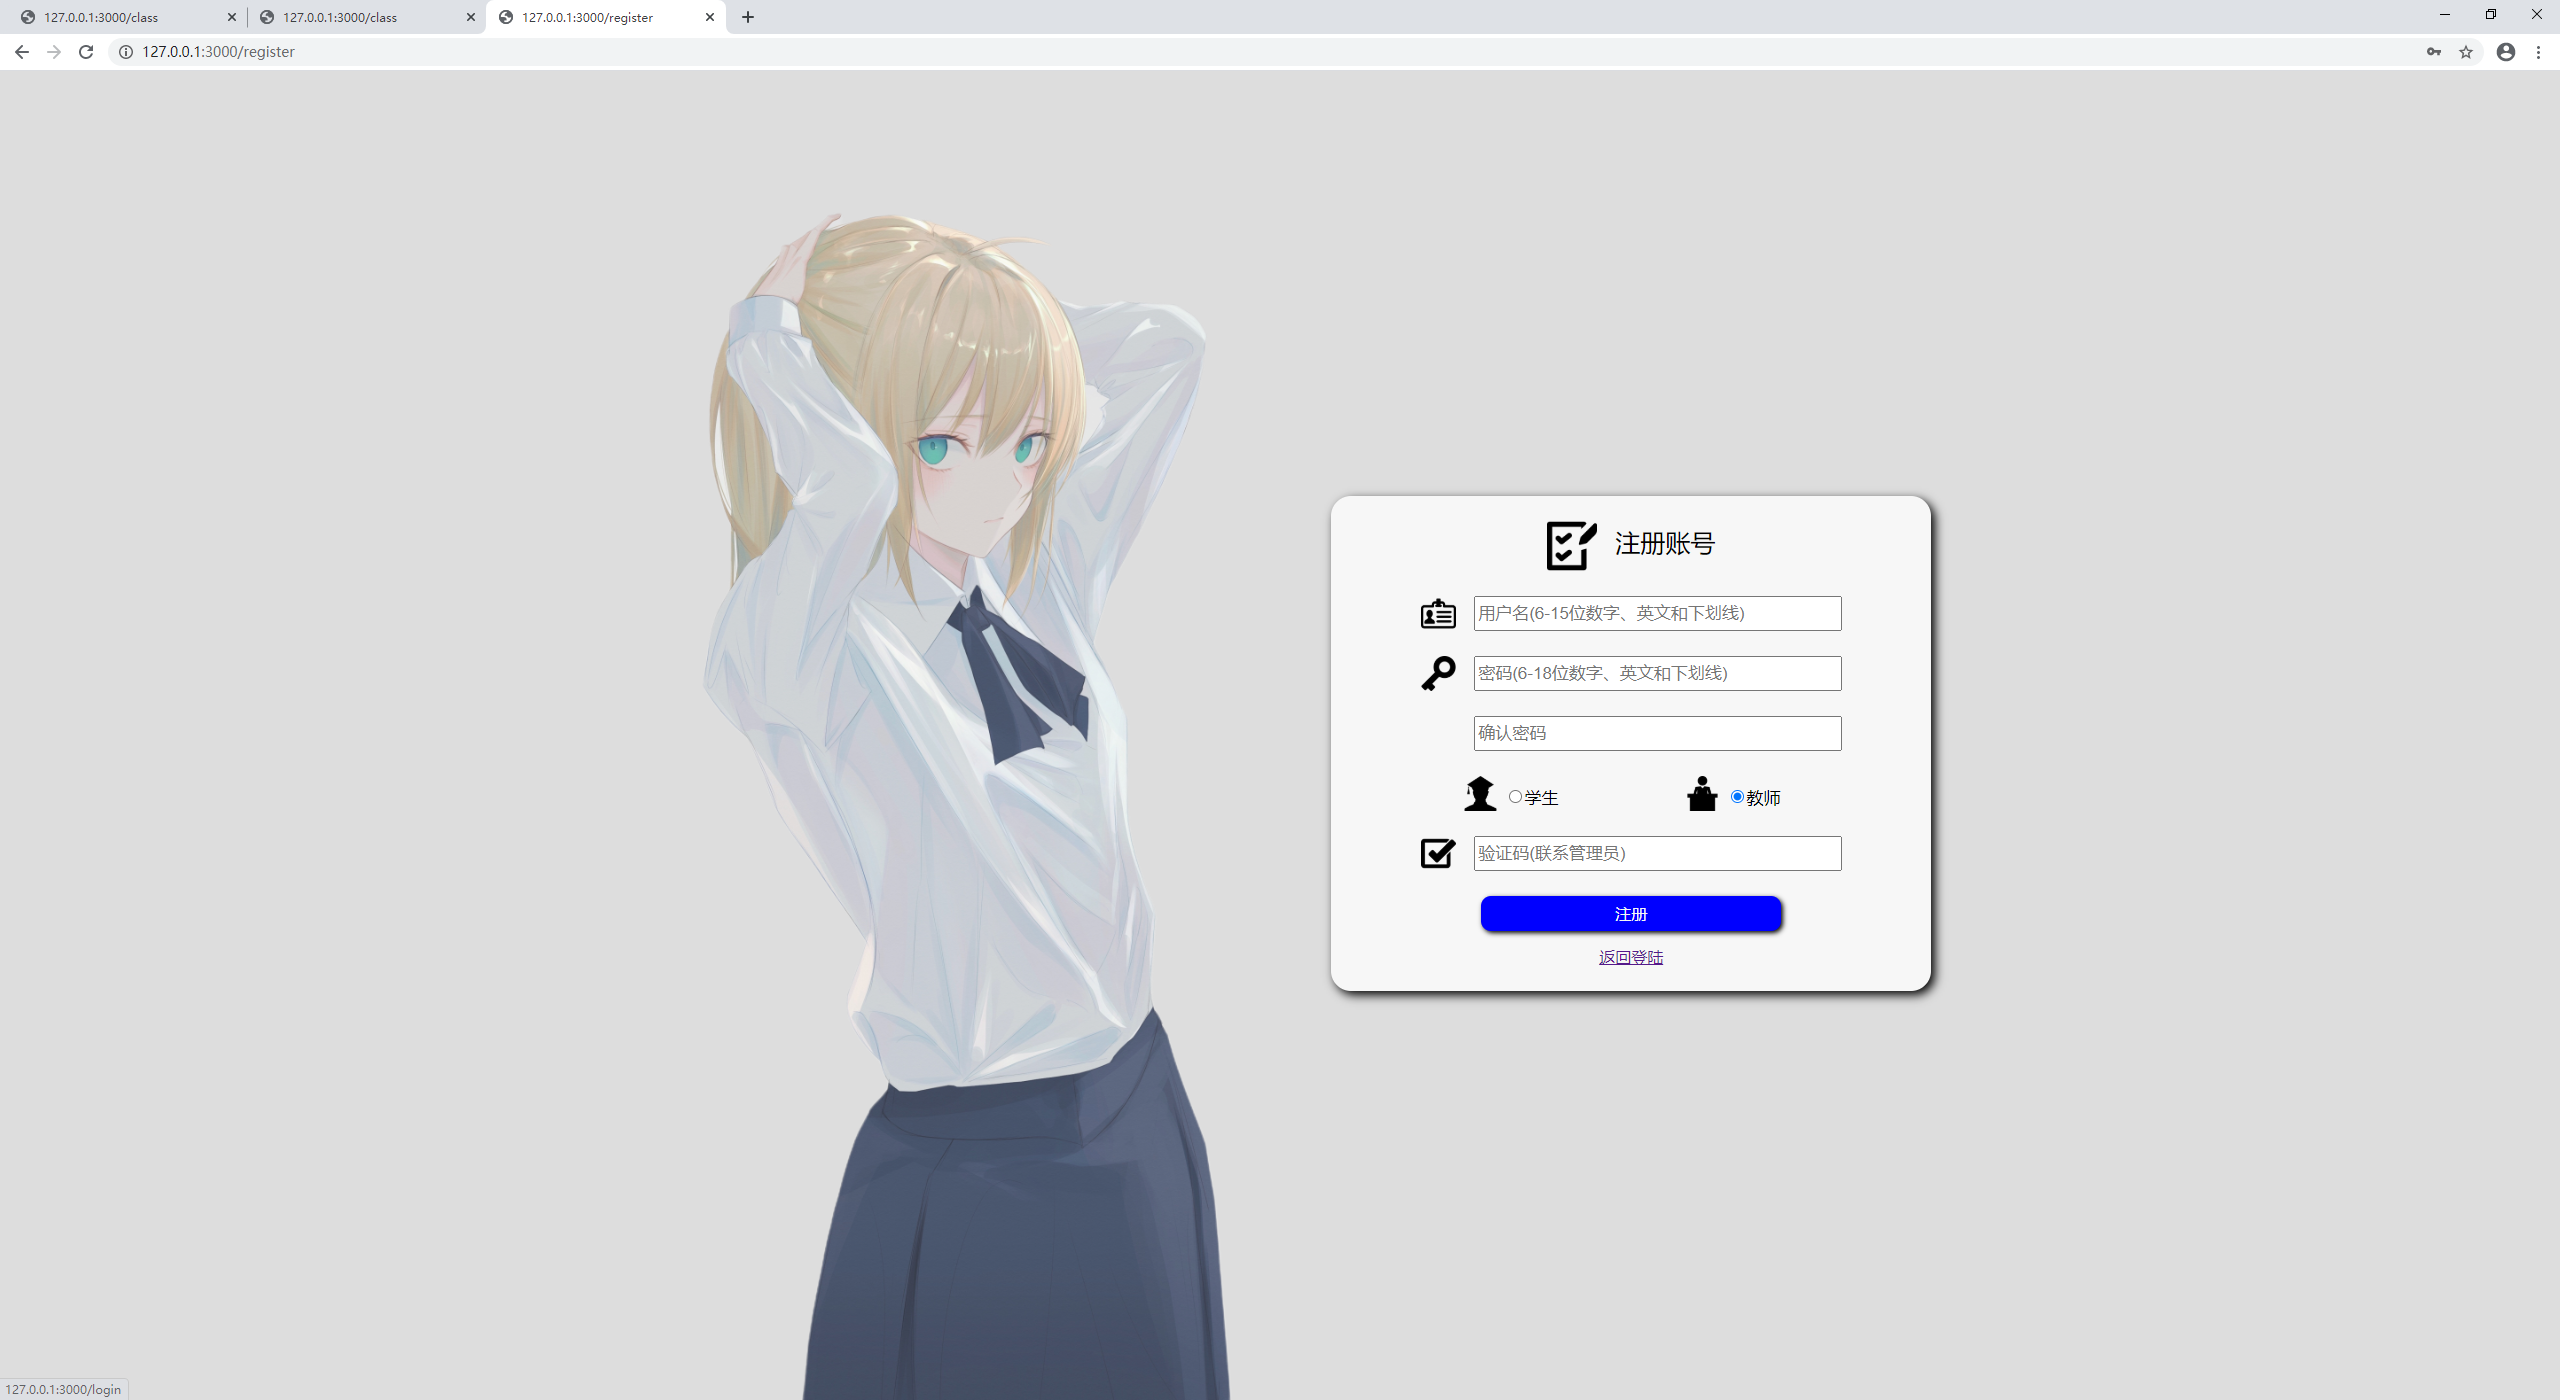
For example, if I want to design the following interface: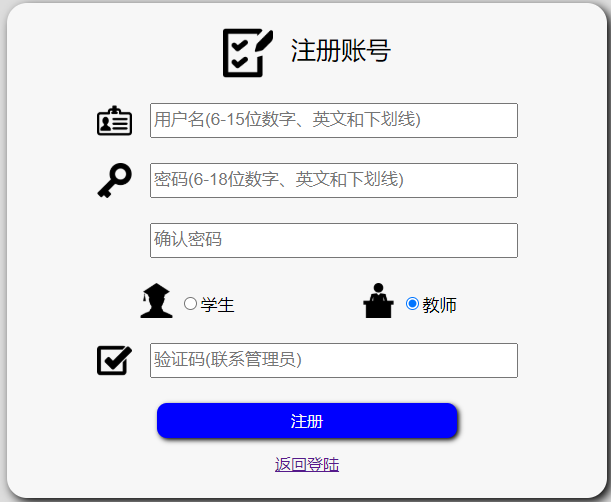
First of all, roughly layer the rows to find the rows with the same style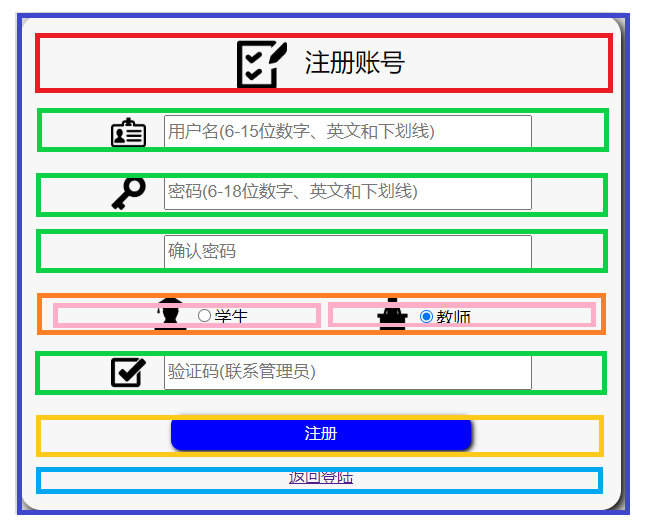
Then write out the overall framework with < div > and set the class attribute to set the same row to the same class
<div class='container'>
    <div class='title_row'>
    </div>
    <div class='input_row'>
    </div>
    <div class='input_row'>
    </div>
    <div class='input_row'>
    </div>
    <div class='input_row'>
        <div class='identify_div'>
        </div>
        <div class='identify_div'>
        </div>
    </div>
    <div class='input_row'>
    </div>
    <div class='button_row'>
    </div>
    <div class='return_row'>
    </div>
</div>
In this way, it is easier to solve the problem of style after the overall framework is determined first, and even if a certain part is written in a wrong way, it is only in the scope of <div>, and will not damage the overall thinking.
2. Realization of online test function
Steps to realize this function:
step1: [teacher user] enter the title description, options and correct items in the web page, and upload a multiple choice question
 step2: [student user] can answer after receiving the multiple choice question, and prompt whether the answer is correct or not after submitting, and return the answer to the teacher
 Step 3: [teacher user] can see two echarts charts reflecting the answers synchronously
The data exchange in the middle of each step (the middle bridge between the student side and the teacher side) is completed by the websocket server.
Next, I will sort out the logic and code according to the time sequence of a complete online test.
- On the class page, two div s are set, corresponding to the content seen by students and teachers respectively. Ng show is used to control visibility
<div ng-show='!isTeacher' class='container_student'>
</div>
<div ng-show="isTeacher" class='container_teacher'>
</div>
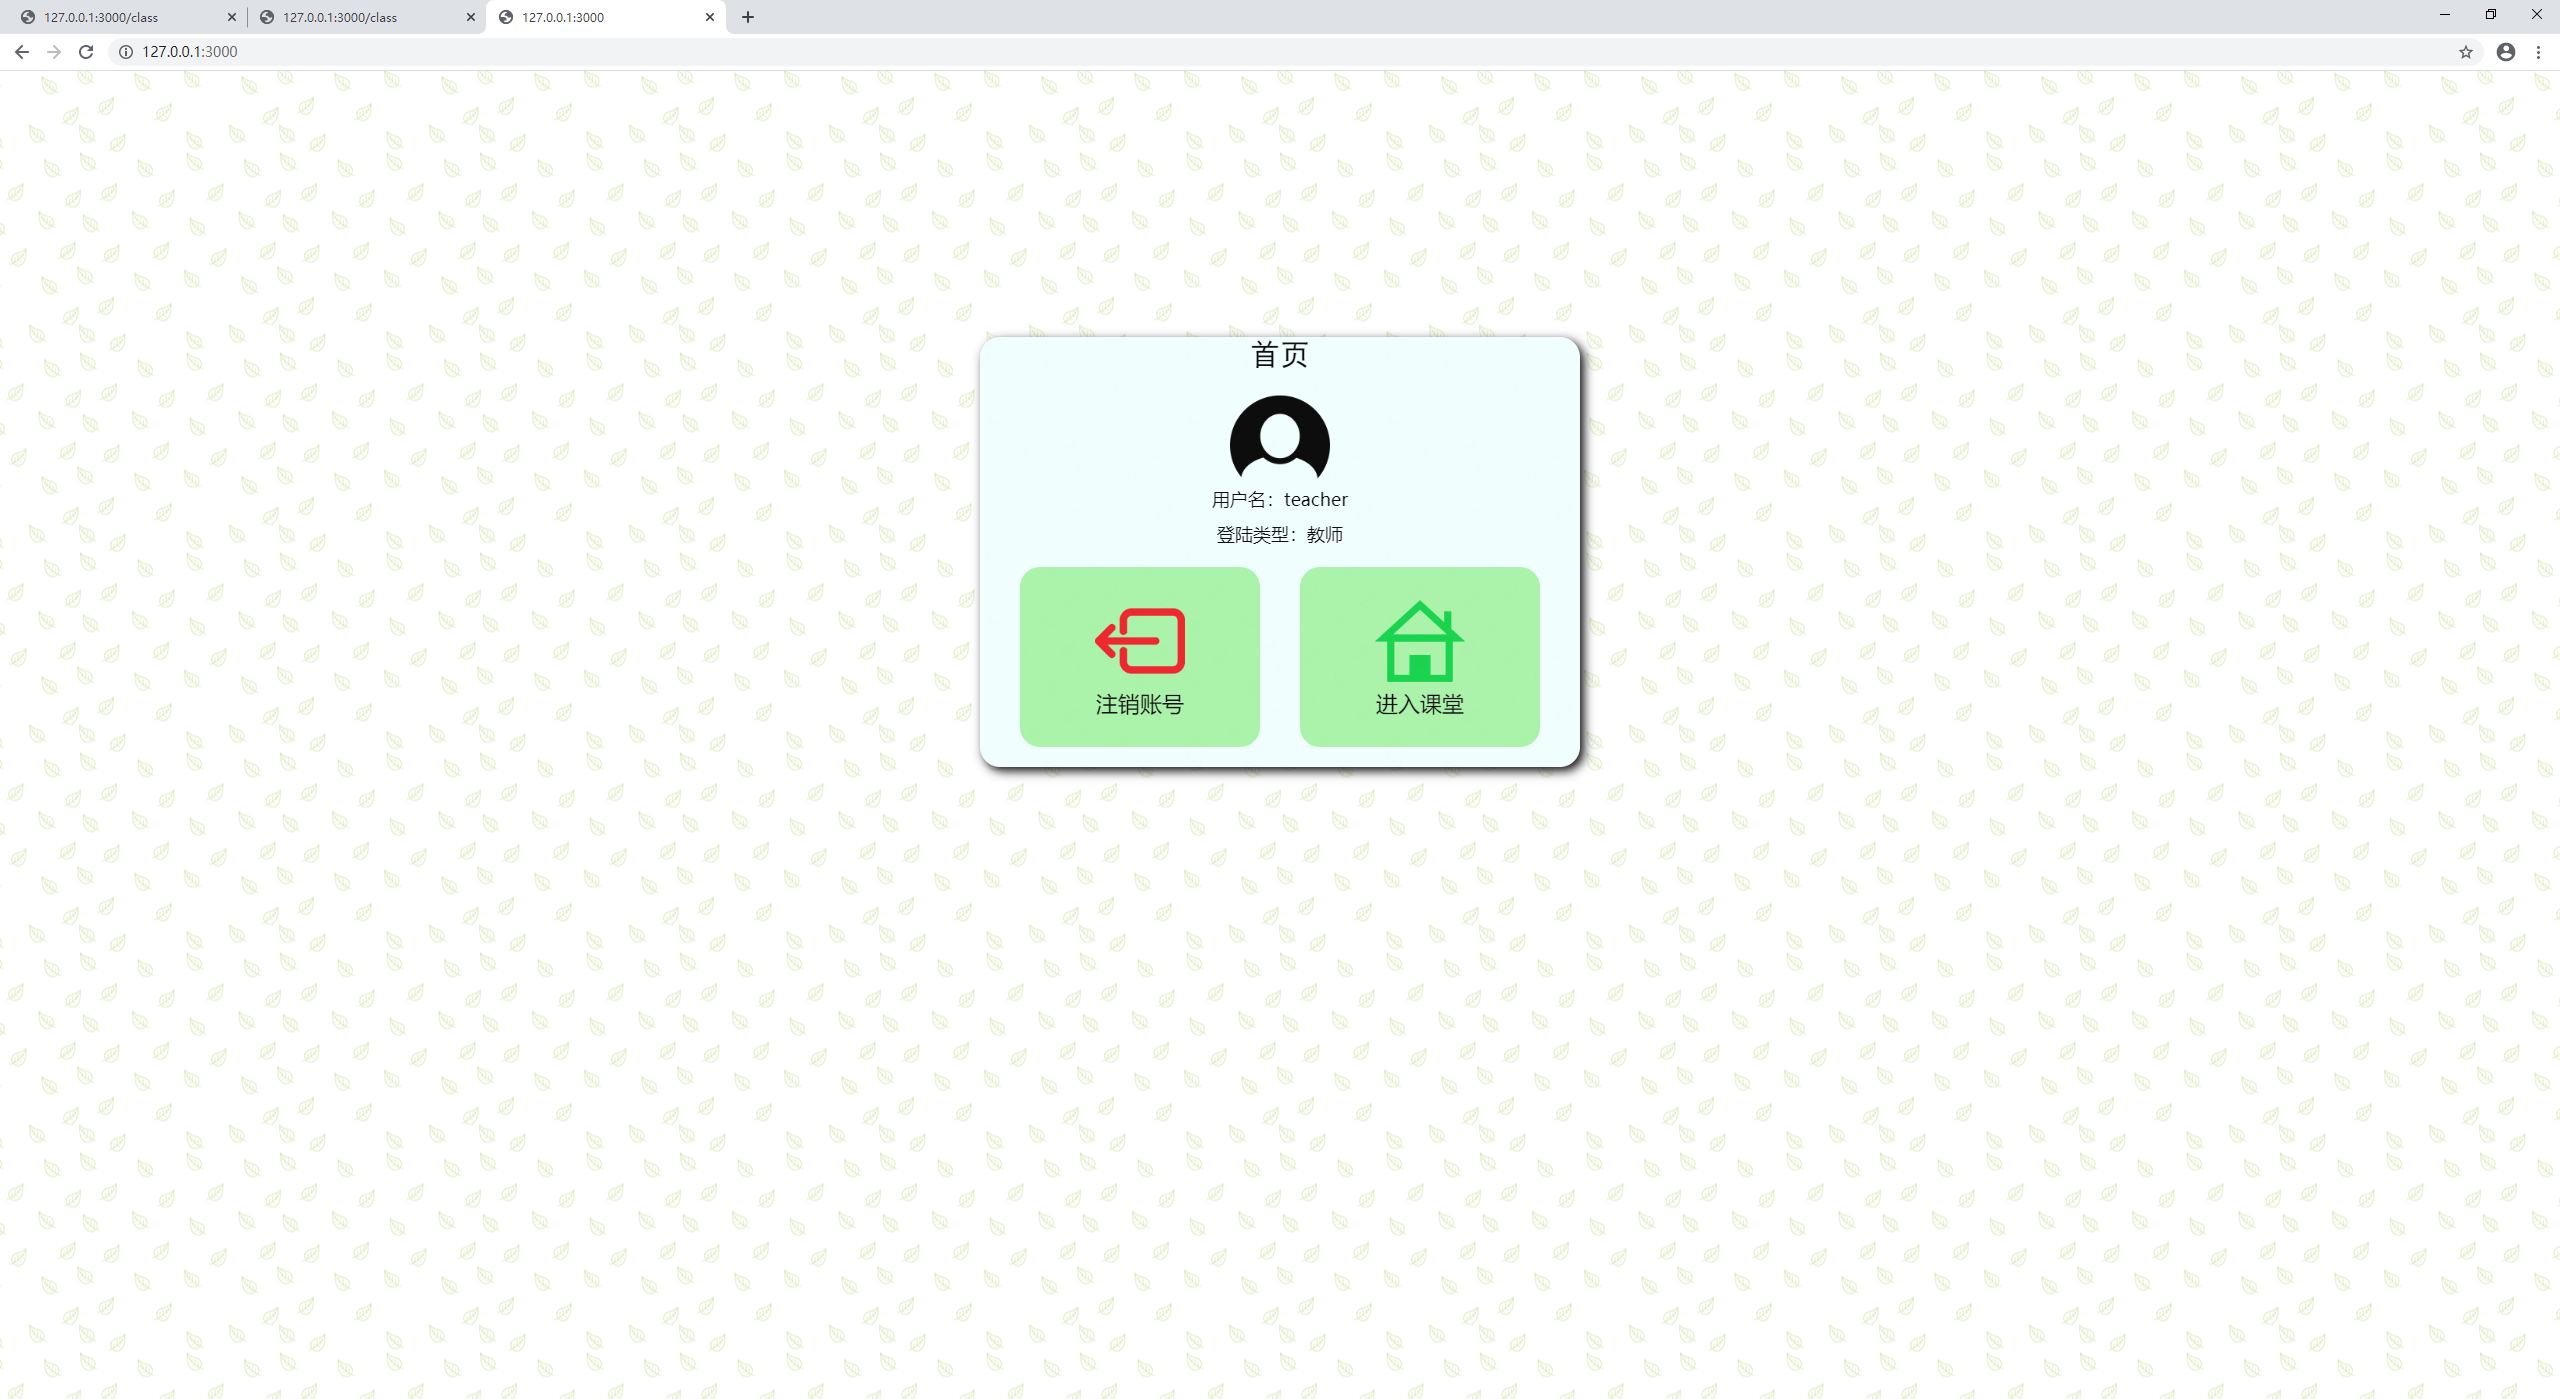
$ scope.isTeacher Initialization is completed when the classroom page is loaded, and the user identity is determined by reading the cookie
var loginType=getCookie('loginType')
if (loginType=='0') $scope.isTeacher = false;
else $scope.isTeacher = true;
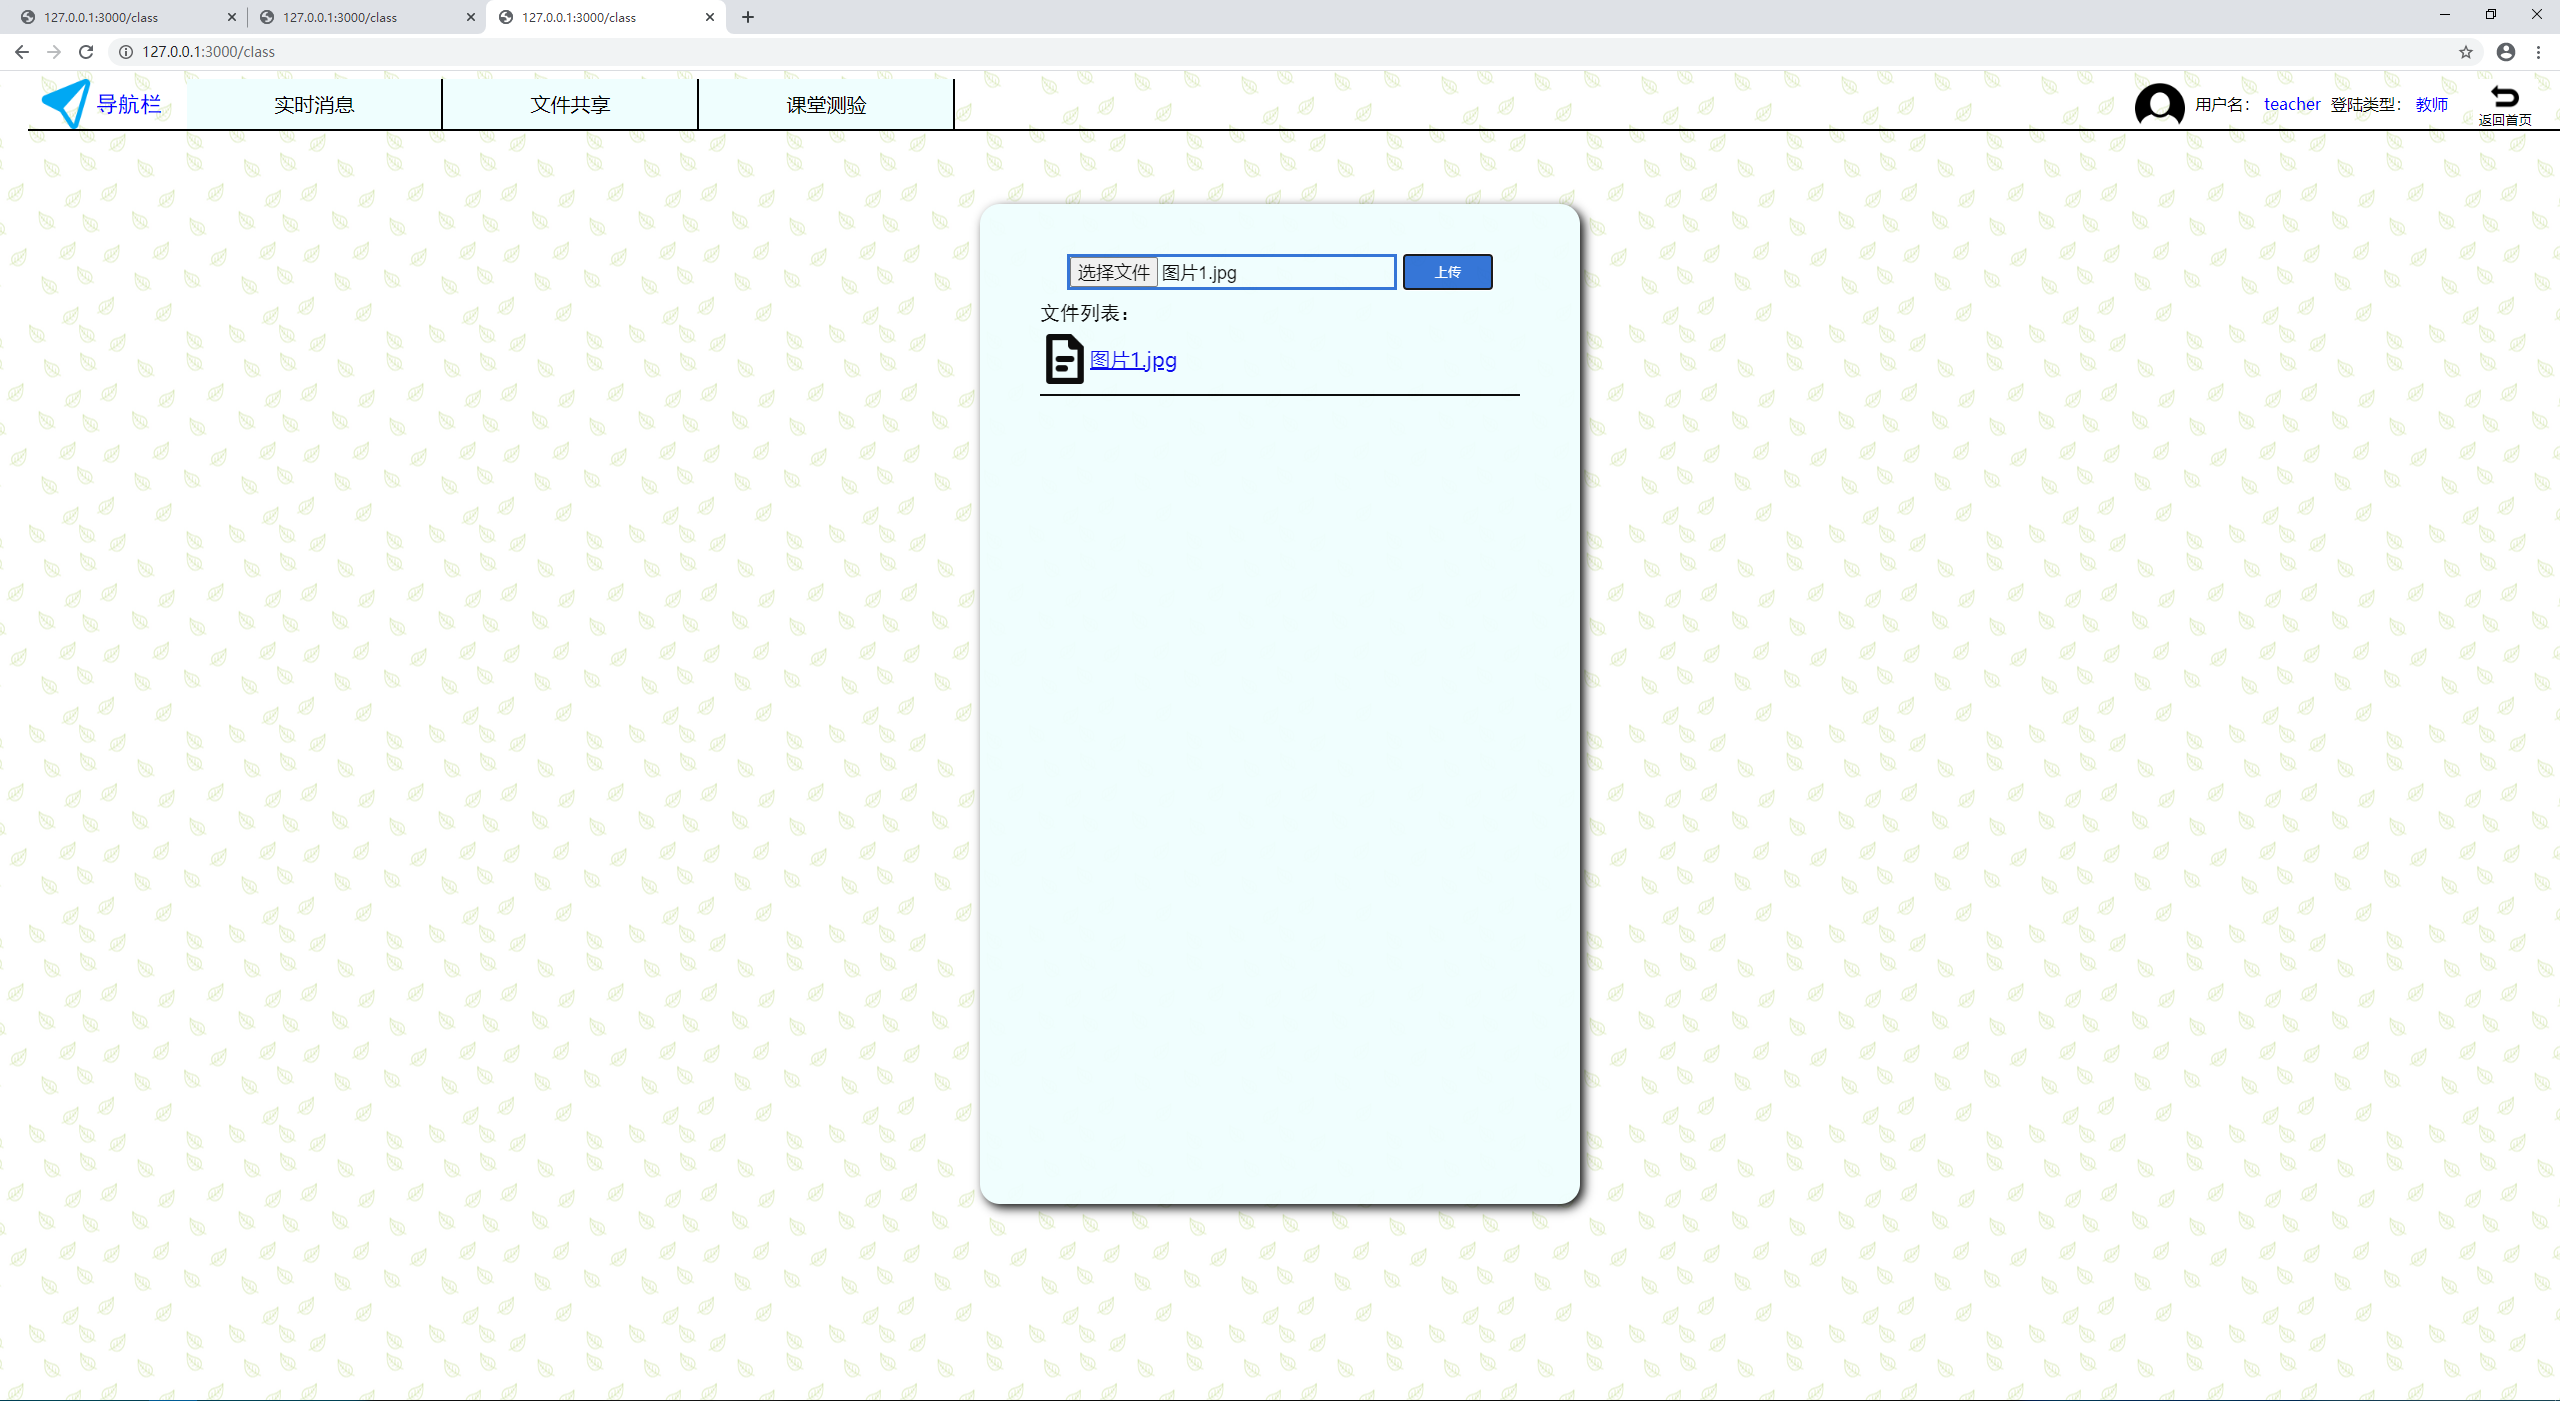
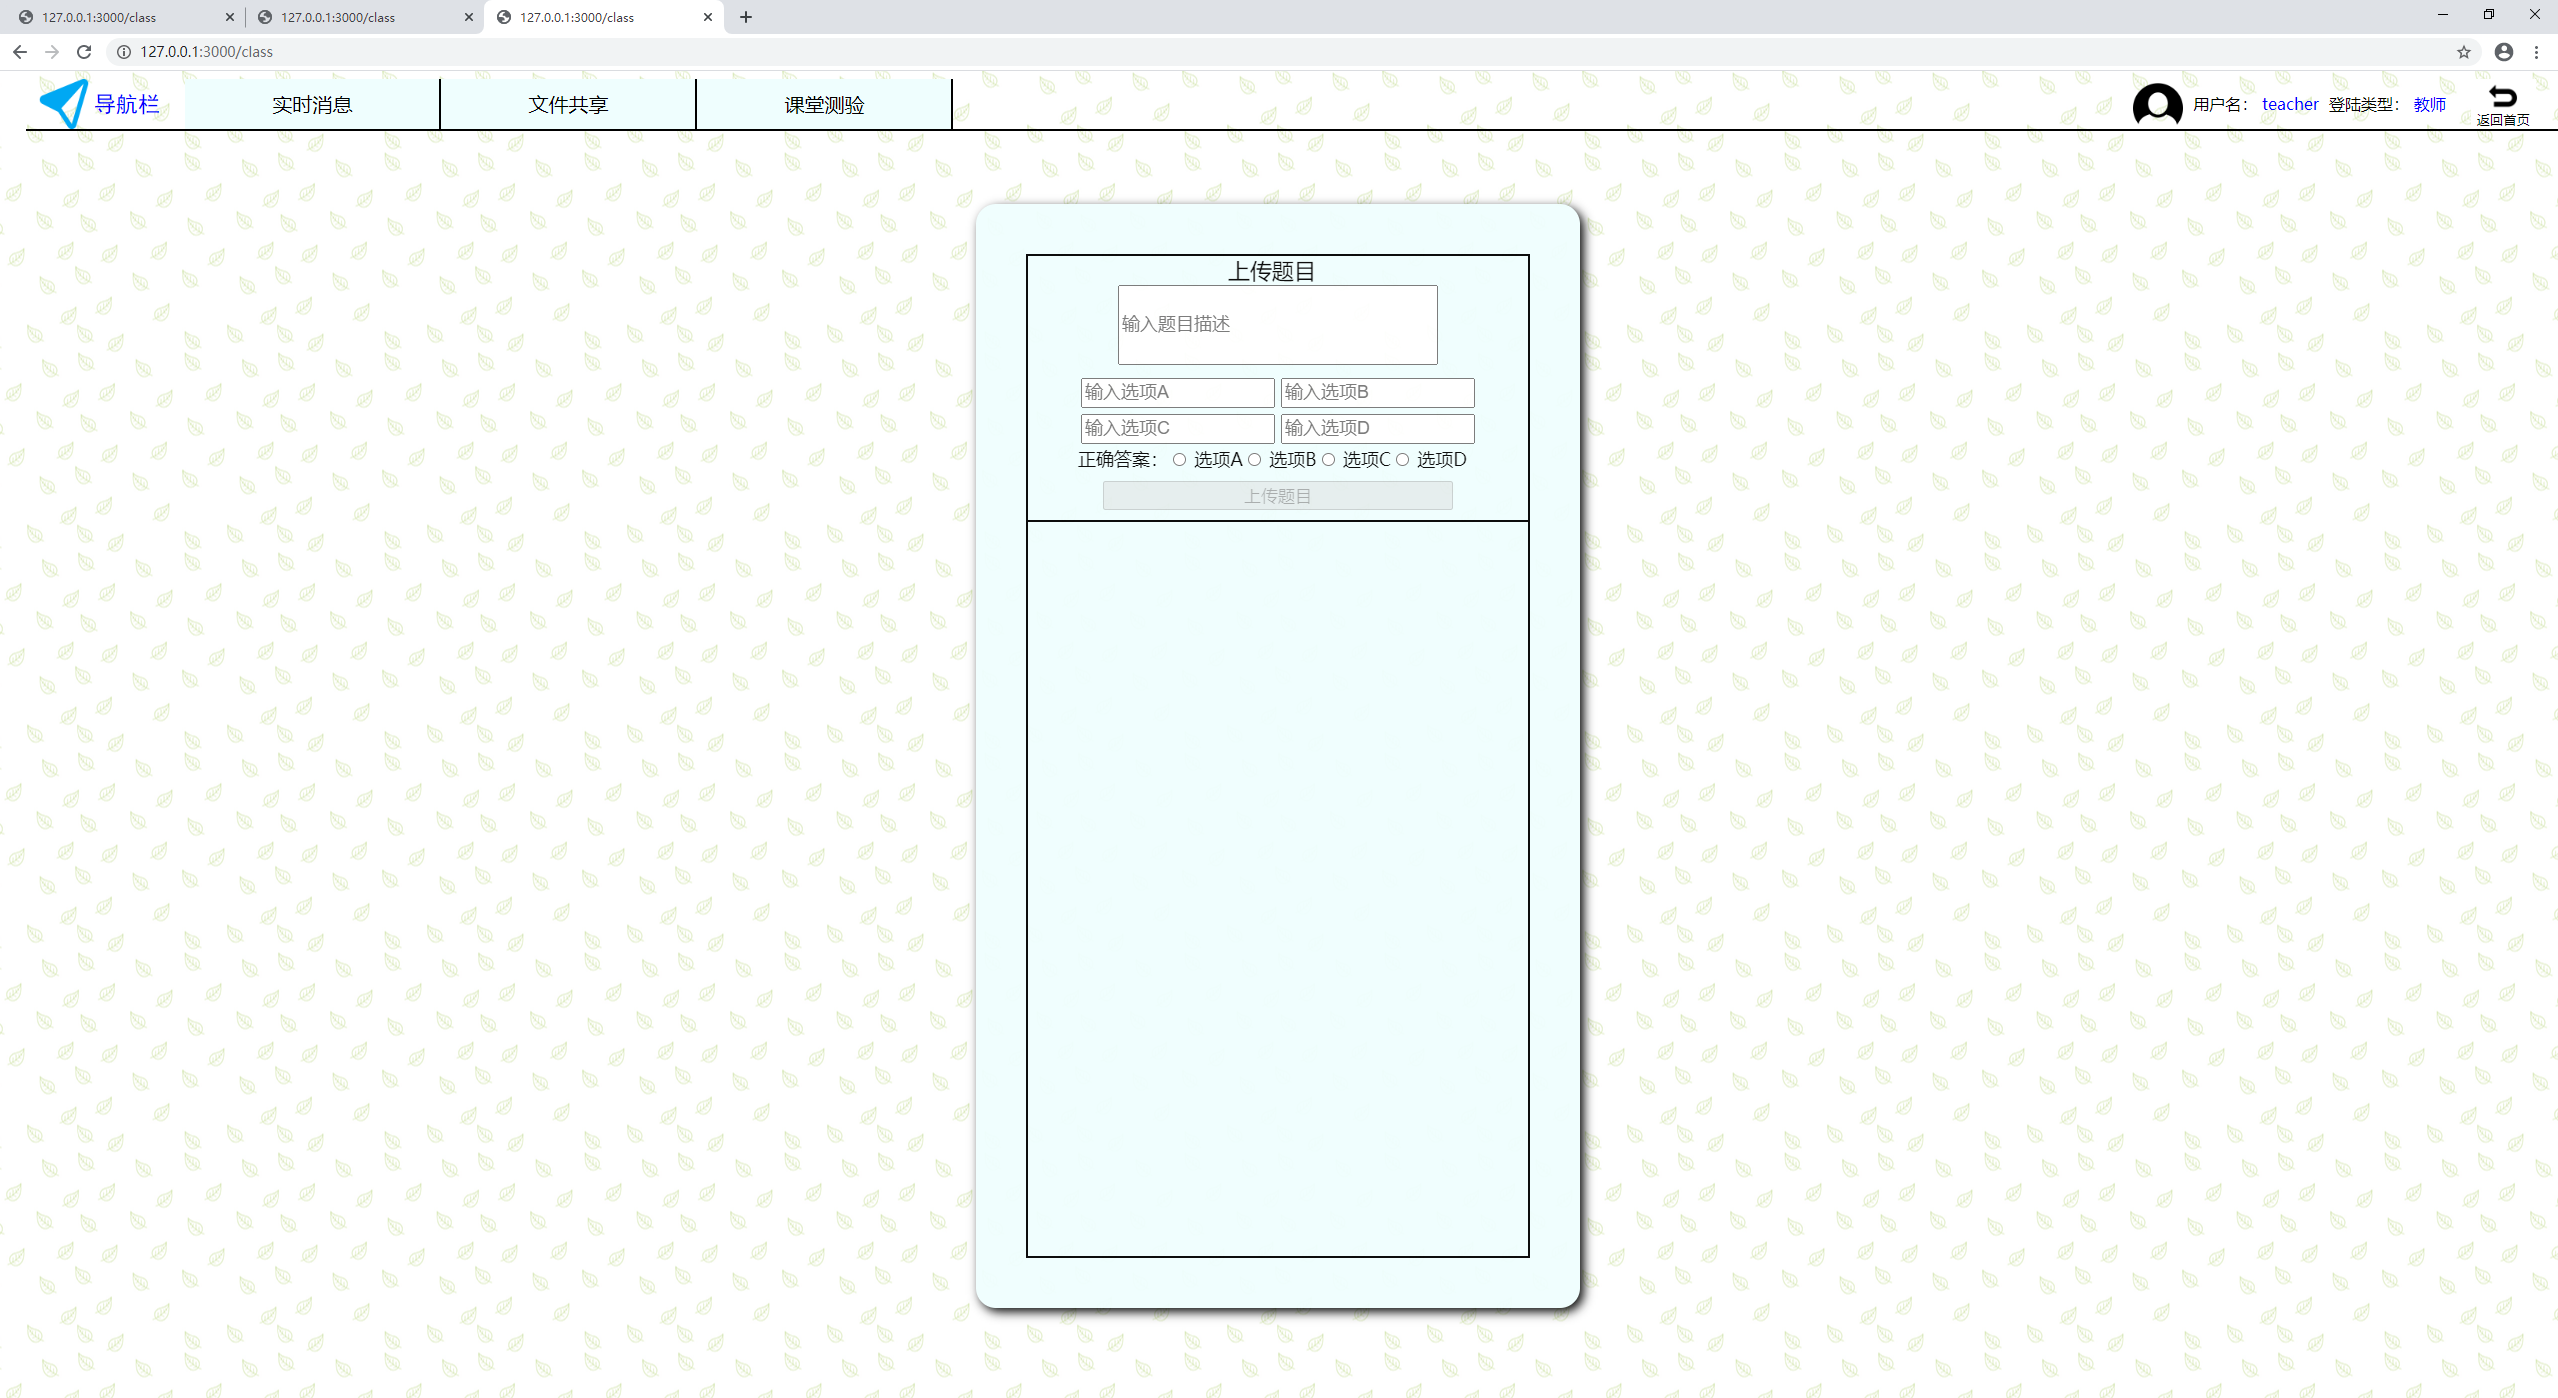
Corresponding two initial pictures
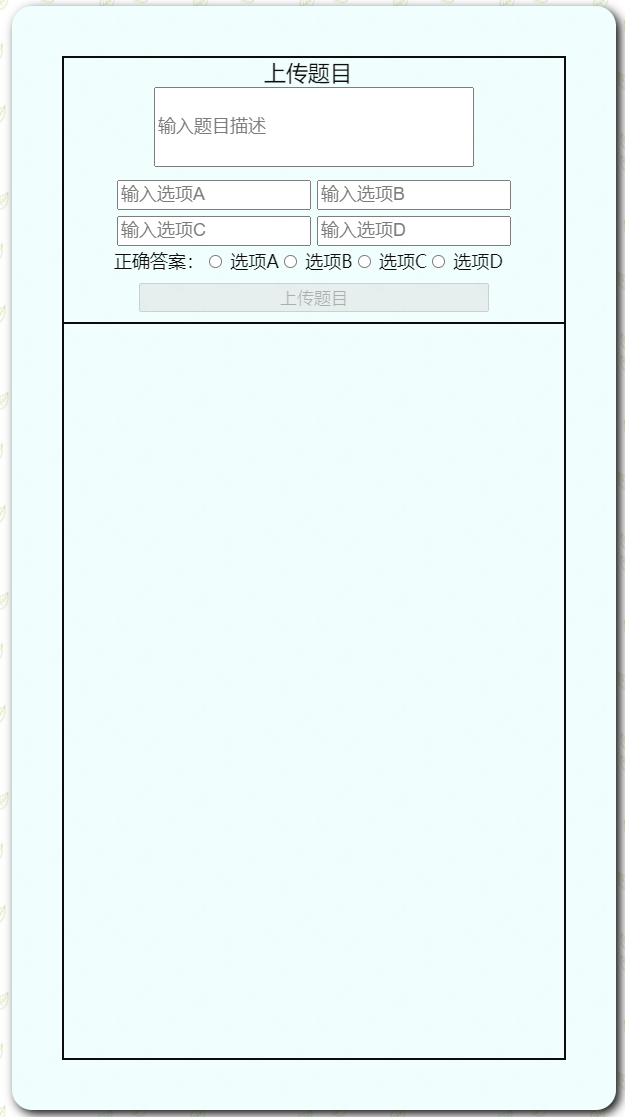
2. The teacher page binds the topic description, options and correct items with ng model model as the submitted content
<div class='problem_upload'>
    <div class='problem_description_row'>
        <input ng-model='$parent.problem_des' class='problem_description' placeholder="Enter Title Description">
    </div>
    <div class='problem_options_row'>
        <input ng-model='$parent.problem_opA' class='problem_options' placeholder="Input options A">
        <input ng-model='$parent.problem_opB' class='problem_options' placeholder="Input options B">
    </div>
    <div class='problem_options_row'>
        <input ng-model='$parent.problem_opC' class='problem_options' placeholder="Input options C">
        <input ng-model='$parent.problem_opD' class='problem_options' placeholder="Input options D">
    </div>
    <div class='correct_answer'>
        <div class='correct_answer_text'>Correct answer:</div>
        <div class='problem_correct_row'>
            <input ng-model='$parent.correct_option' class='correct_options' type='radio' value='0' name='co'>
            <div class='correct_text'>option A</div>
        </div>
        <div class='problem_correct_row'>
            <input ng-model='$parent.correct_option' class='correct_options' type='radio' value='1' name='co'>
            <div class='correct_text'>option B</div>
        </div>
        <div class='problem_correct_row'>
            <input ng-model='$parent.correct_option' class='correct_options' type='radio' value='2' name='co'>
            <div class='correct_text'>option C</div>
        </div>
        <div class='problem_correct_row'>
            <input ng-model='$parent.correct_option' class='correct_options' type='radio' value='3' name='co'>
            <div class='correct_text'>option D</div>
        </div>
    </div>
    <!-- {{correct_option}} -->
</div>
<input  ng-disabled='correct_option==undefined' ng-click='problemSubmit()' type='button' class='problem_submit' value='Upload title'>
- After clicking the submit button, call problemSubmit() and send the websocket request (at the same time, zero the statistics, so that echarts can be seen).
$scope.problemSubmit = function() {
    var data={
        type:'problem_upload',
        des:$scope.problem_des,
        opA:$scope.problem_opA,
        opB:$scope.problem_opB,
        opC:$scope.problem_opC,
        opD:$scope.problem_opD,
        cor:$scope.correct_option
    };
    //Clear statistics
    $scope.amount_opA=0;
    $scope.amount_opB=0;
    $scope.amount_opC=0;
    $scope.amount_opD=0;
    $scope.showResult=true;
    correct_data=[];
    tot=cnt_cor=0;
    //Update echarts chart
    $scope.showEcharts();
    websocket.send(JSON.stringify(data));
}
- The Websocket server processes the question upload request and broadcasts the question content and correct answers
if (str.type=='problem_upload') {
    let mes={};
    mes.type="problem_assign";
    mes.data={
        des:str.des,
        opA:str.opA,
        opB:str.opB,
        opC:str.opC,
        opD:str.opD,
        cor:str.cor
    };
    broadcast(JSON.stringify(mes));
}
- The student page is pushed by WS, and the topic content is displayed directly on the page through the bidirectional binding of data scope.scope.scope.apply() manual update to avoid out of sync). Record correct items in$ scope.test_ For comparison in Cor.
if (type == 'problem_assign'){
    $scope.showTest = true;
    $scope.test_des=data.des;
    $scope.test_opA=data.opA;
    $scope.test_opB=data.opB;
    $scope.test_opC=data.opC;
    $scope.test_opD=data.opD;
    $scope.test_cor=data.cor;
    $scope.testSubmit_disabled=false;
    $scope.test_msg='';
    $scope.$apply();
}
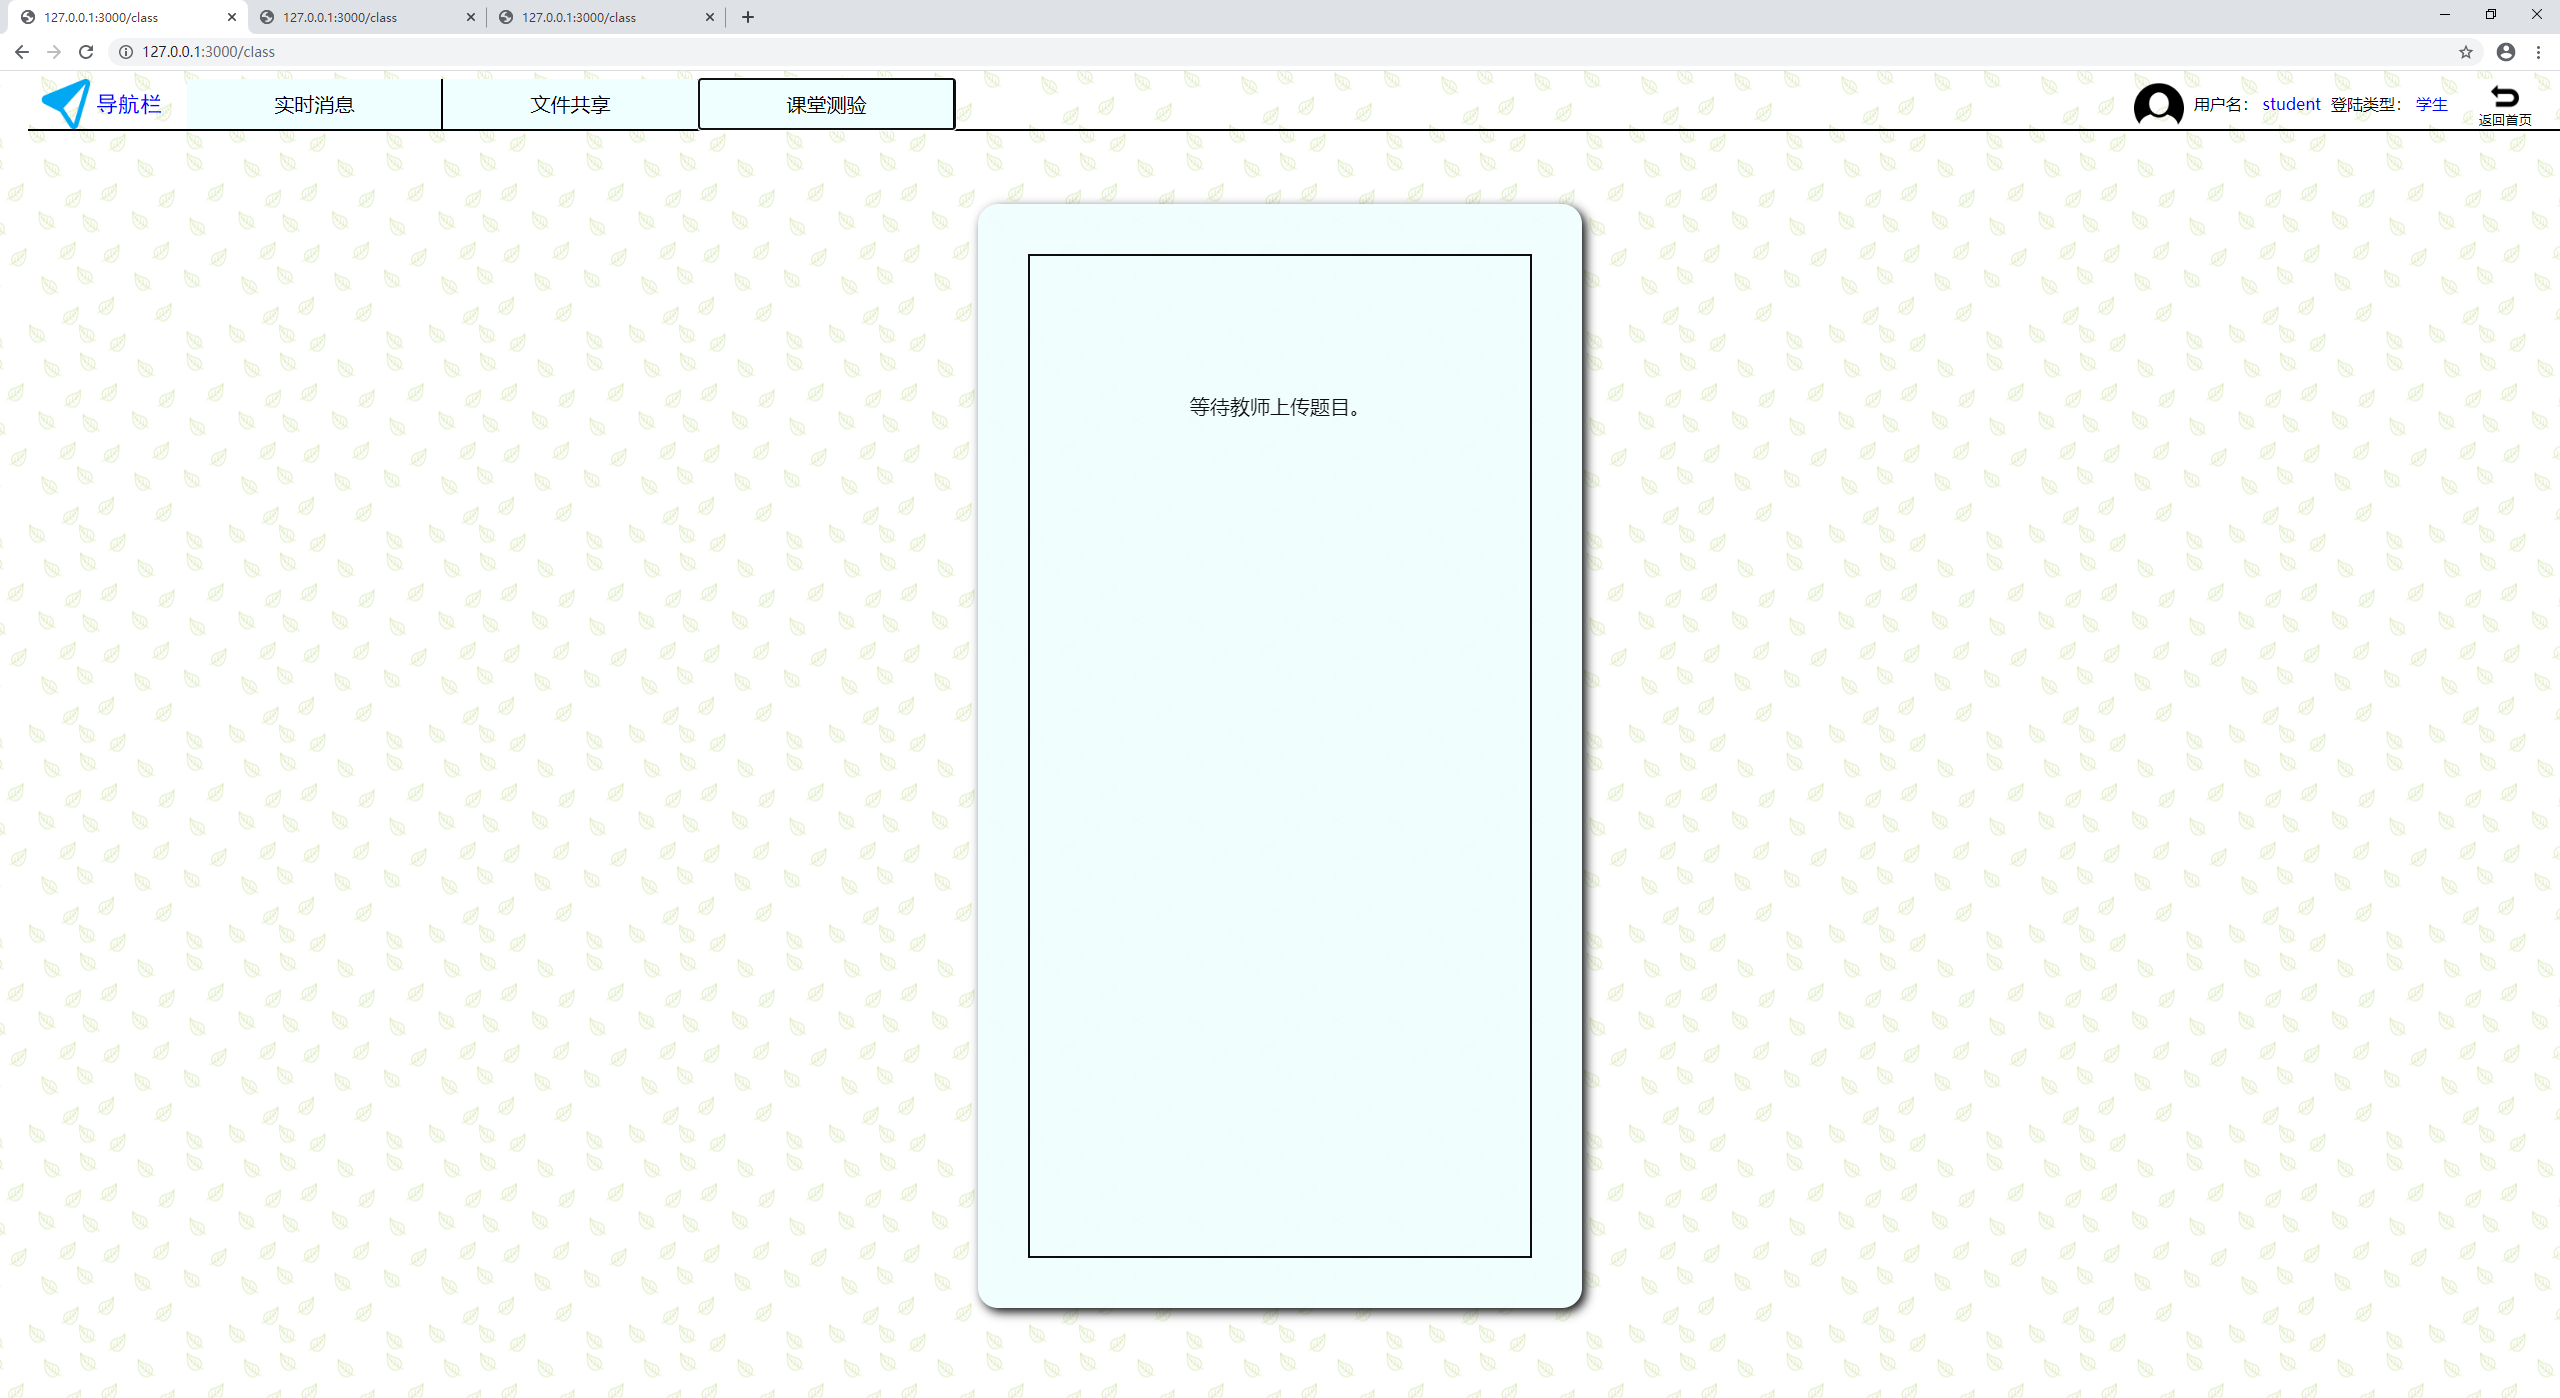
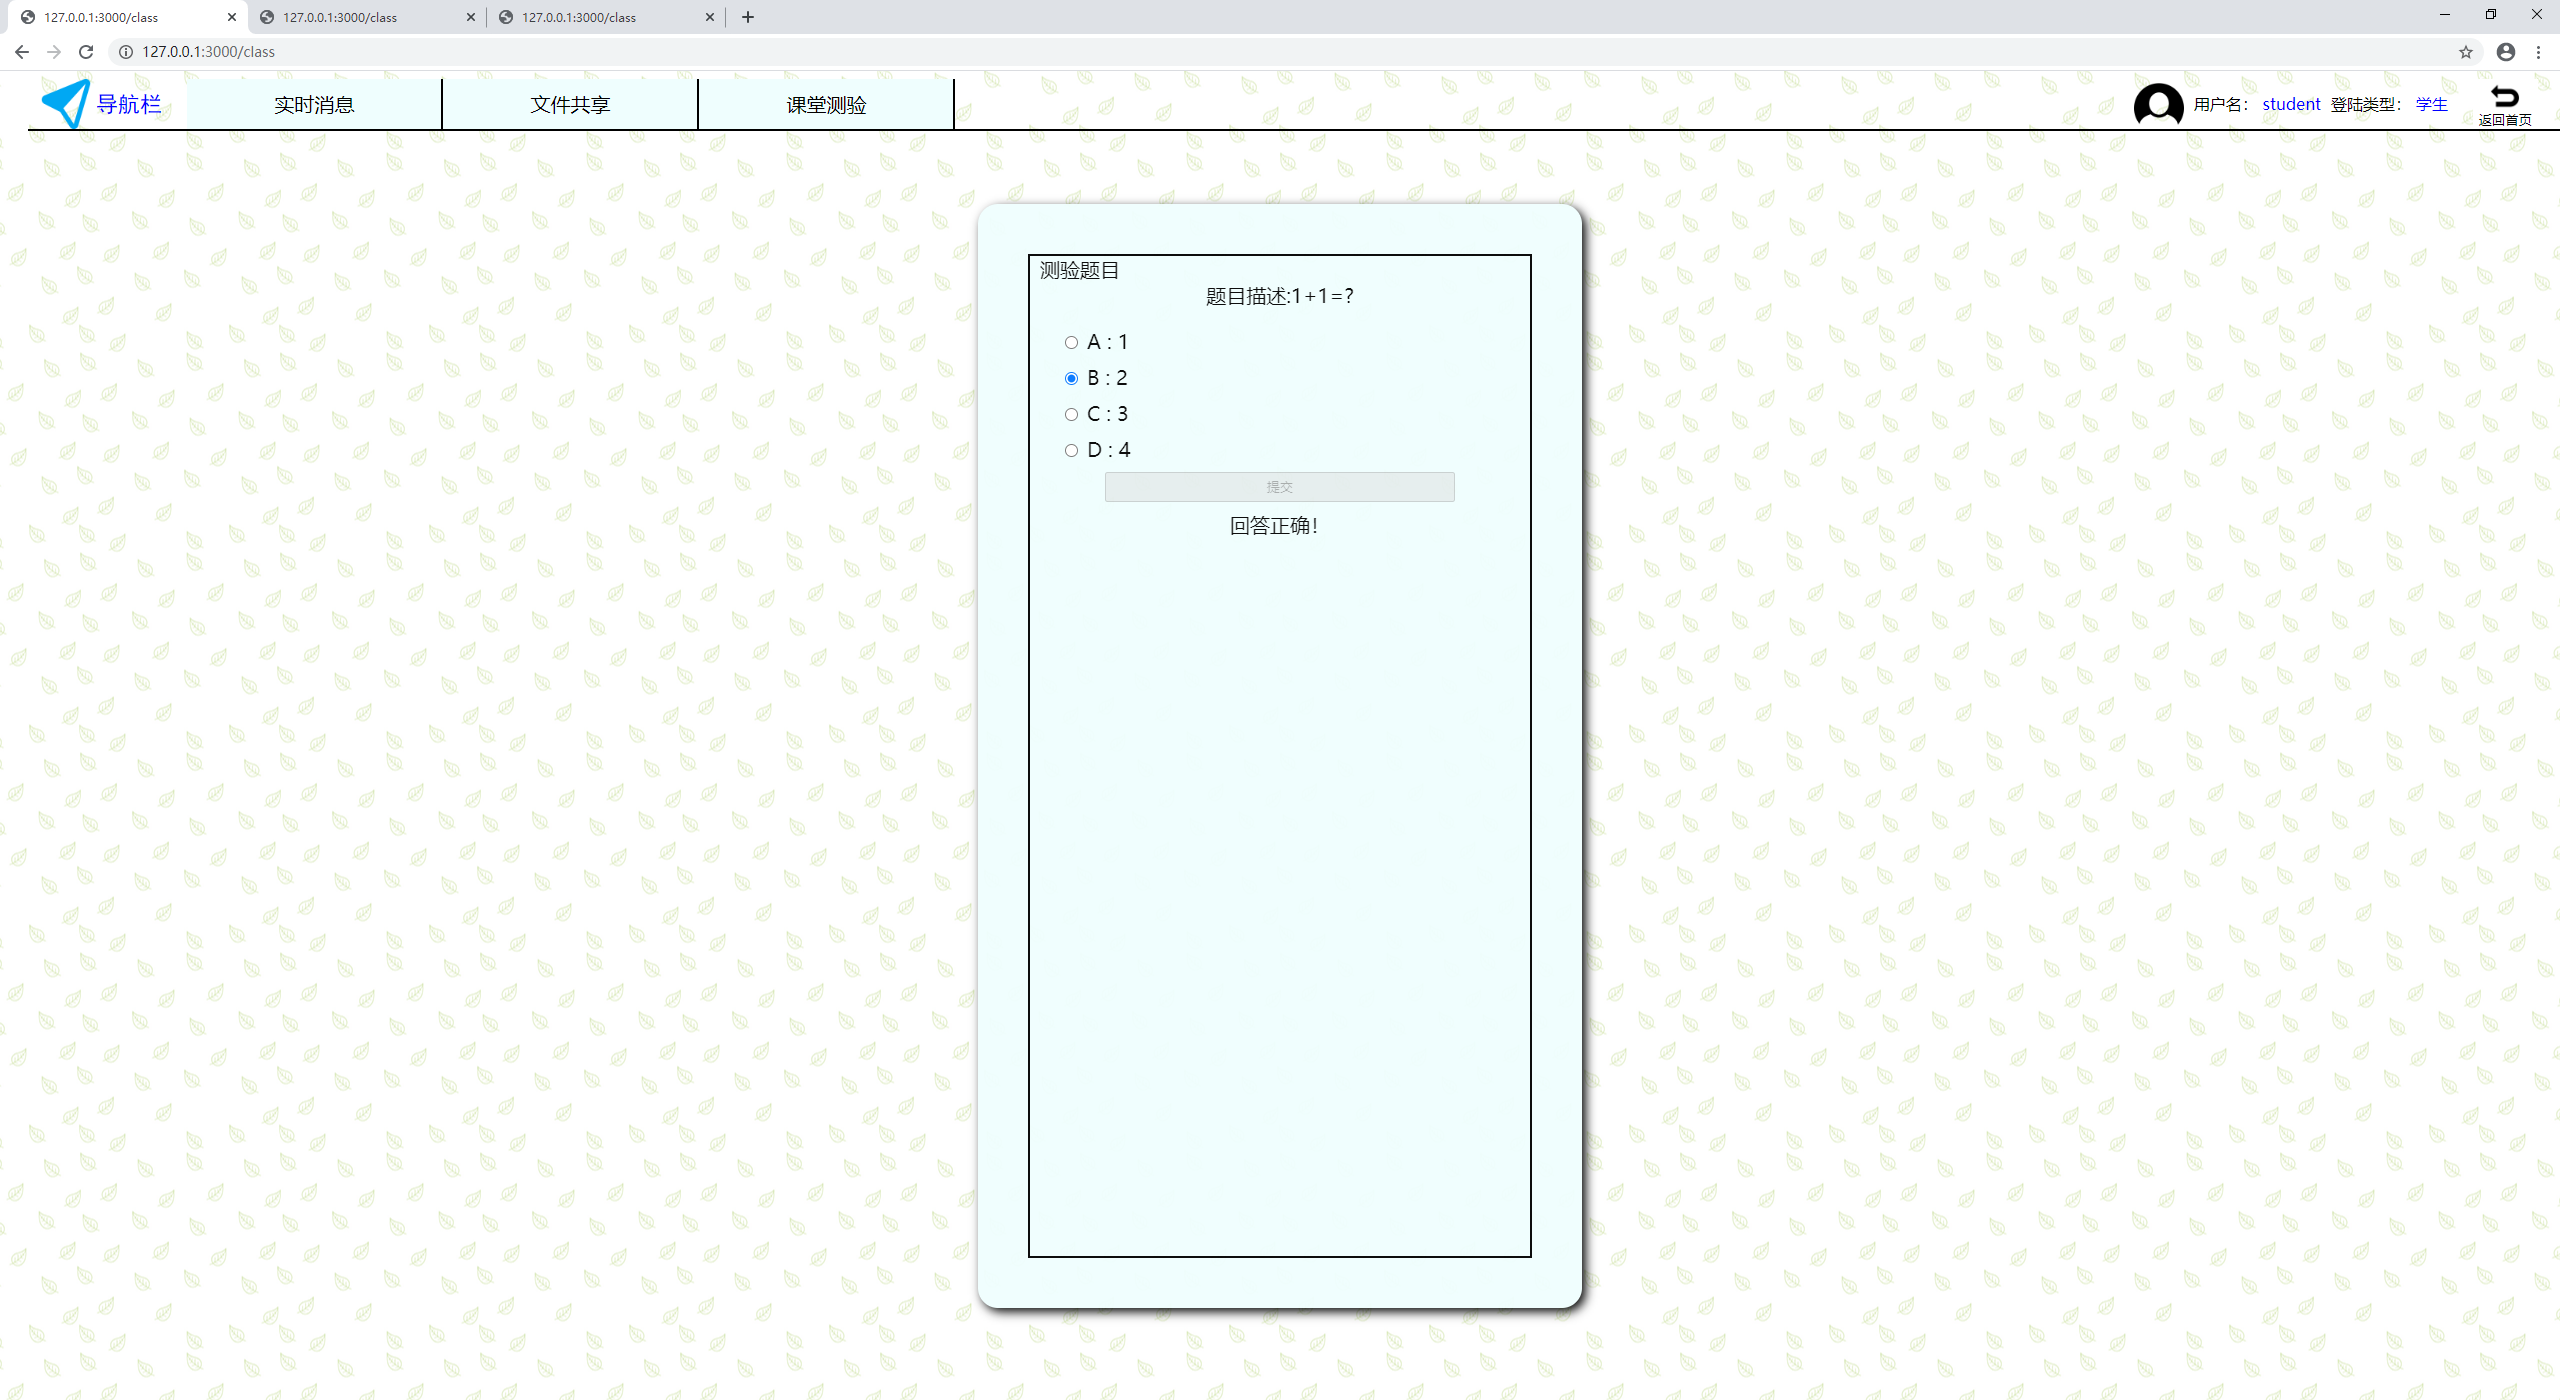
The front-end code of the student page also binds the options with ng model.
<div ng-show='!isTeacher' class='container_student'>
    <div ng-show='showTest' class='problem_test'>
        <div class='test_title'>Test questions</div>
        <div class='test_proplem'>
            <div class='test_description'>
                Title Description:{{test_des}}
            </div>
            <div class='test_options_row'>
                <input ng-model='$parent.test_option' class='test_options' type='radio' value='0' name='op'>
                <div class='test_options_text'>A : {{test_opA}}</div>
            </div>
            <div class='test_options_row'>
                <input ng-model='$parent.test_option' class='test_options' type='radio' value='1' name='op'>
                <div class='test_options_text'>B : {{test_opB}}</div>
            </div>
            <div class='test_options_row'>
                <input ng-model='$parent.test_option' class='test_options' type='radio' value='2' name='op'>
                <div class='test_options_text'>C : {{test_opC}}</div>
            </div>
            <div class='test_options_row'>
                <input ng-model='$parent.test_option' class='test_options' type='radio' value='3' name='op'>
                <div class='test_options_text'>D : {{test_opD}}</div>
            </div>
            <div class='text_btn_row'>
                <input class='test_options_btn' ng-disabled='test_option==undefined || testSubmit_disabled' ng-click='$parent.testSubmit()' type='button' value='Submit'>
            </div>
            <div class='text_signal_row'>
                <div class='test_signal'>{{test_msg}}</div>
            </div>
        </div>
    </div>
    <div ng-show='!showTest' class='problem_test_signal'>
        <div class='problem_test_signal_text'>Wait for the teacher to upload the topic.</div>
    </div>
</div>
Corresponding effect: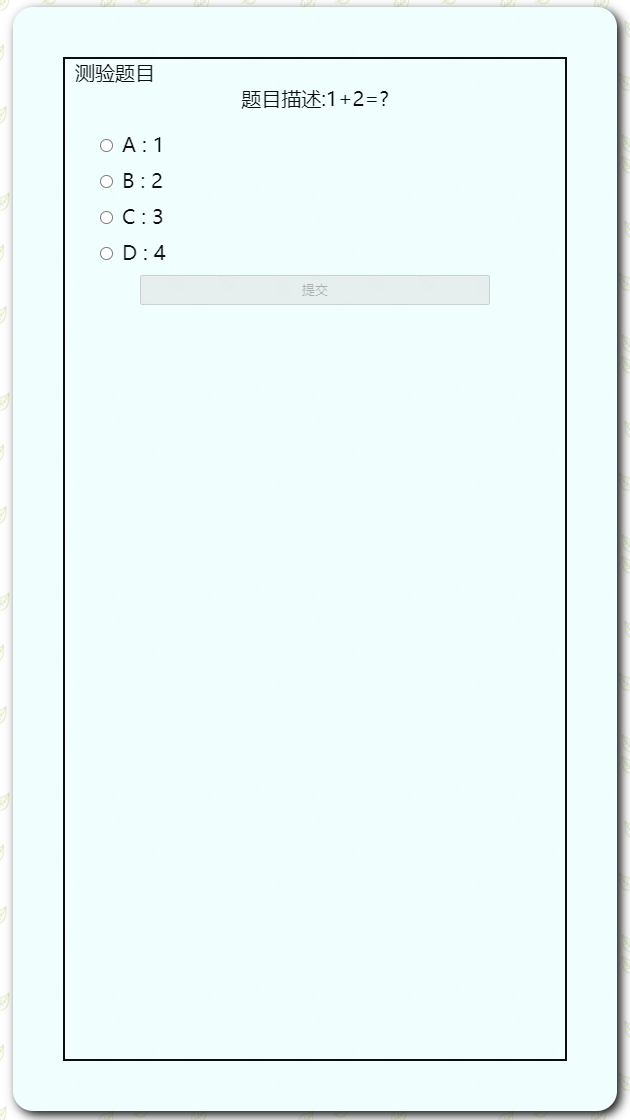
6. Students answer (click the submit button), send the selected option to WS, and compare the option with the correct item to prompt whether the answer is correct or not. At the same time, the submit button is set to unavailable through ng disabled to avoid repeated submission.
$scope.testSubmit = function() {
    var data = {
        type:'text_upload',
        op:$scope.test_option
    }
    console.log(data);
    websocket.send(JSON.stringify(data));

    if ($scope.test_cor=='0') text='A';
    if ($scope.test_cor=='1') text='B';
    if ($scope.test_cor=='2') text='C';
    if ($scope.test_cor=='3') text='D';
    if ($scope.test_option==$scope.test_cor) {
        $scope.test_msg='Correct answer!';
    }
    else $scope.test_msg='Wrong answer~The correct answer is : '+ text;
    $scope.testSubmit_disabled=true;
}
- WS processes the student's request again and broadcasts the student's options.
if (str.type == 'text_upload') {
    let mes={};
    mes.type='problem_submit';
    mes.data={
        username:conn.nickname,
        choice:str.op
    };
    broadcast(JSON.stringify(mes));
}
- At last, the teacher receives ws push, updates data statistics and charts.
if (type == 'problem_submit') {
    if (data.choice=='0') $scope.amount_opA++;
    if (data.choice=='1') $scope.amount_opB++;
    if (data.choice=='2') $scope.amount_opC++;
    if (data.choice=='3') $scope.amount_opD++;
    var text='';
    if (data.choice==$scope.test_cor) {
        cnt_cor++;
    }
    tot++;
    $scope.$apply();
    correct_data.push((cnt_cor/tot*100).toFixed(2));
    $scope.showEcharts();
}
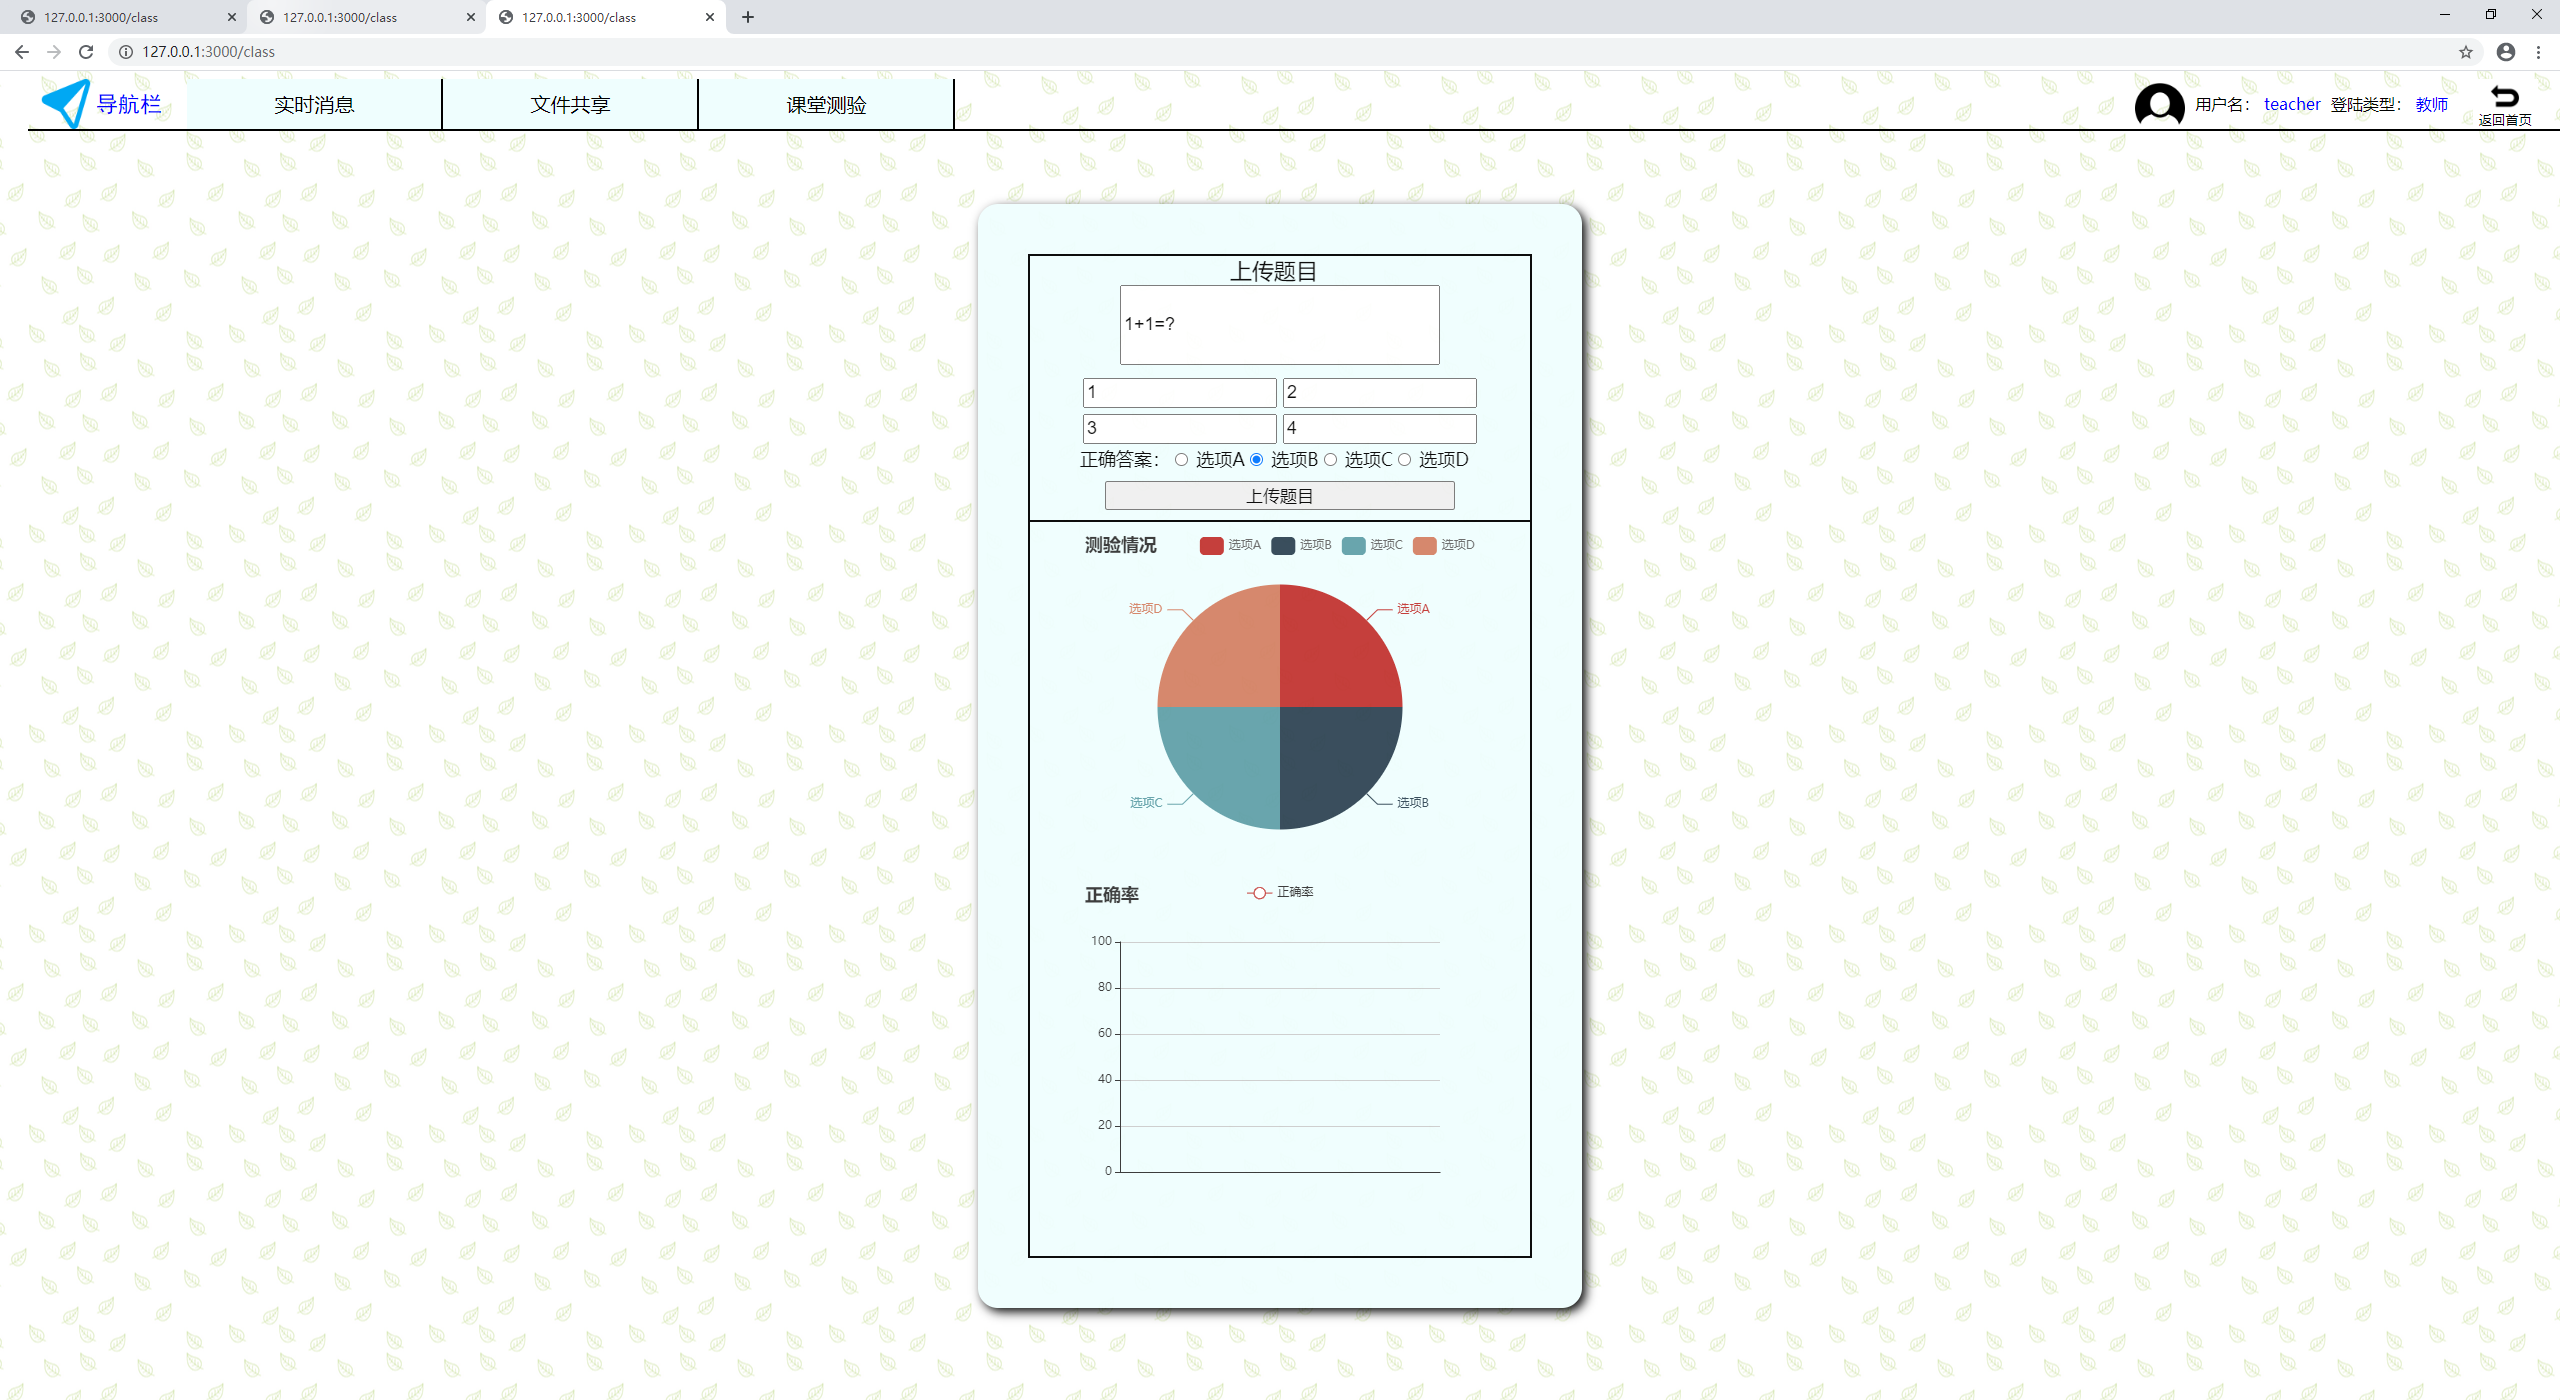
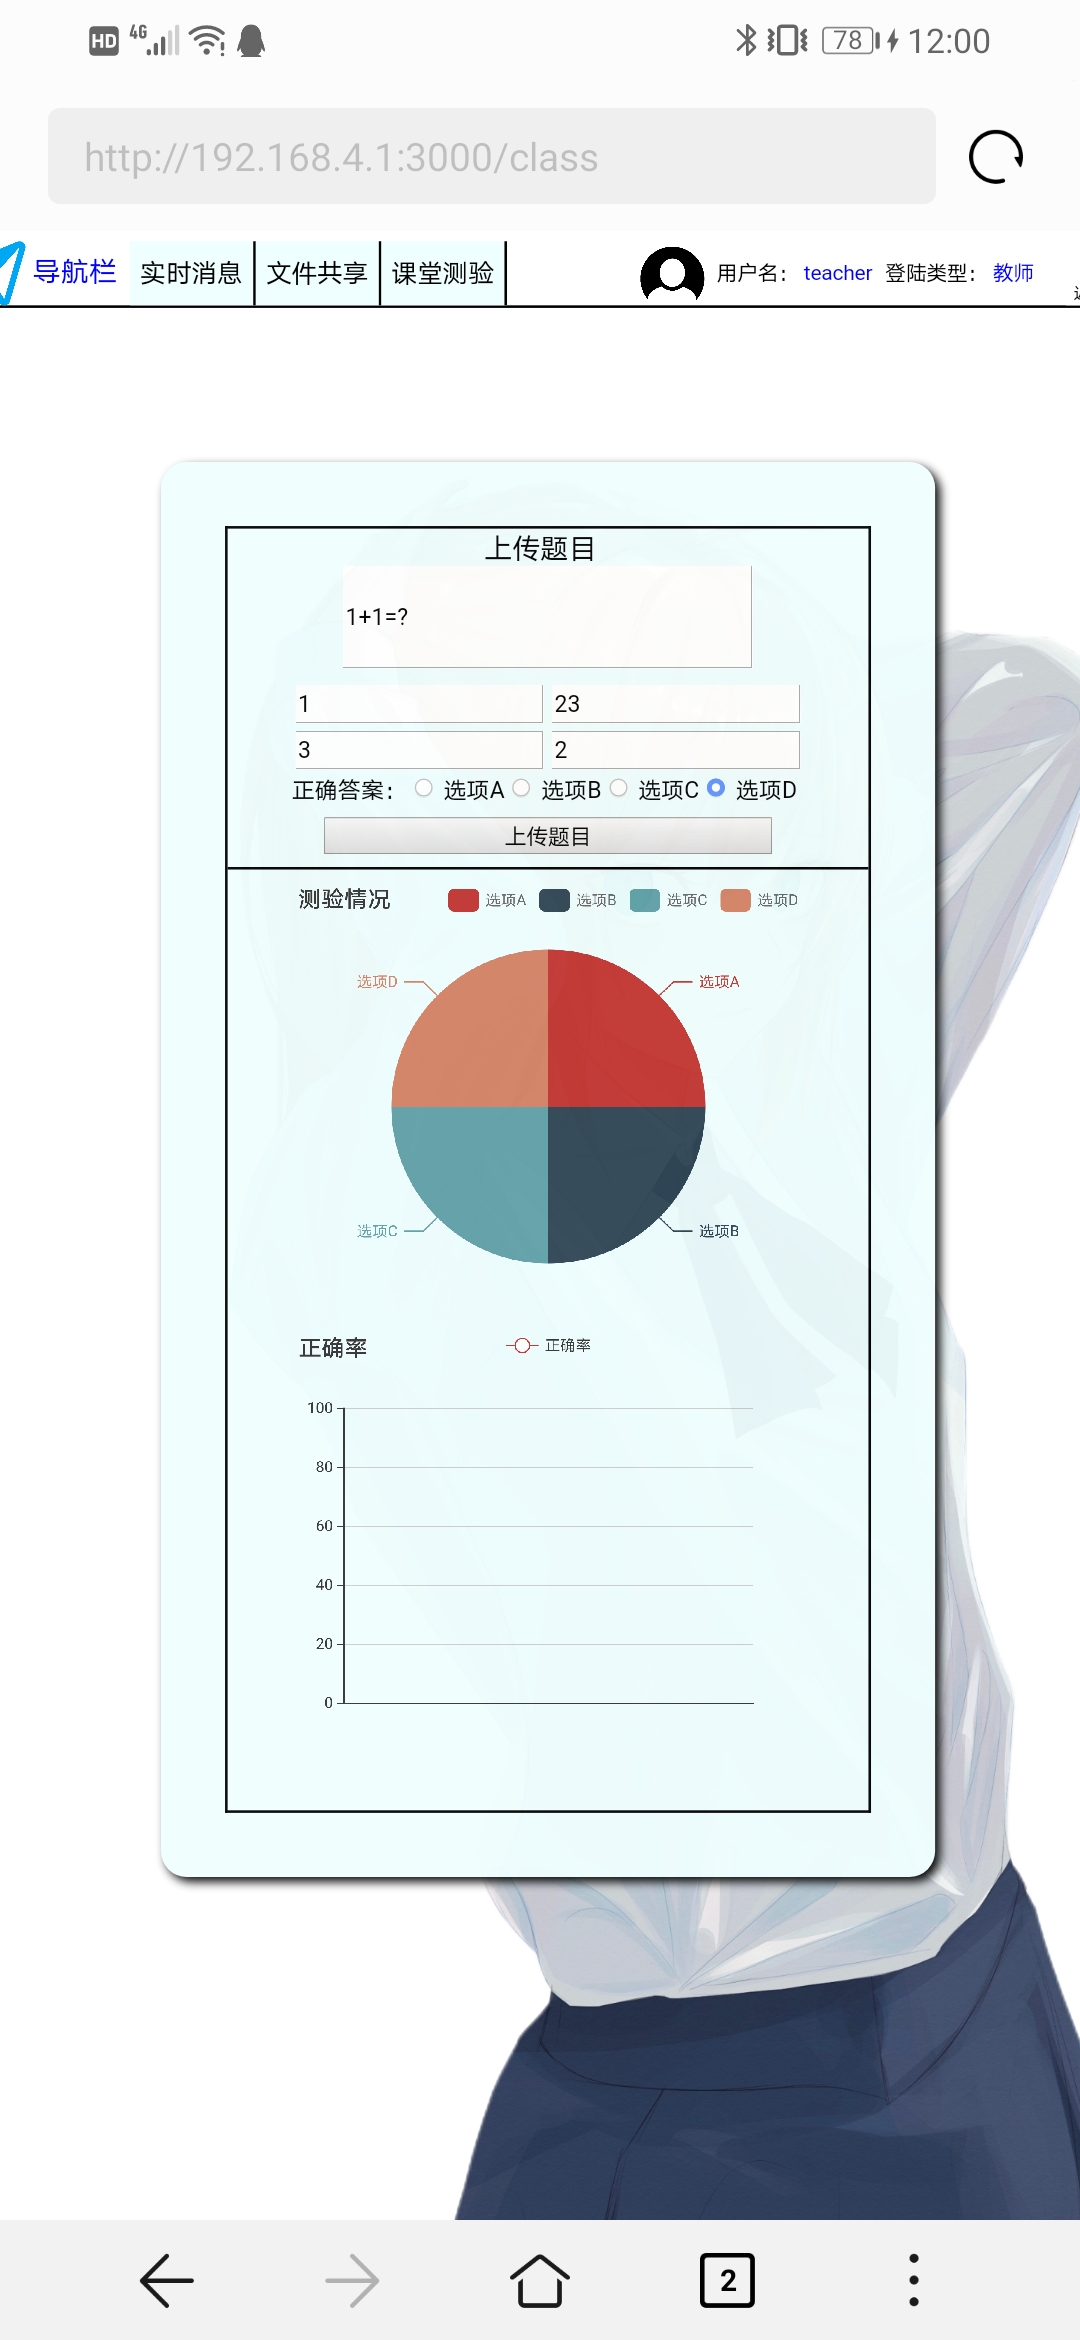
- How to update the chart ($ scope.showEcharts ): update pie chart and line chart at the same time (accuracy rate is calculated by correct number / total submitted number and keep two decimal places, and add to correct_ In the data array, take the array as the parameter of the line graph data)
$scope.showEcharts= function() {
    var myChart = echarts.init(document.getElementById('echarts_pie'));
    var option = {
        title: {
            text: 'Test situation'
        },
        tooltip: {},
        legend: {
            orient:'horizontal',
            x:'right',
            y:'top',
            itemWidth:24,
            itemHeight:18,
            textStyle:{
                color:'#666'
            },
            itemGap:10,
            data:['option A','option B','option C','option D']
        },
        series: [{
            name: 'Test situation',
            type: 'pie',
            radius:'70%',
            data: [
                {value:$scope.amount_opA, name:'option A'},
                {value:$scope.amount_opB, name:'option B'},
                {value:$scope.amount_opC, name:'option C'},
                {value:$scope.amount_opD, name:'option D'}
            ],
        }]
    };
    myChart.setOption(option);
    var myChart = echarts.init(document.getElementById('echarts_line'));
    var option = {
        title: {
            text: 'Accuracy'
        },
        tooltip: {},
        legend: {
            data:['Accuracy']
        },
        xAxis: {
            data: []
        },
        yAxis: {
            min:0,
            max:100
        },
        series: [{
            name: 'Accuracy',
            type: 'line',
            data: correct_data
        }]
    }
    myChart.setOption(option);
}
The effect is as shown in the figure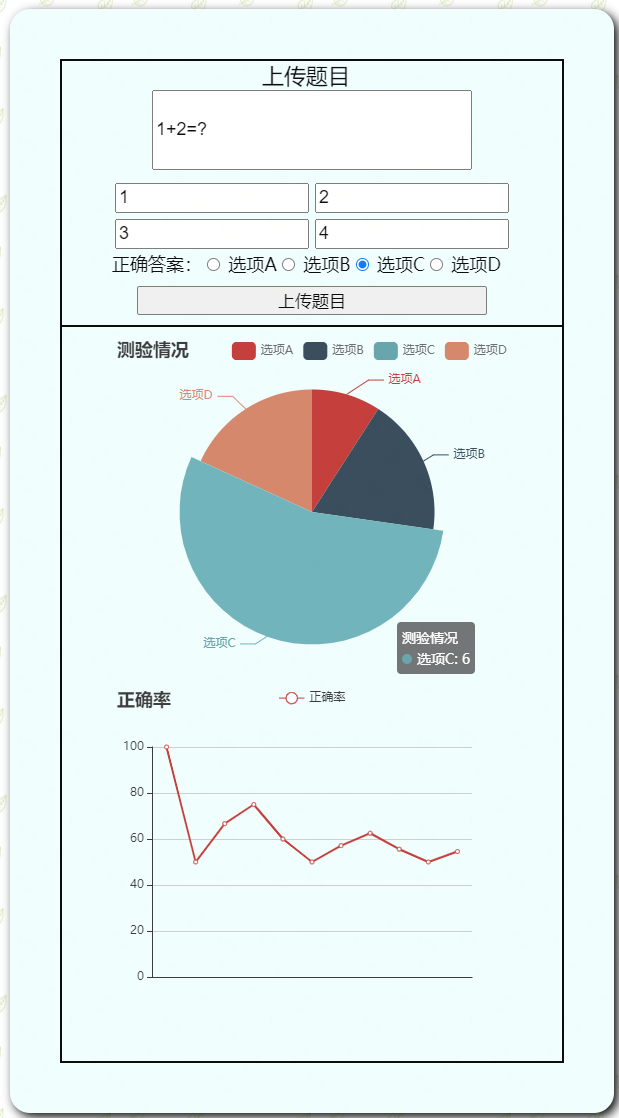
This completes a complete online test. Although there are many steps after listing like this, it's not so complicated to write, because the logical relationship between each step is actually easy to understand. Instead, some details (such as setting the submit button can't be used to avoid repeated submission) need to be improved. There is also a defect in the current writing method that all interactions are completed by websocket. No http request means that all data is online, and the questions and answers are not saved. Once the page is refreshed or you exit and re-enter, all data will be lost, and you need to upload the questions again.
3. Hotspot broadcast
In fact, in the first article, we talked about using raspberry pie as a server and the content of wifi hot access website. By default, the wifi hotspot function has been enabled and the connected devices can be assigned ip addresses (see the first chapter for details). Just send the entire express folder to raspberry pie, install nodejs, mysql and some dependencies, and run it directly.
Site folder send
The file sending function of VNC is directly used here. It's convenient to send folders directly. Of course, you can also send compressed packets, but it seems a little troublesome to decompress rar in raspberry pie system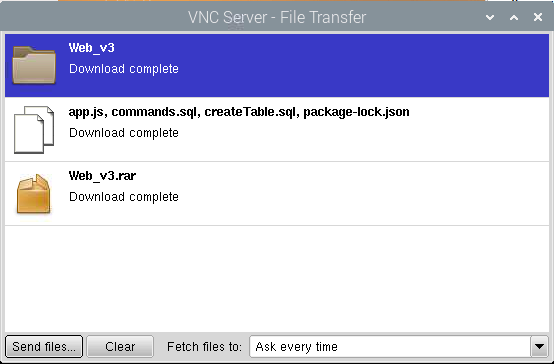
After cd to the folder directory, the node app runs, and then the computer connects to raspberry pie wifi. It is found that the device connected to wifi can connect to the home page normally through ip address
But of course, because the database is not installed, the website will crash if you try to log in.
Raspberry pie installation database
It seems that there are many ways. I installed MariaDB instead of MySQL. The two databases are compatible in most aspects, and there seems to be no difference from the perspective of use alone. The main reason is that MariaDB is easy to install.
The installation method is through apt get command (if not, apt install update may be required first)
sudo apt-get install default-mysql-server
After installation
sudo mysql -u root -p set the root password after entering the database
use mysql;
set passwords=PASSWORD('root');
flush privileges;
Then we can build the database and table we want to use normally
create database myDB1;
use myDB1;

CREATE TABLE `login`(
    `id` INT NOT NULL AUTO_INCREMENT,
    `username` VARCHAR(200) NOT NULL,
    `passwords` VARCHAR(200) NOT NULL,
    `loginType` INT NOT NULL,
    PRIMARY KEY(`id`),
    UNIQUE KEY `id_UNIQUE` (`id`),
    UNIQUE KEY `url_UNIQUE` (`username`)
)ENGINE=InnoDB DEFAULT CHARSET=utf8;
It's no problem to test the registration and login system. In this way, the database is built (at least it can be used).
Mobile terminal test
The mobile phone can also log in through the hotspot. Although it has not been set specially, the compatibility of the mobile terminal is also pretty good.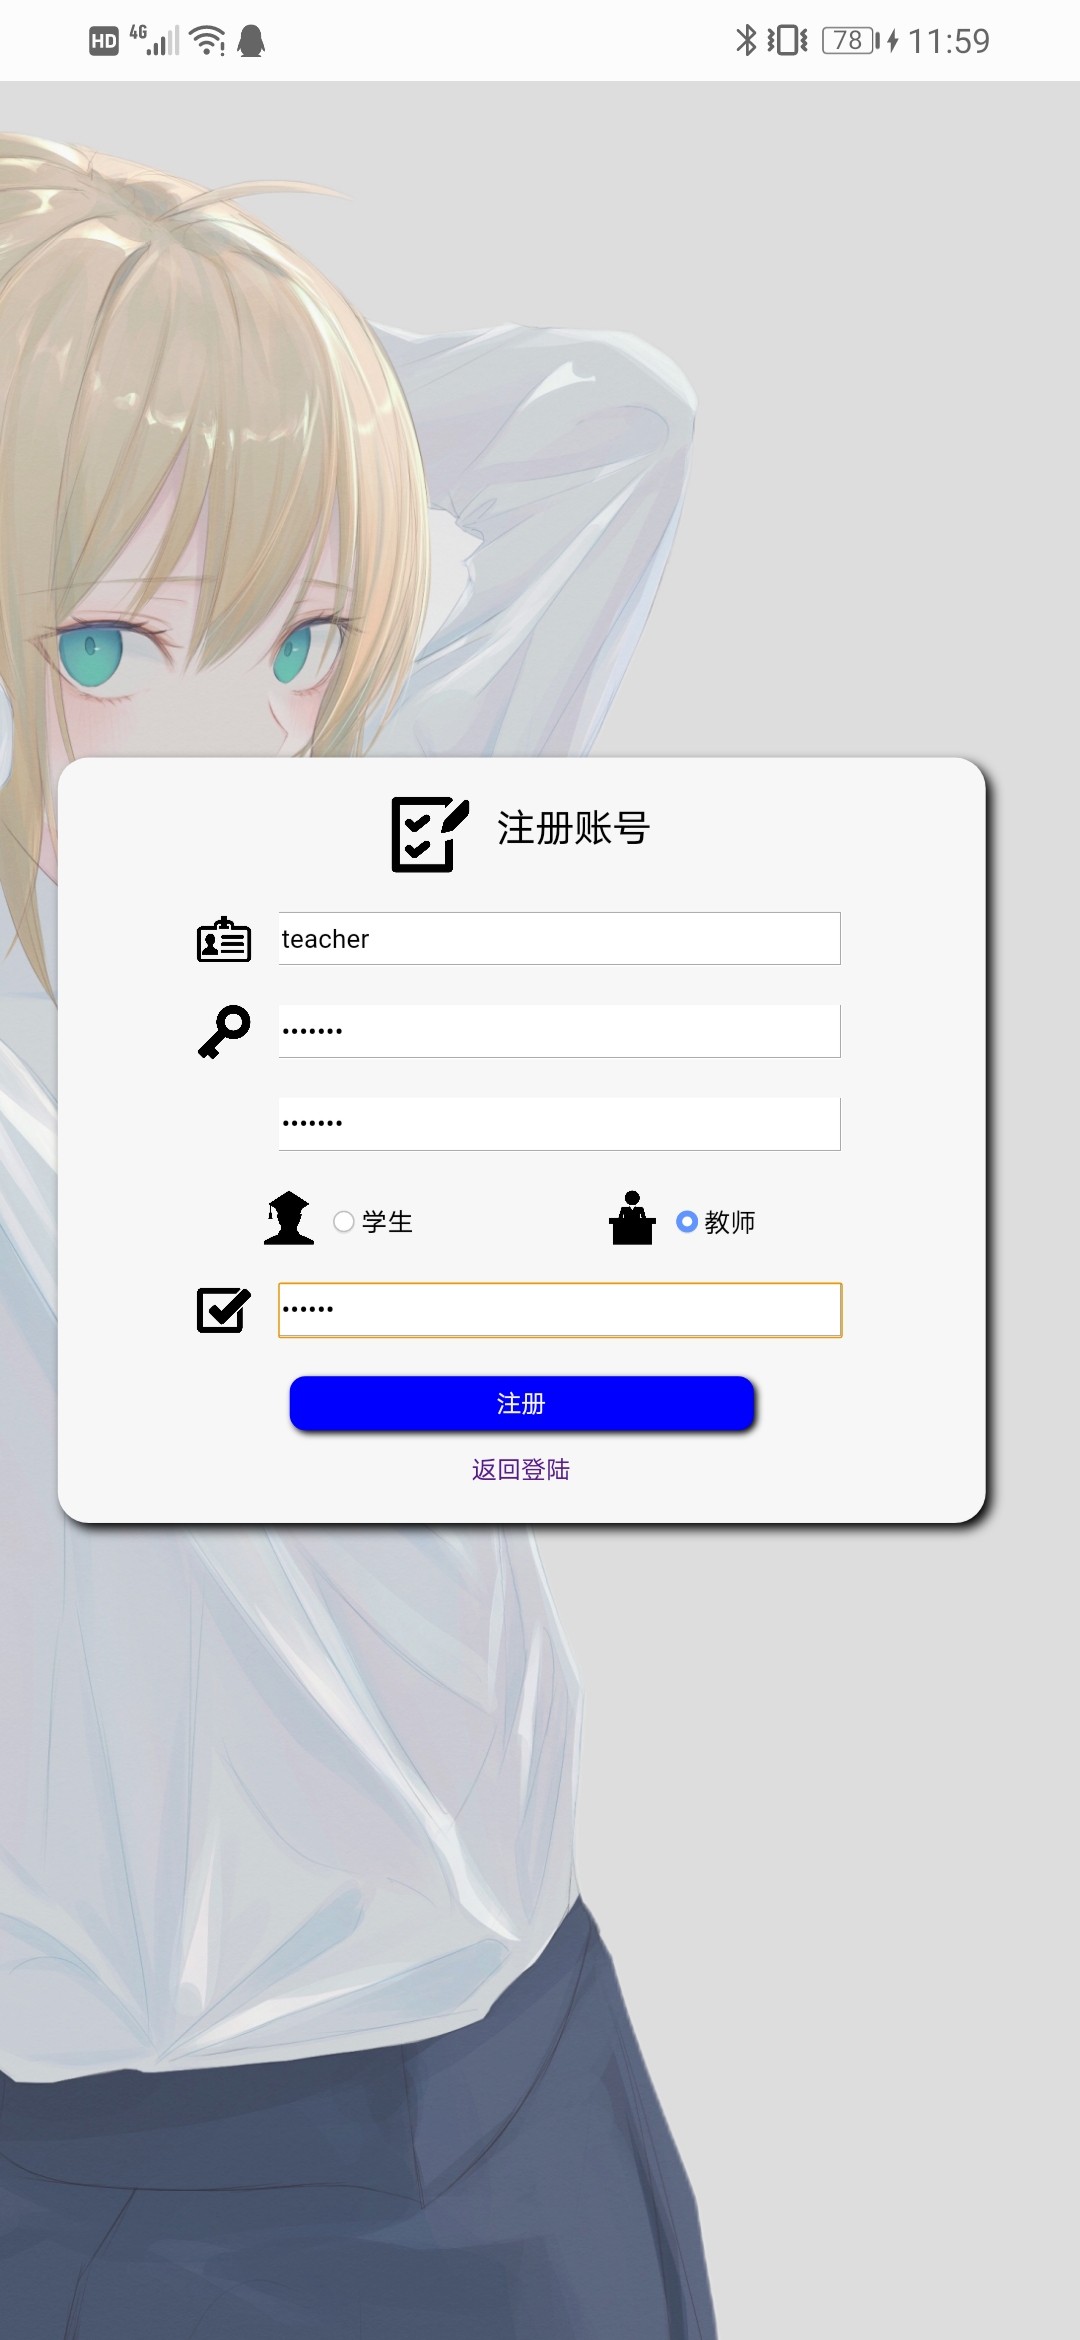
It seems that by adding some meta tags, the web page can adapt to the scale and size of the mobile terminal. for instance
<meta content="width=device-width, initial-scale=1.0, maximum-scale=1.0" name="viewport">
But the effect seems to be the same.
4. Summary
After half a day's work, I found that only five basic requirements of the project have been completed, and there are four extension requirements that I haven't yet met. Among them, canvas drawing should be relatively simple, video streaming and face recognition should need more additional knowledge to achieve.
In terms of the content of these basic requirements, from the front-end interface to the back-end code structure to technical understanding, I feel that the completion degree is still relatively high (after all, most of the content has been written twice). Later extensions may focus on learning the knowledge needed in terms of technology, and some front-end interfaces may be put to the end, if there is still time to do so. That is to say, we don't want to pursue the completion of the whole