Then let's see how to build an environment for compiling FFmpeg?
Build an environment for compiling FFmpeg
=========================================================================
FFmpeg provides a complete solution, but this solution is written in C. we download the source code of FFmpeg and decompress it to see what the source code of FFmpeg looks like
Here is the version 4.1.3. We will learn the operation with 4.2.1 later
From the very beginning to the current 4.x.x version of FFmpeg, the intermediate versions have changed greatly. For example, there are great differences between 2.0-3.0 and 3.0-4.0. The versions after 4.0 are compiled through NDK Clang and will not be compiled in gcc. Therefore, we mainly explain the cross compilation process of Clang
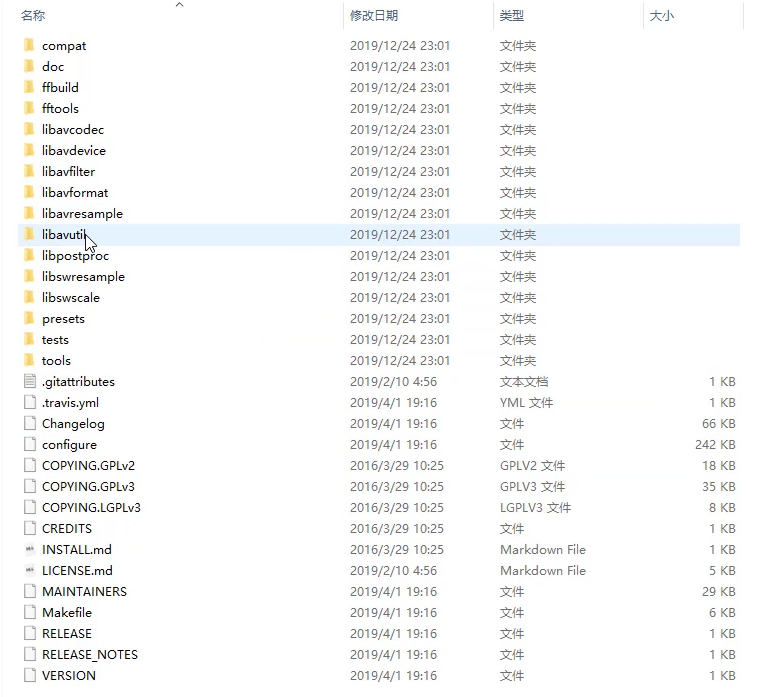
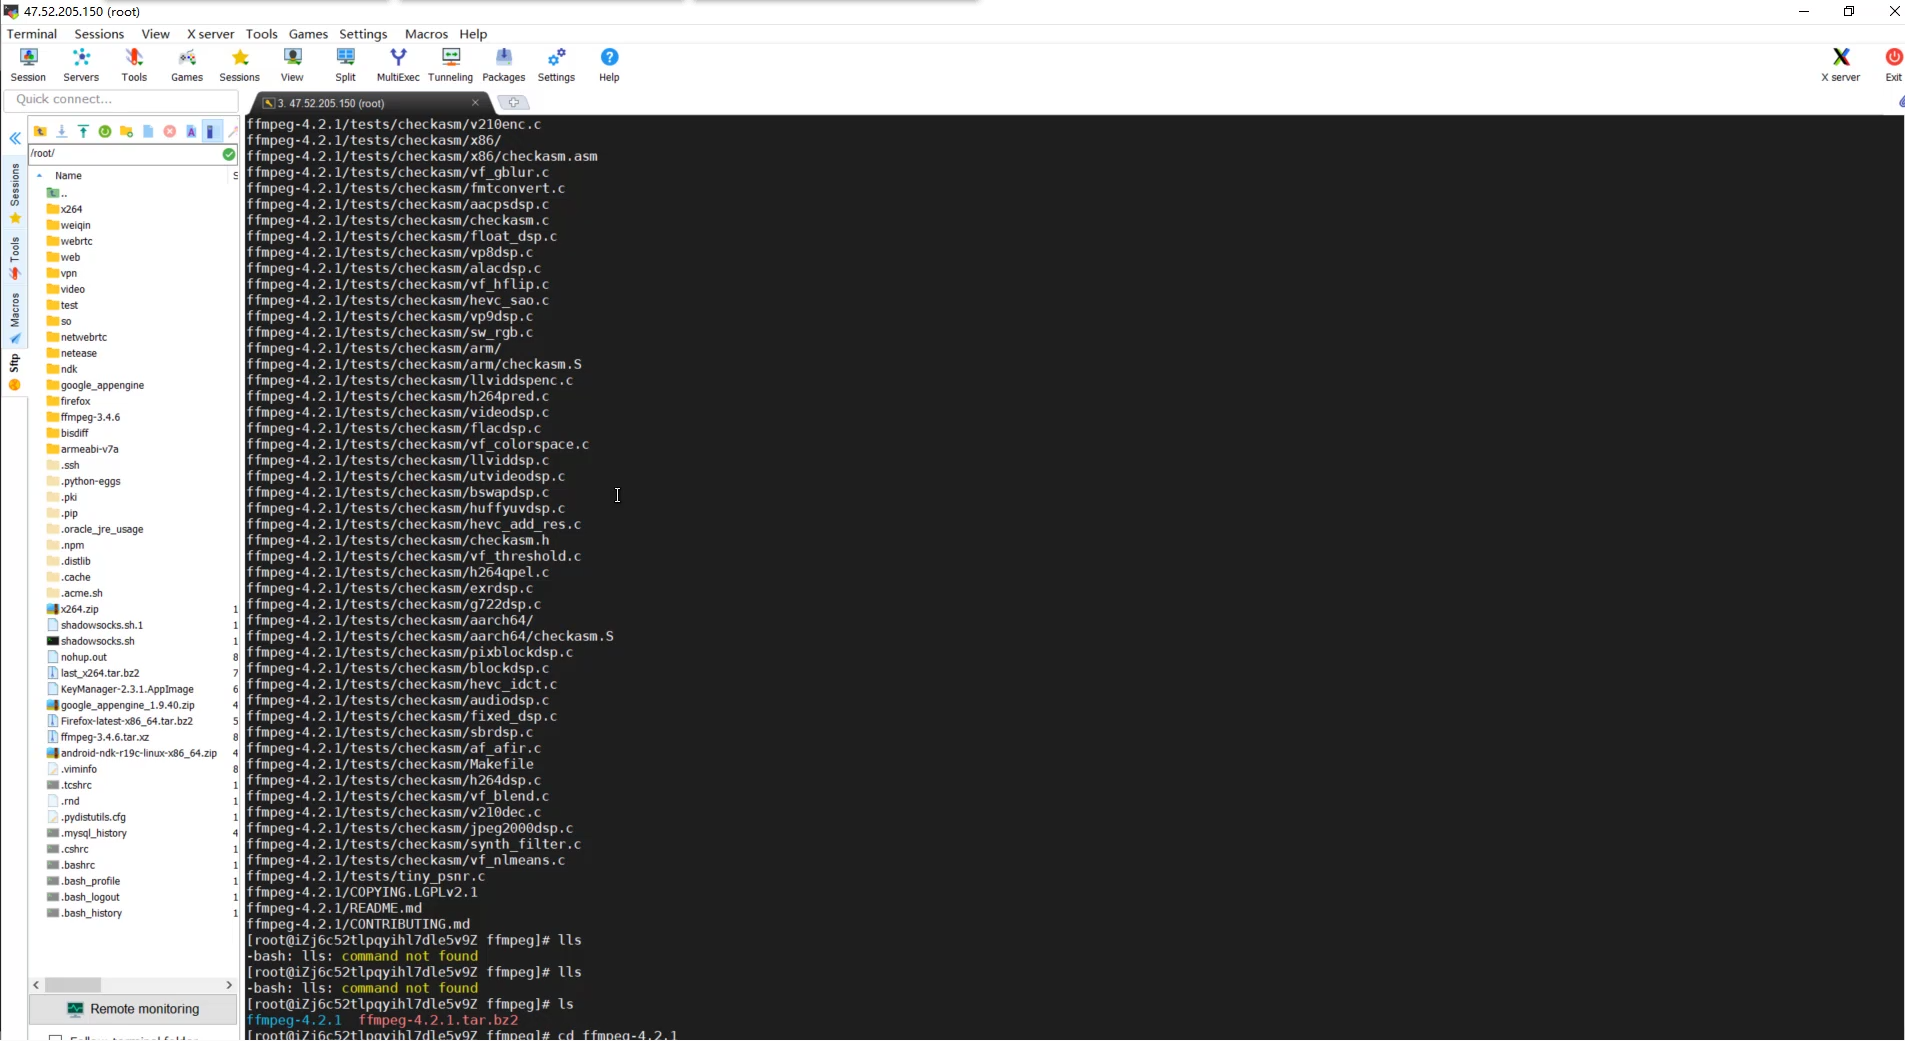
We open the source code of FFmpeg, click the folder and find that all the codes in it are some C and C + + codes and hundreds of files. If we put these files into Android Studio for compilation, it will take quite a long time for you to compile an Apk at this time, This is why we need to generate so through cross compilation and then put it into our project
So how do we use FFmpeg?
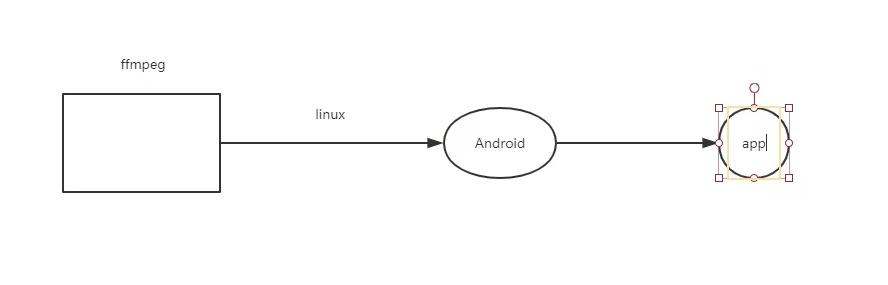
We download the source code of FFmpeg, and then compile it into Android system and compile it into dynamic library or static library. This compilation process requires our compilation environment, not Windows, but Linux. For this Linux, we use CentOS 7.3, and then compile the source code with Linux to generate a dynamic library or static library, put it into our App, and then call it through the header file
Enter FFmpeg's official website, where we can download the source code, but if we download it to Windows, it is useless. We must download it to Linux
Come back to the server we just started and download the FFmpeg source code
Create an FFmpeg. We also use FFmpeg when streaming audio and video live broadcast
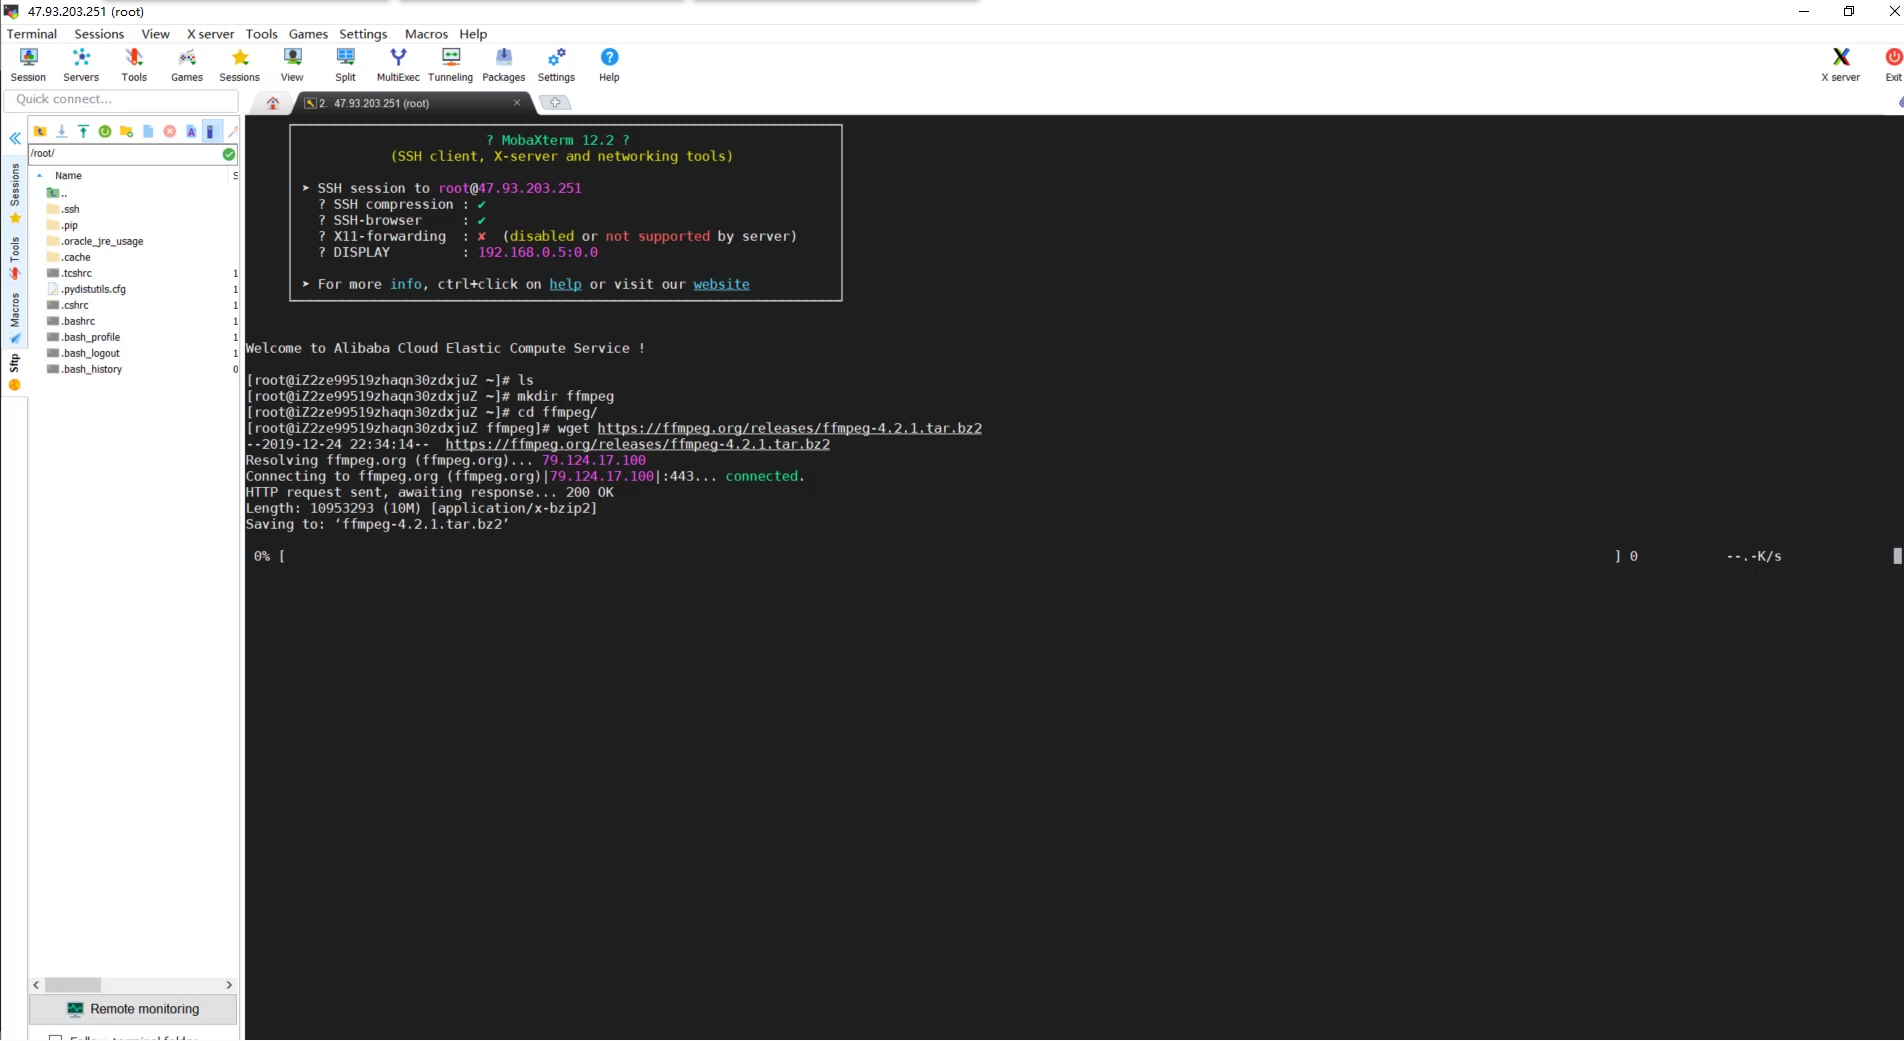
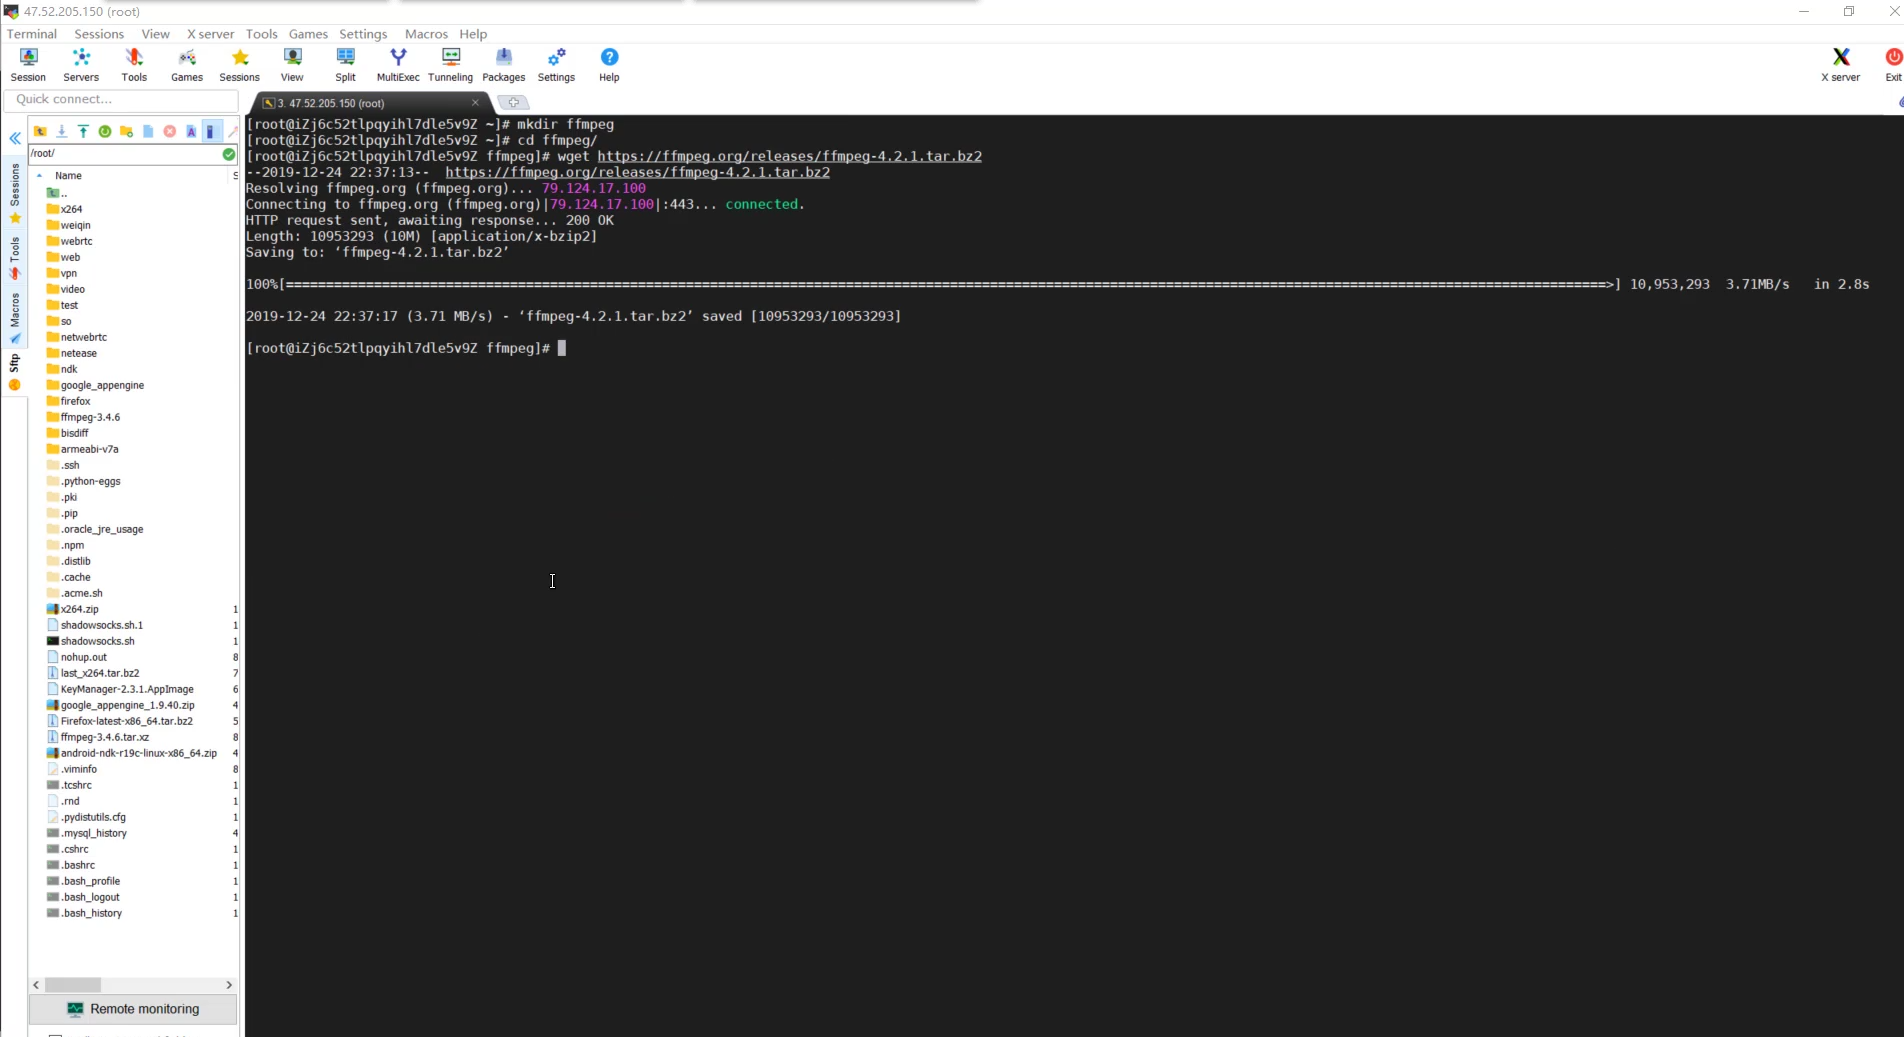
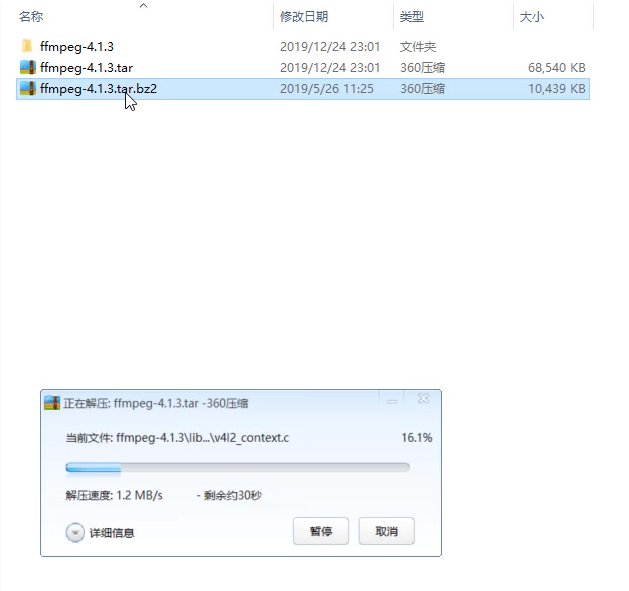
In this way, we have finished downloading an FFmpeg. After downloading, we still need to decompress it
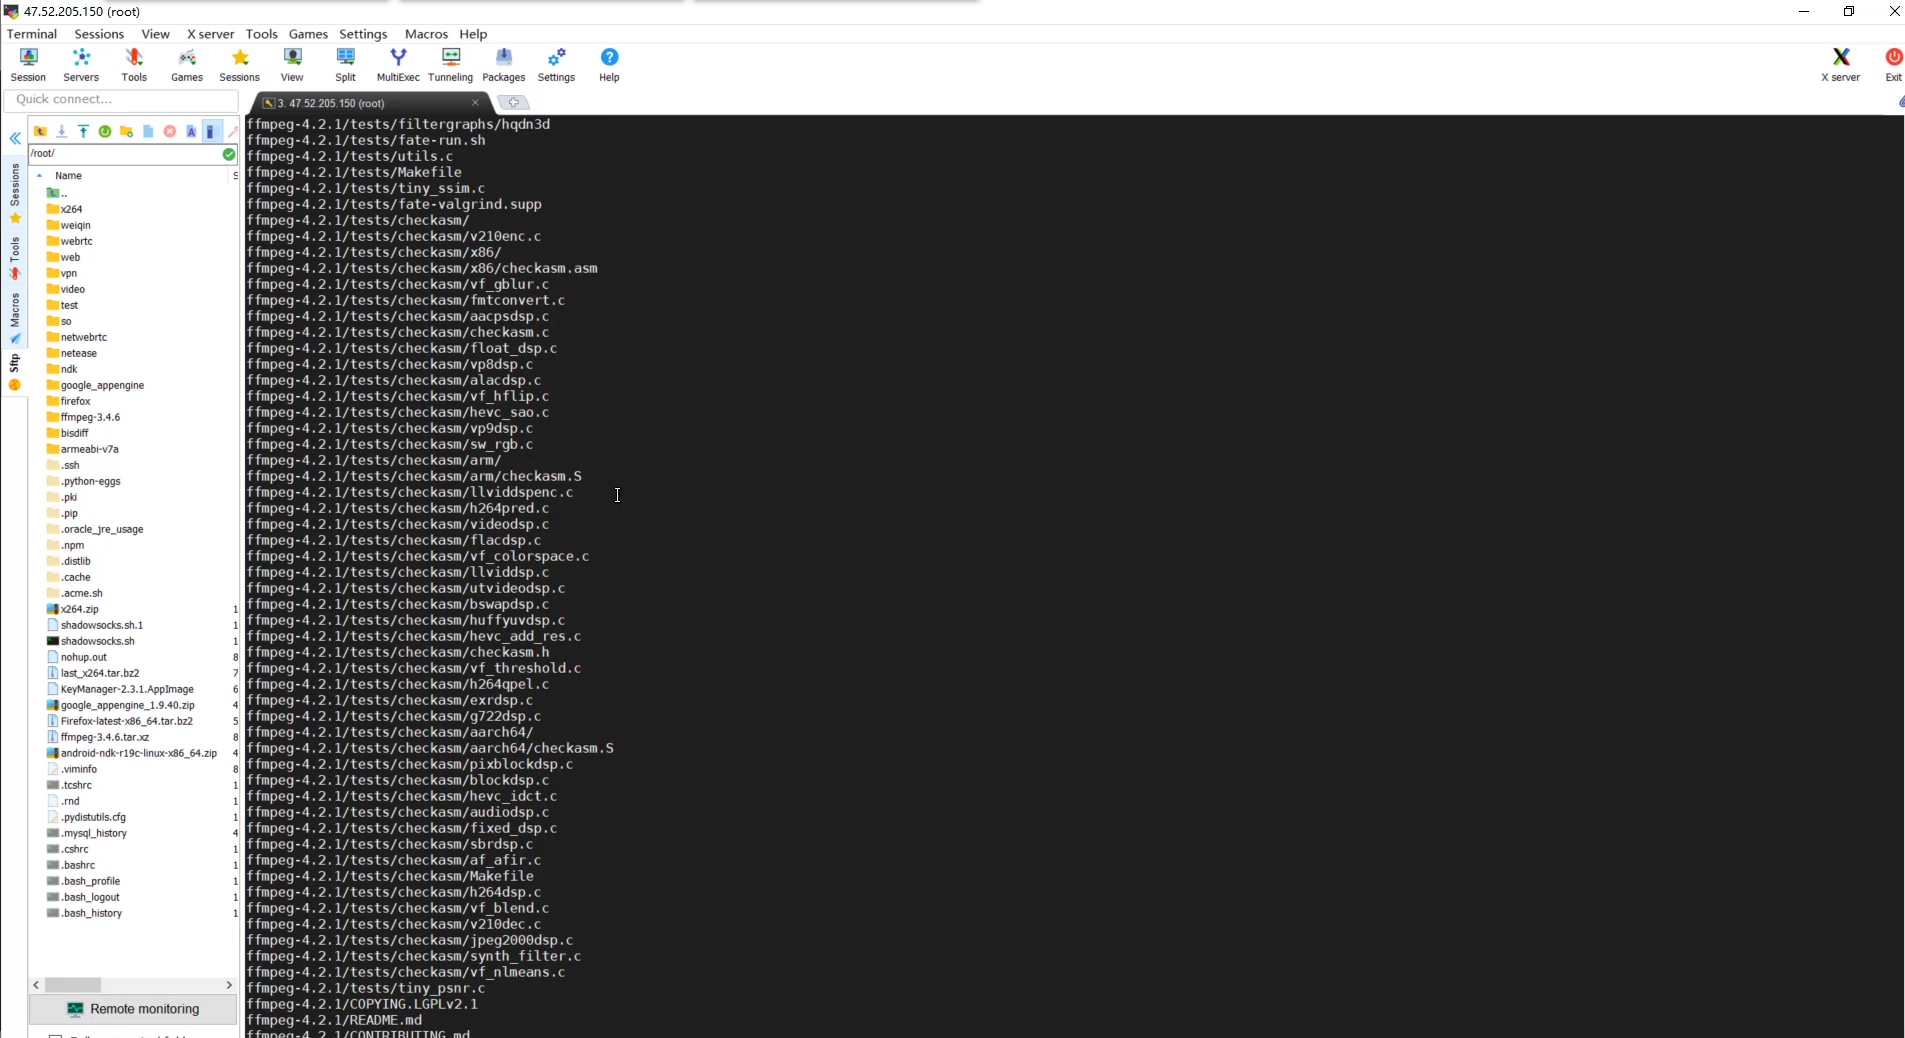
We call the decompression command xvf, and then decompress FFmpeg

In the process of decompression, you can find that there are many C files in it
This is the source code of FFmpeg. We need to compile the source code of FFmpeg. There is gcc in Linux. Can we compile FFmpeg through gcc in Linux?
Obviously, it should not, because gcc in Linux is different from gcc tools in Android. Linux compiles things that can only be used in Linux and cannot be transplanted to our Android system. At this time, we need to learn another technology - Cross compilation.
At present, after NDK 17, its recommended cross tool is called Clang. In previous versions, we all used Android gcc.
What's the difference between gcc and Clang for Android?
In order to make us compile faster and execute C code faster, we developed a very convenient compilation tool called Clang
Later, FFmpeg will be compiled through the latest NDK version and Clang
Now that the source code has been downloaded, we still need a compilation tool - NDK
===================================================================
Because there are many C compilation tools in the NDK source file, we must use the NDK compilation tool instead of the Linux compilation tool. We call this compilation cross compilation.
Back to ECs, we need to download an NDK. You can choose NDKr20 when downloading. We will compile it with this version
Then we need to configure the environment of NDK
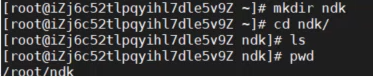
mkdir ndk creates an NDK directory
It is recommended that you buy a server in Hong Kong, because the server in Hong Kong can download these foreign software very quickly. For example, my server is actually a Hong Kong server
Then we can download the NDK by using the wget command. NDK is relatively large, but due to the Hong Kong server, the download is still very fast
After downloading, use the zip command to unzip the downloaded file
unzip, the decompression time may be a little long. According to the configuration of each server, the decompression time will be different
After decompression, we configure the NDK environment. This configuration environment is still somewhat different from Windows. In Windows, we can configure it directly on my computer, but in Linux, it is different. We need to edit etc/profile

Add our environment at the bottom. We set an NDK ROOT and add it to the PATH
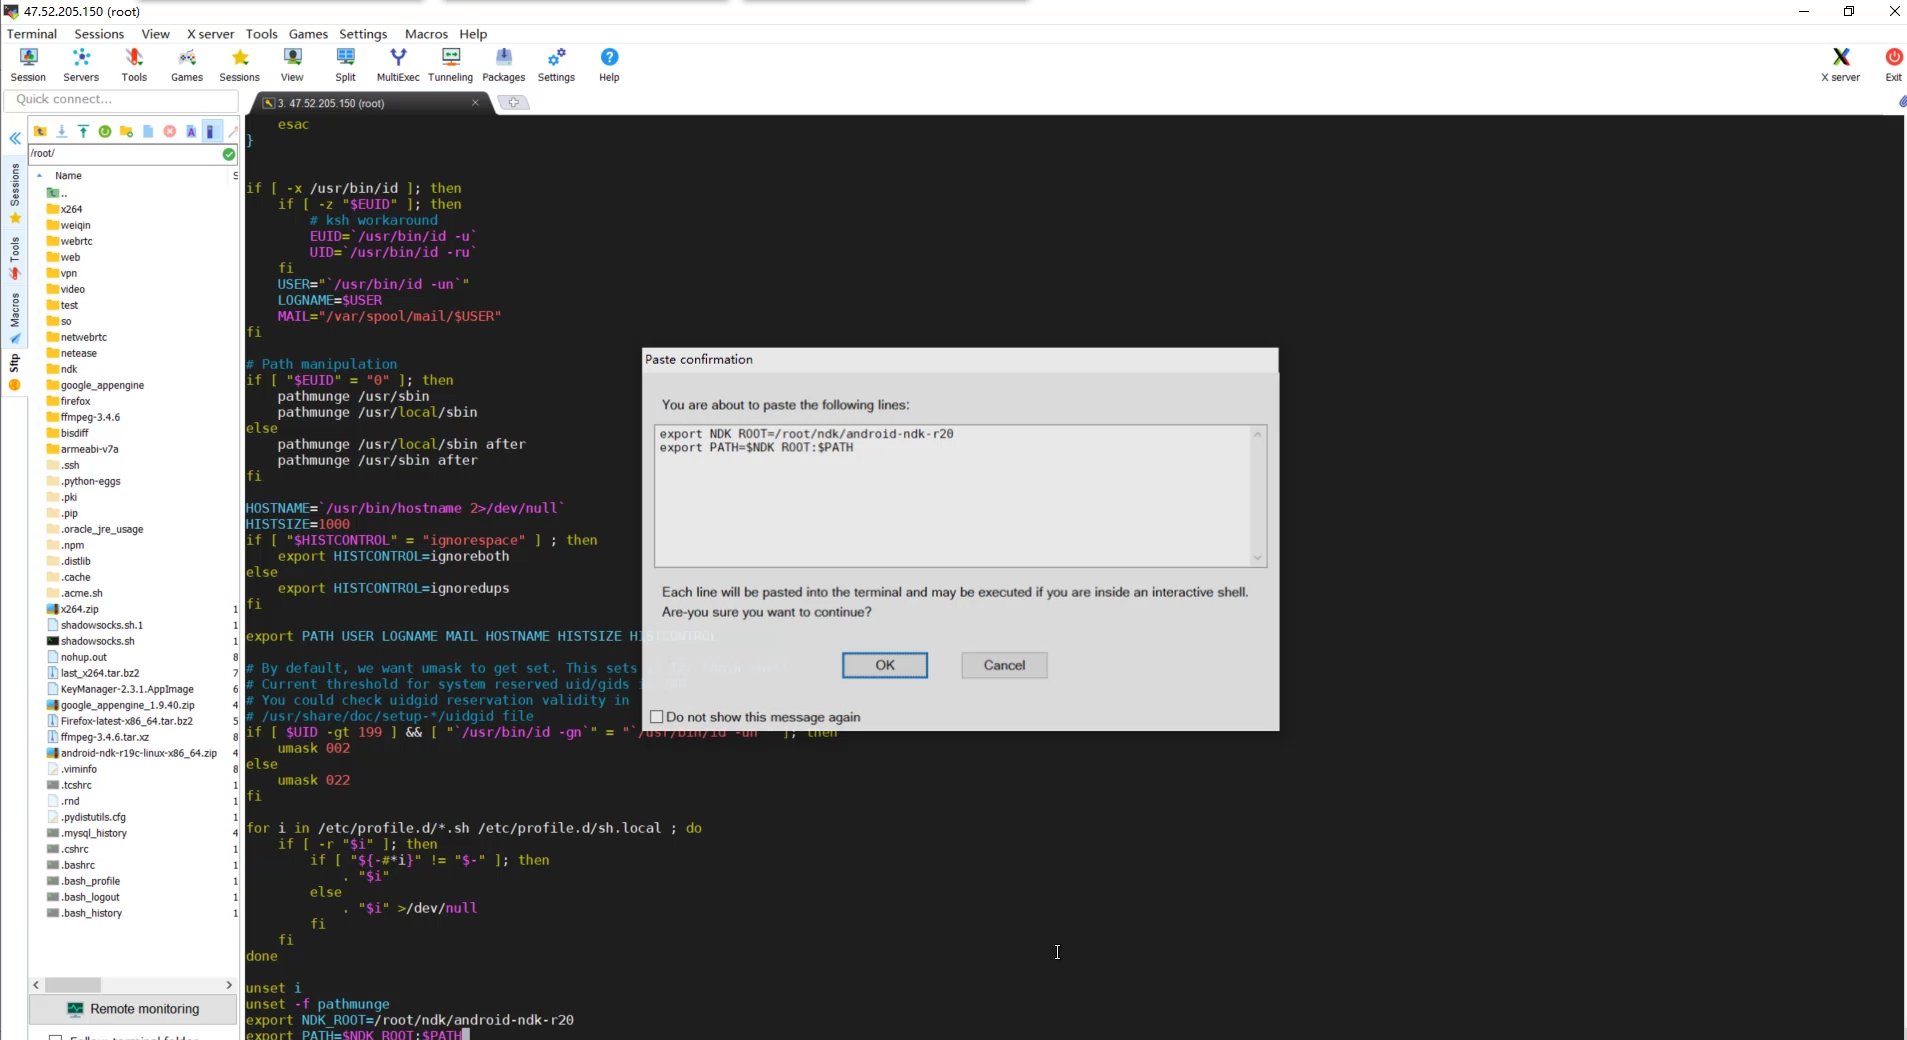
Then exit and let the environment take effect

So far, our NDK environment has been configured. At this time, we need to compile FFmpeg and use shell script
===================================================================
shell script, which is specially designed for Linux, compiles syntax, similar to Java syntax
Speaking of which, shall we learn shell grammar?
Learning is definitely necessary, but we only need to understand how to write the shell script, which can meet the content we need to master in this series of articles
Let's look at the content of this script. The role of the script is to package the FFmpeg source code into. so files or. a static library files we want to use in Android for us to call in Android projects
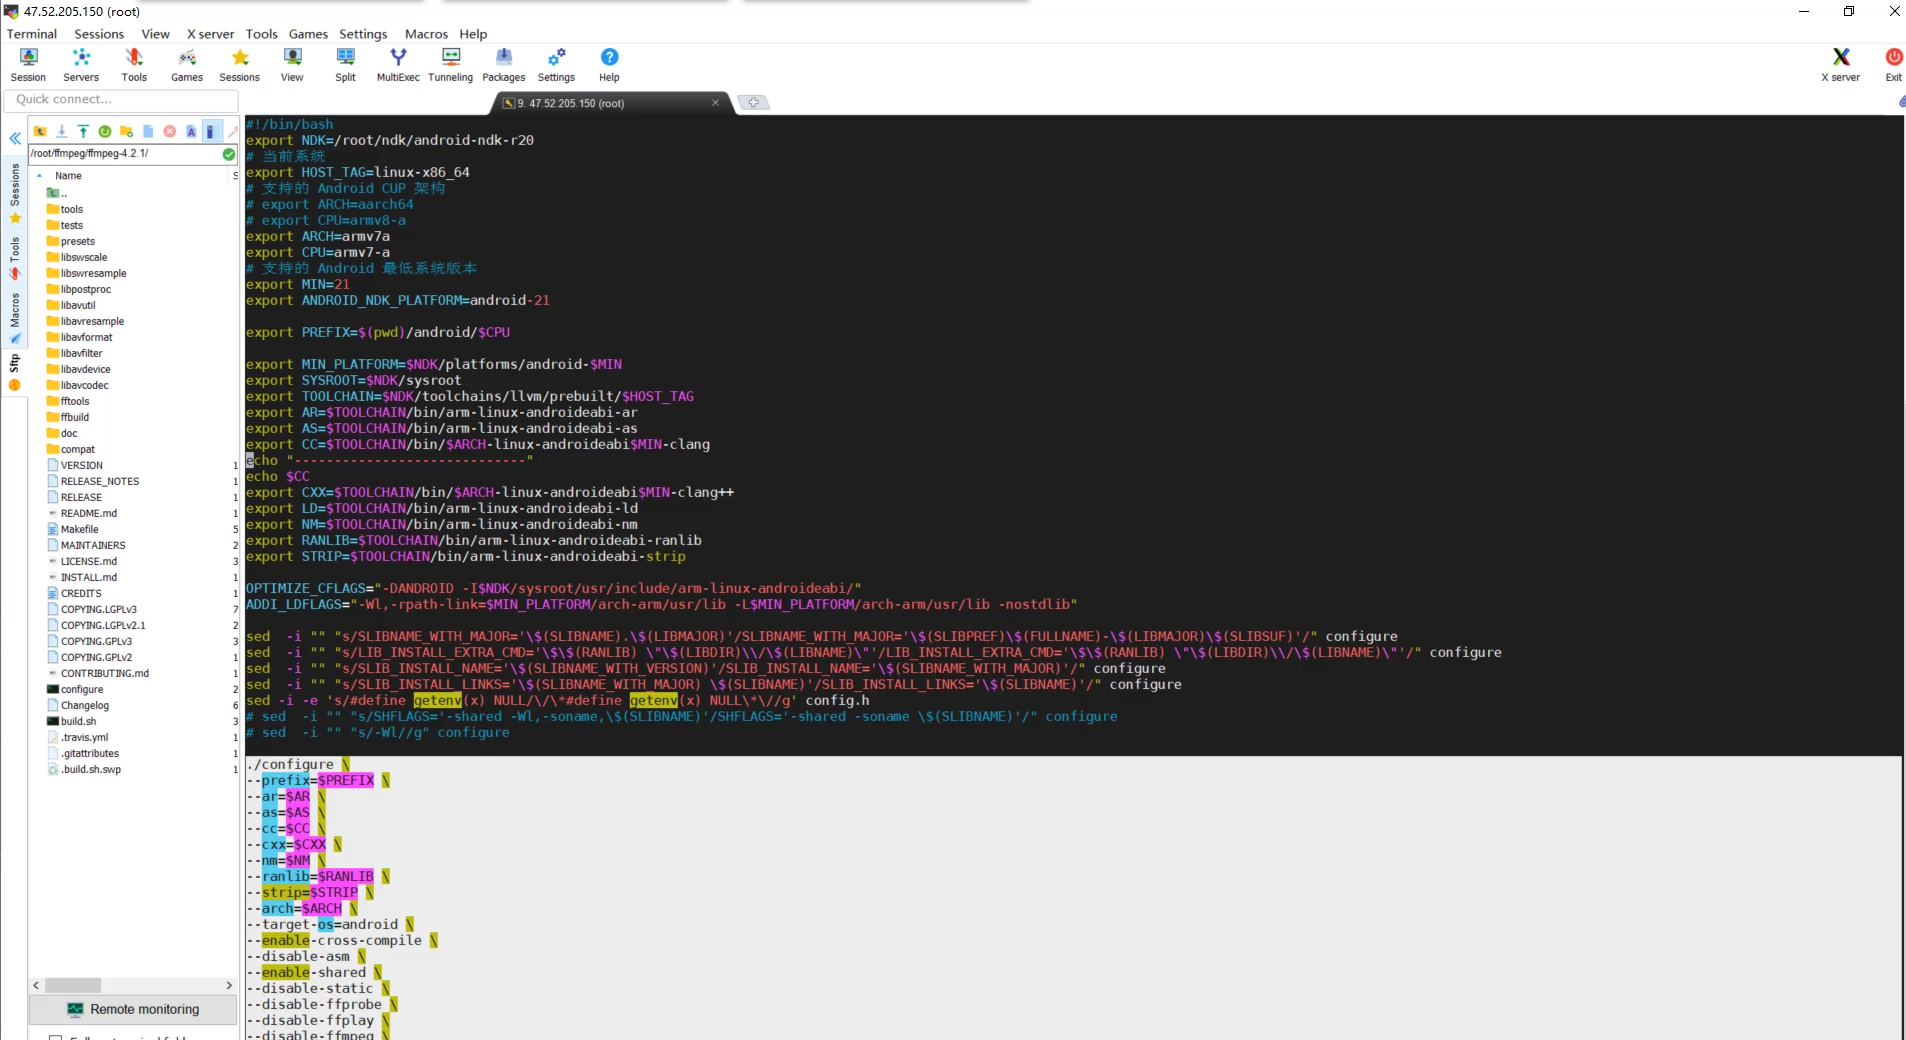
Create an android in the FFmpeg source folder_ build.sh

Directly copy the following code
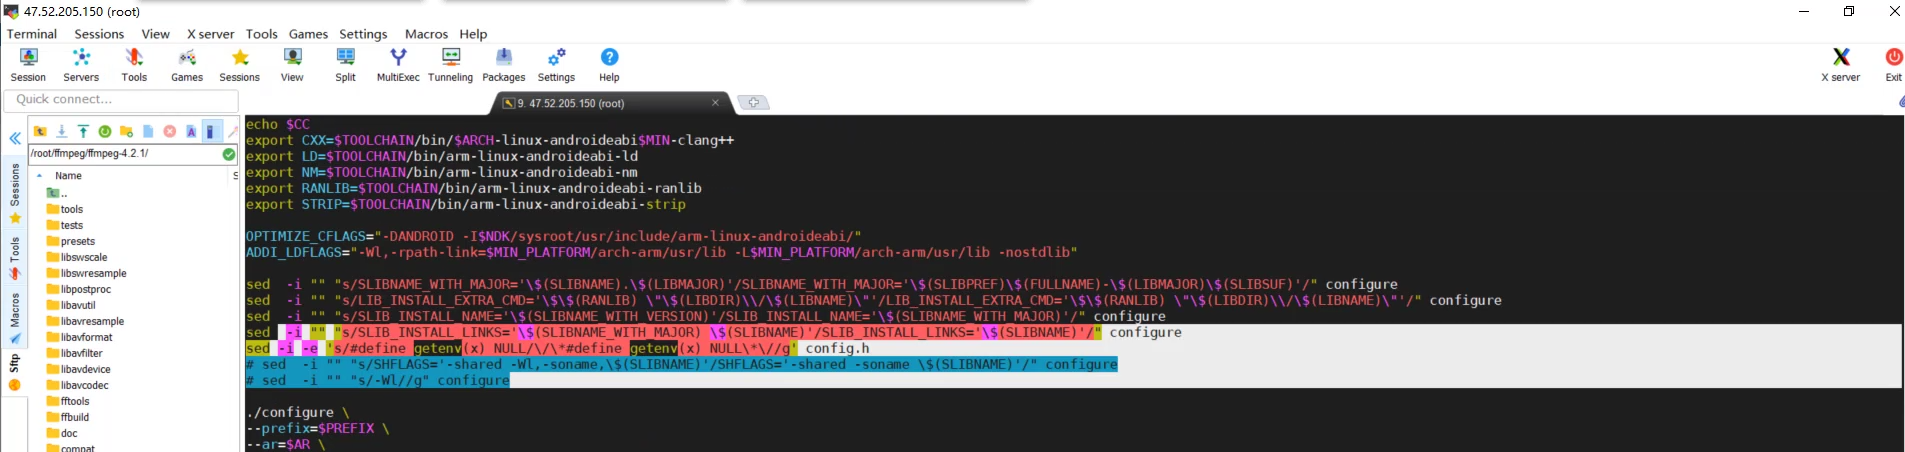
#!/bin/bash

export NDK=/root/ndk/android-ndk-r20

# Current system

export HOST_TAG=linux-x86_64

# Supported Android CUP architecture

# export ARCH=aarch64

# export CPU=armv8-a

export ARCH=armv7a

export CPU=armv7-a

# Minimum supported Android system version

export MIN=21

export ANDROID_NDK_PLATFORM=android-21


export PREFIX=$(pwd)/android/$CPU


export MIN_PLATFORM=$NDK/platforms/android-$MIN

export SYSROOT=$NDK/sysroot

export TOOLCHAIN=$NDK/toolchains/llvm/prebuilt/$HOST_TAG

export AR=$TOOLCHAIN/bin/arm-linux-androideabi-ar

export AS=$TOOLCHAIN/bin/arm-linux-androideabi-as

export CC=$TOOLCHAIN/bin/$ARCH-linux-androideabi$MIN-clang

echo "-----------------------------"

echo $CC

export CXX=$TOOLCHAIN/bin/$ARCH-linux-androideabi$MIN-clang++

export LD=$TOOLCHAIN/bin/arm-linux-androideabi-ld

export NM=$TOOLCHAIN/bin/arm-linux-androideabi-nm

export RANLIB=$TOOLCHAIN/bin/arm-linux-androideabi-ranlib

export STRIP=$TOOLCHAIN/bin/arm-linux-androideabi-strip


OPTIMIZE_CFLAGS="-DANDROID -I$NDK/sysroot/usr/include/arm-linux-androideabi/"

ADDI_LDFLAGS="-Wl,-rpath-link=$MIN_PLATFORM/arch-arm/usr/lib -L$MIN_PLATFORM/arch-arm/usr/lib -nostdlib"


sed  -i "" "s/SLIBNAME_WITH_MAJOR='\$(SLIBNAME).\$(LIBMAJOR)'/SLIBNAME_WITH_MAJOR='\$(SLIBPREF)\$(FULLNAME)-\$(LIBMAJOR)\$(SLIBSUF)'/" configure

sed  -i "" "s/LIB_INSTALL_EXTRA_CMD='\$\$(RANLIB) \"\$(LIBDIR)\\/\$(LIBNAME)\"'/LIB_INSTALL_EXTRA_CMD='\$\$(RANLIB) \"\$(LIBDIR)\\/\$(LIBNAME)\"'/" configure

sed  -i "" "s/SLIB_INSTALL_NAME='\$(SLIBNAME_WITH_VERSION)'/SLIB_INSTALL_NAME='\$(SLIBNAME_WITH_MAJOR)'/" configure

sed  -i "" "s/SLIB_INSTALL_LINKS='\$(SLIBNAME_WITH_MAJOR) \$(SLIBNAME)'/SLIB_INSTALL_LINKS='\$(SLIBNAME)'/" configure

sed -i -e 's/#define getenv(x) NULL/\/\*#define getenv(x) NULL\*\//g' config.h

# sed  -i "" "s/SHFLAGS='-shared -Wl,-soname,\$(SLIBNAME)'/SHFLAGS='-shared -soname \$(SLIBNAME)'/" configure

# sed  -i "" "s/-Wl//g" configure


./configure \

--prefix=$PREFIX \

--ar=$AR \

--as=$AS \

--cc=$CC \

--cxx=$CXX \

--nm=$NM \

--ranlib=$RANLIB \

--strip=$STRIP \

--arch=$ARCH \

--target-os=android \

--enable-cross-compile \

--disable-asm \

--enable-shared \

--disable-static \

--disable-ffprobe \

--disable-ffplay \

--disable-ffmpeg \

--disable-debug \

--disable-symver \

--disable-stripping \

--extra-cflags="-Os -fpic $OPTIMIZE_CFLAGS"\

--extra-ldflags="$ADDI_LDFLAGS"


sed  -i "" "s/#define HAVE_TRUNC 0/#define HAVE_TRUNC 1/" config.h

sed  -i "" "s/#define HAVE_TRUNCF 0/#define HAVE_TRUNCF 1/" config.h

sed  -i "" "s/#define HAVE_RINT 0/#define HAVE_RINT 1/" config.h

sed  -i "" "s/#define HAVE_LRINT 0/#define HAVE_LRINT 1/" config.h

sed  -i "" "s/#define HAVE_LRINTF 0/#define HAVE_LRINTF 1/" config.h

sed  -i "" "s/#define HAVE_ROUND 0/#define HAVE_ROUND 1/" config.h

sed  -i "" "s/#define HAVE_ROUNDF 0/#define HAVE_ROUNDF 1/" config.h

sed  -i "" "s/#define HAVE_CBRT 0/#define HAVE_CBRT 1/" config.h

sed  -i "" "s/#define HAVE_CBRTF 0/#define HAVE_CBRTF 1/" config.h

sed  -i "" "s/#define HAVE_COPYSIGN 0/#define HAVE_COPYSIGN 1/" config.h

sed  -i "" "s/#define HAVE_ERF 0/#define HAVE_ERF 1/" config.h

sed  -i "" "s/#define HAVE_HYPOT 0/#define HAVE_HYPOT 1/" config.h

sed  -i "" "s/#define HAVE_ISNAN 0/#define HAVE_ISNAN 1/" config.h

sed  -i "" "s/#define HAVE_ISFINITE 0/#define HAVE_ISFINITE 1/" config.h

sed  -i "" "s/#define HAVE_INET_ATON 0/#define HAVE_INET_ATON 1/" config.h

sed  -i "" "s/#define getenv(x) NULL/\\/\\/ #define getenv(x) NULL/" config.h
Our shell script contains a lot of content, but the shell script actually has only one sentence, that is, it calls our. / configure file
This. / configure is the configure file in the same level directory of build.sh
We go directly to the FFmpeg source code. There is a thing called configure in the same level directory of the FFmpeg source code, and then we open it
This. / configure also belongs to the shell file. It is an executable SHELL file, similar to the main function in Java
How do we judge whether it is a shell file?
Its first sentence is #/ bin/sh means that it is a shell file. The shell file is executable, which is equivalent to that some parameters may be passed in the main function. For example, we often write some main functions in Java, and then there is a sting array in the main function. We can pass some parameters in by executing the java file on the command line. Similarly, it will pass these parameters in the shell file, but the parameters passed in configure are more complex
In short, we execute the shell file just to call such a sentence. / configure to execute the shell file we just mentioned
================================================================
The following are all parameters
The above is to define some parameter variables, similar to global variables
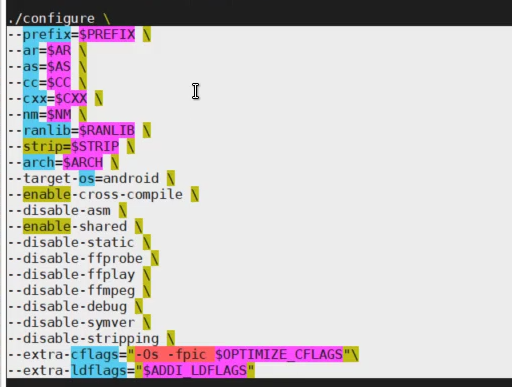
Let's look at. / configure. The first – prefix represents the directory in which we want to output

What we finally compiled is a dynamic library, which must have a folder, but the file is placed in the prefix variable. We look up and find the place where the prefix defines the variable declaration, which is in our current directory

pwd is a command, shell syntax, which can directly call these commands. For example, pwd can output to the current directory
The Android CPU in the current directory is our currently compiled CPU. We compile armv7a. During the compilation process, an Android file will be generated, and then a sub file called armCPUv7a will be generated under the Android file. Finally, put our compilation results in this folder

– ar is a link compiler in Clang. We can open the NDK. I open it in the NDK of Android studio, and then we open its directory, Android/SDK
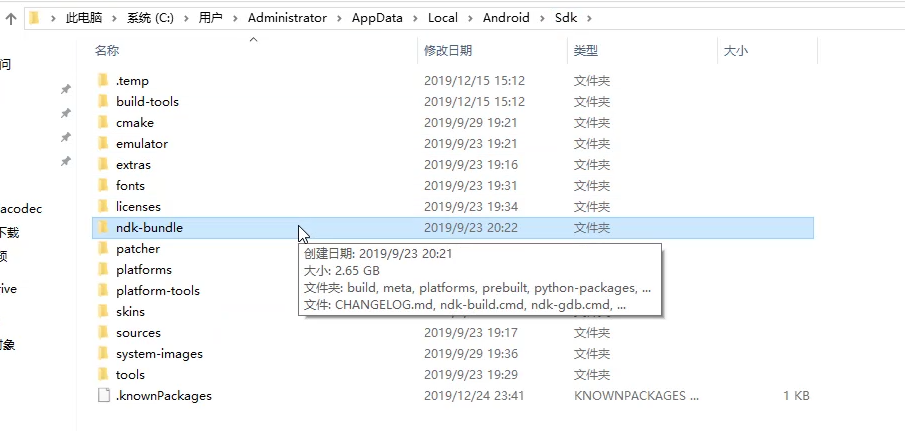
There is an NDK bundle in this directory. We directly open windows. Windows and Linux are similar because they are the same version, but the suffix is. exe and the executable file in Linux
Let's open NDK bundle and then toolchains
toolchains: it means tool chain
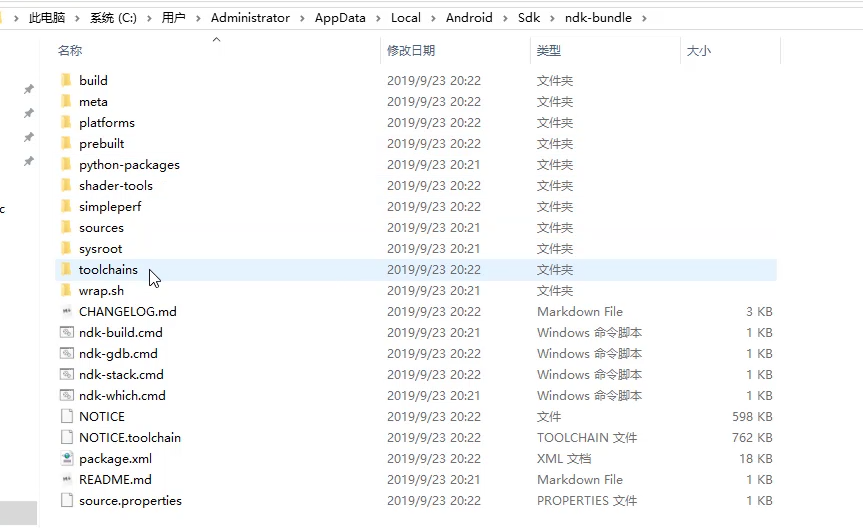
Go on, we can find many executable files. In Windows, the suffix name is. exe
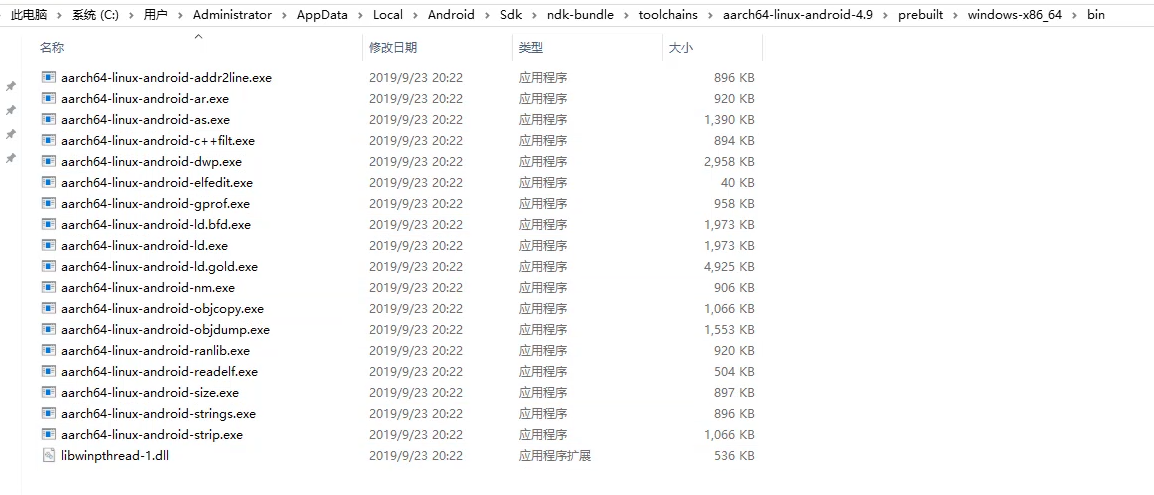
Then it has the following files that need to be passed in FFmpeg, and the parameters are passed in
The paths ar, as, nm and strip need to be specified. They are mainly used for link compilation to speed up the compilation of so


Therefore, you will find that when passing parameters, the first one is - AR, and its value is the variable ar. above, we will define a variable called ar
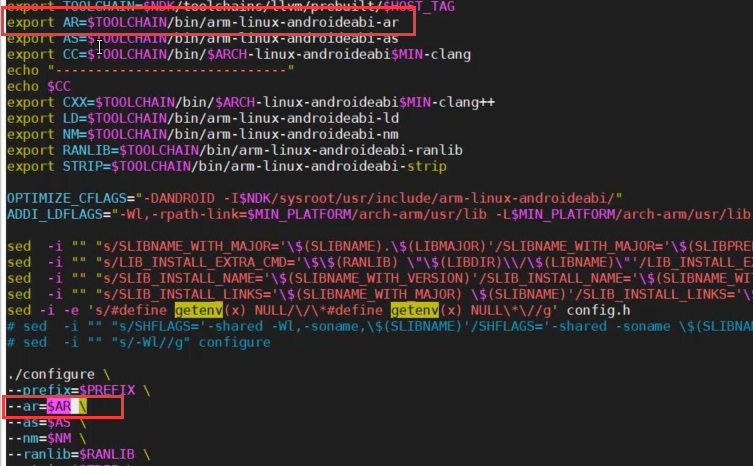
His path is shown in the figure below, that is, the paths we just saw

These all play the role of a link compilation tool
In the previous NDK version, there were no these files. In the past, there was only gcc. Now, after cross compiling with Clang, we need to specify the contents of these cross compiling tool chains
The above five paths are to specify the specified tools in our cross tool chain, that is, after we specify these tools, we will use these tools to compile when FFmpeg is compiled
The two main parameters are the following – cc and – cxx. In the past, we were – gcc, and now it is cc. cc refers to Clang
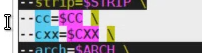
$CC is the variable defined

Let's find out. We'll find a lot of Clang's compilation tools here