catalogue
2, SpringBoot integration Swagger
1, Introduction to swagge
Front and rear end separation:
Back end: back end control layer, service layer, data access layer [back end team]
Front end: front end control layer, view layer [ front end team ]
The front and back end interact through API
The front and rear ends are relatively independent and loosely coupled
Problems: the front and back ends are integrated, and the front end or back end cannot "negotiate in time and solve them as soon as possible", which eventually leads to the centralized outbreak of problems
Solution: first define the schema [outline of the plan] and track the latest API in real time to reduce the integration risk
Front and rear end separation: Front end test back end interface: postman
The back end provides an interface, which needs to update the latest messages and changes in real time!
Swagger
-
It is known as the most popular API framework in the world
-
Restful Api document online automatic generator = > API document and API definition are updated synchronously
-
Direct run, online test API
-
Support multiple languages (such as Java, PHP, etc.)
-
Official website: API Documentation & Design Tools for Teams | Swagger
2, SpringBoot integration Swagger
1. Create a new springboot web project
2. Add Maven dependency
<!-- https://mvnrepository.com/artifact/io.springfox/springfox-swagger2 -->
<dependency>
   <groupId>io.springfox</groupId>
   <artifactId>springfox-swagger2</artifactId>
   <version>2.9.2</version>
</dependency>
<!-- https://mvnrepository.com/artifact/io.springfox/springfox-swagger-ui -->
<dependency>
   <groupId>io.springfox</groupId>
   <artifactId>springfox-swagger-ui</artifactId>
   <version>2.9.2</version>
</dependency>
3. Write HelloController and test to ensure successful operation!

4. To use Swagger, we need to write a configuration class SwaggerConfig to configure Swagger
@Configuration
@EnableSwagger2        //Turn on Swagger2
public class SwaggerConfig {

}
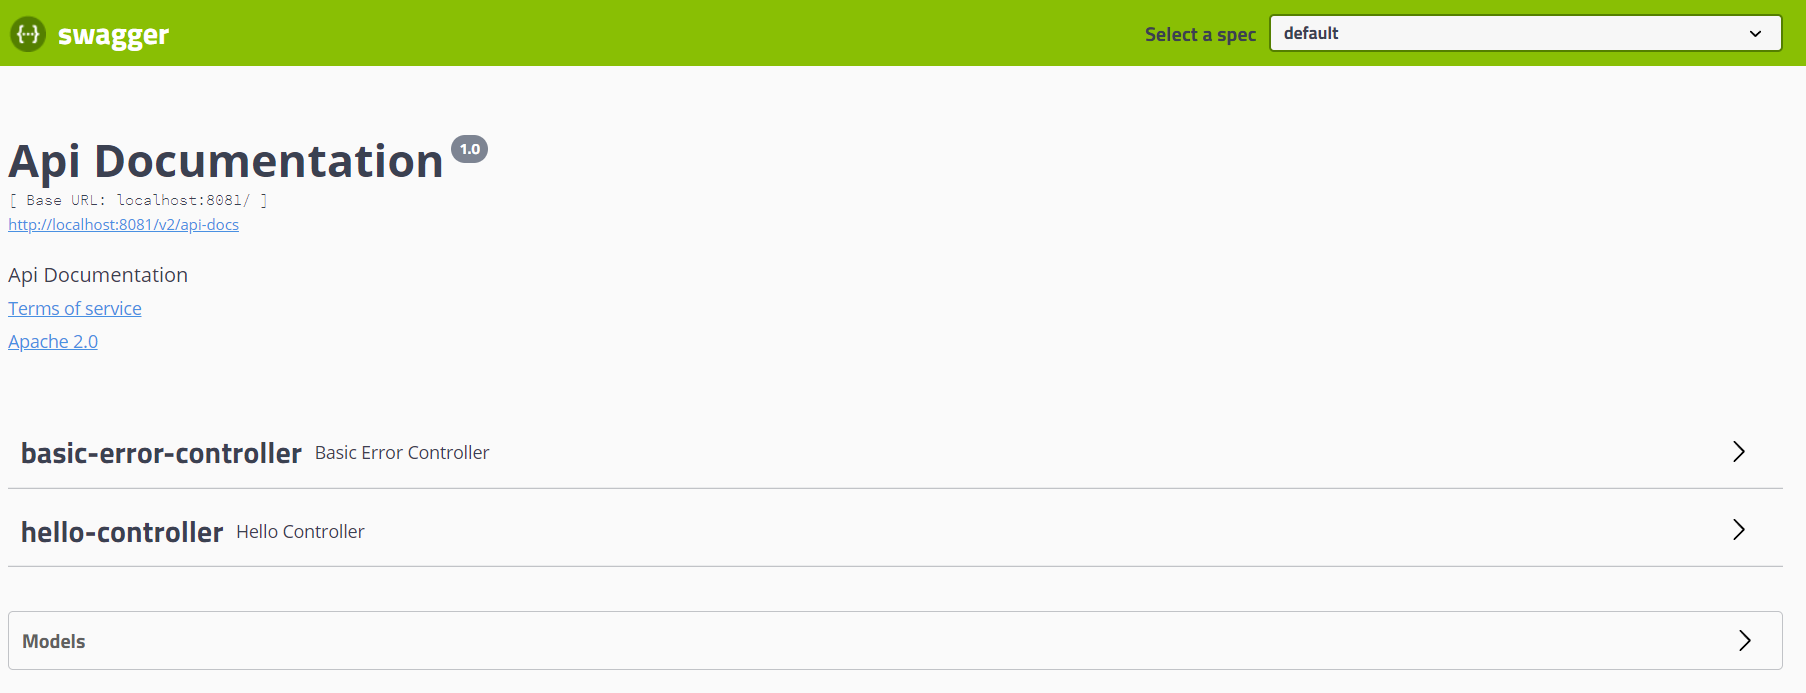
5. Access test: http://localhost:8081/swagger-ui.html , you can see the interface of swagger;
3, Configure Swagger
1. Swagger instance Bean is a Docket, so configure swagger by configuring the Docket instance.
//bean instance of dock configured with Swagger
    @Bean
    public Docket docket(){
        return new Docket(DocumentationType.SWAGGER_2);

    }
2. You can configure the document information through the apiInfo() property
    //Configure document information
    private ApiInfo apiInfo() {
        Contact contact = new Contact("Long di", "https://blog.csdn.net/weixin_48838340 "," contact email ");
        return new ApiInfo(
                "Longdi's Swagger Learning documents", // title
                "Learn to demonstrate how to configure Swagger", // describe
                "v1.0", // edition
                "https://blog.csdn.net/weixin_48838340 ", / / organize links
                contact, // contact information
                "Apach 2.0 permit", // permit
                "License link", // License connection
                new ArrayList<>()// extend
        );
    }
}
3. apiInfo() on Docket instance Association
    @Bean
    public Docket docket(){
        return new Docket(DocumentationType.SWAGGER_2).apiInfo(apiInfo());
    }
4. Restart the project

4, Configure scan interface
When building a Docket, configure how to scan the interface through the select() method.
    //bean instance of dock configured with Swagger
    @Bean
    public Docket docket(){
        return new Docket(DocumentationType.SWAGGER_2)
                .apiInfo(apiInfo())
                .select()// Configure the scanning interface through the. select() method, and RequestHandlerSelectors configure how to scan the interface
                  //any() / / all interfaces in the project will be scanned
                 // none() / / do not scan interfaces
        // withMethodAnnotation scans through annotations on methods. For example, withMethodAnnotation(GetMapping.class) only scans get requests
        // Scan the annotation on the class, such as. withClassAnnotation(Controller.class). Only scan the interface in the class with controller annotation
                .apis(RequestHandlerSelectors.basePackage("com.longdi.swagger.controller"))
                //What path does path() filter
                .paths(PathSelectors.ant("/longdi/**"))
                .build();
    };
5, Configure Swagger switch
1. Configure whether swagger is enabled through the enable() method
    @Bean
    public Docket docket() {
        return new Docket(DocumentationType.SWAGGER_2)
                .apiInfo(apiInfo())
                .enable(false) //Configure whether Swagger is enabled. If false, it will not be accessible in the browser
                .select()// Configure the scanning interface through the. select() method, and RequestHandlerSelectors configure how to scan the interface
                .apis(RequestHandlerSelectors.basePackage("com.longdi.swagger.controller"))
                // Configure how to filter through path, that is, only the interfaces whose requests start with / longdi are scanned here
                .paths(PathSelectors.ant("/longdi/**"))
                .build();
    }
2. How to dynamically configure the display of swagger when the project is in the test and dev environment
    @Bean
    public Docket docket(Environment environment) {
        // Set the environment in which you want to display swagger
        Profiles of = Profiles.of("dev", "test");
        // Judge whether you are currently in this environment
        // Receive this parameter through enable() to determine whether to display
        boolean b = environment.acceptsProfiles(of);

        return new Docket(DocumentationType.SWAGGER_2)
                .apiInfo(apiInfo())
                .enable(b) //Configure whether Swagger is enabled. If false, it will not be accessible in the browser
                .select()// Configure the scanning interface through the. select() method, and RequestHandlerSelectors configure how to scan the interface
                .apis(RequestHandlerSelectors.basePackage("com.longdi.swagger.controller"))
                // Configure how to filter through path, that is, only the interfaces whose requests start with / longdi are scanned here
                .paths(PathSelectors.ant("/longdi/**"))
                .build();
    }
6, Configure API grouping
1. If grouping is not configured, it defaults to default. Grouping can be configured through the groupName() method:
    @Bean
    public Docket docket1(Environment environment) {
        return new Docket(DocumentationType.SWAGGER_2).apiInfo(apiInfo())
                .groupName("A") ;// Configure grouping
        // Omit configuration
    }
2. To configure multiple packets, you only need to configure multiple docks
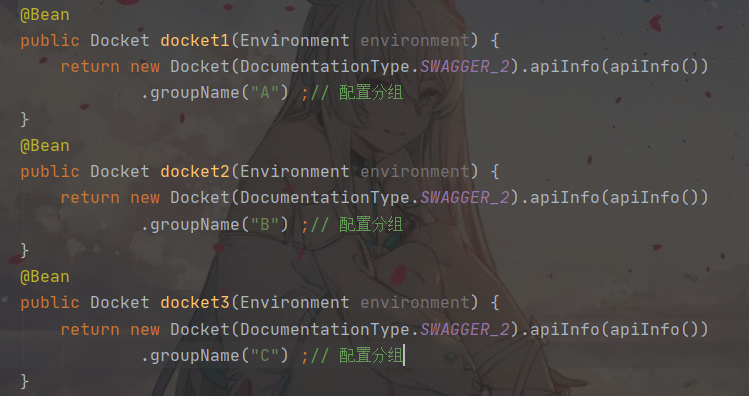
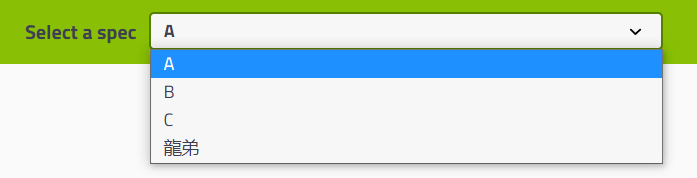
3. Restart to see the following effect
7, Entity configuration
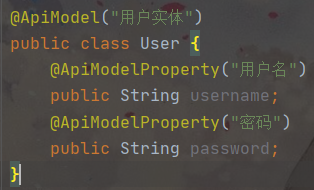
1. Create a new entity class
@ApiModel adds comments to the class
@ApiModelProperty adds comments for class properties
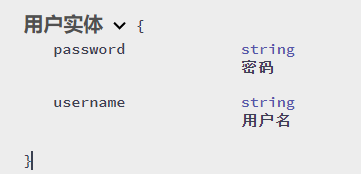
2. As long as the entity is on the return value of the request interface (even generic), it can be mapped to the entity item:
    //As long as there is an entity class in the return value in our interface, it will be scanned into Swagger
    @PostMapping(value="/user")
    public User getUser(){
        return new User();
    }
3. View the effect
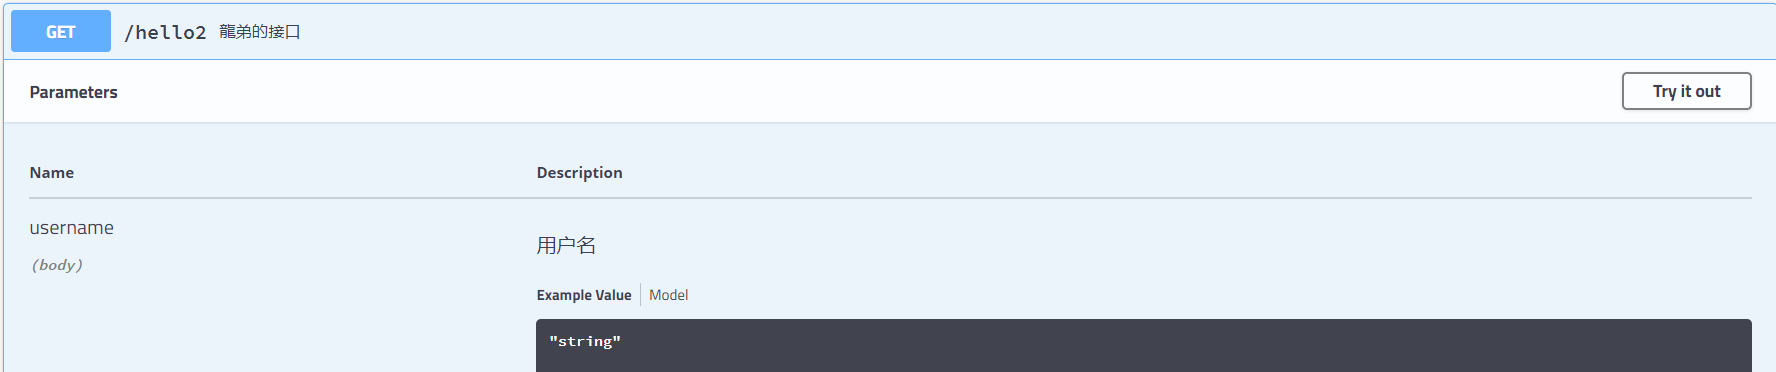
4. You can configure some comments for the requested interface
    //The Operation interface is not placed on a class, but a method
    @ApiOperation("Longdi's interface")
    @GetMapping("/hello2")
    public String kuang(@ApiParam("This name will be returned")String username){
        return "hello"+username;
    }
8, Summary:
1. We can add annotation information to some properties or interfaces that are difficult to understand through Swagger
2. Real time update of interface documents
3. It can be tested online
Swagger is an excellent tool, which is used by almost all large companies
[note] Swagger needs to be closed during official release! Because for security reasons, save running memory at the same time!