Tip: after the article is written, the directory can be generated automatically. Please refer to the help document on the right for how to generate it
preface
The ARM CPU architecture used by raspberry school is different from the X86 CPU architecture of PC. due to the different platform capabilities of the two, not all the software packages on the architecture are the same (individual software packages may not have arm platform and other versions due to capacity and other reasons), that is, the amount of software packages is different between the two. Raspberry pie cannot directly install anaconda and Opencv using instructions. The following records the blogger's process of installing Python 3 and Opencv.
Thanks to the blogger
I refer to this Zhihu Da's article advocating Zihao
Brother Zihao teaches you to install OpenCV on raspberry pie
https://zhuanlan.zhihu.com/p/46032511
1, Preparation of installation tools
1. Replace the software source
be careful!!! Check the system version first!!cat /etc/debian_version
Debian release
Debian has maintained at least three distributions: stable, testing, and unstable.
stable version
The stable version contains the latest release of Debian's official software package.
The current stable version number of Debian is 11 and the development code is bullseye. The original version is 11.0, which was released on August 14, 2021, and its update 11.1 was released on October 9, 2021.
testing
The beta version contains packages that have not been included in the stable version, but they have entered the candidate queue. The biggest benefit of using this version is that it has more versions of newer software.
The current beta version code is bookworm.
unstable version
The unstable version stores Debian's current development work. Usually, only developers and those who like to live a thrilling life choose this version.
The unstable version code is always called sid.
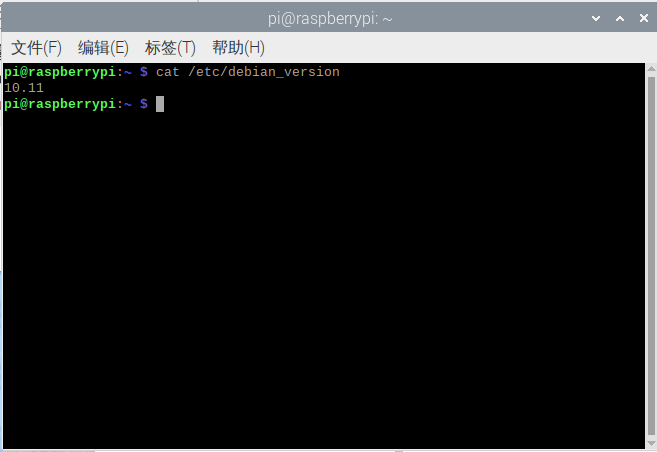
My version is 10.11, so change it like this
sudo -s
echo -e "deb http://mirrors.ustc.edu.cn/raspbian/raspbian/ buster main contrib non-free rpi \n deb-src http://mirrors.ustc.edu.cn/raspbian/raspbian/ buster main contrib non-free rpi" > /etc/apt/sources.list
echo -e "deb http://mirrors.ustc.edu.cn/archive.raspberrypi.org/ buster main ui" > /etc/apt/sources.list.d/raspi.list
exit
sudo apt update && sudo apt -y upgrade
2. Install aptitude
Aptitude, like apt get, is an extremely powerful package management tool in Debian and its derivative systems. Unlike apt get, aptitude handles dependency better. For example, when aptitude deletes a package, it will also delete the package it depends on. In this way, there will be no useless packages left in the system, and the whole system will be cleaner.
sudo apt-get install aptitude
2, Installing berryconda
Download: Berryconda3-2.0.0-Linux-armv7l.sh
Under the download path
chmod +x Berryconda3-2.0.0-Linux-armv7l.sh
./Berryconda3-2.0.0-Linux-armv7l.sh
3, Install Opencv
Unlike other linux systems, opencv can be installed with one click instructions. raspberry needs to install its dependent libraries and compile and install them
1. Install numpy
Open the command line interface and enter the following command to install the Python scientific computing library numpy
sudo pip3 install numpy
2. Expand the root directory to the entire SD card in the raspberry pie setting
Enter the command in the command line interface to enter the raspberry pie configuration interface.
Use the up and down keys and the left and right keys to switch the cursor position.
3. Install the library required by OpenCV
sudo aptitude install build-essential git cmake pkg-config -y
sudo aptitude install libjpeg8-dev -y
sudo aptitude install libtiff5-dev -y
sudo aptitude install libjasper-dev -y
sudo aptitude install libpng12-dev -y
sudo aptitude install libavcodec-dev libavformat-dev libswscale-dev libv4l-dev -y
sudo aptitude install libgtk2.0-dev -y
sudo aptitude install libatlas-base-dev gfortran -y
If the installation dependency is an error:
The following software packages have unsatisfied dependencies: XXXX, but they are about to be installed. Use aptitude to install or solve them.
sudo aptitude install aptitude
For the uninstalled scheme recommended by aptitude, select no, and then downgrade the dependent library to install it.
4. Download Opencv
Enter the following three commands on the command line to download two compressed packages to the / home/pi/Downloads directory of raspberry pie.
If your raspberry pie can't access the Internet, you can download it on your PC and copy it.
cd /home/pi/Downloads
wget https://github.com/Itseez/opencv/archive/3.4.0.zip
wget https://github.com/Itseez/opencv_contrib/archive/3.4.0.zip
Unzip the two compressed packages
cd /home/pi/Downloads
unzip opencv-3.4.0.zip
unzip opencv_contrib-3.4.0.zip
5. Set compilation parameters
Set compilation parameters
cd /home/pi/Downloads/opencv-3.4.0
mkdir build
cd build
Set CMAKE parameters
cmake -D CMAKE_BUILD_TYPE=RELEASE -D CMAKE_INSTALL_PREFIX=/usr/local -D INSTALL_C_EXAMPLES=ON -D INSTALL_PYTHON_EXAMPLES=ON -D OPENCV_EXTRA_MODULES_PATH=/home/pi/Downloads/opencv_contrib-3.4.0/modules -D BUILD_EXAMPLES=ON -D WITH_LIBV4L=ON PYTHON3_EXECUTABLE=/usr/bin/python3.5 PYTHON_INCLUDE_DIR=/usr/include/python3.5 PYTHON_LIBRARY=/usr/lib/arm-linux-gnueabihf/libpython3.5m.so PYTHON3_NUMPY_INCLUDE_DIRS=/home/pi/.local/lib/python3.5/site-packages/numpy/core/include ..
If displayed:
Build files have been written to /home/pi/Downloads/opencv-3.4.0/build
Then congratulations on your successful configuration
6. Compile and install
After making sure that the raspberry pie has enough power and enough memory space, it can be compiled
cd /home/pi/Downloads/opencv-3.4.0/build
make
If compilation fails, an error is reported
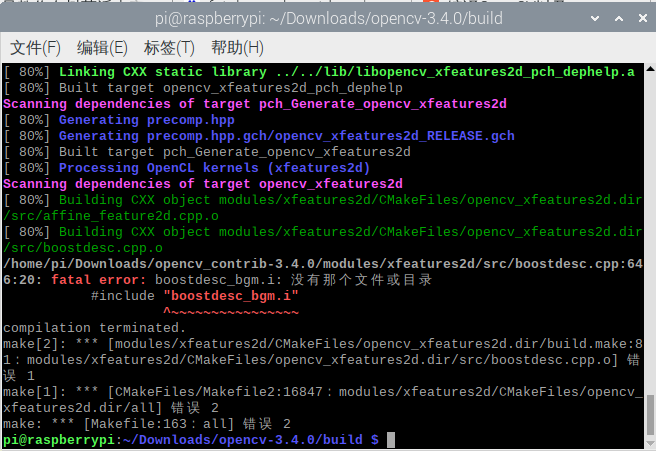
You can view the log file CMakeDownloadLog.txt in the build folder and search for boostdesc in the log file CMakeDownloadLog.txt_ BGM. I keyword (not search in folder),
Found that this file failed to download. The log file has its download address. You can directly copy its download address to the web page to see the source code of the file. You can directly copy the source code and save the file with the same name and put it under the cpp file path with error.
You can download the missing file from the blogger's article
Compiling OpenCV and openc_contrib prompt missing bootdesc_ Resolution of BGM. I file error
Then you can continue compiling
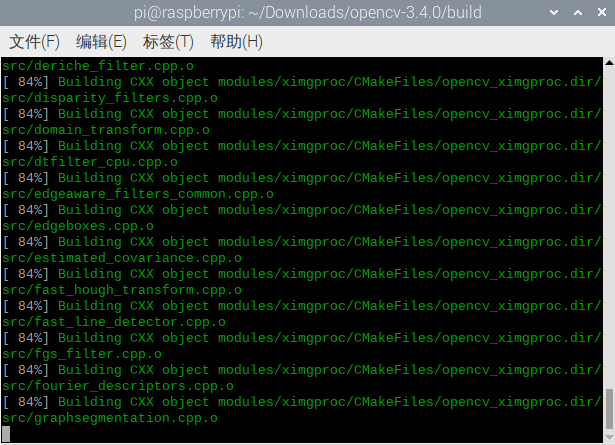
Compilation succeeded
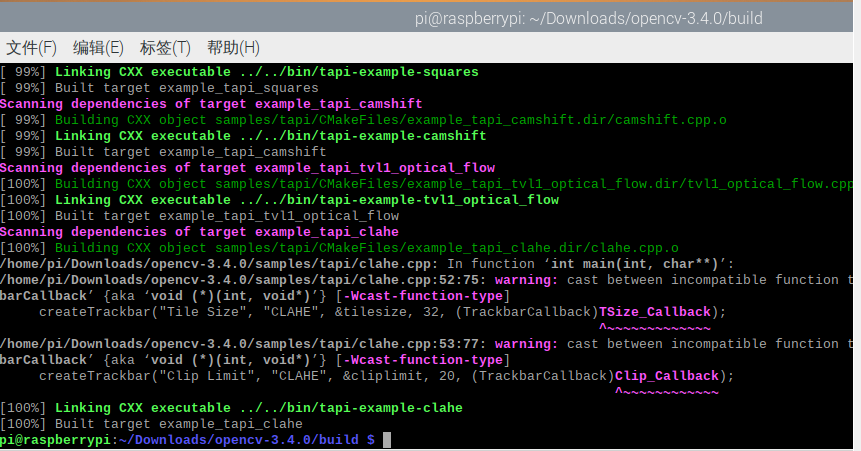
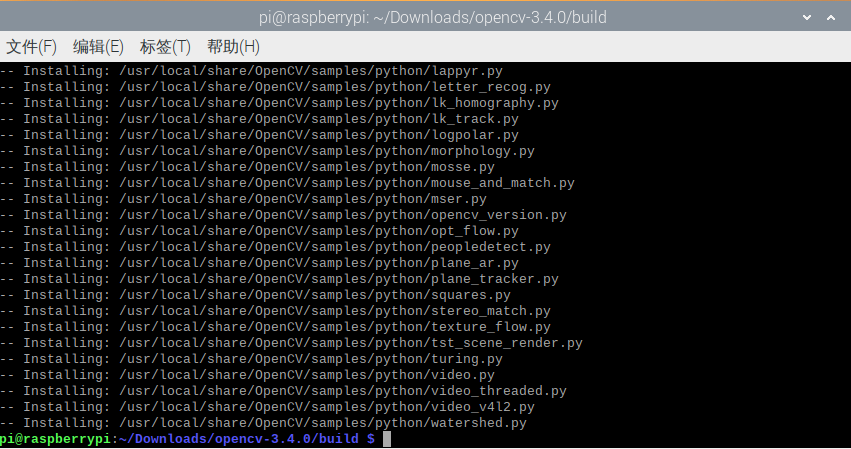
Perform installation
sudo make insall
7. Test OpenCV on Python 3
python

import cv2
summary
After the installation, I found that Tsinghua source can directly apt get. Woo woo, it's too difficult for me.