Learning links: Cross domain resource sharing CORS detailed explanation - Ruan Yifeng
Learning links: Introduction to AJAX - W3School
Tools used: IntelliJ IDEA 2021.2.1
Key notes: @ CrossOrigin
1, Introduction
1. Sample introduction
in the previous SpringBoot class, I talked about cross origin resource sharing, which is also the basis of front-end and back-end separation. For further understanding and satisfying my personal curiosity, I tried to make the demo used in this article and share it here.
process: for the first project, send a request to the second project in different domains, get the data and display it. In general, the browser's "same domain security policy" does not allow resource requests from other domains, but in SpringBoot, adding @ CrossOrigin to the Controller controller allows cross domain resource requests, and the response data can be returned in JSON.
2. Project structure
uploaded, free 0 points download project link.
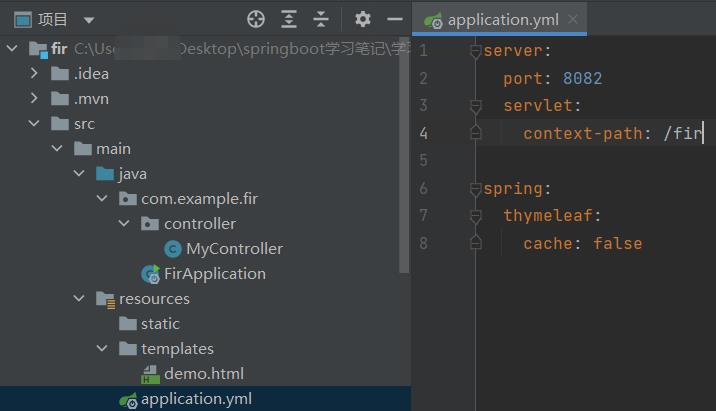
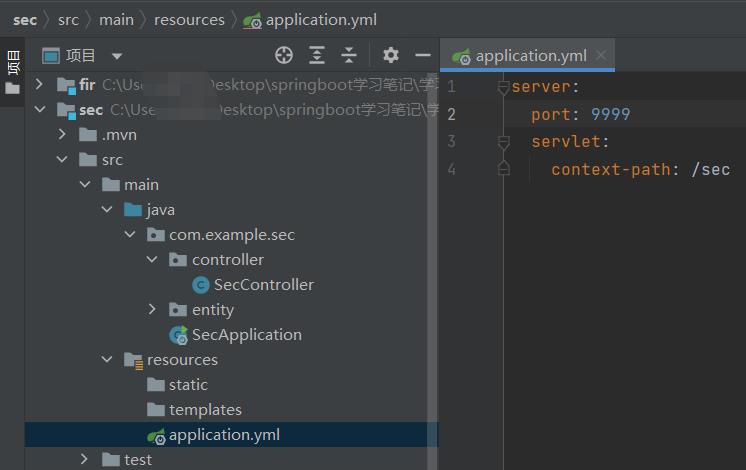
two items represent the front end and back end respectively, and the corresponding items are named fir and sec.
fir: responsible for the front end, port 8082. Because thymeleaf is used, the controller jumps to the demo page. This page is mainly used to send Ajax requests to different domains (sec) and obtain JSON data and display it on the page. (html code below)
SEC: back end. Port 9999, a User object in JSON format will be returned when accessing, and "SEC RECEIVED!" will be output in the control.
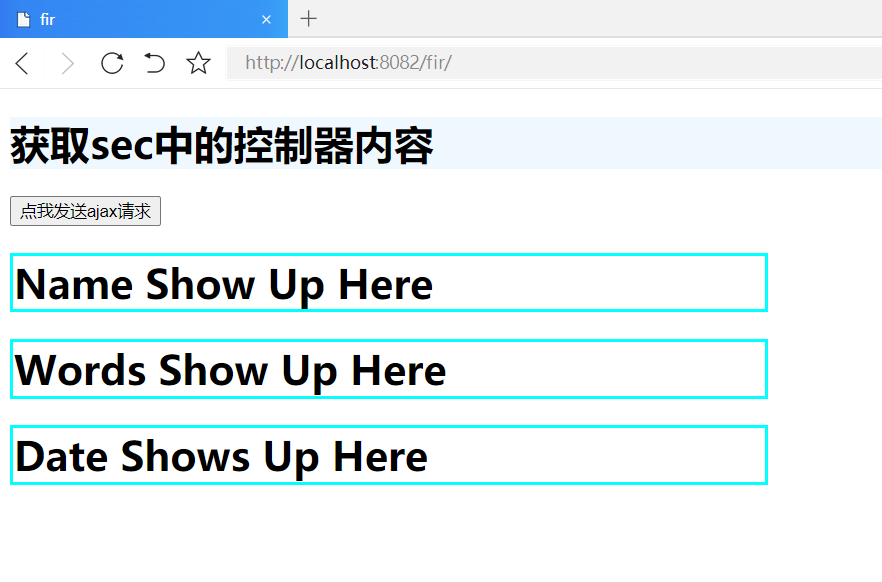
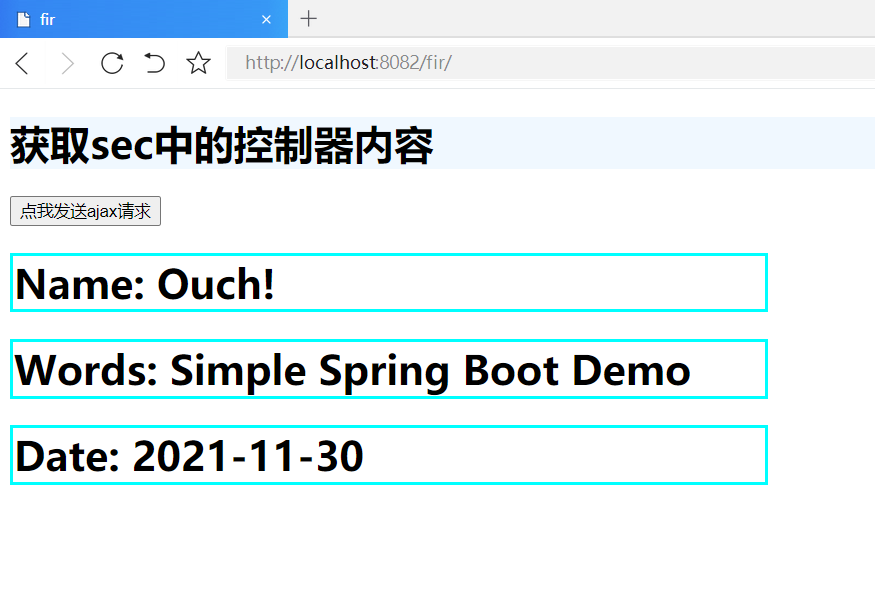
3. Sample screenshot
before sending AJAX request.

send AJAX request, receive and display.

target path.

2, Code
1. Front end project (fir)
Use the thymeleaf template to jump through the controller MyController. Path is http://localhost:8082/fir/
1-1. demo.html
<!DOCTYPE html>
<html lang="en">
<head>
    <meta charset="UTF-8">
    <title>fir</title>
    <script>
        function test() {
            let r = new XMLHttpRequest();
            //The request was successfully processed
            r.onreadystatechange = function () {
                if(r.status==200&&r.readyState==4){
                    //demo.html console output
                    console.log("Information returned:" + r.responseText);
                    //Information is processed and displayed on the page
                    let user = JSON.parse(r.responseText);
                    document.getElementById('name').innerText = "Name: " + user.name;
                    document.getElementById('words').innerText = "Words: " + user.words;
                    document.getElementById('date').innerText = "Date: " + user.date;
                }
            }
            // send out
            r.open("GET","http://localhost:9999/sec/demo");
            r.send();
        }
    </script>
</head>
<body>
    <h1 style="background-color: aliceblue">obtain sec Controller content in</h1>

    <input type="button" value="Click me to send ajax request" onclick="test()">
    <h1 id="name" style="width: 600px;border-color: aqua;border-style: solid;border-width: 3px">
        Name Show Up Here
    </h1>
	<h1 id="words" style="width: 600px;border-color: aqua;border-style: solid;border-width: 3px">
	    Words Show Up Here
	</h1>
	<h1 id="date" style="width: 600px;border-color: aqua;border-style: solid;border-width: 3px">
		Date Shows Up Here
	</h1>
</body>
</html>
1-2. MyController.java
package com.example.fir.controller;

import org.springframework.stereotype.Controller;
import org.springframework.web.bind.annotation.RequestMapping;

@Controller
public class MyController {
    @RequestMapping("/")
    public String demo(){
        return "demo"; //forward jumps to demo.html, which is located in the project templates directory
    }
}
2. Back end item (sec)
There is only one controller SecController, which returns User object JSON format data. Access path is http://localhost:9999/sec/demo
2-1. SecController.java
package com.example.sec.controller;

import com.example.sec.entity.User;
import org.springframework.web.bind.annotation.CrossOrigin;
import org.springframework.web.bind.annotation.RequestMapping;
import org.springframework.web.bind.annotation.RestController;

@RestController //@RestController returns JSON format data
@CrossOrigin //Key annotations that allow resources to be requested across domains by others.
public class SecController {
    @RequestMapping("/demo")
    public User hello(){
        System.out.println("SEC RECEIVED!");

        //Show how to create a User object with a simple
        User user = new User("Ouch!","Simple Spring Boot Demo","2021-11-30");
        return user;
    }
}
2-2. User.java
package com.example.sec.entity;

//name word date
public class User {
    private String name;
    private String words;
    private String date;

    public User() {
    }

    public User(String name, String words, String date) {
        this.name = name;
        this.words = words;
        this.date = date;
    }

    public String getName() {
        return name;
    }

    public void setName(String name) {
        this.name = name;
    }

    public String getWords() {
        return words;
    }

    public void setWords(String words) {
        this.words = words;
    }

    public String getDate() {
        return date;
    }

    public void setDate(String date) {
        this.date = date;
    }
}
3. Download 0 points for free link.
Thank you for reading this article. I hope it can help you. If the article is wrong, please leave a message and ask for advice sincerely.