Author: zifanwang Issued on May 7, 2020
1. Create superuser
The last chapter said that the browser has printed hello world We need to have data in the background, but we don't need to add it to the database manually. django has a built-in background management tool. On the console, enter the following code to create a superuser:
python manage.py createsuperuser
Enter the user name and password in sequence, and you can fill in the mailbox (the password is invisible, you must enter it manually, you can't copy it, and the time scale won't move when you enter the password.):
C:\mysite>python manage.py createsuperuser
System check identified some issues:

WARNINGS:
article.ArticlePost.created: (fields.W161) Fixed default value provided.
        HINT: It seems you set a fixed date / time / datetime value as default for this field. This may not be what you want. If you want to have the current date as default, use `django.utils.timezone.now`
Username: root
Email address:
Password:
Password (again):
Superuser created successfully.

C:\mysite>
You can see that superuser was successfully created
2. Register ArticlePost in the background
Open article / Admin Py, write the following code:
from django.contrib import admin
#Import ArticlePost
from .models import ArticlePost

# Register ArticlePost in admin
admin.site.register(ArticlePost)
So you can register in the background.
3. Be familiar with django background and add data
After creating the superuser, we can enter it in the browser http://127.0.0.1:8000/admin/ The following interface is displayed:
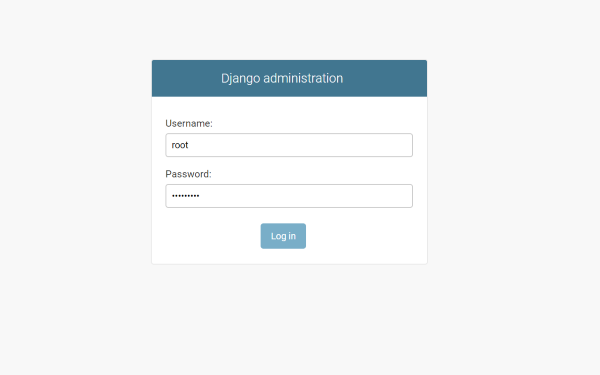
Enter the user name and password to enter the background:
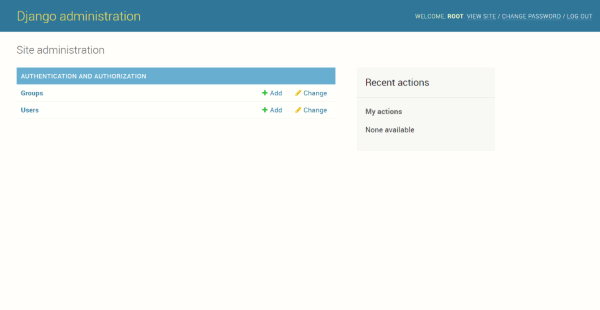
You can see that the website interface is in English, which can be found in MySite / settings Chinese settings in py: Modify LANGUAGE_CODE and TIME_ZONE is:
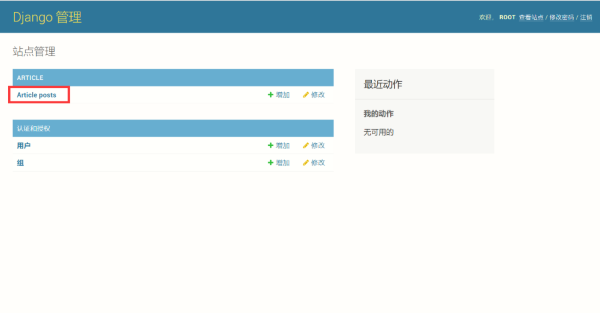
LANGUAGE_CODE = 'zh-Hans'
TIME_ZONE = 'Asia/Shanghai'
The website interface becomes Chinese, and the time is Shanghai time. The data table just added is in the red box:
Click enter and click the Add button in the upper right corner to add data
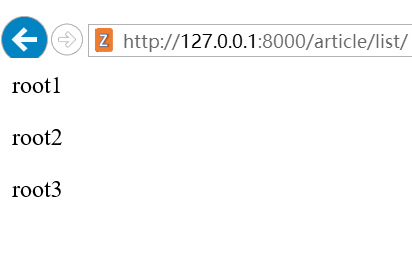
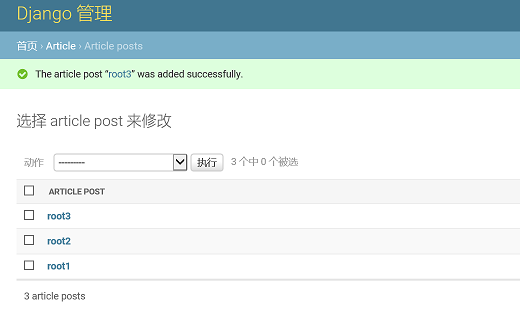
We can add multiple pieces of data. Here I add three:
4. Overwrite view function
Rewrite article / views Article in PY_ List function:
from django.shortcuts import render

from django.http import HttpResponse
from .models import ArticlePost

# View function
def article_list(request):
    # Remove all blog posts
    articles = ArticlePost.objects.all()
    # Need to pass to template object
    context = {'articles': articles}
    # The render function loads the template and returns the context object
    return render(request, 'article/list.html', context)
In render: article / list HTML represents the location of the template, and context: the object passed in the template.
5. Prepare template
Create the Templates folder templates in the root directory, Create a new article folder in templates, which represents the template of article app, Then create an HTML file list html And you need to tell django the location of the template and modify MySite / settings DIRS under TEMPLATES in py is as follows:
TEMPLATES = [
   {
       'BACKEND': 'django.template.backends.django.DjangoTemplates',
       'DIRS': [os.path.join(BASE_DIR, 'templates')],
       'APP_DIRS': True,
       'OPTIONS': {
           'context_processors': [
               'django.template.context_processors.debug',
               'django.template.context_processors.request',
               'django.contrib.auth.context_processors.auth',
               'django.contrib.messages.context_processors.messages',
           ],
       },
   },
]
And on the list Add the following code to HTML:
{% for article in articles %}
   <p>{{ article.title }}</p>
{% endfor %}
Open with browser http://127.0.0.1:8000/article/list/ You can see that three articles are successfully displayed: