GB28181-2016 streaming media service based on wvp-gb28181-pro + zlmedia Kit
1. Open source projects used
| entry name | Project description | Project address |
|---|---|---|
| wvp-GB28181-pro | A network video platform based on GB28181-2016 standard supports NAT penetration and IPC, NVR and DVR access of Haikang, Dahua, Yushi and other brands. Support national standard cascading, forward video streams such as rtsp/rtmp to the national standard platform, and push streams such as rtsp/rtmp to the national standard platform. | https://github.com/648540858/wvp-GB28181-pro.git Domestic: https://gitee.com/pan648540858/wvp-GB28181-pro.git |
| ZLMediaKit | Based on C++11 development, avoid using bare pointers, stable and reliable code and superior performance. Support multiple protocols (RTSP / RTMP / HLS / http-flv / websocket flv / gb28181 / http-ts / websocket TS / http-fmp4 / websocket-fmp4 / MP4 / webrtc), and support protocol exchange | https://github.com/ZLMediaKit/ZLMediaKit.git |
2. Zlmedia Kit (streaming media service) compilation and packaging
Precautions before packing:
Zlmedia kit is written in c and c + +, so the packaging tool uses Visual Studio 2017 or > 2017 version. I use Visual Studio 2019 locally
ZLToolKit and media server in the 3rdpart (third-party package) folder under the ZLMediaKit directory need to be pulled from the other two git projects. If the two folders are not pulled, an error will be reported during compilation, indicating that the file cannot be found. Third party package address used:
ZLToolKit
media-server
2.1 compilation
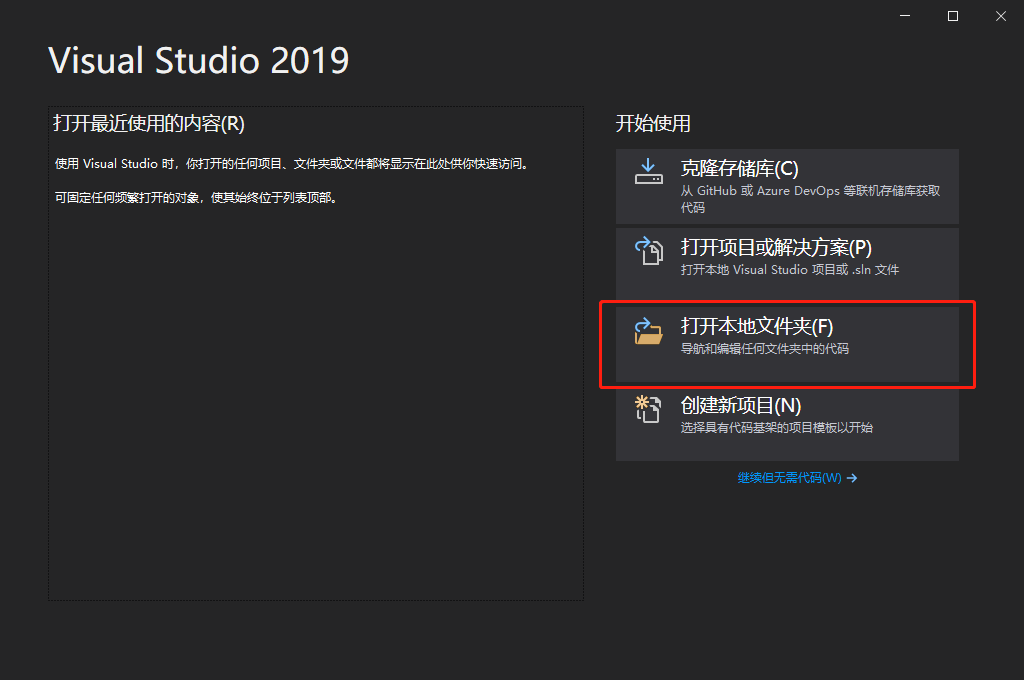
Open Visual Studio, select open local folder, and then select the zlmedia kit folder pulled from github to open it. It may need to be loaded for a while during the opening process
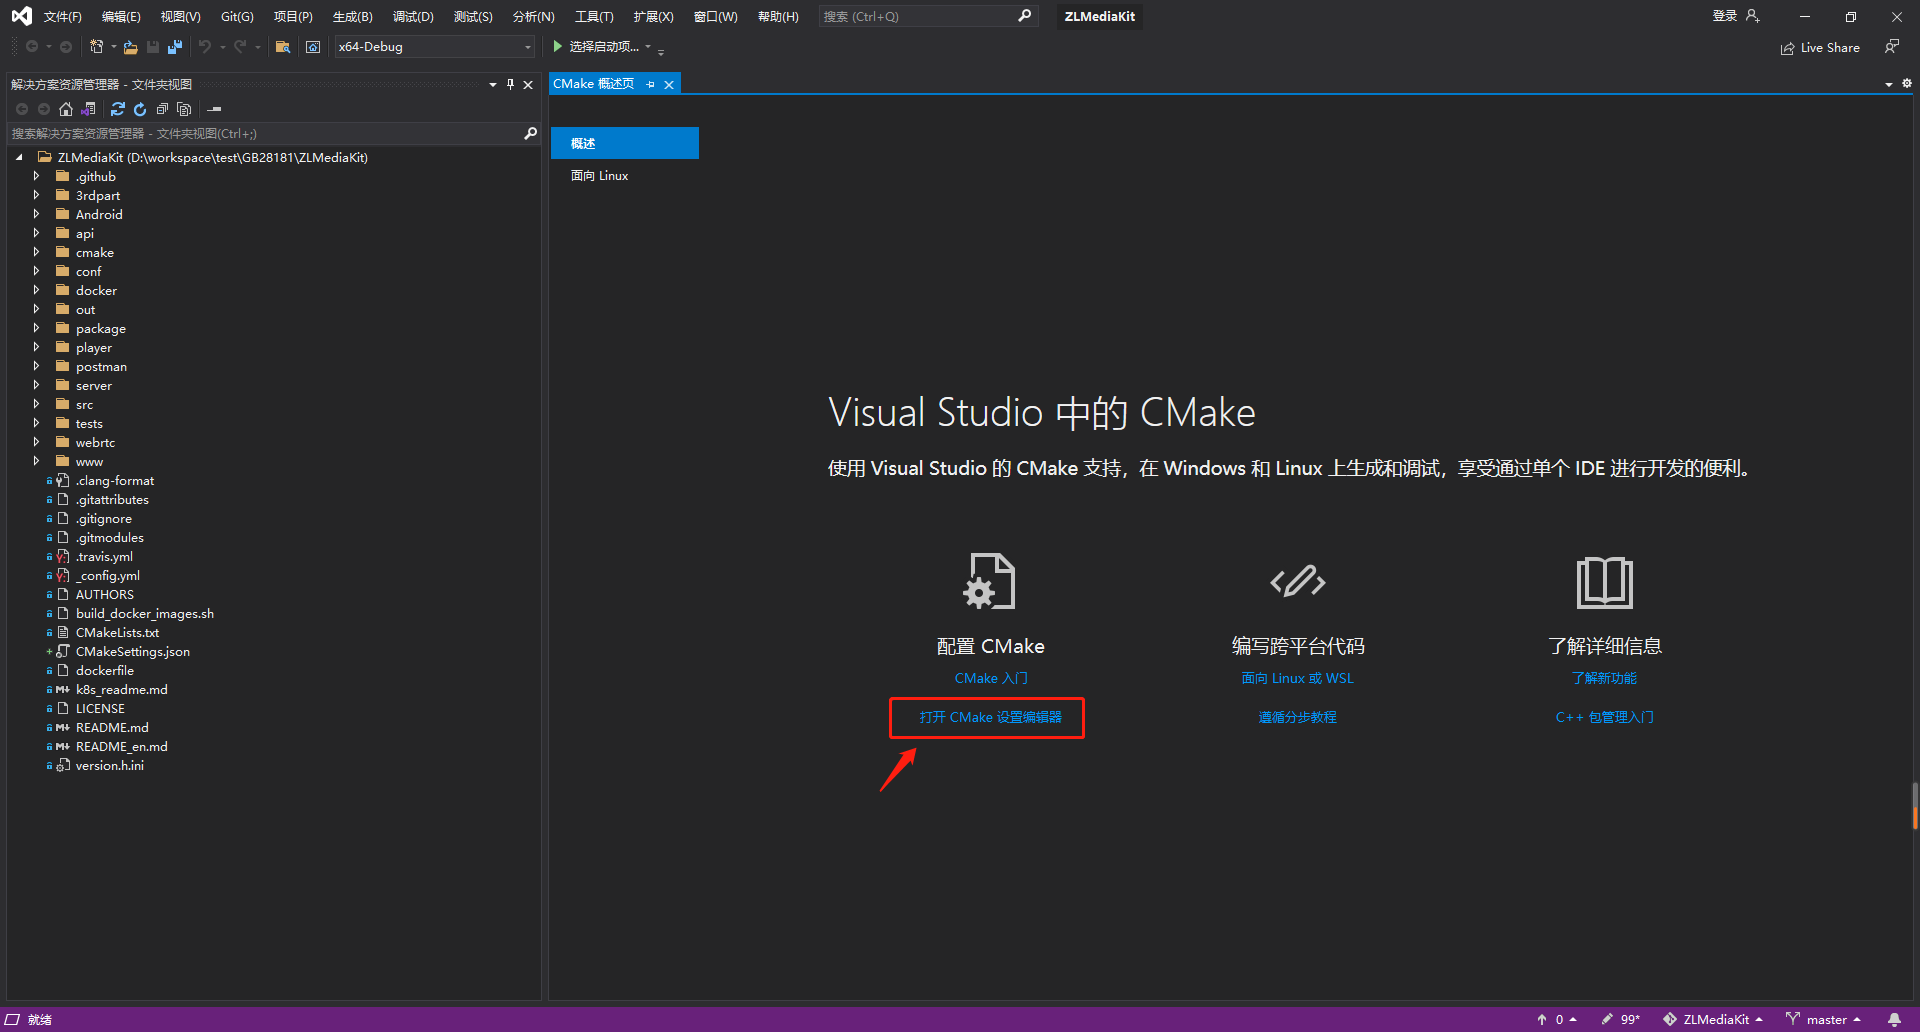
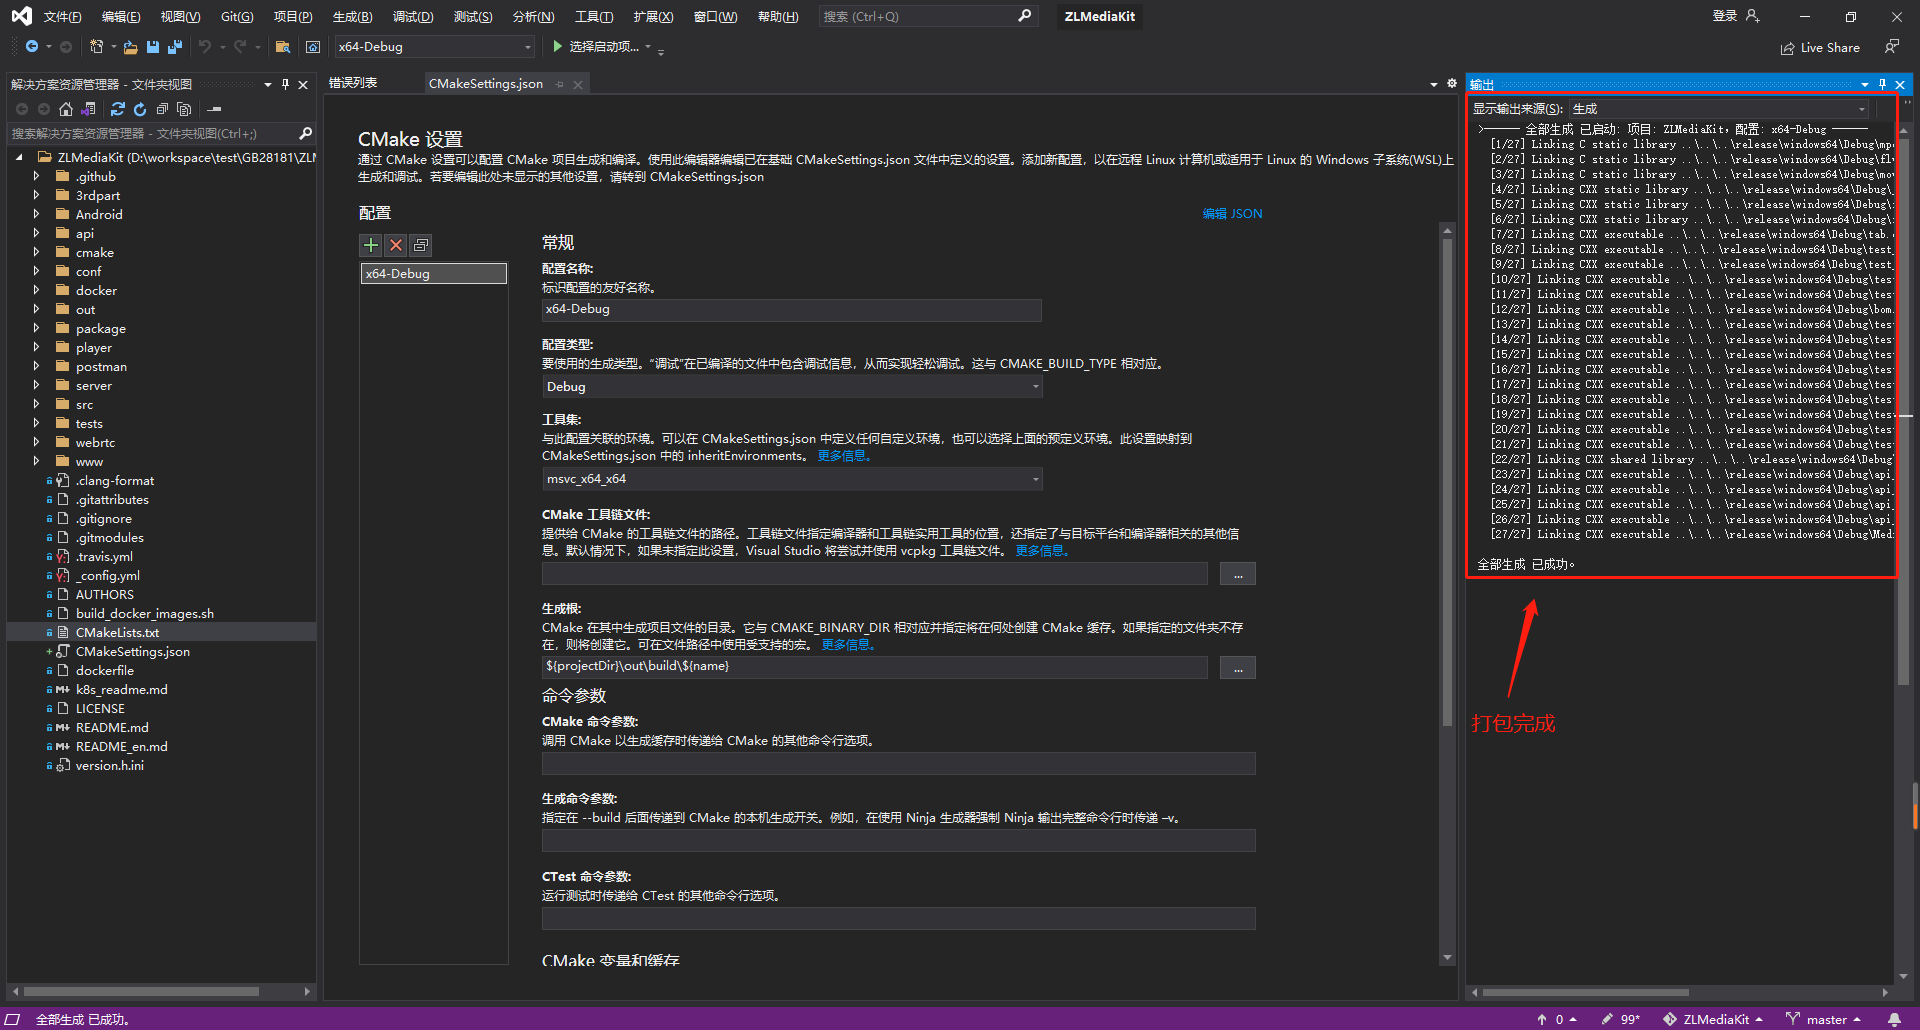
After opening, the interface is as follows, and then select open CMake settings Editor under CMake overview page
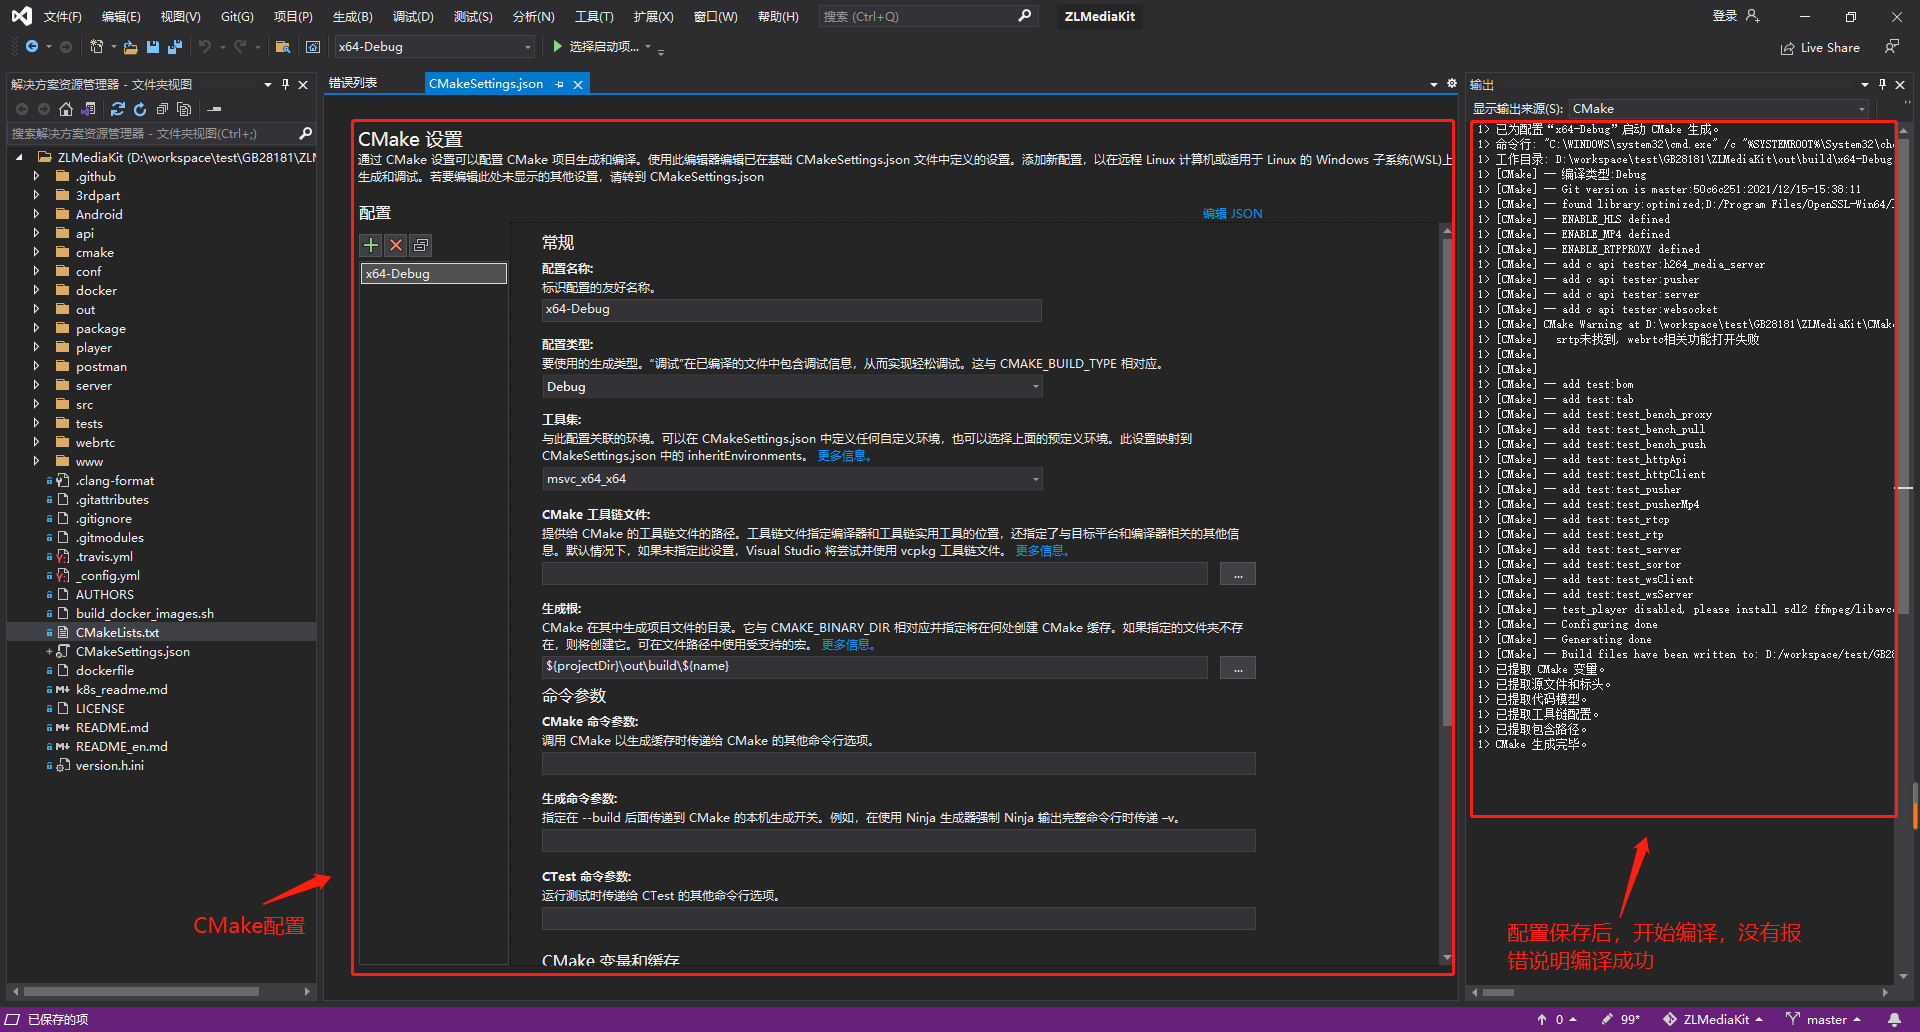
Open the CMake settings editor interface as follows. The default configuration type is Debug. First use the default configuration, and then press Ctrl+S to save. At this time, the editing and printing log will appear in the right window. The CMake generation is completed, indicating that the compilation is successful
After compilation, we start to package and generate executable files. Select generate all under the generate option in the top menu bar to start packaging
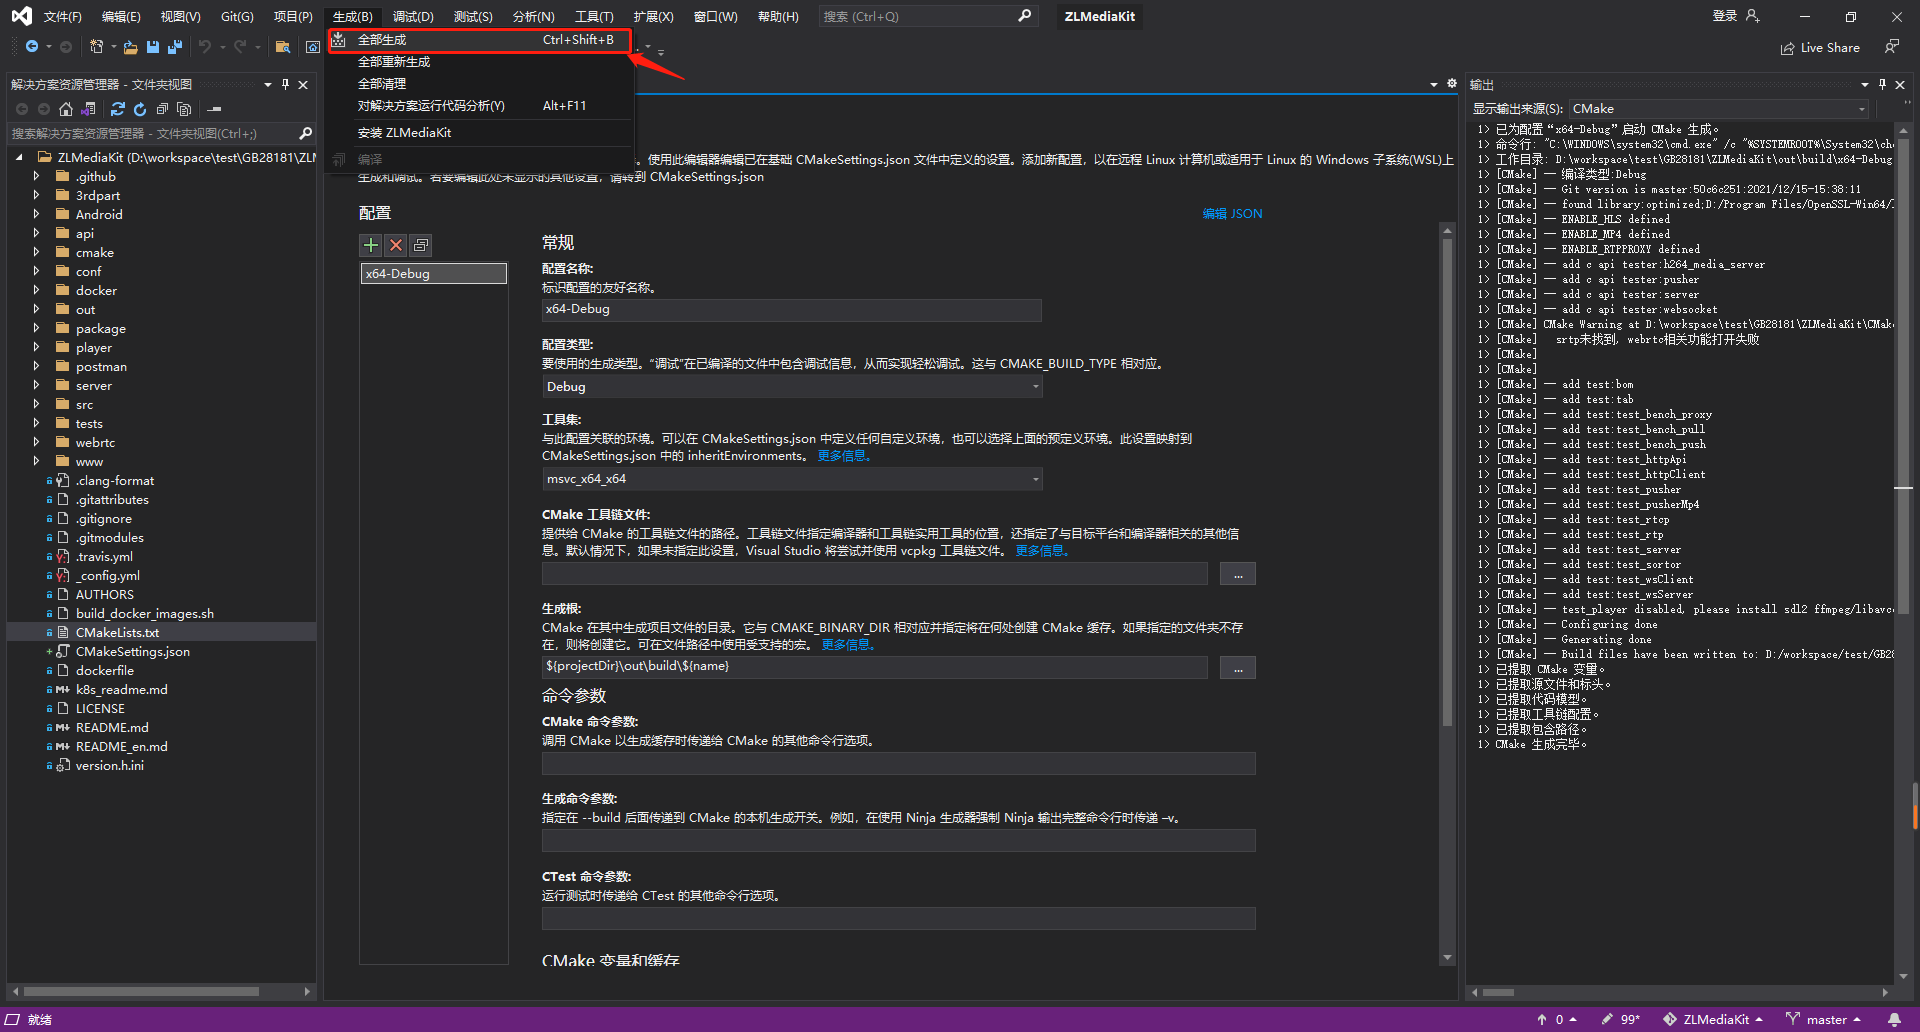
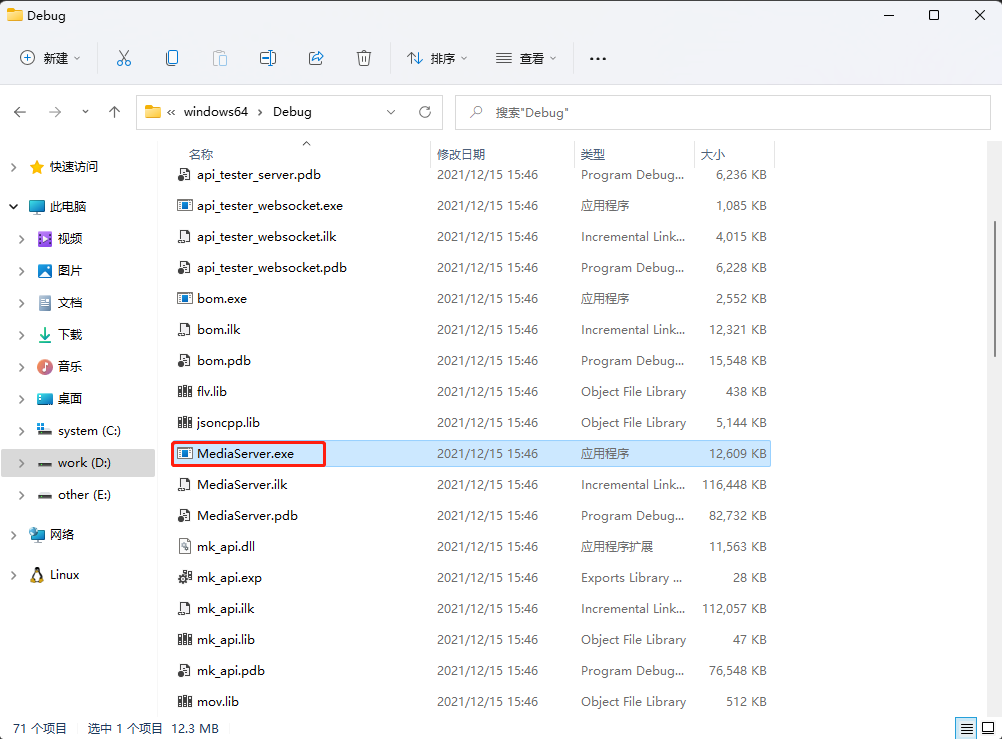
In the rightmost window, all the generated files are successful, indicating that the packaging is complete. The packaged executable file is in the ZLMediaKit\release\windows64\Debug folder, MediaServer Exe is the service started by streaming media.
Note: when the compiler heap space may be insufficient during packaging, try to close other service programs to ensure sufficient memory and try packaging again
2.2 operation
Find mediaserver.com in the packaged folder Exe executable, double-click to run, and config.exe will be generated at the same time Ini configuration file.
Successful startup:
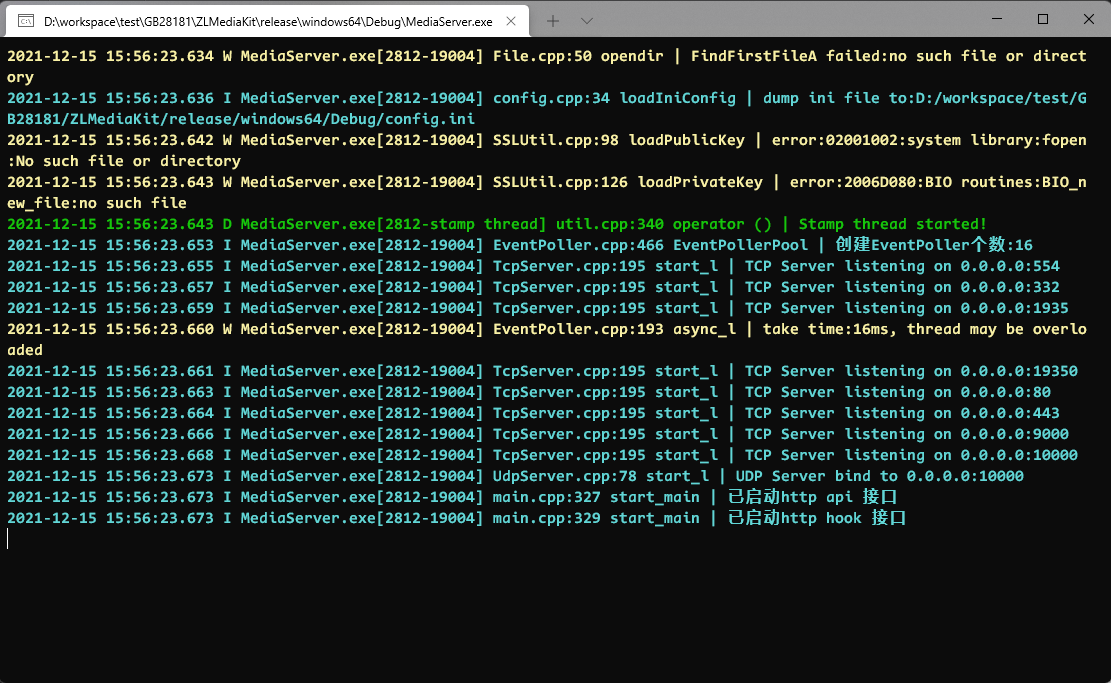
Generate config Ini configuration file
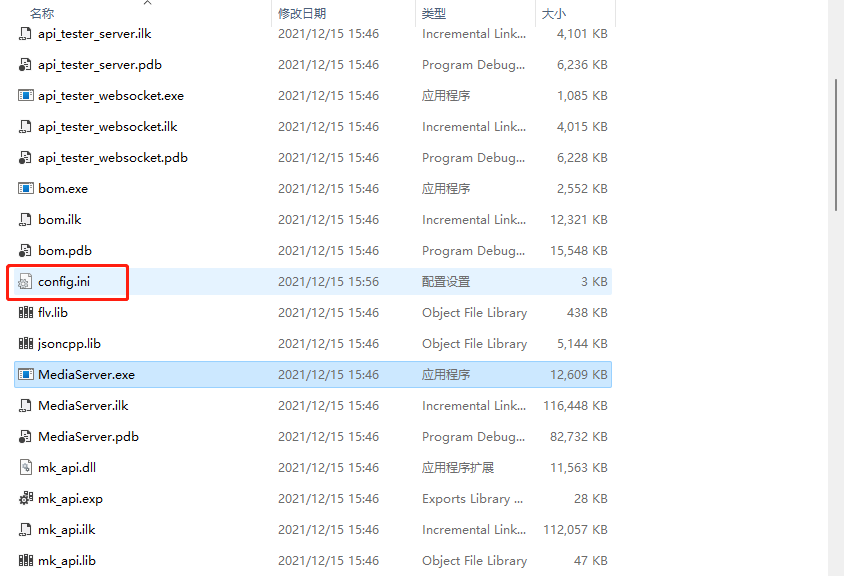
Next, open config. Config with Notepad Ini configuration file, find the port configuration under [http]. The default is 80. If port 80 is occupied, it can be modified to other ports. I set it to 9980 here. Other configurations default first. For more configuration instructions, refer to config. Under zlmedia kit \ conf Ini. The description and configuration here are more comprehensive. You can refer to:
; auto-generated by mINI class {

[api]
apiDebug=1
defaultSnap=./www/logo.png
secret=035c73f7-bb6b-4889-a715-d9eb2d1925cc
snapRoot=./www/snap/

[ffmpeg]
bin=E:\installPackage\ffmpeg-n4.4-78-g031c0cb0b4-win64-gpl-4.4\bin\ffmpeg.exe
cmd=%s -re -i %s -c:a aac -strict -2 -ar 44100 -ab 48k -c:v libx264 -f flv %s
log=./ffmpeg/ffmpeg.log
snap=%s -i %s -y -f mjpeg -t 0.001 %s

[general]
addMuteAudio=1
enableVhost=0
enable_audio=1
flowThreshold=1024
fmp4_demand=0
hls_demand=0
maxStreamWaitMS=15000
mediaServerId=FxfnytvGJgXxECu6
mergeWriteMS=0
modifyStamp=0
publishToHls=1
publishToMP4=0
resetWhenRePlay=1
rtmp_demand=0
rtsp_demand=0
streamNoneReaderDelayMS=20000
ts_demand=0
unready_frame_cache=100
wait_add_track_ms=3000
wait_track_ready_ms=10000

[hls]
broadcastRecordTs=0
deleteDelaySec=0
fileBufSize=65536
filePath=./www
segDur=2
segNum=3
segRetain=5

[hook]
admin_params=secret=035c73f7-bb6b-4889-a715-d9eb2d1925cc
alive_interval=30.000000
enable=0
on_flow_report=
on_http_access=
on_play=
on_publish=
on_record_mp4=
on_record_ts=
on_rtsp_auth=
on_rtsp_realm=
on_server_keepalive=
on_server_started=
on_shell_login=
on_stream_changed=
on_stream_none_reader=
on_stream_not_found=
timeoutSec=10

[http]
charSet=gb2312
dirMenu=1
keepAliveSecond=15
maxReqSize=40960
notFound=<html><head><title>404 Not Found</title></head><body bgcolor="white"><center><h1>The resource you accessed does not exist!</h1></center><hr><center>ZLMediaKit(git hash:50c6c251,branch:master,build time:Dec 15 2021 15:46:09)</center></body></html>
port=9980
rootPath=./www
sendBufSize=65536
sslport=443
virtualPath=

[multicast]
addrMax=239.255.255.255
addrMin=239.0.0.0
udpTTL=64

[record]
appName=record
fastStart=0
fileBufSize=65536
filePath=./www
fileRepeat=0
fileSecond=3600
sampleMS=500

[rtmp]
handshakeSecond=15
keepAliveSecond=15
modifyStamp=0
port=1935
sslport=19350

[rtp]
audioMtuSize=600
rtpMaxSize=10
videoMtuSize=1400

[rtp_proxy]
dumpDir=
port=10000
timeoutSec=15

[rtsp]
authBasic=0
directProxy=1
handshakeSecond=15
keepAliveSecond=15
port=554
sslport=332

[shell]
maxReqSize=1024
port=9000

; } ---
After this step is completed, the basic operations of zlmedia kit compilation and packaging are completed, which can meet the basic applications. If there is a deeper level, you can view it ZLMediaKit wiki
3. Pull wvp-GB28181-pro(SIP signaling server) to compile, package and run
3.1 creating database
After pulling, there is an sql folder under the wvp-GB28181-pro folder, which stores the database structure of the project (mysql.sql). Run MySQL in database management software, such as navicat sql. After running, a database named WVP will be generated. The default login user is admin and the password is admin

| Table name | describe |
|---|---|
| device | The equipment list mainly stores the equipment connected with GB |
| device_alarm | Equipment alarm information |
| device_channel | Channel information under the device (main information table of video viewed by each device) |
| device_mobile_position | Coordinate information table of mobile device |
| gb_stream | GB platform flow information |
| log | Log table |
| media_server | Streaming media service information table |
| parent_platform | Superior platform |
| platform_gb_channel | Upper platform channel table |
| platform_gb_stream | Parent platform flow information table |
| role | Permission table |
| stream_proxy | Flow proxy table |
| stream_push | Push flow meter |
| user | User table |
3.2 modifying configuration files
spring:
    # REDIS database configuration
    redis:
        # [must be modified] redis server IP. Redis is installed on the local computer, using 127.0 zero point one
        host: 127.0.0.1
        # [must be modified] port number
        port: 6379
        # [optional] database DB
        database: 6
        # [optional] access password. If your redis server does not have a password, you do not need to use a password to connect
        password:
        # [optional] timeout
        timeout: 10000
    # [optional] jdbc database configuration. The project uses sqlite as the database, which generally does not need to be configured
    datasource:
        # Open line 23-28 with mysql and delete line 29-36
        # name: wvp
        # url: jdbc:mysql://127.0.0.1:3306/wvp?useUnicode=true&characterEncoding=UTF8&rewriteBatchedStatements=true
        # username:
        # password:
        # type: com.alibaba.druid.pool.DruidDataSource
        # driver-class-name: com.mysql.cj.jdbc.Driver
        name: wvp
        url: jdbc:mysql://127.0.0.1:3306/wvp?useUnicode=true&characterEncoding=UTF-8&serverTimezone=GMT%2B8
        username: root
        password: admin
        type: com.alibaba.druid.pool.DruidDataSource
        driver-class-name:  com.mysql.cj.jdbc.Driver

# [optional] the HTTP port that WVP listens to. This port is used for web pages and interface calls
server:
    port: 9970


# Configuration as 28181 server
sip:
    # [must be modified] the IP address of this machine
    ip: 127.0.0.1
    # [optional] 28181 service listening port
    port: 9960
    # According to national standard 6.1 2 stipulates that the domain should adopt the first ten digits of ID unified coding. The first 8 digits defined in Appendix D of the national standard are the central code (composed of provincial, municipal, district and grass-roots numbers, refer to GB/T 2260-2007)
    # The last two digits are industry codes. Refer to appendix D.3 for definitions
    # 3701020049 identifies the information industry access of Lixia District, Jinan, Shandong
    # [optional]
    domain: 3714810000
    # [optional]
    id: 3714810000111000999
    # [optional] the default device authentication password. Subsequent extensions use a separate device password. Removing the password will not be verified
    password:
    # [optional] heartbeat timeout, which is recommended to be set to three times the heartbeat cycle
    keepalive-timeout: 180
    # [optional] national standard cascade registration fails, and the time interval for initiating registration again. Default 60 seconds
    register-time-interval: 60

#zlm default server configuration
media:
    # [must modify] zlm server's intranet IP
    ip: 127.0.0.1
    # [optional] return the IP address of the stream. Leave it blank and use media ip
    #stream-ip: 192.168.1.68
    # [optional] the IP used by wvp in the national standard signaling. This IP is the IP that the camera can access. If it is empty, use media ip
    #hook-ip: 192.168.1.68
    # [optional] the ip used by wvp in the national standard signaling. This ip is the ip that the camera can access. If it is empty, use media i
    #sdp-ip: 192.168.1.68
    # [must modify] the HTTP address of the zlm server port
    http-port: 9980
    # [optional] zlm server's hook admin_ params=secret
    secret: 035c73f7-bb6b-4889-a715-d9eb2d1925cc
    # Enable the multi port mode. The multi port mode uses ports to distinguish each flow for better compatibility. Single port uses stream ssrc to distinguish, and multi port test is recommended for on-demand timeout
    rtp:
        # [optional] whether to enable the multi port mode. After it is enabled, the port will be selected within the portRange for media streaming
        enable: true
        # [optional] select a port within this range for media streaming,
        port-range: 26100,26899
        # [optional] select a port within this range to send media streams,
        send-port-range: 26100,26899 # Port range
    # Video auxiliary service. Deploying this service can realize the management and download of zlm video. 0 means not to use
    record-assist-port: 18081
# [optional] log configuration, which generally does not need to be changed
logging:
    file:
        name: logs/wvp.log
        max-history: 30
        max-size: 10MB
        total-size-cap: 300MB
    level:
        com.genersoft.iot: debug
        com.genersoft.iot.vmp.storager.dao: info
        com.genersoft.iot.vmp.gb28181: info

# [configured according to business requirements]
user-settings:
    # Whether the streaming live broadcast is recorded
    record-push-live: true
    auto-apply-play: false
    # On demand waiting timeout, unit: ms
    play-timeout: 16000

# Online document: swagger UI (production environment is recommended to be closed)
swagger-ui:
    enabled: true

# Version information, no modification required
version:
    version: "@project.version@"
    description: "@project.description@"
    artifact-id: "@project.artifactId@"
Note: Meida The http port must be the same as config. In zlmedia kit The port under [http] in the INI configuration is the same, otherwise the push stream and pull stream will not be received
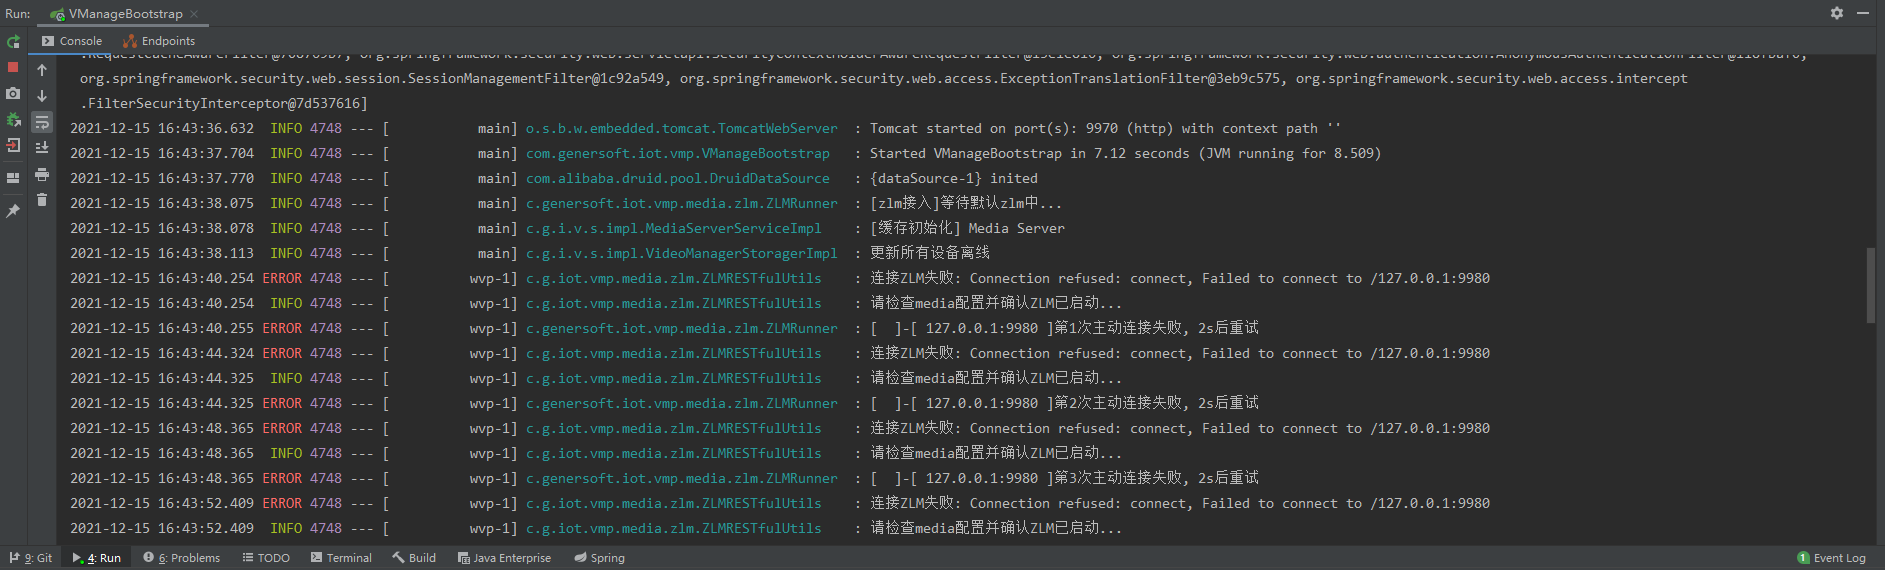
3.3 project startup
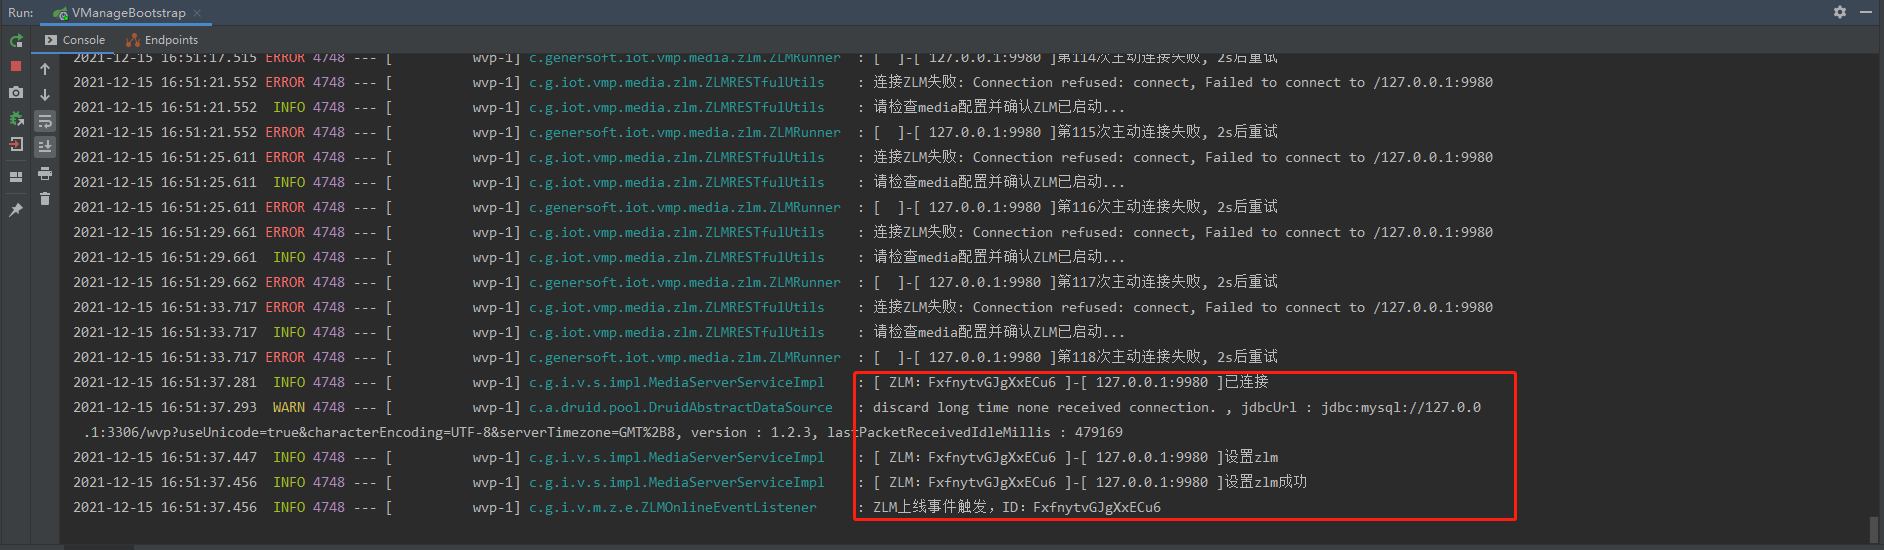
After the configuration file is configured, start the project. After the project is successfully started, it will connect to zlmedia server. If zlmedia server is not started, it will always be reconnected
When we start zlmedia kit streaming service, the print connection is successful
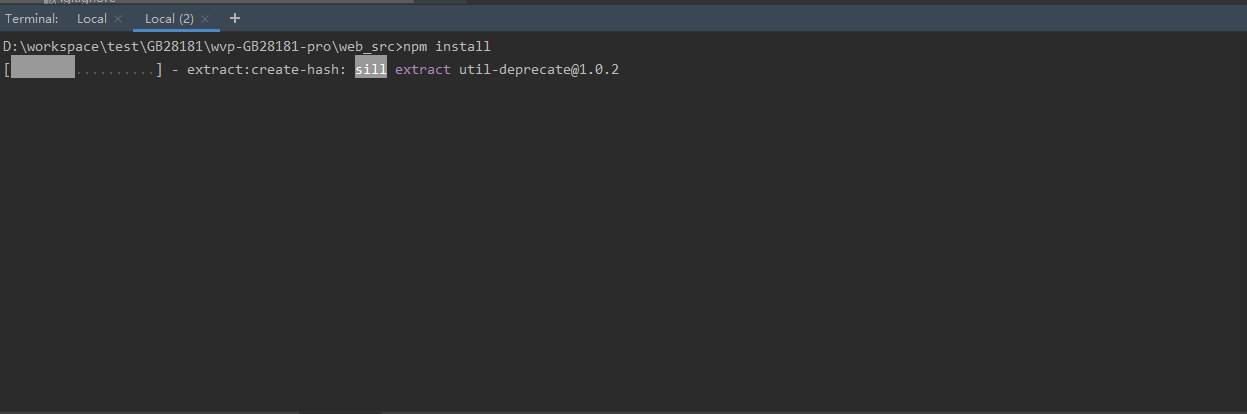
3.4 operation foreground visual interface
The front-end file is in the wvp-GB28181-pro directory_ SRC folder, we are on the web_ Open the command line window under SRC and execute npm install to install the front-end dependency package. After execution, wait for the dependency loading to complete
After the dependency loading is completed, execute npm run dev to start the foreground in the development environment. After successful startup, the foreground address will be printed on the console and accessed in the browser
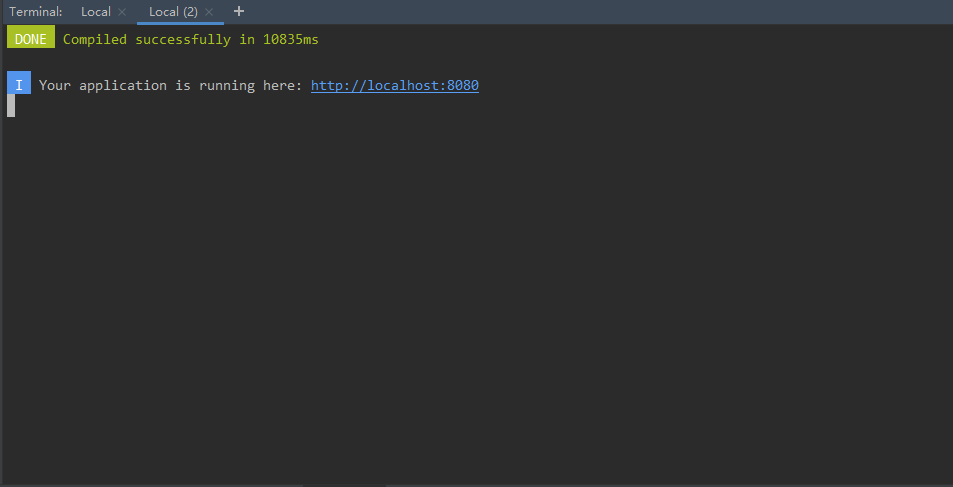
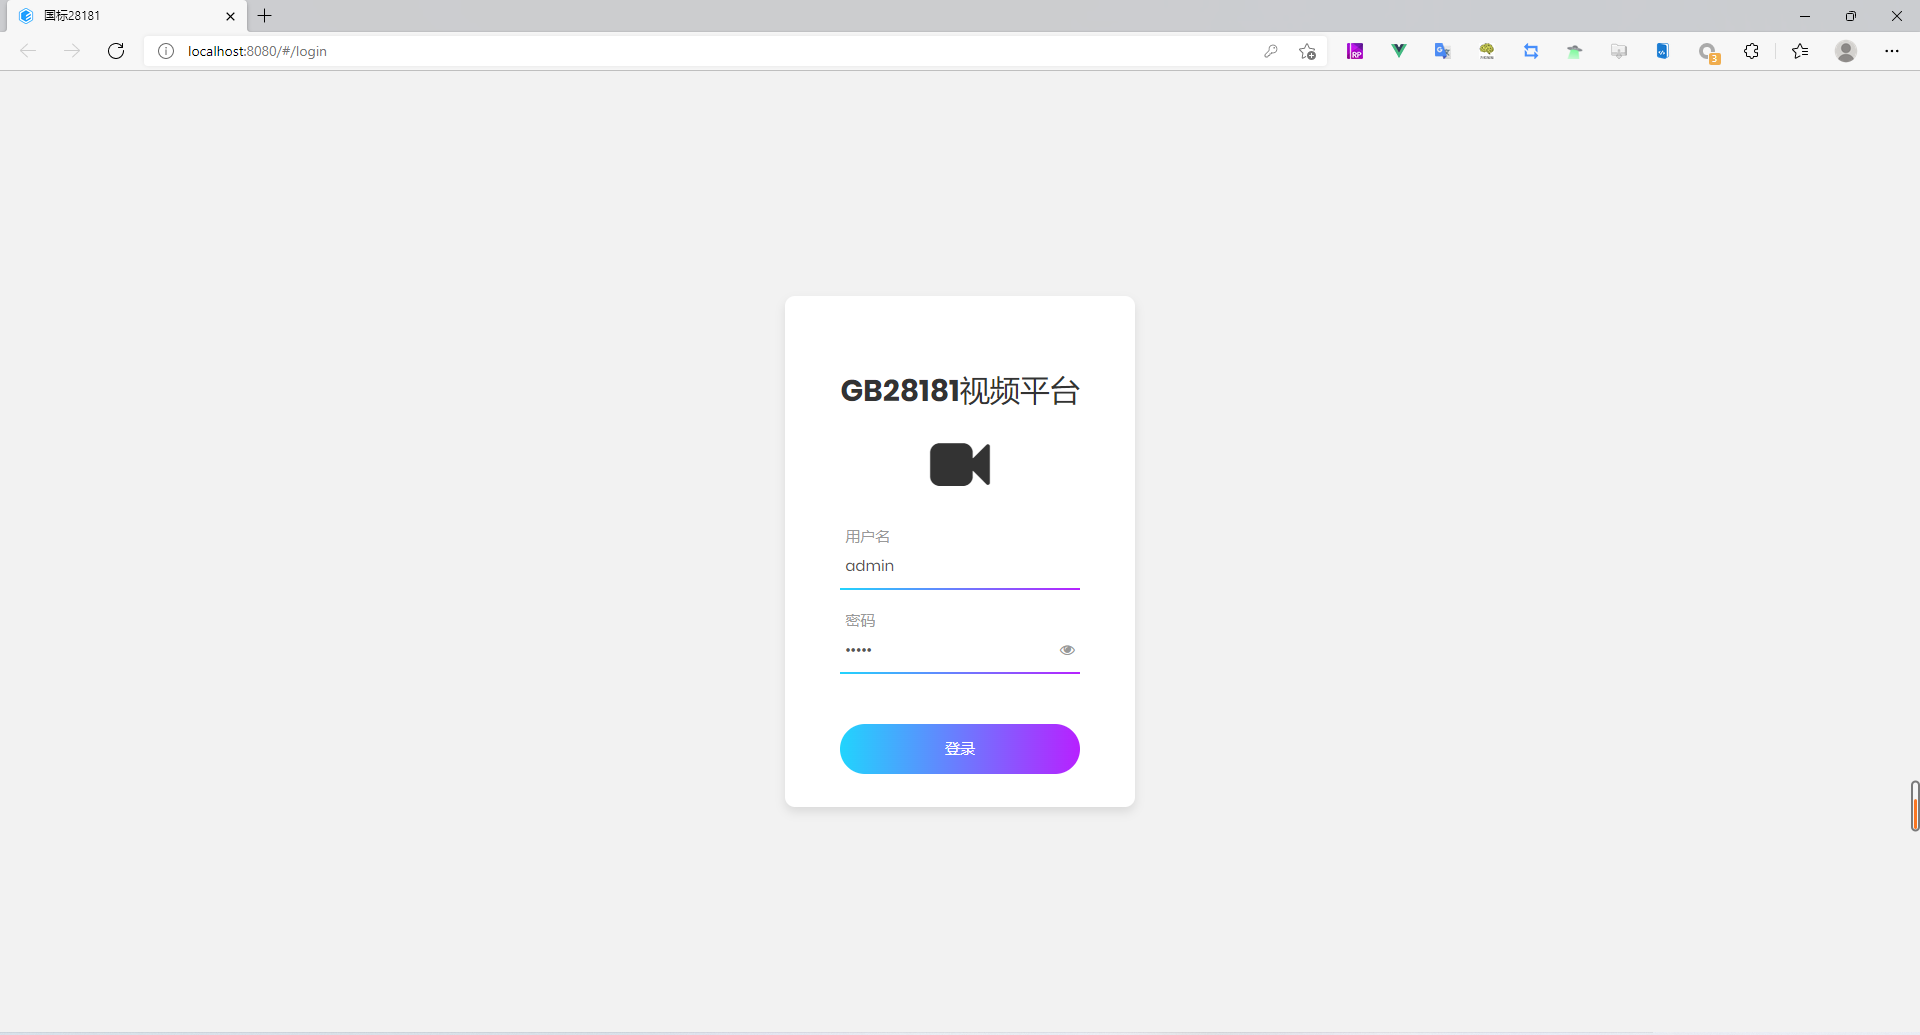
After successful access, enter the user name and password on the login page to log in. The account and password are admin by default. After successful login, enter the home page

If you are a superior platform, you need to provide the following configurations to the subordinate platform so that the subordinate platform can push the flow. These configurations are configured under the sip configuration node in the wvp-GB28181-pro background configuration file
#SIP signaling service
     1)IP: 192.168.1.143
     2)port: 9960
     3)domain: 3714810000
     4)id: 3714810000111000001
If the front and background are separated, the front desk needs to be packaged separately and placed under nginx. The specific wvp-GB28181-pro configuration details can be viewed wiki
The above is the specific operation steps of GB28181-2016 streaming media based on wvp-gb28181-pro + zlmedia kit.