Reproducing AD-NeRF synthesizes face video from audio and face images and shows natural speaking style
flyfish
Synthesizing facial video sequences driven by high fidelity audio is an important and challenging problem in many applications such as digital human, chat robot and virtual video conference.
The speech head generation process is regarded as a cross modal mapping from audio to visual face. It is expected that the synthesized face image will show a natural speaking style, and synchronize the realistic streaming media results of the same photos as the original video.
Environmental Science:
Ubuntu 18.04
NVIDIA Driver Version: 440.33.01
CUDA Version: 10.2 cuda-repo-ubuntu1804-10-2-local-10.2.89-440.33.01_1.0-1_amd64
libcudnn8_8.0.3.33-1+cuda10.2_amd64
Python: 3.7
PyTorch: torch-1.8.2+cu102-cp37-cp37m-linux_x86_64
PyTorch3D: pytorch3d-0.6.0-py37_cu102_pyt181

The code can correctly process the data and training model in the above environment
The operation scheme of this paper is slightly different from the official website
Thesis: https://arxiv.org/abs/2103.11078
code: https://github.com/YudongGuo/AD-NeRF
Ad nerf: Audio driven neural radiation fields for talking head synthesis
This article AD-NeRF running environment, model and code download address
Link: https://pan.baidu.com/s/1tvZOwFM8XAnJONPXNvkGYg
Extraction code: 1 l53
The implementation scheme of this paper is as follows
First download the provided AD-NeRF operating environment, including cuda, cudnn, pytorch and pytorch 3D, which are all matching versions. Localized installation is not prone to problems
Content includes
cuda-repo-ubuntu1804-10-2-local-10.2.89-440.33.01_1.0-1_amd64.deb
libcudnn8_8.0.3.33-1+cuda10.2_amd64.deb
libcudnn8-dev_8.0.3.33-1+cuda10.2_amd64.deb
pytorch3d-0.6.0-py37_cu102_pyt181.tar.bz2
torch-1.8.2+cu102-cp37-cp37m-linux_x86_64.whl
Perform steps
1 installation of CUDA and cudnn
Install cuda and cudnn downloaded above in the environment where NVIDIA driver is 440 version, and other driver versions are not tested
If you download another version, see here
2 create anaconda virtual environment called adnerf
conda env create -f environment.yml
conda activate adnerf
3. Install PyTorch for GPU locally
pip install torch-1.8.2+cu102-cp37-cp37m-linux_x86_64.whl
4 install PyTorch3D locally
conda install --use-local pytorch3d-0.6.0-py37_cu102_pyt181.tar.bz2
5 third party model location
Put "01_MorphableModel.mat" in data_util/face_tracking/3DMM/
function
cd data_util/face_tracking
python convert_BFM.py
Text already provided the model
6 making data sets
bash process_data.sh Obama
The dataset is via dataset / vids / Obama Mp4 generated dataset. The network disk already contains the generated dataset
The rest can be trained according to the orders provided on the official website
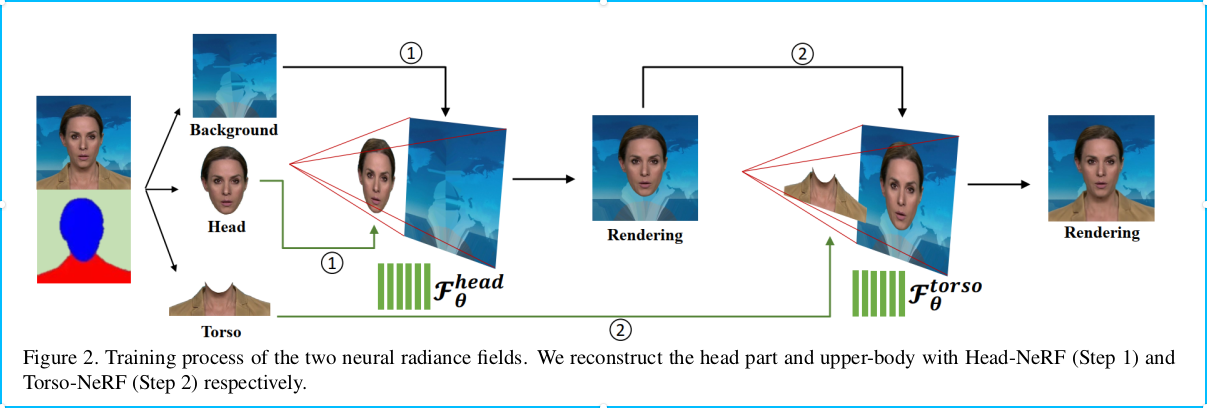
The training is divided into two parts
(1) Training head nerf
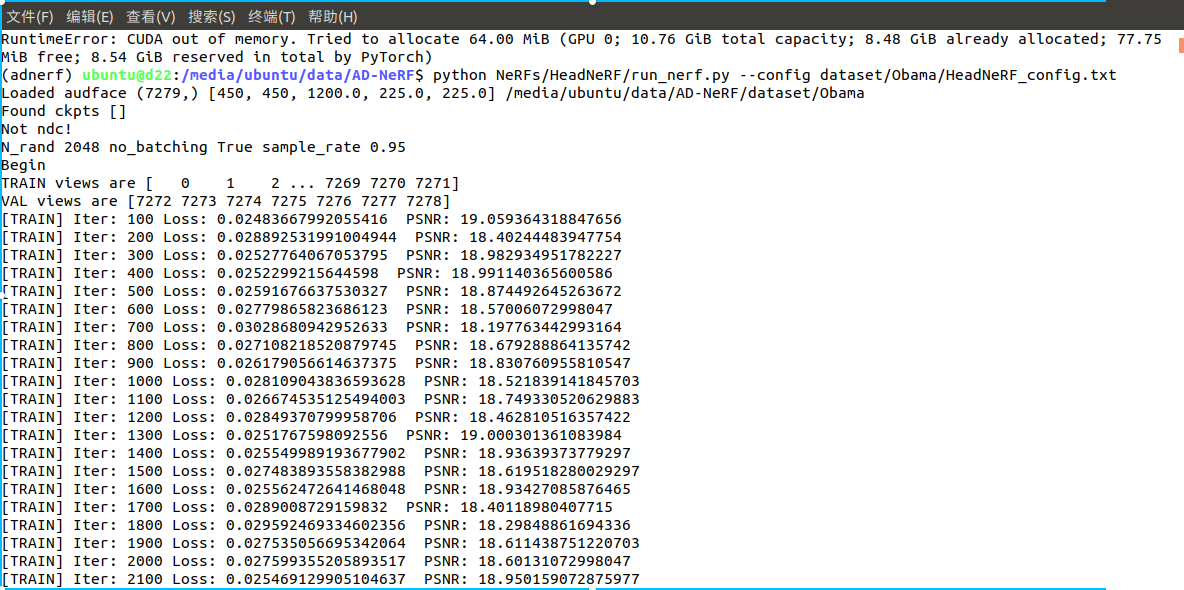
If you encounter the same problem of insufficient video memory as me, you can skip to 8
python NeRFs/HeadNeRF/run_nerf.py --config dataset/Obama/HeadNeRF_config.txt
(2) Train TorsoNeRF
From ad nerf / dataset / Obama / logs / Obama_ Head find the latest model, e.g. 030000_ head. Rename tar to head tar
Put head Tar to ad nerf / dataset / Obama / logs / Obama_ COM
Execution name
python NeRFs/TorsoNeRF/run_nerf.py --config dataset/Obama/TorsoNeRF_config.txt

Training process
The source code is not enough in 12G video memory, so the sample size is changed from 64 to 32
AD-NeRF/NeRFs/HeadNeRF/run_nerf.py
AD-NeRF/NeRFs/TorsoNeRF/run_nerf.py
parser.add_argument("--N_samples", type=int, default=32,
...