Everyone's first half of life is constantly adding. But in the second half of life, we have to learn to subtract constantly.
catalogue
1. Install the dependent libraries of Docker.
2. Add the software source information of Docker CE.
Prepare Dockerfile and deploy the project (build a new business image)
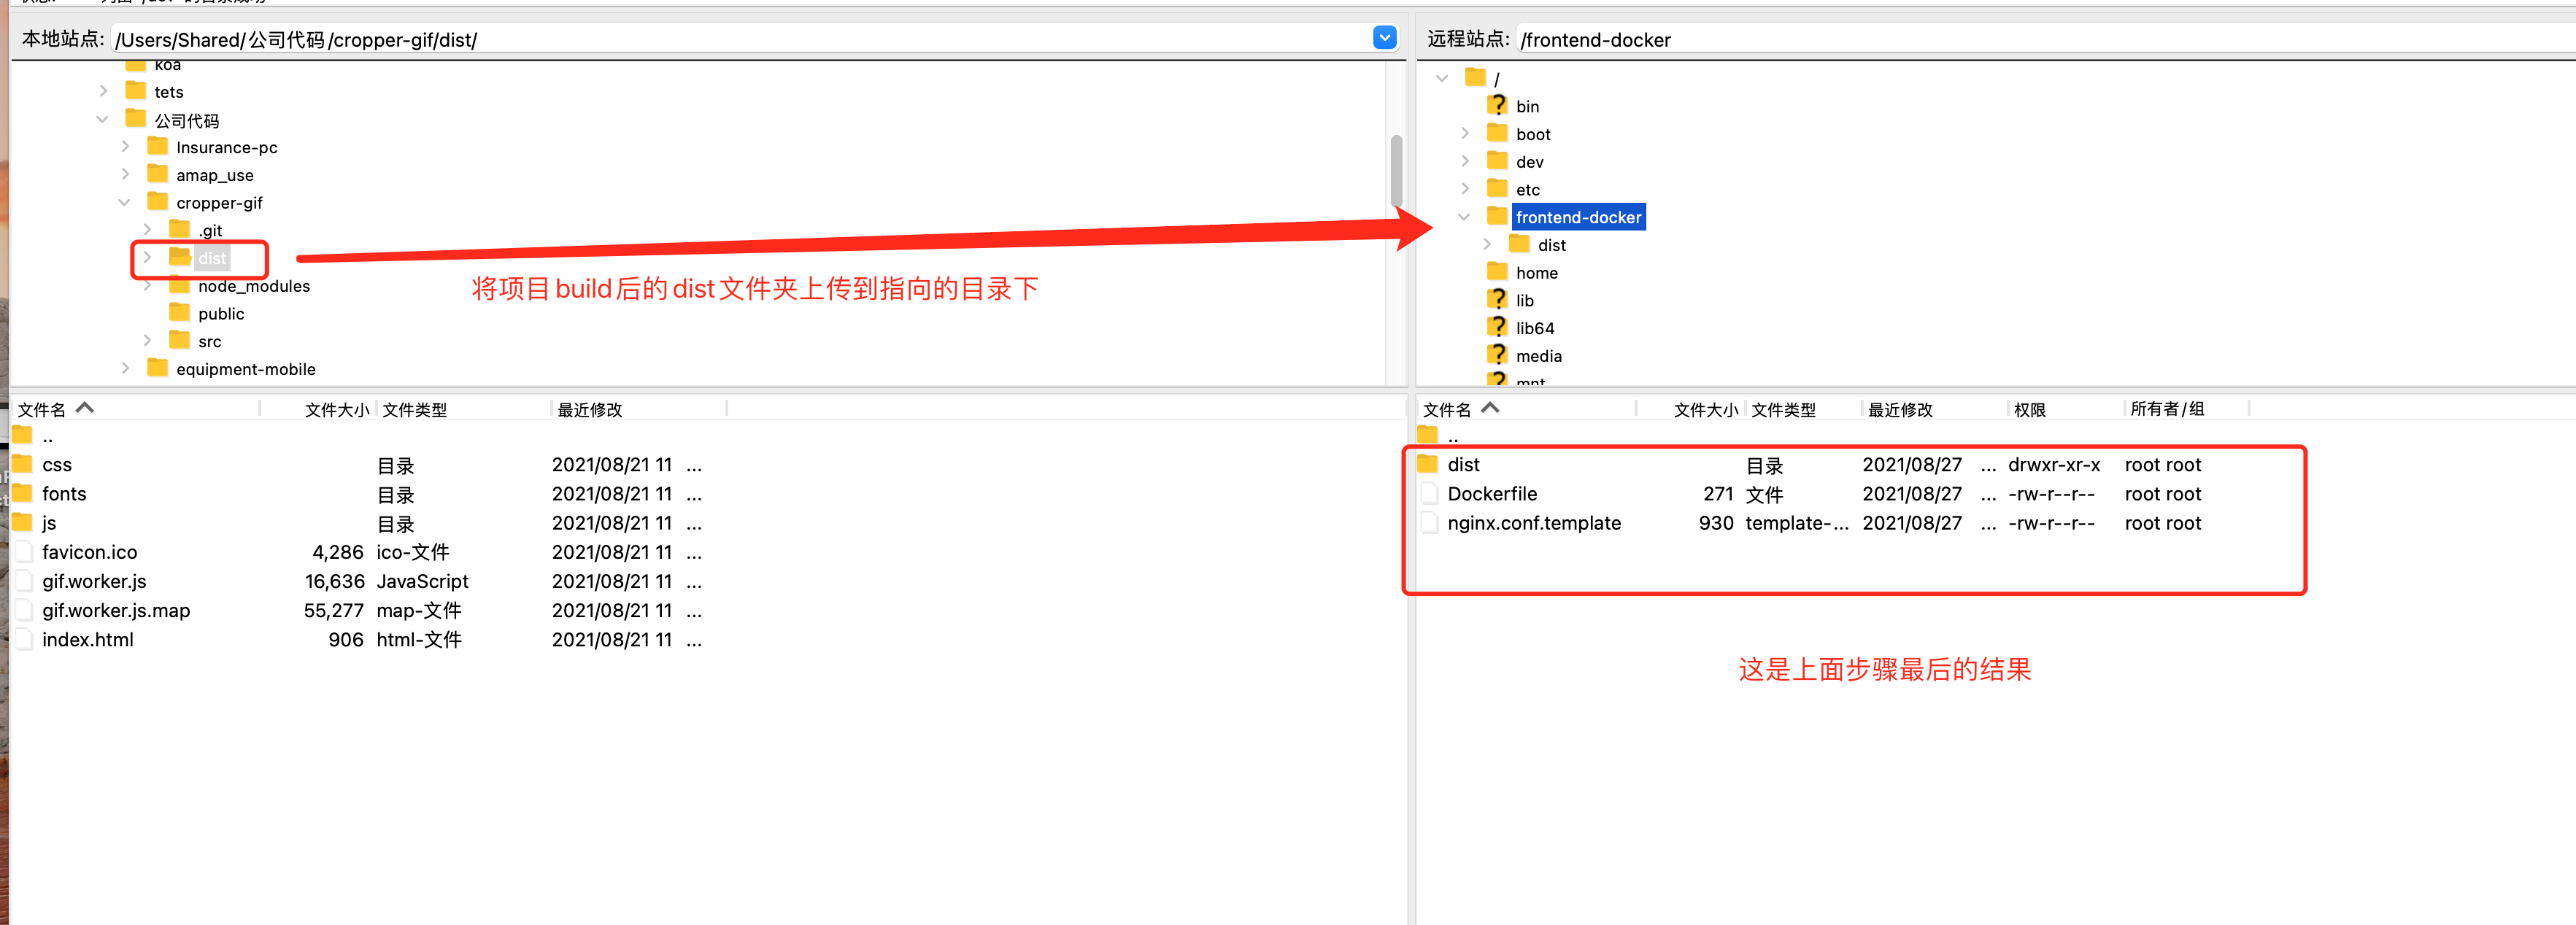
1. Prepare nginx Conf.template, Dockerfile, dist (package after front-end project build)
Knowledge points (available for reference if necessary)
Container command (available when necessary)
Front work
1. Things to prepare
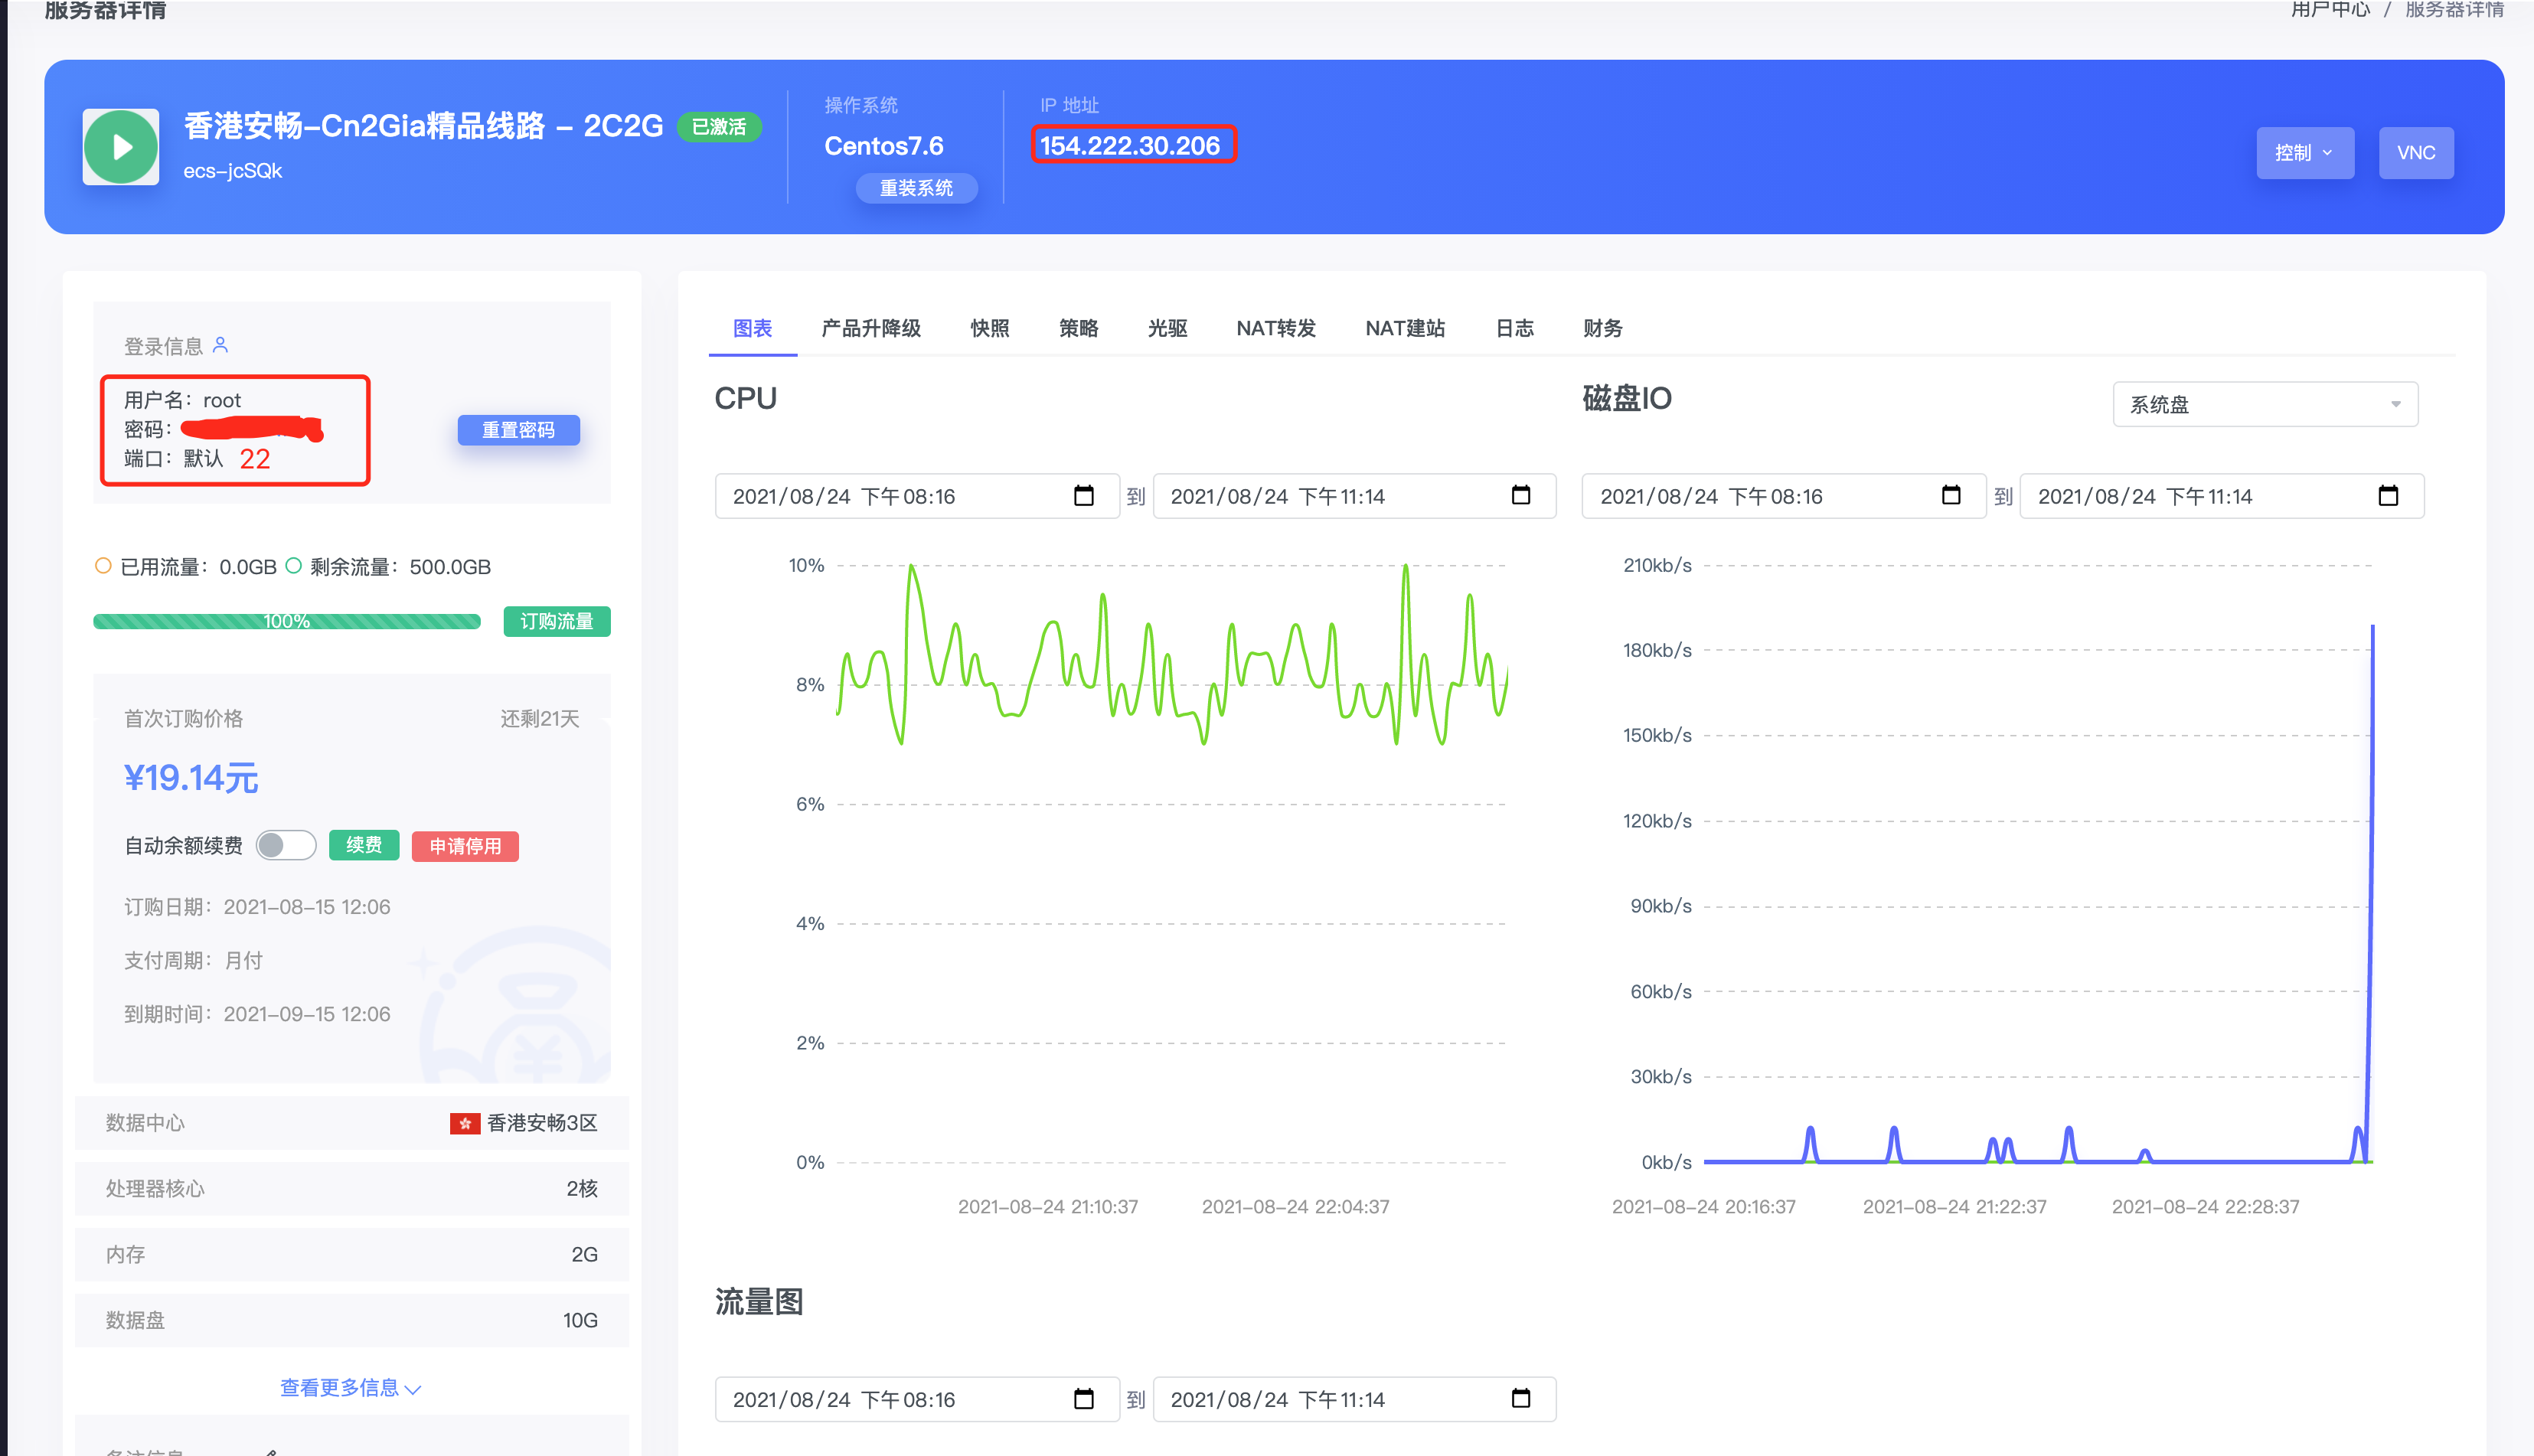
A Centos server and connect
This is a garbage cloud for demonstration. I suggest you go to Alibaba cloud, Tencent cloud, etc.
2. Connect to ECS
Connect to the server and read the article: https://blog.csdn.net/qq_32442973/article/details/119840447
Install Docker environment
Docker has two branch versions: Docker CE and Docker EE, namely community version and enterprise version. This tutorial installs Docker CE based on CentOS 7.
1. Install the dependent libraries of Docker.
yum install -y yum-utils device-mapper-persistent-data lvm2
2. Add the software source information of Docker CE.
docker official source:
sudo yum-config-manager --add-repo https://download.docker.com/linux/centos/docker-ce.repo
Or use the domestic alicloud source (the installation is too slow / unable to install. You can consider using this):
sudo yum-config-manager --add-repo http://mirrors.aliyun.com/docker-ce/linux/centos/docker-ce.repo
If the following content appears, the source setting is successful:

3. Install Docker CE.
You can view all docker versions in all warehouses and select a specific version to install
yum list docker-ce --showduplicates | sort -r

The following is the installation method
sudo yum install docker-ce #Since only the stable warehouse is enabled by default in repo, the latest stable version 3:20.10 is installed here 8-3. el7
sudo yum install <FQPN>  # For example: sudo Yum install docker-ce-17.12 0.ce
I use the first installation method.
4. Start Docker service.
sudo systemctl start docker #  Start docker
sudo systemctl enable docker # Set startup and self startup

If you do not set auto start, once the server is down or restarted, you have to manually input the command to restart, which is very troublesome.
Prepare Dockerfile and deploy the project (build a new business image)
1. Prepare nginx Conf.template, Dockerfile, dist (package after front-end project build)
In order to facilitate management, we put it under the directory frontend docker. The following code segment is the step:
# First step
cd /

# Step 2 create a folder
mkdir frontend-docker

# Step 3
cd frontend-docker

# Step 4: create nginx Conf.template and edit it and save it
vi nginx.conf.template #Open the edit file, paste the contents of the following file, press esc, and then: wq save

# Step 5 create a Dockerfile file, edit it and save it
vi Dockerfile #Open the edit file, paste the contents of the following file, press esc, and then: wq save

# Step 5 upload the dist folder after vue project build
nginx.conf.template file contents
user nginx;

#user  nobody;
worker_processes  1;

#error_log  logs/error.log;
#error_log  logs/error.log  notice;
#error_log  logs/error.log  info;

#pid        logs/nginx.pid;


events {
    worker_connections  1024;
}


http {
    include       mime.types;
    default_type  application/octet-stream;

    #log_format  main  '$remote_addr - $remote_user [$time_local] "$request" '
    #                  '$status $body_bytes_sent "$http_referer" '
    #                  '"$http_user_agent" "$http_x_forwarded_for"';

    #access_log  logs/access.log  main;

    sendfile        on;
    #tcp_nopush     on;

    #keepalive_timeout  0;
    keepalive_timeout  65;

    #gzip  on;

    server {
        listen       80;
        server_name  localhost;

        #charset koi8-r;

        #access_log  logs/host.access.log  main;

        location / {
            root   /dist;
			#try_files $uri /index.html; #Solve the routing redirection jump 404 page configuration
            index  index.html index.htm;
        }

        #error_page  404              /404.html;

        # redirect server error pages to the static page /50x.html
        #
        error_page   500 502 503 504  /50x.html;
        location = /50x.html {
            root   html;
        }
    }


    # another virtual host using mix of IP-, name-, and port-based configuration
    #
    #server {
    #    listen       8000;
    #    listen       somename:8080;
    #    server_name  somename  alias  another.alias;

    #    location / {
    #        root   html;
    #        index  index.html index.htm;
    #    }
    #}


    # HTTPS server
    #
    #server {
    #    listen       443 ssl;
    #    server_name  localhost;

    #    ssl_certificate      cert.pem;
    #    ssl_certificate_key  cert.key;

    #    ssl_session_cache    shared:SSL:1m;
    #    ssl_session_timeout  5m;

    #    ssl_ciphers  HIGH:!aNULL:!MD5;
    #    ssl_prefer_server_ciphers  on;

    #    location / {
    #        root   html;
    #        index  index.html index.htm;
    #    }
    #}

}
Dockerfile file content (business image construction process)
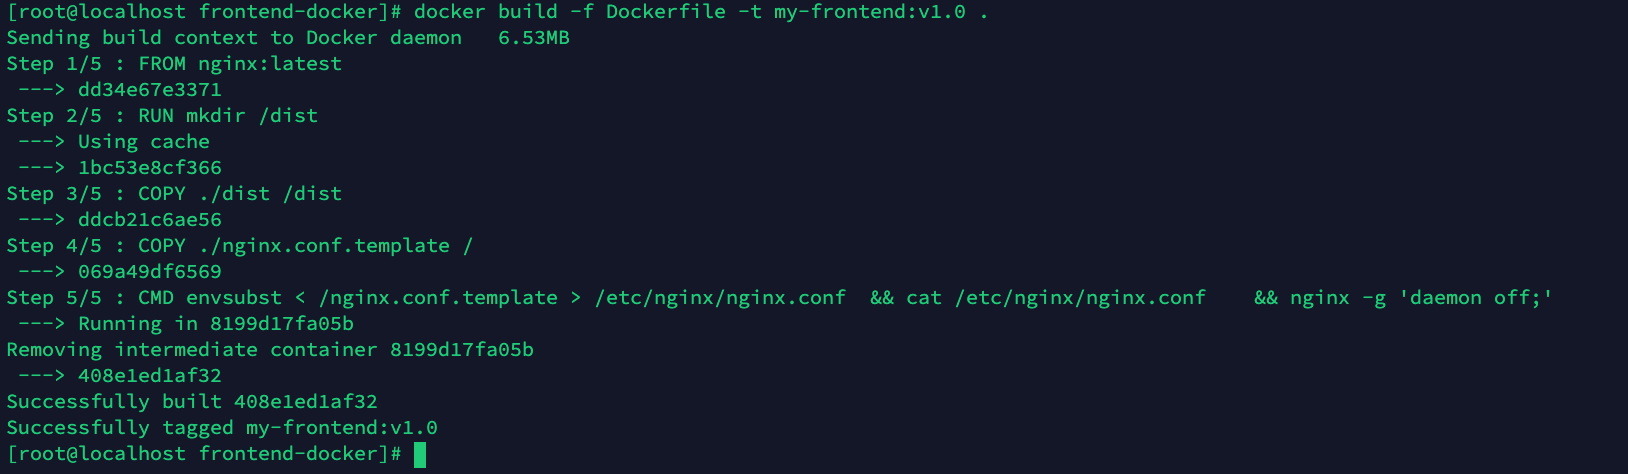
FROM nginx:latest

RUN mkdir /dist
COPY ./dist /dist
COPY ./nginx.conf.template /

CMD envsubst < /nginx.conf.template > /etc/nginx/nginx.conf \
	&& cat /etc/nginx/nginx.conf \
	&& nginx -g 'daemon off;'
In this file, nginx is mainly installed, and dist and nginx are copied Conf.template, steps to start nginx.
Note: you may inadvertently lose the first few words when copying and pasting. Pay attention to check whether the contents of the file are consistent.
2. Deployment project
After the above things are ready, we enter the directory frontend docker where the three files are saved. Please ignore those already in this directory.
cd /
cd frontend-docker
#If you are already in the frontend docker directory, you do not need to execute these two commands
Build mirror
docker build -f Dockerfile -t my-frontend:v1.0 .
#Note that the last point is required and represents the current directory
The success is as follows:
Set container to run mirror
docker run -d --name nginx01 -p 3000:80 --restart=always my-frontend:v1.0
# -Background operation
# --name nginx01 set the container name to nginx01
# -P 3000: Port 3000 of 80 public ip corresponds to port 80 of the container
# --restart=always sets the startup and self startup
# my-frontend:v1. The name of the image built by 0

Finally, the public IP address of the browser: 3000 can be opened. If you are prompted that you cannot access this website, please enter:
docker logs nginx01
#If there is an error message, you can modify it according to the prompt. Generally, the file content in the front my frontend folder is pasted without the first few letters
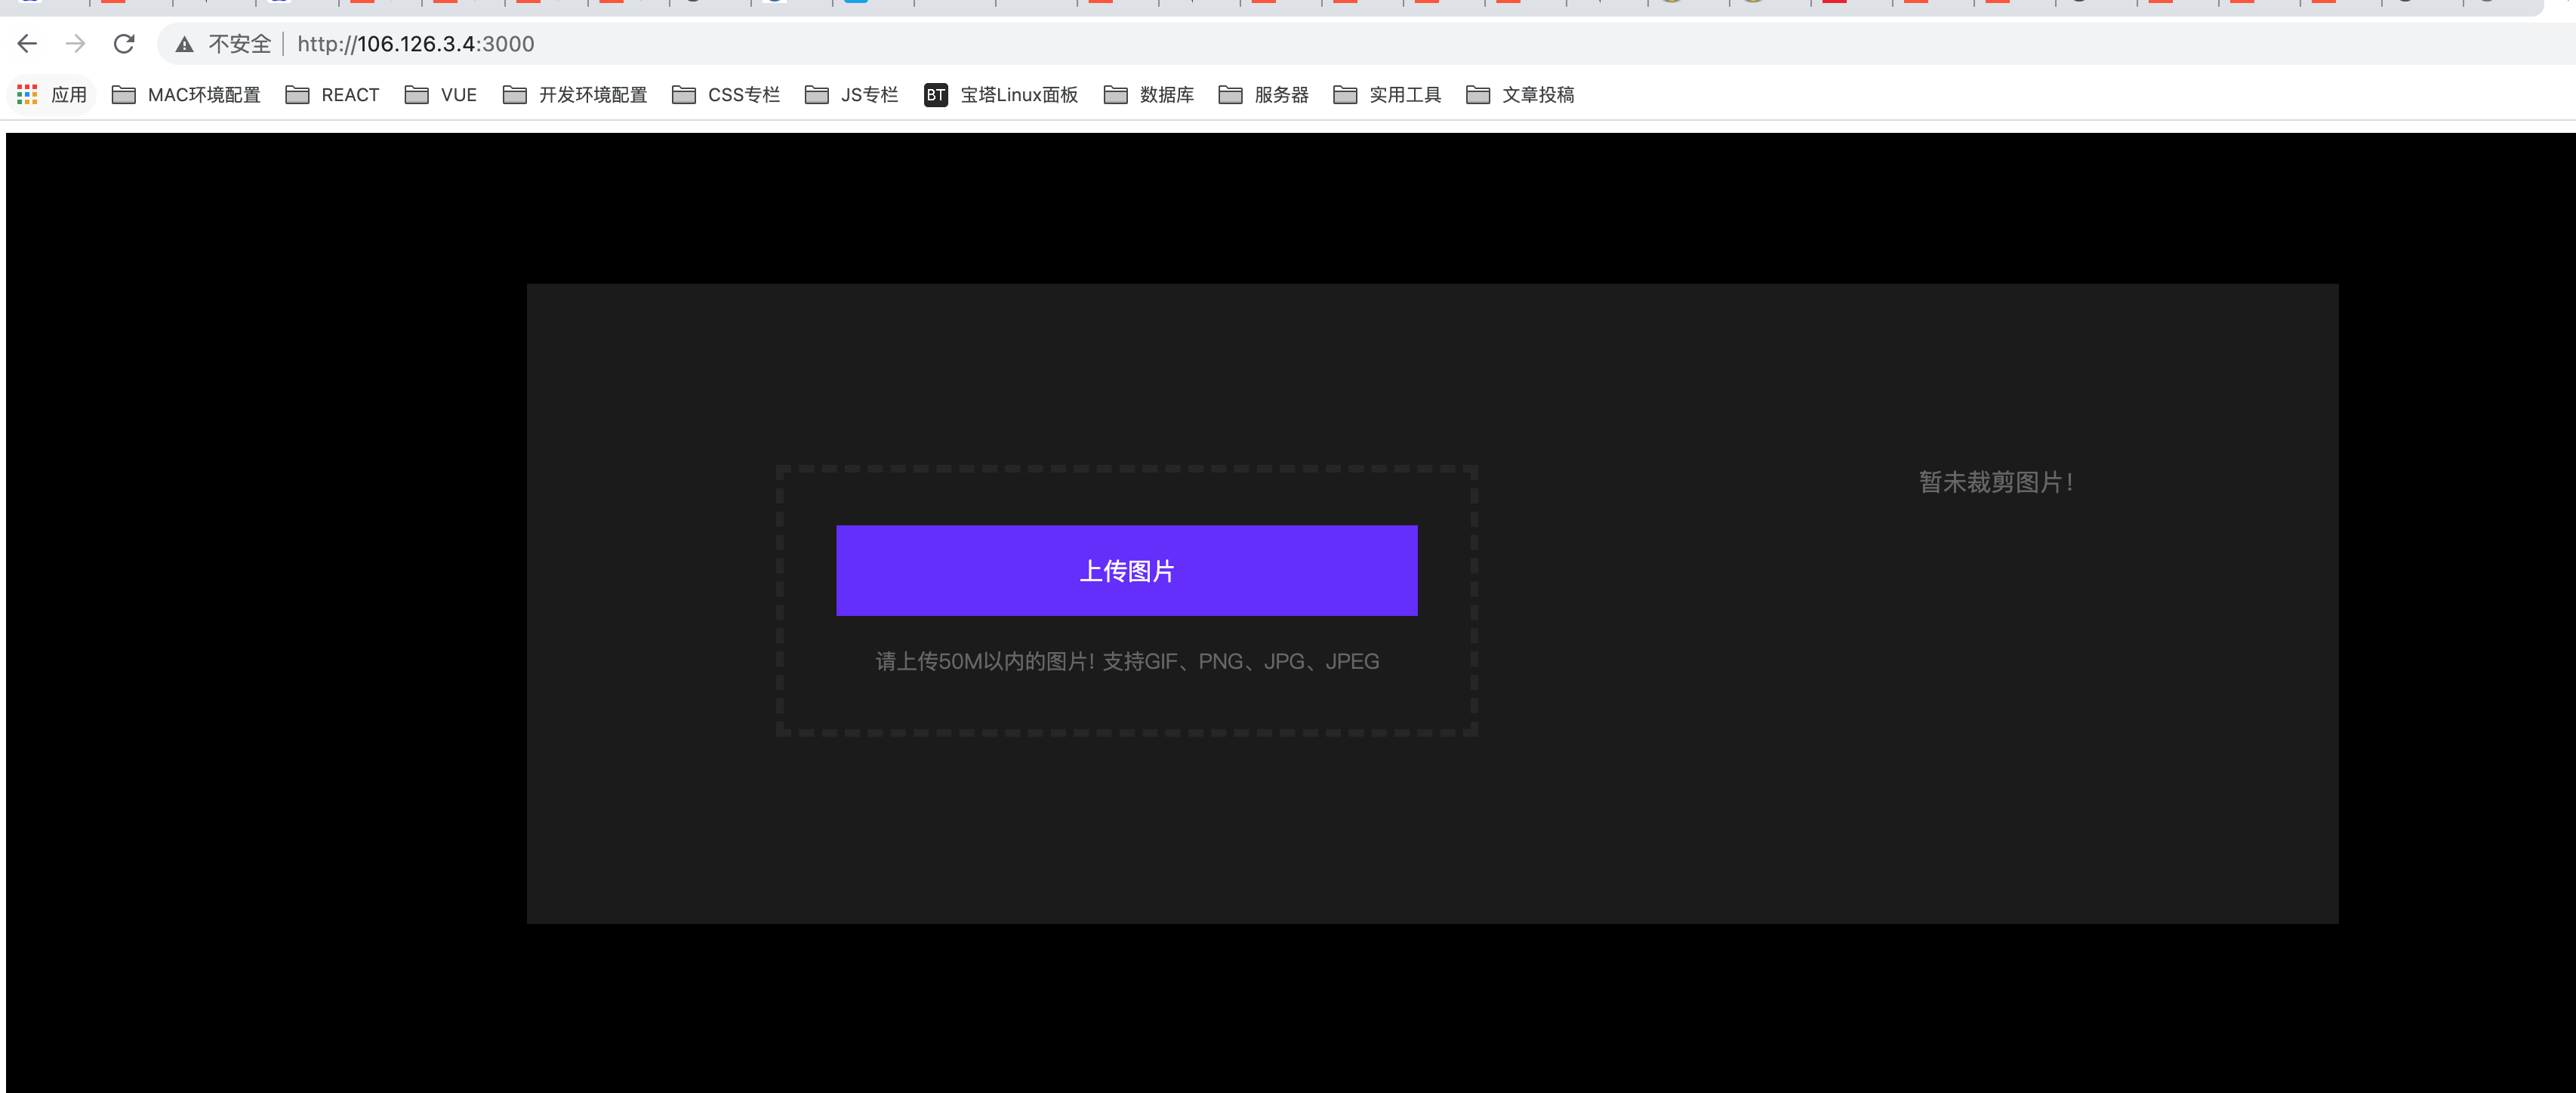
Finally, the above indicates that the vue project has been successfully deployed! After verification, the server can still be opened normally after restarting!
Here's a reminder. Some browsers will disable some ports, such as Google 6666. If the following situations occur, please change the ports when docker run s!
Unable to access this site
The website is http://106.126.3.4:6666/ Your web page may not be connected temporarily, or it has been permanently moved to the new web address.
Knowledge points (available for reference if necessary)
Container command (available when necessary)
General Command
docker pull **** #Download the latest****
//New container run
docker run [Optional parameters] imageid

#Parameter description
-d                # Run in background mode
--name            # Container names are used to distinguish containers, such as nginx01
--restart=always  #Startup and self start

#Port combination below
-p                # Randomly assigned port
    -p Host port: container port(Commonly used)
    -p ip:Host port container port
    -p Container port
    Port of the container
-P
#See rookie tutorial or w3c
Container exit delete command
exit #Container exit
Ctrl+P+Q #Don't stop pushing

docker rm container id                  # Deleting the specified container cannot delete a running container
docker rm -f $(docker ps -aq)     # Delete all containers
docker ps -a -q | xargs docker rm # Delete all containers
Start and stop container commands
docker start container id
docker restart container id
docker stop container id
docker kill container id
For more detailed orders, please refer to relevant materials, which will not be listed one by one here.
Conclusion
The above actual combat about docker front-end deployment is almost here. The front-end automatic deployment scheme will be launched in the future. If you are satisfied, please pay attention, collect, praise and support 😁.
