preface
Some time ago, I wrote a blog about Python made a cool music player . Some fans asked me why the music player uses PyQt5. Is the effect better than Tkinter? Can PyQt5 really realize these cool UI images? I haven't contacted PyQt5 before. Can you share more development cases in this regard?
Today, let's take you to develop an interesting custom desktop animation Pendant with PyQt5 of Python and see the effect of the animation Pendant!
Next, we begin to introduce the production process of this custom desktop animation pendant.
1, Core function design
Generally speaking, we need to convert our favorite dynamic graph GIF or video into a desktop animation pendant. The knowledge points mainly include GIF graph / video analysis, portrait extraction and segmentation, PyQt5 form setting, custom pendant animation implementation, ico icon generation, program packaging, etc.
The disassembly requirements can be roughly sorted out. We need to complete them in the following steps:
- Analyze the gif or video frame by frame, obtain the converted picture, extract the human body area in the image, and modify and replace the size of the picture in batch
- Initialize and set the animation pendant form display effect, form position, size, etc
- The function of desktop animation pendant is realized, animation rotation and mouse control pendant position dragging
- Pendant packaging icon setting and packaging configuration
2, Implementation steps
1. Analyze, extract and modify the picture
GIF diagram analysis:
Gif dynamic graph resources can be selected according to your preferences. Bloggers use what they wrote before Fairy disco Dynamic Gif to demonstrate the effect.
First, we need to parse the Gif dynamic graph according to each frame and convert it into picture format. The code is as follows:
from PIL import Image  # Import Image package of PIL
import os
gifFileName = "./demo.gif"  # Assign gif graph to gifFileName
im = Image.open(gifFileName)  # Use the open function of Image to open test Gif Image
pngDir = gifFileName[:-4]  # Reversely take the character from the penultimate in gifFileName (skip. gif) and assign it to pngDir as the name of the folder
if not os.path.exists(pngDir):
    os.makedirs('./img')  # Create a folder with the picture name to store the value of pngDir for each frame of pictures

try:
  while True:  # Dead cycle
    current = im.tell()  # Save the current frame picture with tell function and assign it to current
    im.save(pngDir+'/'+str(current+1)+'.png')  # Call the save function to save the frame picture
    im.seek(current+1)  # Call the seek function to obtain the next frame picture, and the parameter changes to current frame picture + 1
    # Here, we enter the loop again. When the picture is the last frame, seek will throw an exception, and the code executes exception
except EOFError:
    pass  # At the last frame, seek throws an exception. Enter here and pass to skip
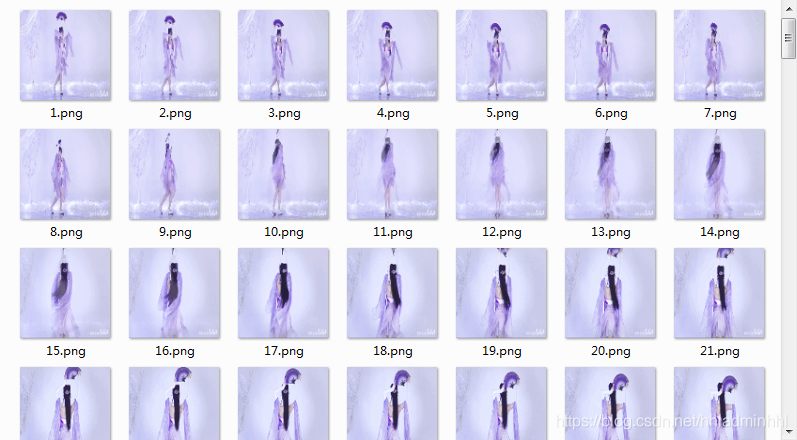
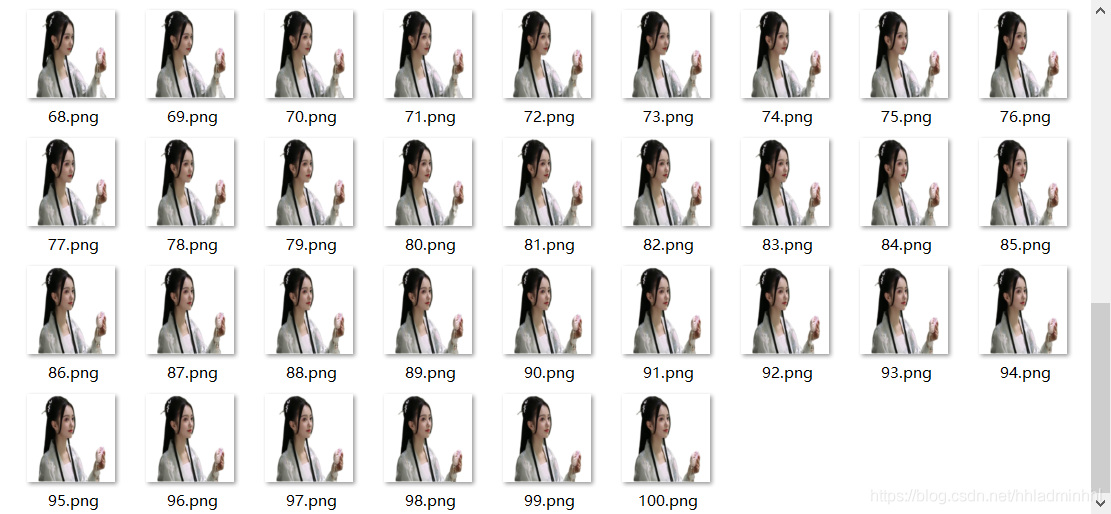
In this way, the dynamic Gif graph can be converted into a picture. The effect is as follows:
Video analysis:
Similarly, video analysis is also analyzed according to each frame and converted into picture format. The core code is as follows:
# Convert video into pictures png according to each frame
import cv2
videoFileName = "./demo.mp4"  # Assign the video path to videoFileName
pngDir = videoFileName[:-4]  # Reversely take the character from the penultimate in gifFileName (skip. Suffix) and assign it to pngDir as the name of the folder
if not os.path.exists(pngDir):
    os.makedirs(pngDir)  # Create a folder with the picture name to store the value of pngDir for each frame of pictures
# Video processing is divided into one frame of pictures
cap = cv2.VideoCapture(videoFileName)
num = 1
while True:
    # Read the video frame by frame and save it to the local folder in sequence
    ret, frame = cap.read()
    if ret:
        cv2.imwrite(f"{pngDir}/{num}.png", frame)  # Save a frame of pictures
        num += 1
    else:
        break
cap.release()   # Release resources
The effects are as follows:
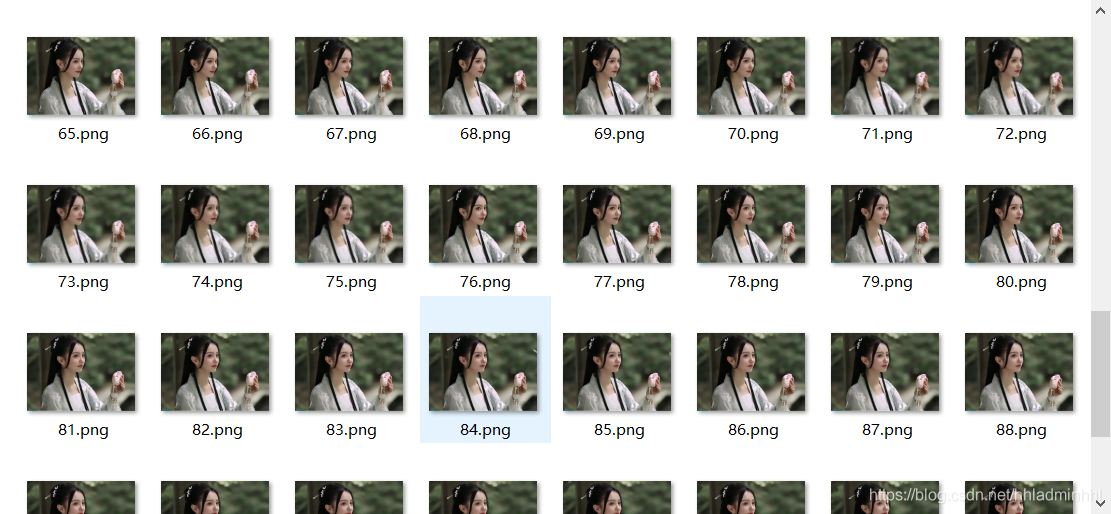
The pictures extracted frame by frame have been obtained. Next, we need to segment and extract the portraits in these pictures.
Portrait segmentation:
What we call is Baidu's open human analysis interface – Baidu AI open platform link.
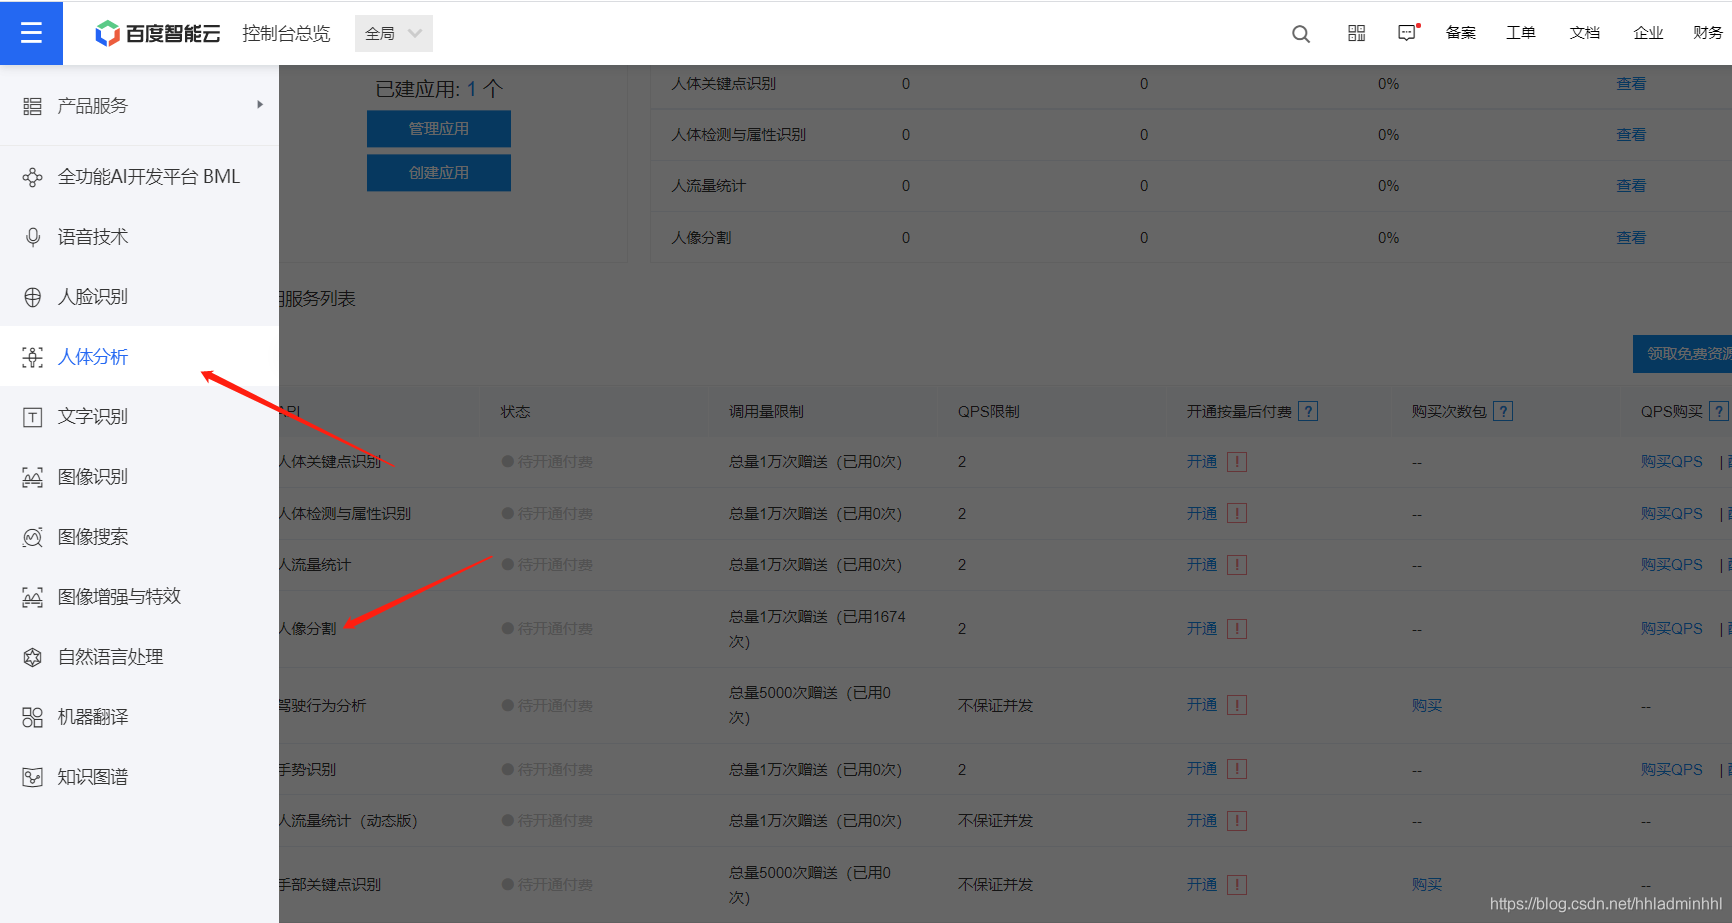
Here, we can create an application for human image segmentation. The API Key and Secret Key will be used later when we call the face recognition detection interface.

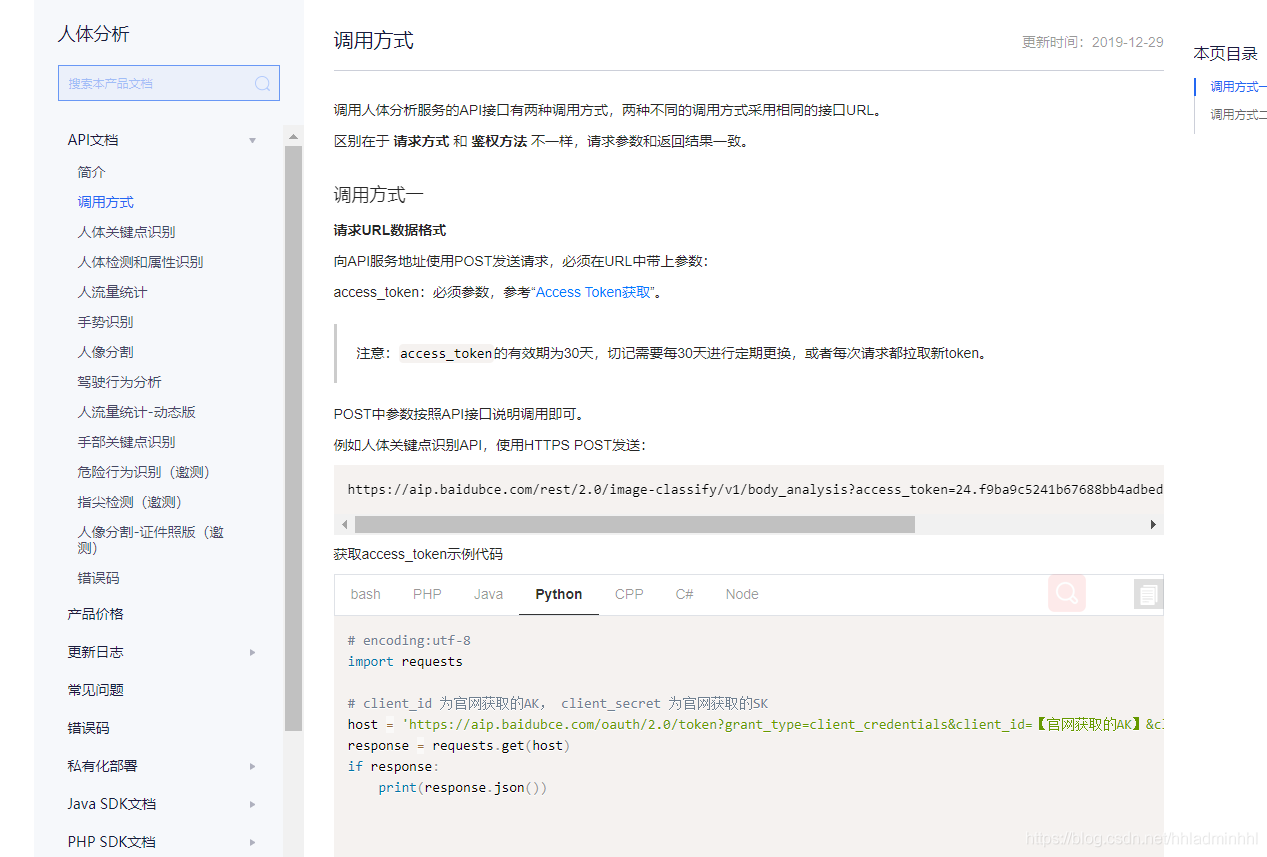
We can see the official help documents, which are introduced in great detail. How to call the request URL data format and send a request to the API service address using POST, you must bring the access parameter in the URL_ Token, which can be generated through API Key and Secret Key in the background. The API Key and Secret Key mentioned above.
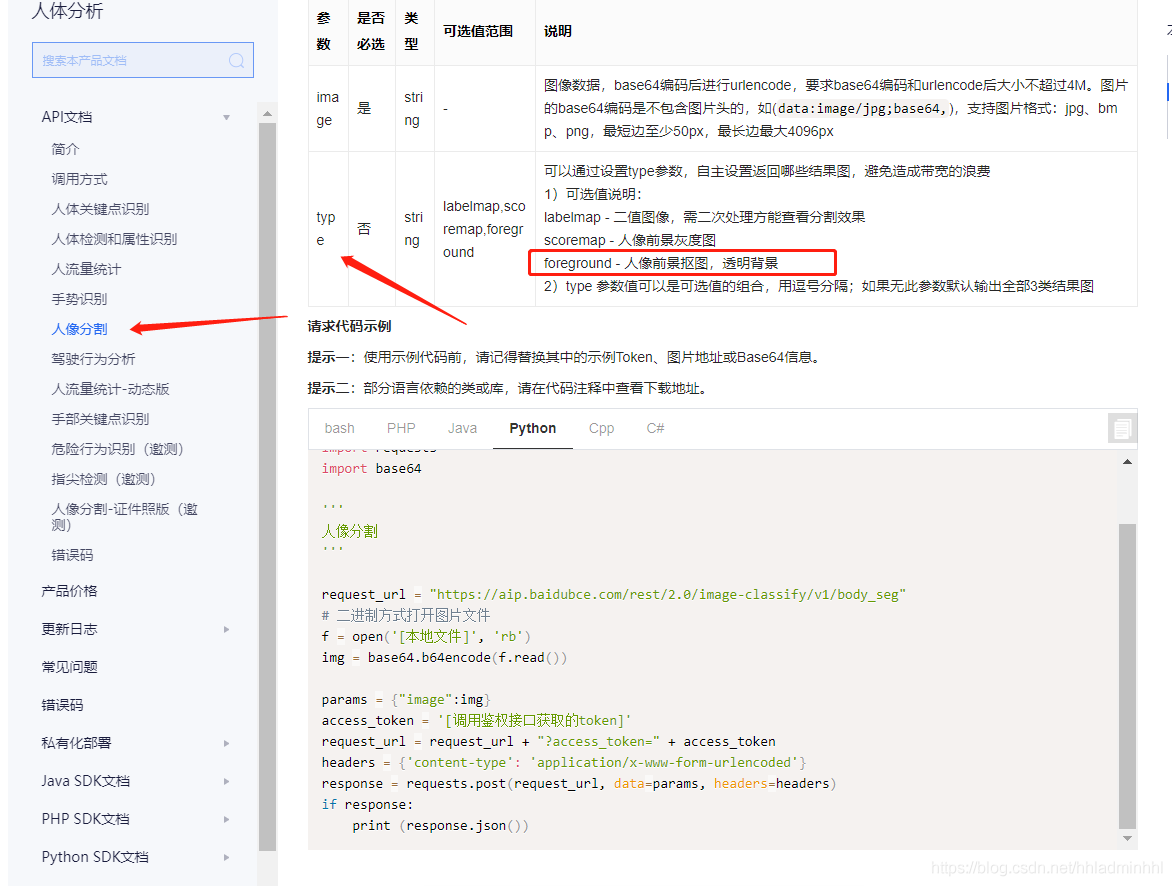
How do we get the portrait picture with empty background? According to the API documentation, you can see that there is a portrait image with an empty background that can be extracted by setting the type attribute to foreground.
The interface flow of portrait segmentation is basically clear and can be implemented in code.
# Save picture
def save_base_image(img_str, filename):
    img_data = base64.b64decode(img_str)
    with open(filename, 'wb') as f:
        f.write(img_data)

# Get token
def get_token():
    host = 'https://aip.baidubce.com/oauth/2.0/token?grant_type=client_credentials&client_id=' + client_id + '&client_secret=' + client_secret
    request = urllib.request.Request(host)
    request.add_header('Content-Type', 'application/json; charset=UTF-8')
    response = urllib.request.urlopen(request)
    token_content = response.read()
    if token_content:
        token_info = json.loads(token_content)
        token_key = token_info['access_token']
    return token_key

# Portrait segmentation
def body_seg_fore(filename, resultfilename):
    request_url = "https://aip.baidubce.com/rest/2.0/image-classify/v1/body_seg"

    # Open picture file in binary mode
    f = open(filename, 'rb')
    img = base64.b64encode(f.read())

    params = dict()
    params['image'] = img
    params['type'] = 'foreground'
    params = urllib.parse.urlencode(params).encode("utf-8")
    # params = json.dumps(params).encode('utf-8')

    access_token = get_token()
    request_url = request_url + "?access_token=" + access_token
    request = urllib.request.Request(url=request_url, data=params)
    request.add_header('Content-Type', 'application/x-www-form-urlencoded')
    response = urllib.request.urlopen(request)
    content = response.read()
    if content:
        # print(content)
        content = content.decode('utf-8')
        # print(content)
        data = json.loads(content)
        # print(data)
        img_str = data['foreground']
        save_base_image(img_str, resultfilename)
In this way, we can segment the portrait according to the picture and extract the portrait with empty background. The effects are as follows:
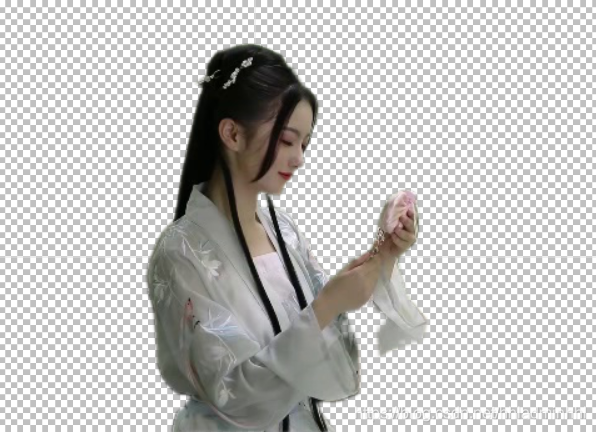
If the size of the extracted portrait image does not meet our requirements, we can also adjust the image size.
file_list = os.listdir("./image")  # Read all files in the current folder
# print(file_list)
n = len(file_list)
for i in range(n):
    s = str(file_list[i])
    if s[-4:] == ".png":  # Check suffix
        src = os.path.join(os.path.abspath('./image/'), s)  # Original picture name
        img = Image.open(src)
        new_img = img.resize((128, 128), Image.BILINEAR)
        new_img.save(src)
We have got the empty background picture we need. Next, let's realize the desktop pendant function.
2. Initialize animation Pendant
# Form initialization
def windowinit(self):
    self.x = 1650
    self.y = 860
    self.setGeometry(self.x, self.y, 300, 300)
    self.setWindowTitle('My Gadgets')
    self.img_num = 1
    self.img_path = './image/{file}/{img}.png'.format(file=self.dis_file, img=str(self.img_num))
    self.lab = QLabel(self)
    self.qpixmap = QPixmap(self.img_path)
    self.lab.setPixmap(self.qpixmap)
    self.setWindowFlags(Qt.FramelessWindowHint | Qt.WindowStaysOnTopHint | Qt.SubWindow)
    self.setAutoFillBackground(False)
    self.setAttribute(Qt.WA_TranslucentBackground, True)
    self.show()

def __init__(self):
    super(Gadgets, self).__init__()

    self.dis_file = "img1"
    self.windowinit()
    self.icon_quit()

    self.pos_first = self.pos()
    self.img_count = len(os.listdir('./image/{}'.format(self.dis_file)))
In this way, the picture pendant can be displayed, and the effect is as follows:
Now the desktop pendant is a static display. Below, we can rotate the pendant animation through the timer.
3. Realization of animation pendant function
Animation rotation:
self.timer = QTimer()
self.timer.timeout.connect(self.img_update)
self.timer.start(100)
def img_update(self):
    if self.img_num < self.img_count:
        self.img_num += 1
    else:
        self.img_num = 1
    self.img_path = './image/{file}/{img}.png'.format(file=self.dis_file, img=str(self.img_num))
    self.qpixmap = QPixmap(self.img_path)
    self.lab.setPixmap(self.qpixmap)
Mouse control pendant position drag:
def mousePressEvent(self, QMouseEvent):
    if QMouseEvent.button() == Qt.LeftButton:
        self.pos_first = QMouseEvent.globalPos() - self.pos()
        QMouseEvent.accept()
        self.setCursor(QCursor(Qt.OpenHandCursor))

def mouseMoveEvent(self, QMouseEvent):
    if Qt.LeftButton:
        self.move(QMouseEvent.globalPos() - self.pos_first)
        print(self.pos())
        self.x, self.y = self.pos().x, self.pos().y
        QMouseEvent.accept()

def quit(self):
    self.close()
    sys.exit()
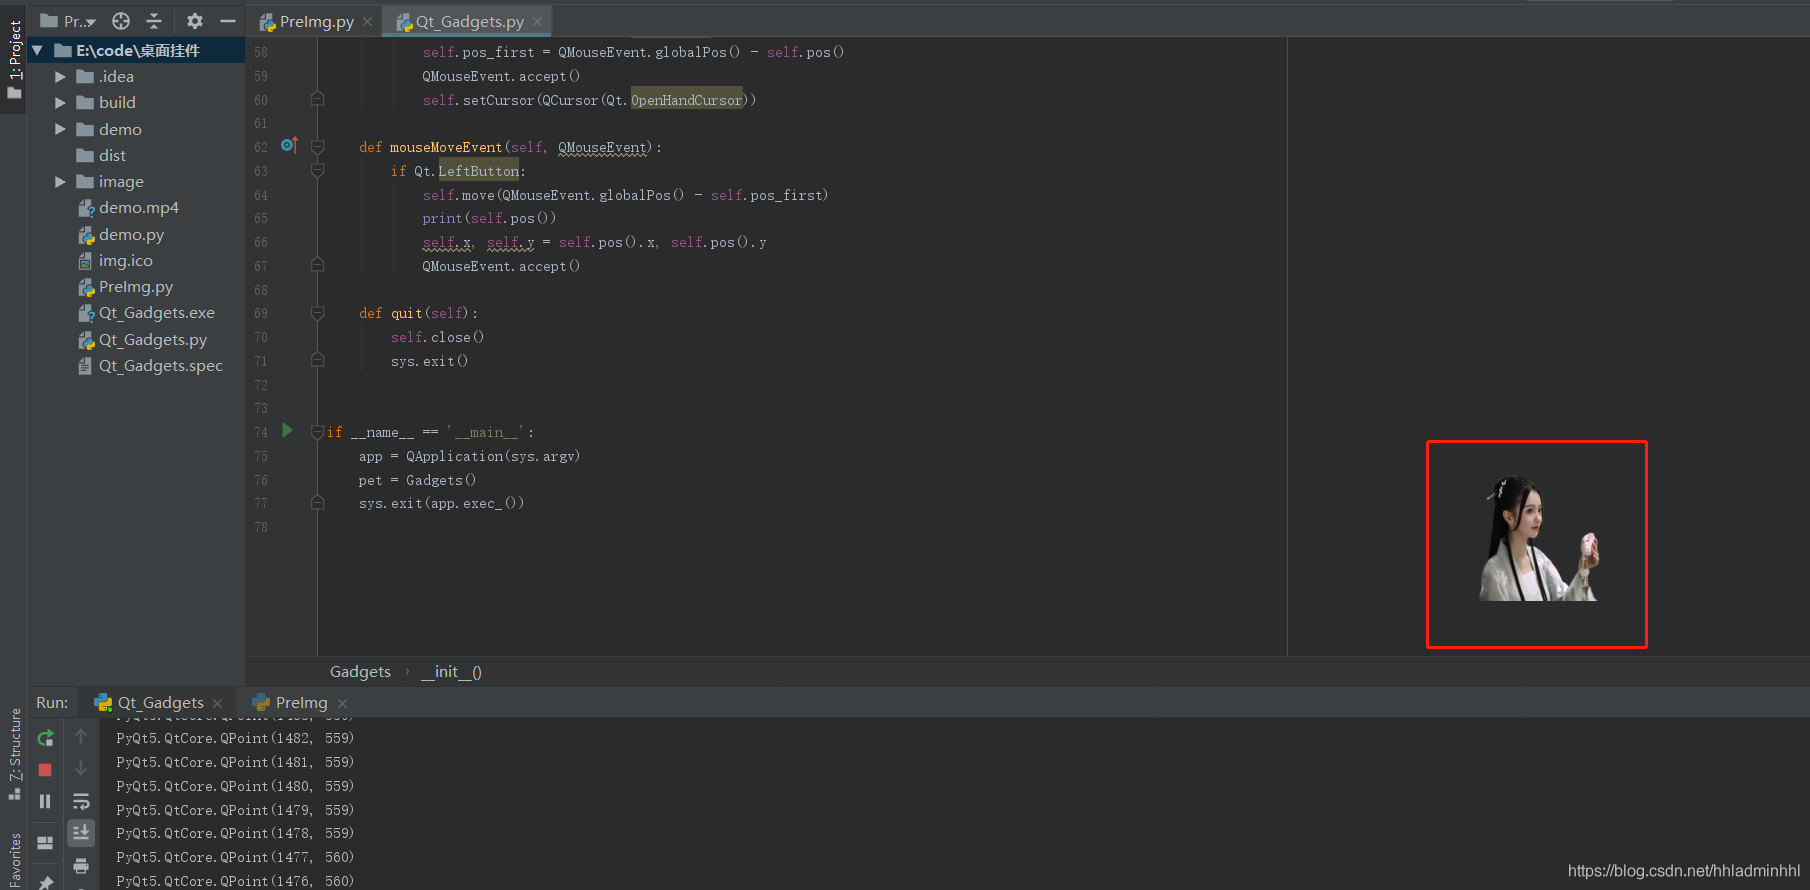
So far, the custom animation pendant function has been completed, and the animation pendant effect is as follows:
4. Packaging configuration
Some time ago, some fans asked me, can Python be packaged into exe? How to pack it? Let's introduce it together today.
Pyinstaller, a third-party library, is a common packaging tool for Python. You need to install pyinstaller first.
pip install Pyinstaller
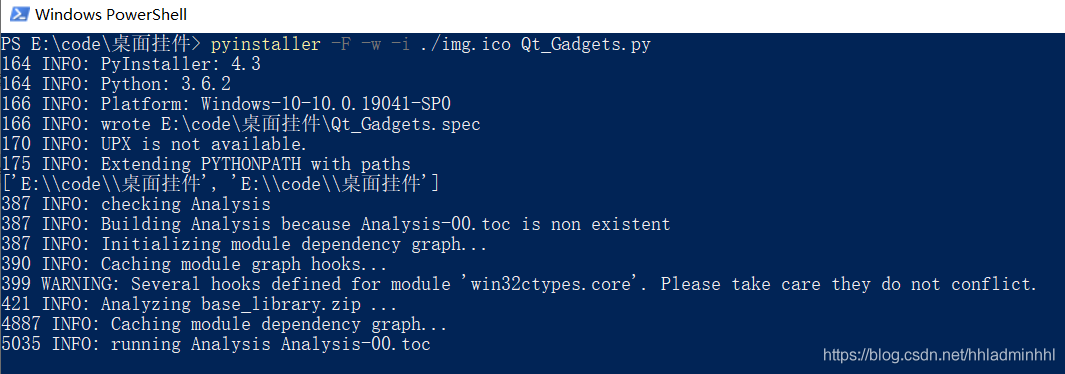
Next, we need to open the command window, switch to the project directory, and then execute the packaging command.
pyinstaller -F -i ./img.ico Qt_Gadgets.py
Common parameters for packaging are as follows:
-
-F means generating a single executable
-
-w means to remove the console window, which is very useful in GUI interface. However, if it is a command-line program, delete this option!
-
-p means you can customize the class path to be loaded, which is generally not used
-
-i represents the icon of the executable file
A little friend asked me before that the packaged icon needed ico suffix pictures, how to convert ordinary pictures into icon format Where's ico? Python can certainly help you implement it. I'll teach you today. The core code is as follows:
import PythonMagick

# Generate icon ICO (convert PNG format picture to ico)
img = PythonMagick.Image('./image/img1/1.png')
# Set the size here, otherwise the ico size will be reported as abnormal error
img.sample('128x128')
img.write('./img.ico')
Now that the icon is, we can package.
After packaging, we can see the generated exe program in the project directory.
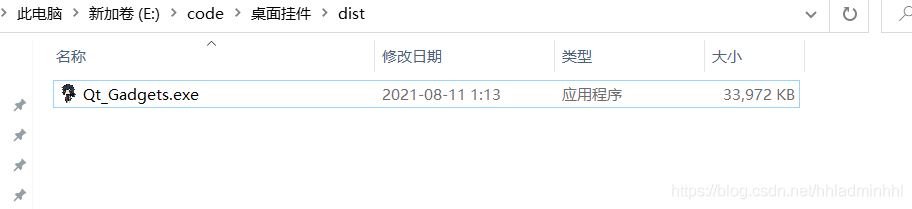
So far, the whole custom animation pendant has been completed. Let's run exe together to see the effect of animation pendant.
We'll stop here today and continue to work hard tomorrow!
If the content of this article is helpful to you, please like it three times, pay attention and collect it with support.
Creation is not easy, white whoring is not good. Your support and recognition is the biggest driving force for my creation. See you in the next article!
Dragon youth
If there are any mistakes in this blog, please comment and advice. Thank you very much!