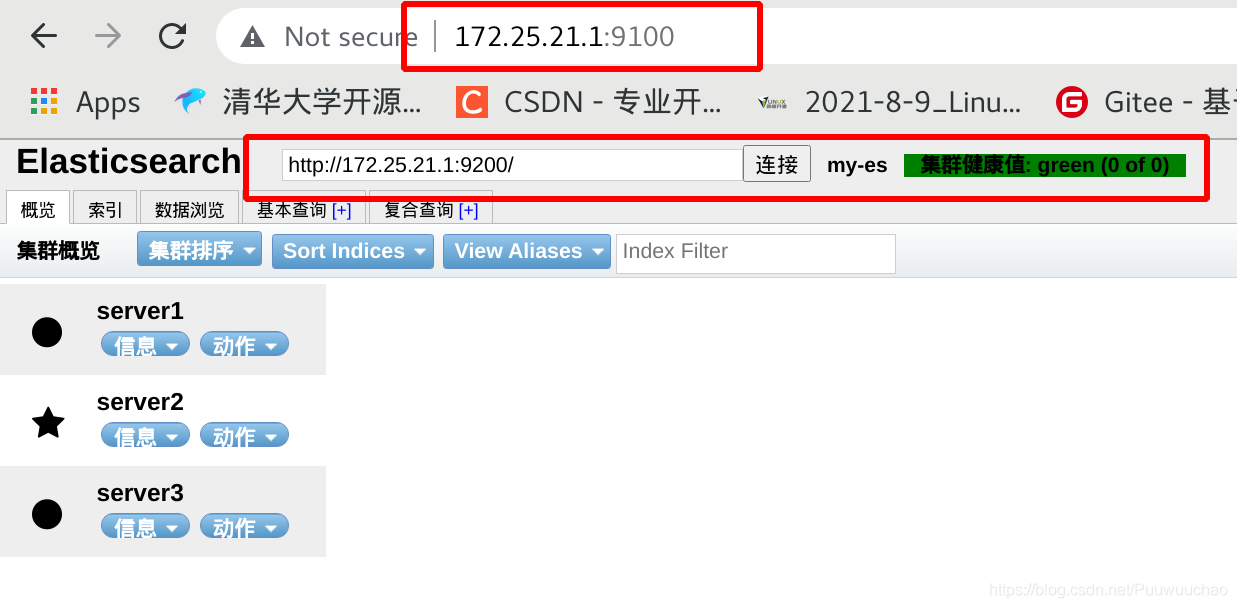
Preparation for experiment premise: three virtual machines server1 server2 server3
Elasticsearch
brief introduction
Elasticsearch is a Lucene based search server. It provides a distributed multi-user full-text search engine based on RESTful web interface. Elasticsearch is developed in the Java language and released as an open source under the Apache license terms. It is a popular enterprise search engine. Elasticsearch is used in cloud computing. It can achieve real-time search, stable, reliable, fast and easy to install and use. The official client is in Java NET (C#), PHP, Python, Apache Groovy, Ruby and many other languages are available. According to the ranking of DB engines, elasticsearch is the most popular enterprise search engine, followed by Apache Solr, which is also based on Lucene.
Basic module
• cluster: manage cluster status and maintain cluster level configuration information.
• allocation: encapsulates the functions and strategies related to fragment allocation.
• discovery: discover the nodes in the cluster and elect the master node.
• gateway: persistent storage of cluster status data received from the master broadcast.
• indexes: manage index settings at the global level.
• http: API that allows access to ES through JSON over HTTP.
• transport: used for internal communication between nodes in the cluster.
• engine: encapsulates the operation of Lucene and the call to translog.
elasticsearch application scenario
• information retrieval
• log analysis
• business data analysis
• database acceleration
• operation and maintenance indicator monitoring
Official website: https://www.elastic.co/cn/
Installation and configuration
You can disable swap before installation
swapoff -a
vim /etc/fstab  Comment out swap
Software download: https://elasticsearch.cn/download/
I chose 7.6 Version 1, 7.6 and above come with jdk, so you don't need to install jdk yourself
rpm -ivh elasticsearch-7.6.1-x86_64.rpm

Start this service and set the startup self startup
systemctl enbale --now elasticsearch.service
By default, it can only be accessed by this function, and then we have to modify the configuration file
 Modify profile
vim /etc/elasticsearch/elasticsearch.yml
	cluster.name: my-es							#Cluster name
	node.name: server1							#The host name needs to be resolved
	path.data: /var/lib/elasticsearch			#Data directory
	path.logs: /var/log/elasticsearch			#Log directory
	bootstrap.memory_lock: true				#Lock memory allocation
	network.host: 172.25.21.1					#Host ip
	http.port: 9200									#http service port
	discovery.seed_hosts: ["server1", "server2","server3"]   #Nodes in the cluster
	cluster.initial_master_nodes: ["server1"]  #Initial boot node
Restart elasticsearch
systemctl restart elasticsearch.service
Startup failed

view log
cat /var/log/elasticsearch/my-es.log
You can see that there is an error and the system limit needs to be modified

Modify system limits
vim /etc/security/limits.conf
elasticsearch soft memlock unlimited     #Insert at the end
elasticsearch hard memlock unlimited
elasticsearch - nofile 65536
elasticsearch - nproc 4096
 Since the locked memory allocation is set in the configuration file, we need to modify the configuration parameters of java
vim /etc/elasticsearch/jvm.options
free -m You can view the memory
Xmx Set no more than physical RAM 50 of%,To ensure adequate physical RAM Leave it to the kernel file system cache. But no more than 32 G.
 View the cat /etc/sysconfig/elasticsearch global configuration file
If you use systemd, you must set one

Modify systemd startup file
vim /usr/lib/systemd/system/elasticsearch.service
[Service]   #Add under the service statement block
LimitMEMLOCK=infinity
Restart elasticsearch again
systemctl daemon-reload   #Daemon reload
systemctl restart elasticsearch.service
Can see
172.25. 21.1:9200 on

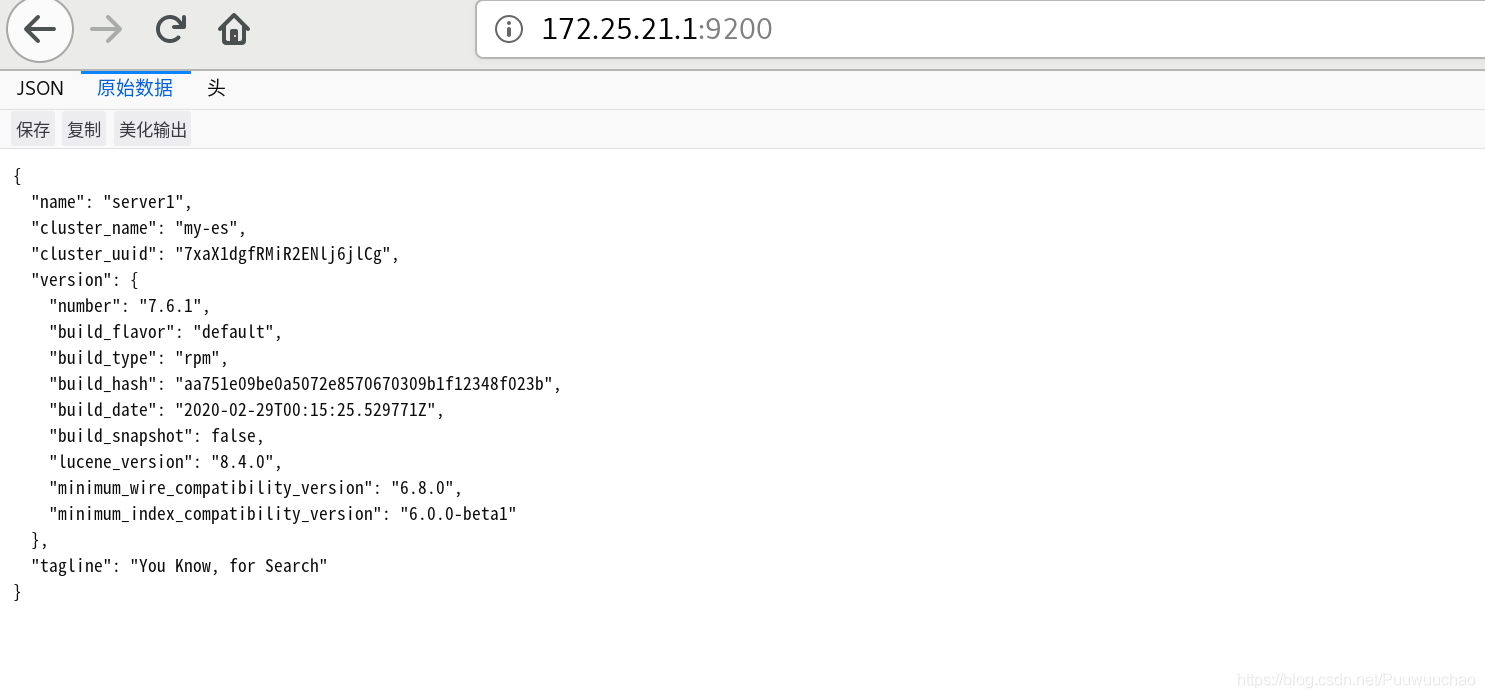
Test access:
172.25.21.1:9200
Distributed deployment
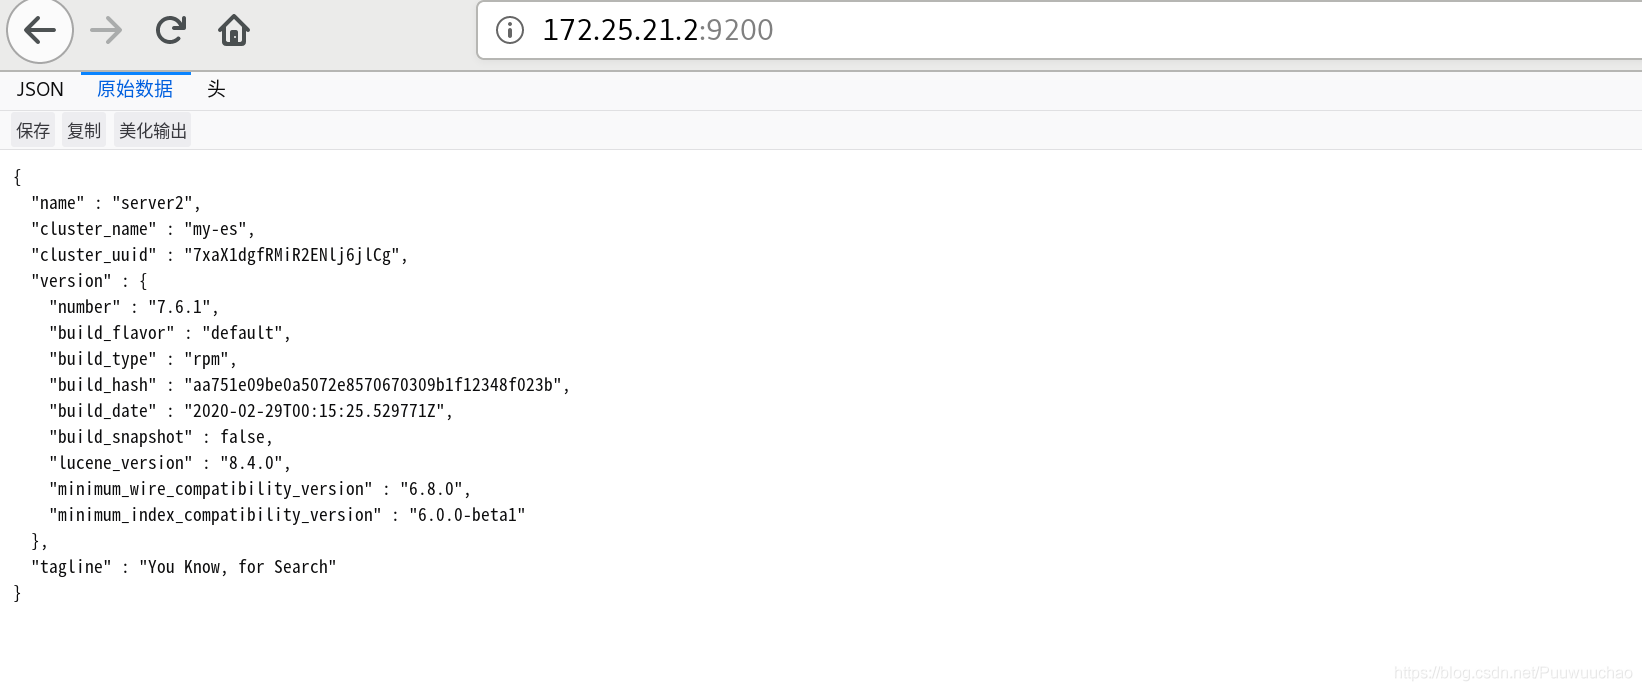
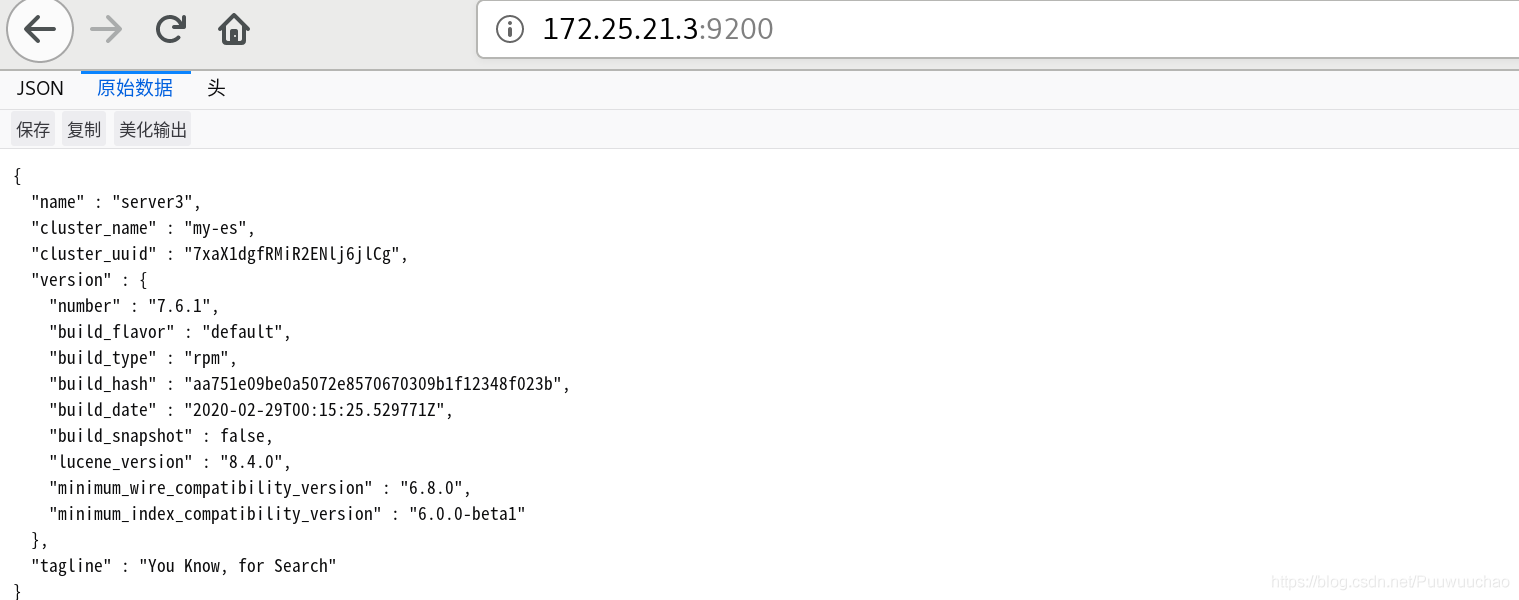
Use the same steps to deploy server2 and server3
Note that when modifying the configuration file, the host name and ip should be changed to server2 and Server3 themselves
Visit: 172.25 21.2:9200
Visit: 172.25 21.3:9200
Plug in installation
ElasticSearch monitoring tool cerebro
This tool can directly use docker to pull
Image package download address:
https://hub.docker.com/r/lmenezes/cerebro/tags?page=1&ordering=last_updated
Pull image to local
Then run the docker container and listen on port 9000
docker run -d --name cerebro -p 9000:9000 lmenezes/cerebro
Browser access 172.25 21.1:9000
If you run docker on the host running ElasticSearch and the memory is too small, ElasticSearch may be closed. You can deploy the monitoring plug-in on a host with the same ip segment
Enter the host ip and port 172.25 where the monitoring plug-in needs to be installed 21.1:9200
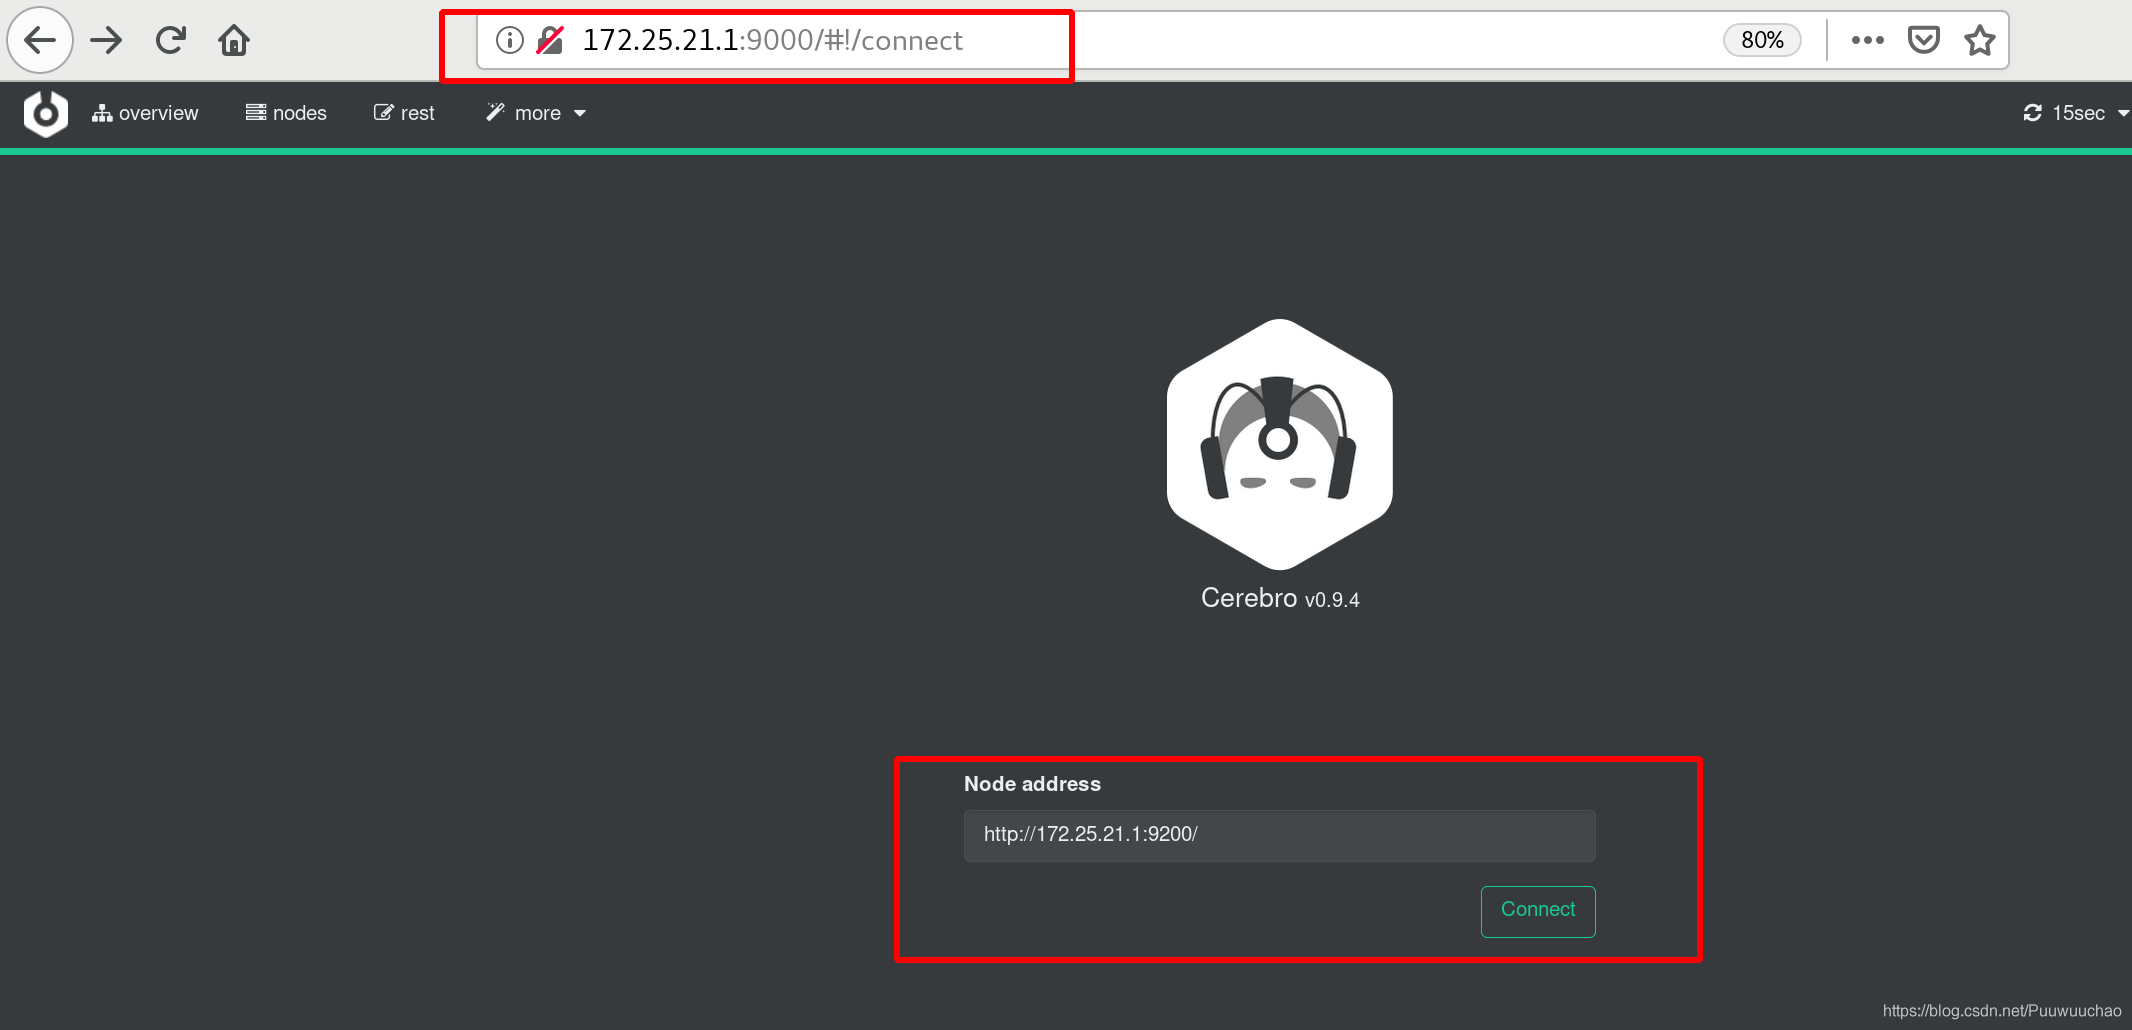
Click connect to start monitoring

ElasticSearch monitoring tool - (ElasticSearch head)
Download the elasticsearch head plug-in
wget https://github.com/mobz/elasticsearch-head/archive/master.zip

Install a decompression software
yum install unzip -y
decompression
unzip master.zip

The head plug-in is essentially a nodejs project, so you need to install node:
I put this installation package on Baidu cloud disk: https://pan.baidu.com/s/1bo4FedCDTSOUuWpctKDhpQ Extraction code: vdcy
rpm -ivh nodejs-9.11.2-1nodesource.x86_64.rpm
After installation, check the versions of node and npm
npm (Node Package Manager) is the mainstream package manager under Node.js. It is built in the Node system after Node.js v0.6.x. npm can help developers install, uninstall, delete and update Node.js packages, and publish their own plug-ins through npm.

cnpm is the client of npm image in China. It supports all npm commands and is faster than npm
Install cnpm
npm install cnpm -g --registry=https://registry.npm.taobao.org
After installation, check the cnpm version information

Enter master Zip the extracted directory elasticsearch head master, and execute the nodejs installation project
cd elasticsearch-head-master/
cnpm install
Installation failed. You can see in the error report that bzip2 is missing

Install bzip2
yum install bzip2 -y
Perform the installation nodejs project again
cnpm install
success

Modify ES host ip and port
vim _site/app.js
 Run nodejs project and enter the background
cnpm run start &

Modify ES cross domain hosting
vim /etc/elasticsearch/elasticsearch.yml
http.cors.enabled: true 			# Is cross domain supported
http.cors.allow-origin: "*"			# *Indicates that all domain names are supported
Restart service
systemctl restart elasticsearch.service
Access the head plug-in service: 172.25 At 21.1:9100, the default listener is on port 9100, connected to 172.25 21.1:9200. If you want to connect to the cluster through other hosts, join cross domain hosting in other hosts
If you want to modify the port, modify gruntfile. Under elastic search head JS file
