Starting Jishu community
If you are interested in Arm related technologies, you are welcome to join the technology wechat group.
preface
I've always liked the products of silicon speed home. The design of these boards is really deep in my heart 😍. I was lucky to participate in this silicon speed R329 development board evaluation activity and get the physical experience. Next, I will briefly share the process and feelings of starting the experience.
Brief introduction to hardware
First of all, let's take a look at the overall appearance of the development board. Everyone took coins to compare the volume of the development board. I'm different. I'll give you one point 💰 There are no coins, so let's see the real picture:
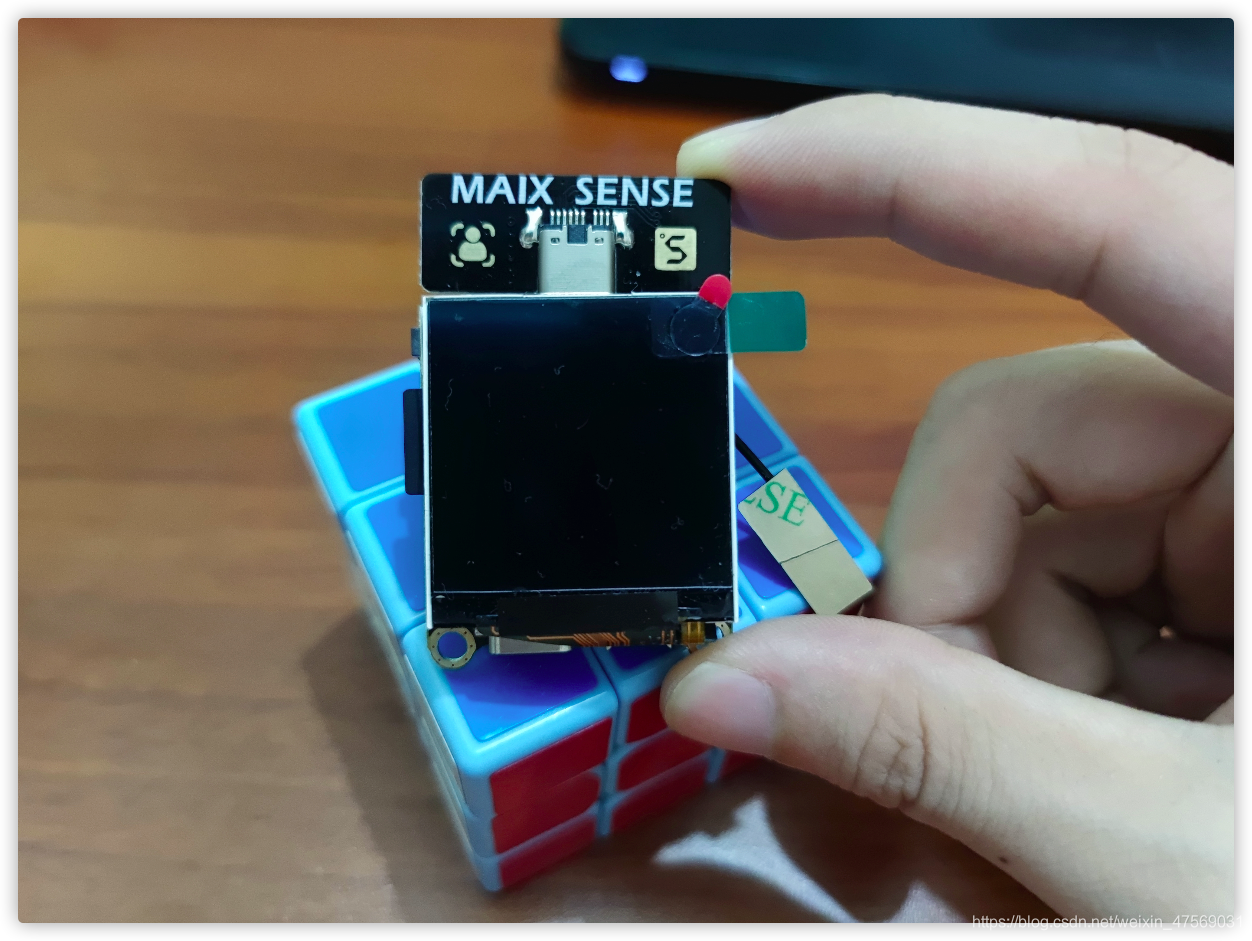
On the front of the board is a 240 * 240 screen
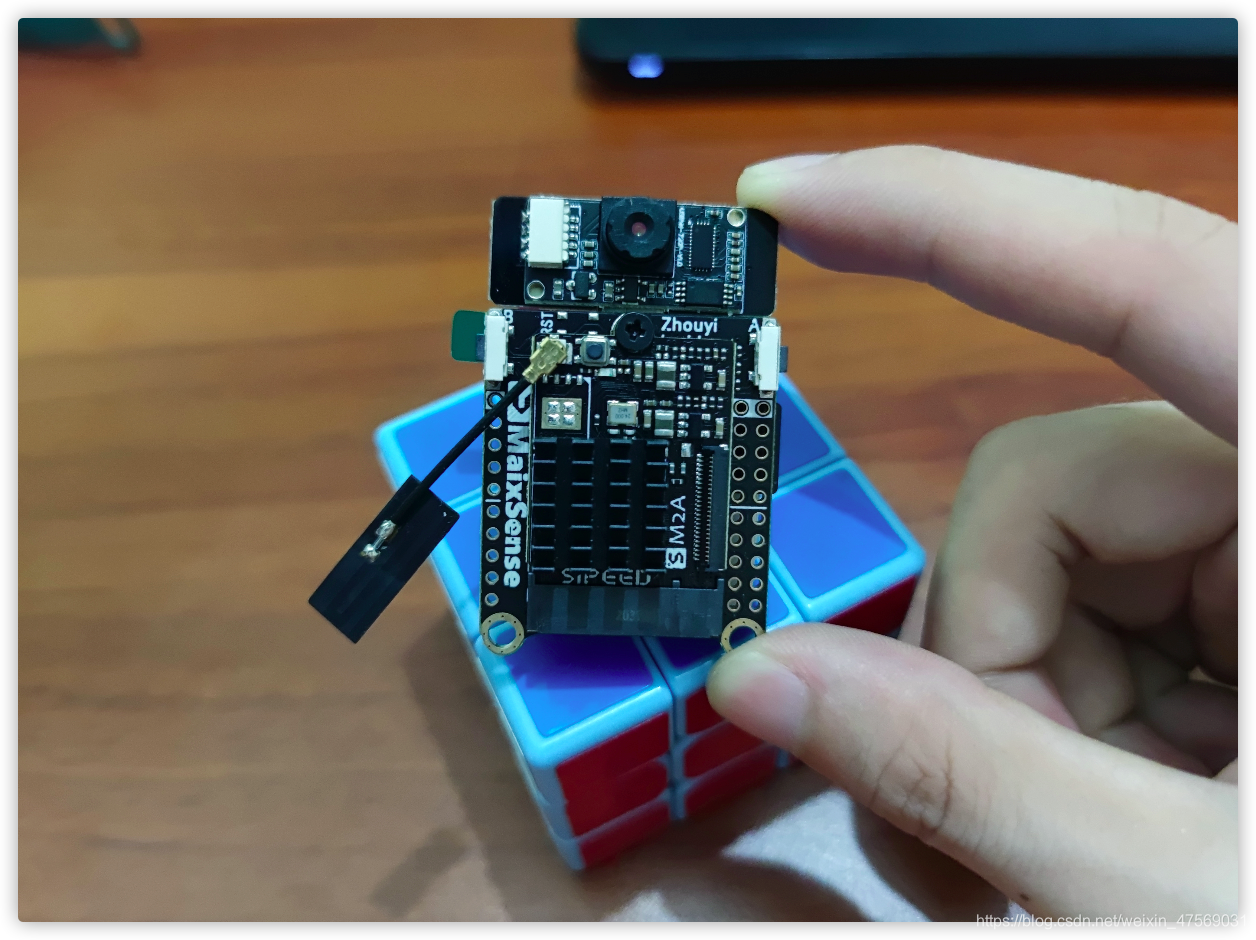
The back of the board is the core board, which can see the heat sink and antenna (it looks very strong)
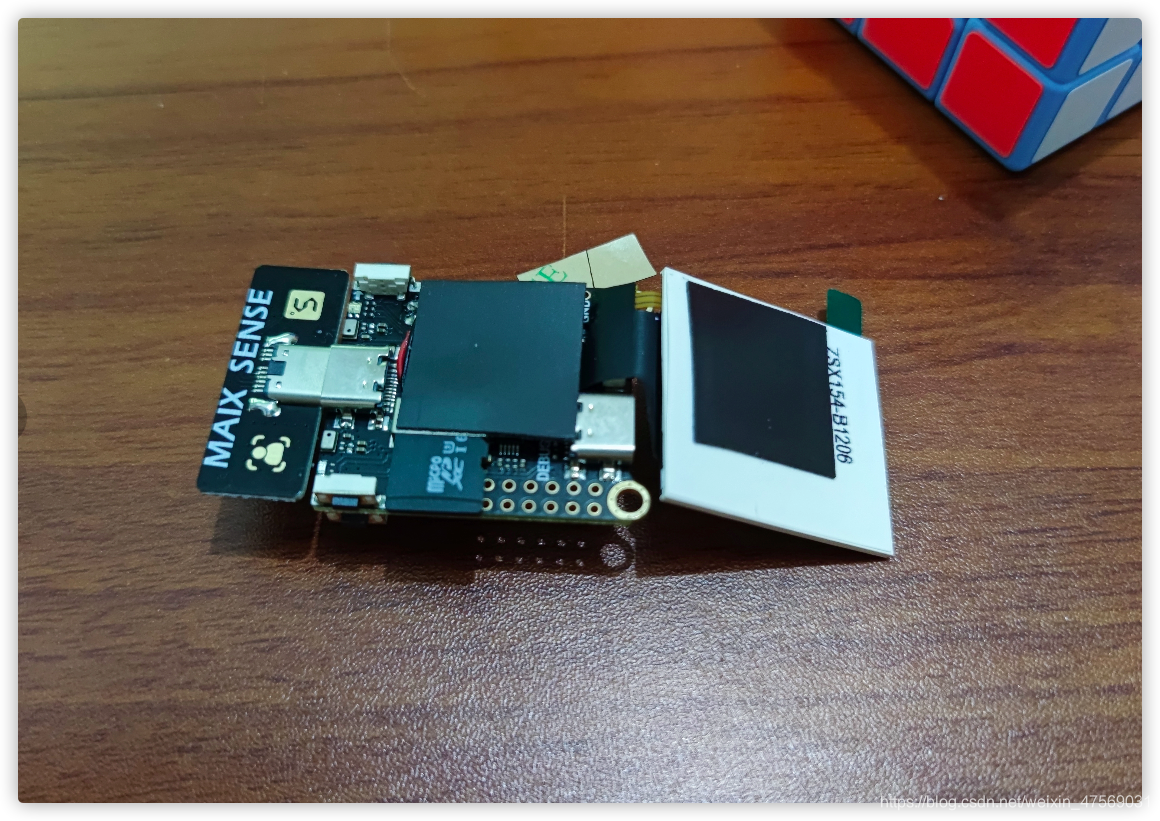
The screen is magnetically attracted on the board, so it can be easily opened to see the place where the memory card is inserted. In fact, there are two microphones that are not easy to notice, and there is a small speaker hidden below 📢
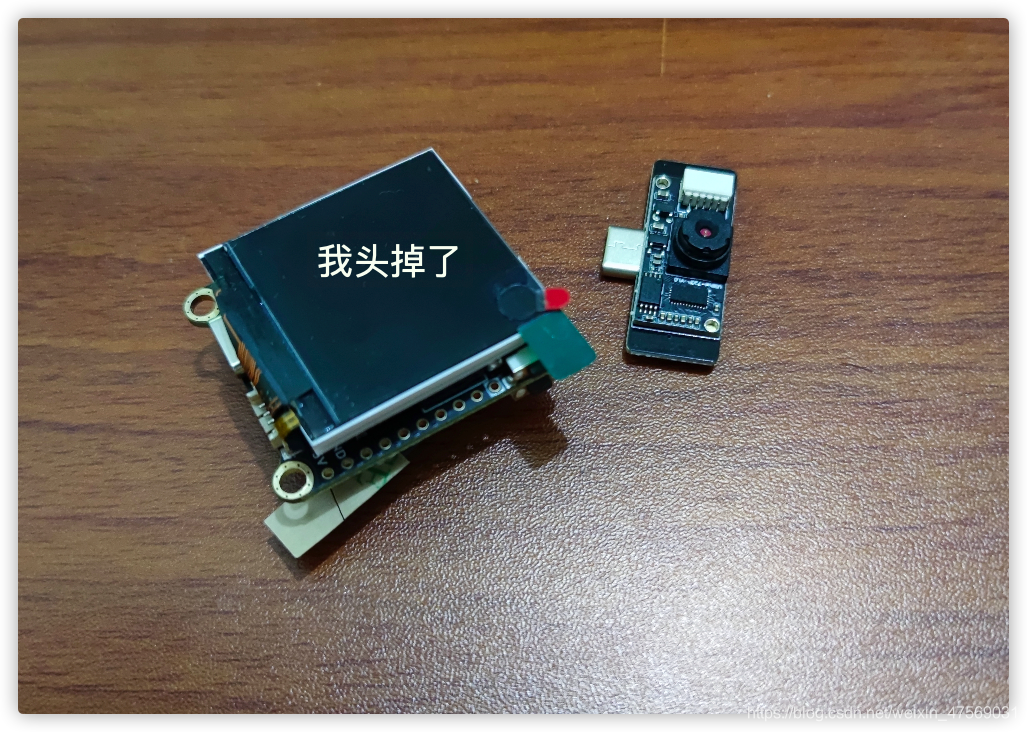
The camera is connected to the board through Type-C, so you can break it off and plug it in front and back (the full screen of the front and rear cameras has realized \ Doge). When the camera is not plugged in, the empty Type-C interface can be used to connect the OTG keyboard and mouse as the input device.
For more hardware introduction of the development board, please refer to here.
Debian system experience
Before posting, silicon speed has adapted Tina, Debian and armian systems to the development board. Soon. I experienced Tina in front. The speed of switching on and off is very fast and runs smoothly, but there are some small problems in network connection and it is not convenient to install software, so my next experience is carried out under Debian system.
Brush in system
You can refer to the post of silicon express for the brush in system and initial configuration R329 development board tutorial IV initial experience of Debian system , very detailed.
Image burning software recommendation balenaEtcher (the operation is simple and the key looks good.)

Serial port connection or SSH connection
The operation can only be carried out through serial port connection when starting up for the first time. You can directly connect the development board to the computer with Type-C data cable without installing additional drivers. For serial port software, minicom is recommended for macOS and Linux, MobaXterm is recommended for Windows, the serial port baud rate is 115200, and other parameters are default.
After configuring the network, you can use ssh to connect to the development board, but the Debian system needs to manually generate the ssh secret key:
ssh-keygen -A
systemctl restart ssh
Tips: in some cases, the computer can't ping the development board and ssh can't log in to the development board. First, ping the ip address of the computer on the development board.
Compile and run the classification Demo
Debian image comes with a classification routine zhouyi_test can be compiled and run on the board, or cross compiled on your own computer, and then run on the board.
On board direct compilation
The image has been configured with the compilation environment and can be compiled and run directly (note that the virtual memory must be turned on first).
Compilation steps:
cd ~/zhouyi_test/build
cmake ..
make -j2  # compile
cd .. && bash run.sh  # Run program
Compilation result:
root@maixsense:~/zhouyi_test/build# time make -j2
Scanning dependencies of target zhouyi_cam
[ 33%] Building C object CMakeFiles/zhouyi_cam.dir/fb_display.c.o
[ 66%] Building CXX object CMakeFiles/zhouyi_cam.dir/main.cpp.o
[100%] Linking CXX executable zhouyi_cam
[100%] Built target zhouyi_cam

real    13m19.126s
user    0m23.554s
sys     0m4.308s
One advantage of direct compilation on the board is that the image has been configured with the environment, saving the trouble of reconfiguring the compilation environment, but! The compilation speed is too slow! Taking this routine as an example, it takes about 15min to compile on the board, which is very unfavorable to code development and debugging, so we'd better compile on our own computer.
Cross compiling on PC
This part refers to @Yang Xiu My post R329 MaixSense OpenCV image acquisition.
Steps (take Ubuntu as an example):
- Install compiler tools
apt-get update
apt-get install gcc-aarch64-linux-gnu g++-aarch64-linux-gnu
- Cross compile OpenCV to generate dynamic library (skip it and download it directly)
wget https://github.com/opencv/opencv/archive/4.5.1.zip
unzip 4.5.1.zip
cd opencv-4.5.1 && mkdir r329-build && cd r329-build
# This step makes BUILD_SHARED_LIBS remains the default, that is, the dynamic library is compiled
cmake \
-DCMAKE_TOOLCHAIN_FILE=../platforms/linux/aarch64-gnu.toolchain.cmake \
..
make -j && make install
After success, open cv-4.5 1 / r329 build / install directory is as follows:
├── bin
├── include
├── lib
└── share
- Modify zhouyi_test/CMakeList.txt
cmake_minimum_required(VERSION 3.10.0)
project(test_r329)

set(CMAKE_SYSTEM_NAME Linux)
set(CMAKE_SYSTEM_PROCESSOR aarch64)

set(CMAKE_C_COMPILER "aarch64-linux-gnu-gcc")
set(CMAKE_CXX_COMPILER "aarch64-linux-gnu-g++")

set(CMAKE_FIND_ROOT_PATH_MODE_PROGRAM NEVER)
set(CMAKE_FIND_ROOT_PATH_MODE_LIBRARY ONLY)
set(CMAKE_FIND_ROOT_PATH_MODE_INCLUDE ONLY)

set(CMAKE_C_FLAGS "-march=armv8-a ")
set(CMAKE_CXX_FLAGS "-march=armv8-a -fpermissive ")

# cache flags
set(CMAKE_C_FLAGS "${CMAKE_C_FLAGS}" CACHE STRING "c flags")
set(CMAKE_CXX_FLAGS "${CMAKE_CXX_FLAGS}" CACHE STRING "c++ flags")

# Note the path of opencv
set(OpenCV_DIR ../opencv4.5.1/lib/cmake/opencv4)
find_package(OpenCV REQUIRED)

set(OpenCV_LIBS opencv_core opencv_imgproc opencv_imgcodecs opencv_videoio)
set(AIPU_LIBS "${CMAKE_SOURCE_DIR}/libaipudrv.so.4")

set(CMAKE_MODULE_PATH ${CMAKE_MODULE_PATH} "${CMAKE_SOURCE_DIR}/cmake/")

aux_source_directory(. src)

add_executable(zhouyi_cam ${src})

target_link_libraries(zhouyi_cam ${OpenCV_LIBS} ${AIPU_LIBS})
- Compiling zhouyi_cam:
cd zhouyi_test/build && cmake .. && time make
Compilation result:
root@ecf9748d25c7:~/r329-coding/zhouyi_test/build# time make
[ 33%] Building C object CMakeFiles/zhouyi_cam.dir/fb_display.c.o
[ 66%] Building CXX object CMakeFiles/zhouyi_cam.dir/main.cpp.o
[100%] Linking CXX executable zhouyi_cam
[100%] Built target zhouyi_cam

real	0m2.889s
user	0m2.574s
sys	0m0.326s
You can see that the compilation is a little faster, and a Zhouyi is generated in the build directory_ Cam file
- Running on board_ cam
First, send the program to the board. It is recommended to use scp command and execute it on the computer:
scp zhouyi_cam root@board ip address:~/zhouyi_test/build
Execute on board:
cd ~/zhouyi_test && bash run.sh
Operation effect
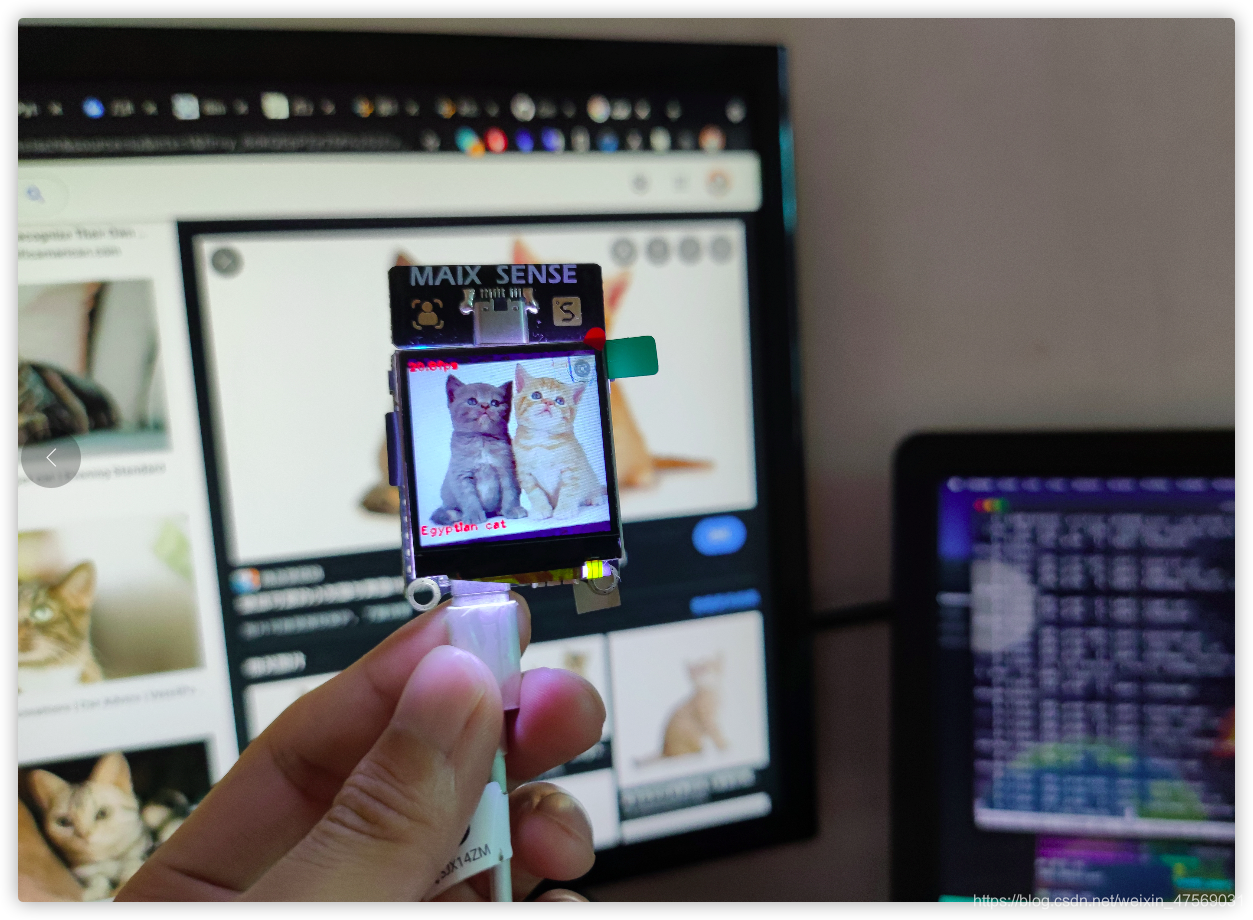
It can be seen that the running frame rate is 20fps and the classification result is correct ✅.
Summary (try to sublimate)
enclosure:
r329-coding.tar.gz Extraction code: a69j
Attachment Description:
r329-coding
├── opencv4.5.1  # Compiled opencv
│   ├── bin
│   ├── include
│   ├── lib
│   └── share
└── zhouyi_test # Test Engineering
    ├── CMakeLists.txt
    ├── Makefile
    ├── aipu.bin
    ├── build
    ├── fb_display.c
    ├── fbviewer.h
    ├── include
    ├── label.h
    ├── libaipudrv.so.4
    ├── libaipudrv.so.4.1.1
    ├── low_level_api.h
    ├── main.cpp
    ├── run.sh
    ├── standard_api.h
    └── zhouyi_cam -> build/zhouyi_cam
Related reading: