Take notes of your work
I Installing docker in win10 environment
First, find the docker official website and download the docker application in win10 environment docker win download address
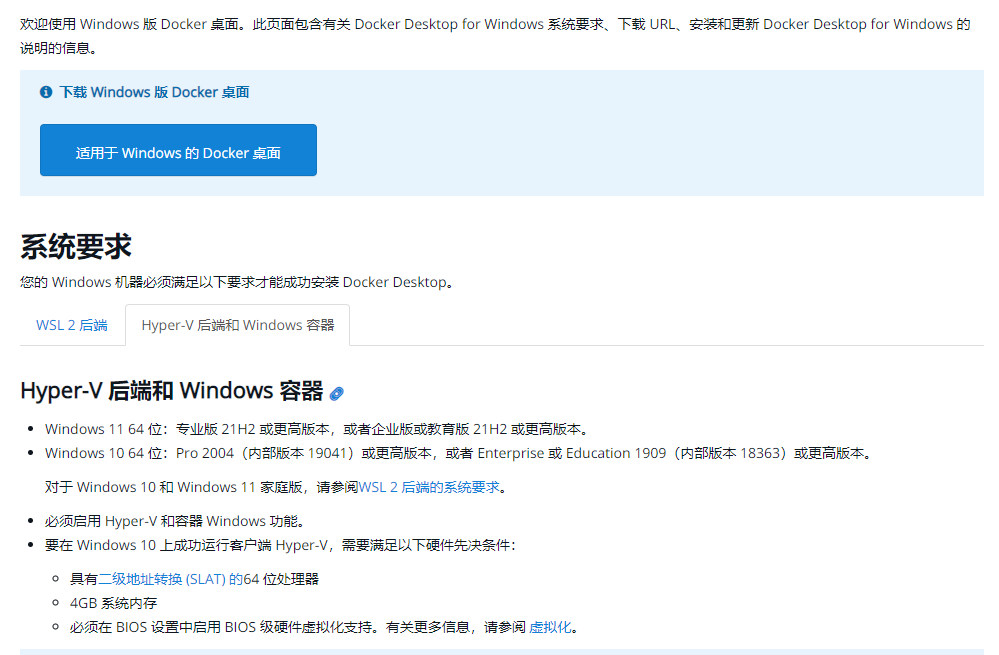
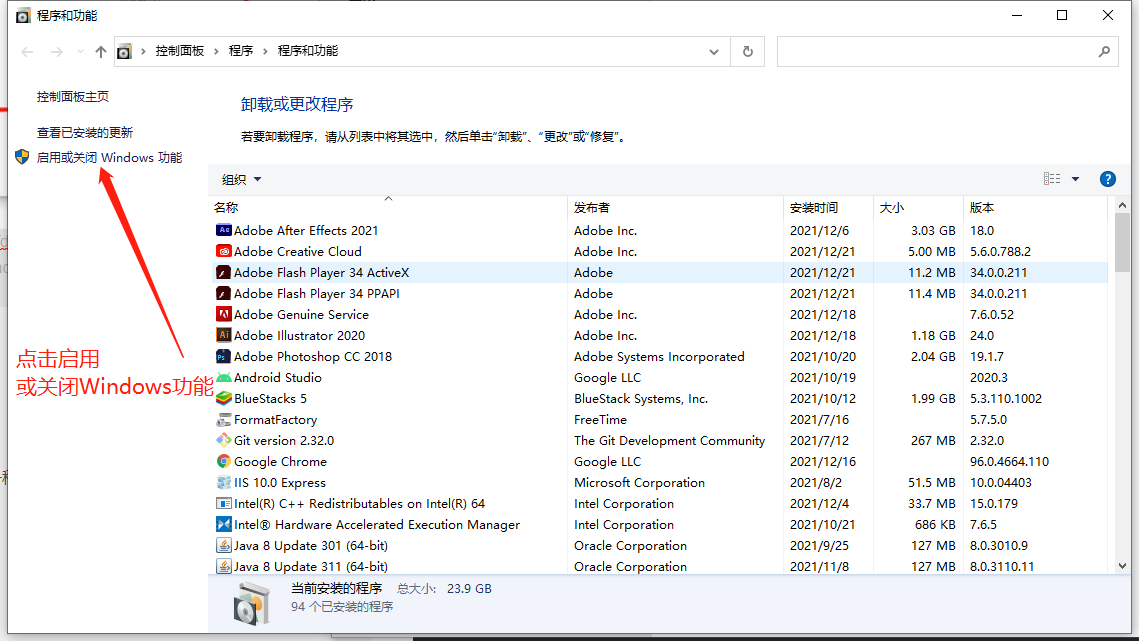
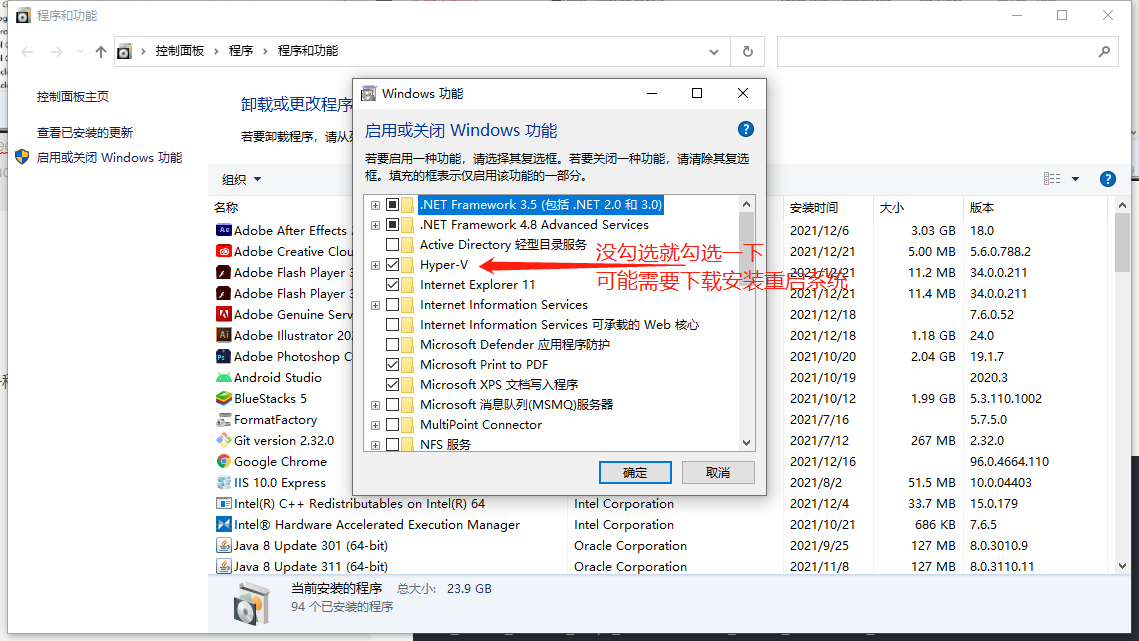
You can see that there is a system requirement to open Hyper-v
win10 open Hyper-v
Right click the start menu
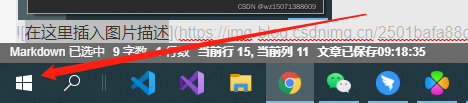
Select Settings
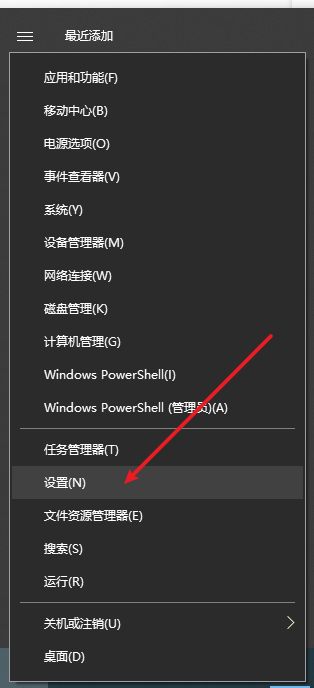

docker installation
The docker should have been downloaded by this time
Click Install Package to install

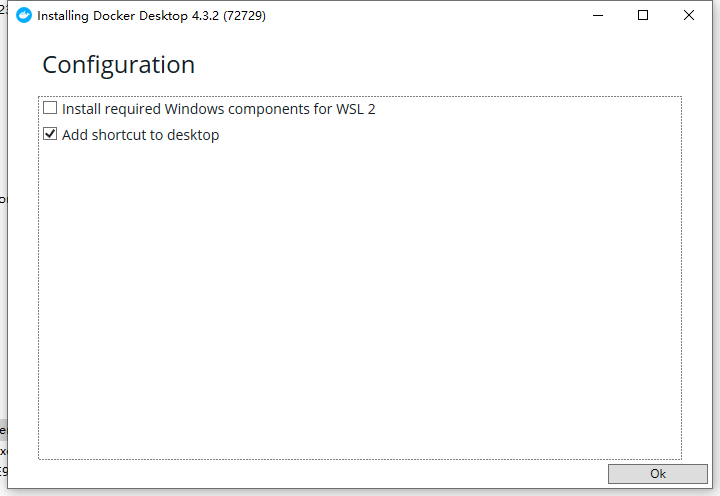
Here I use Netease Youdao dictionary to translate, which is about installing wsl2 environment and creating desktop shortcut
I didn't choose wsl2 basic application here
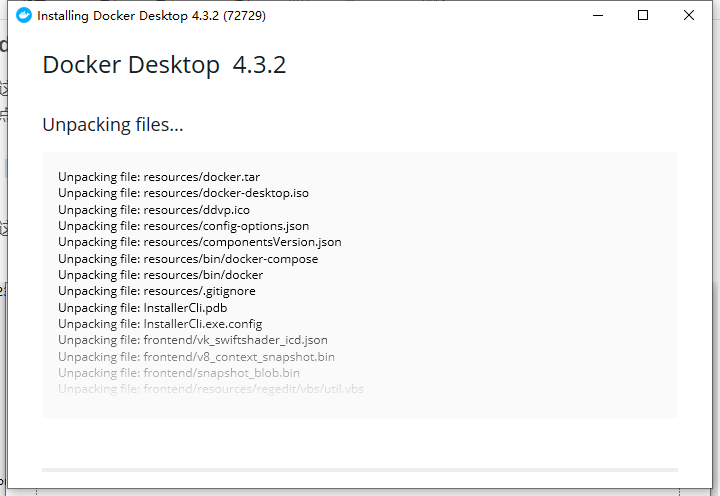
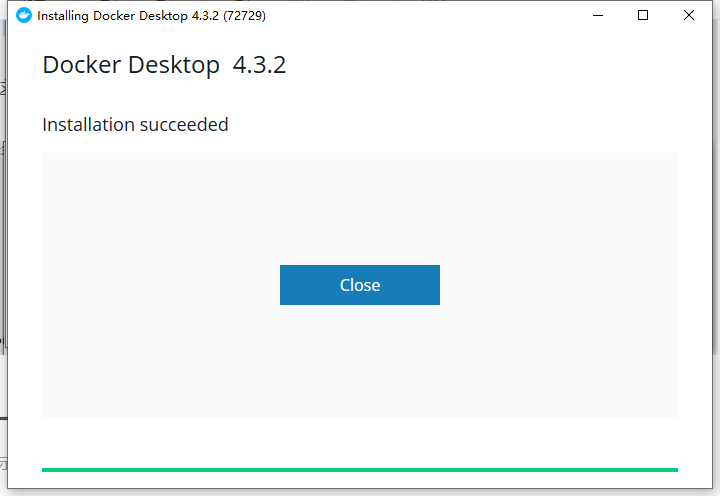
Wait for the installation to complete
Click close to close
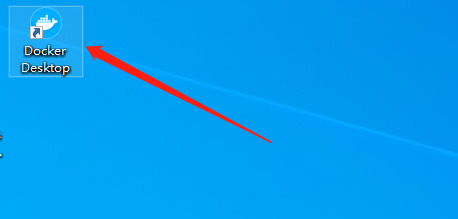
Double click to open it
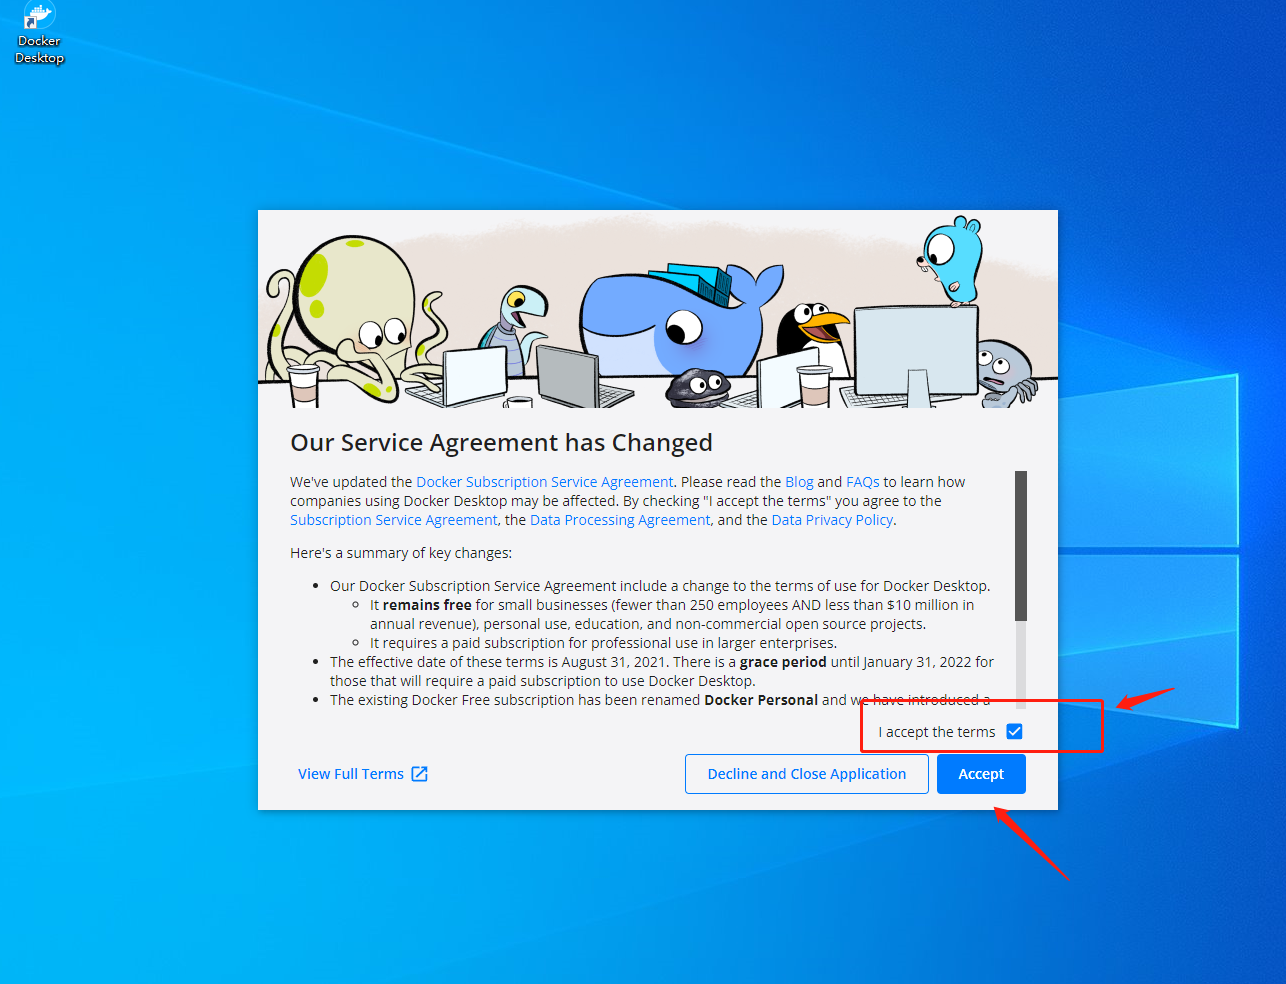
Terms of agreement
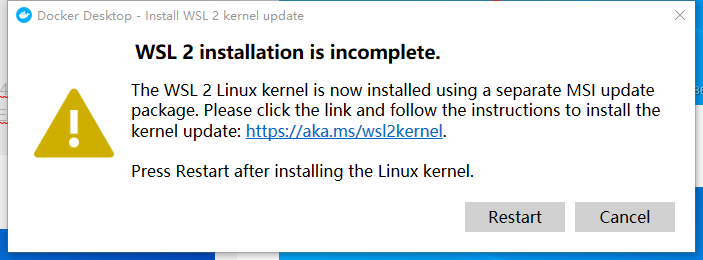
A wsl2 incomplete box pops up, and the cancel I selected here is cancelled
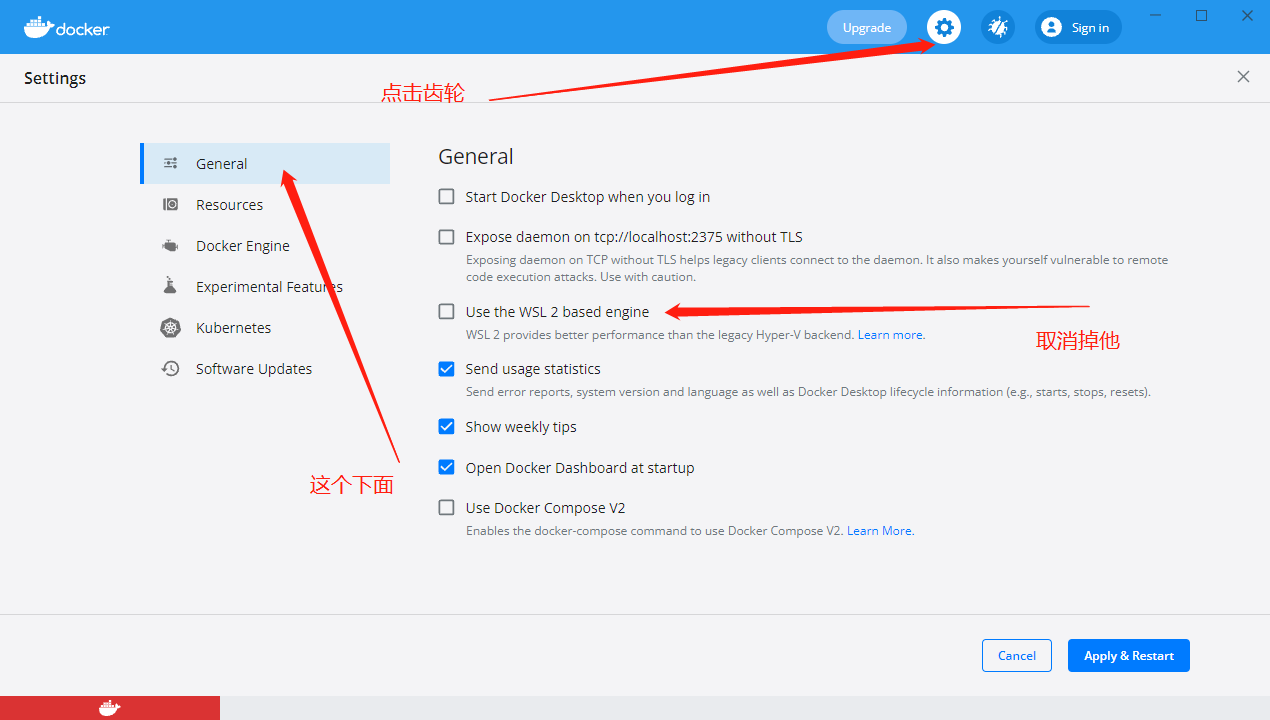
Save and restart after setting
Just turn off some recommendations after restart
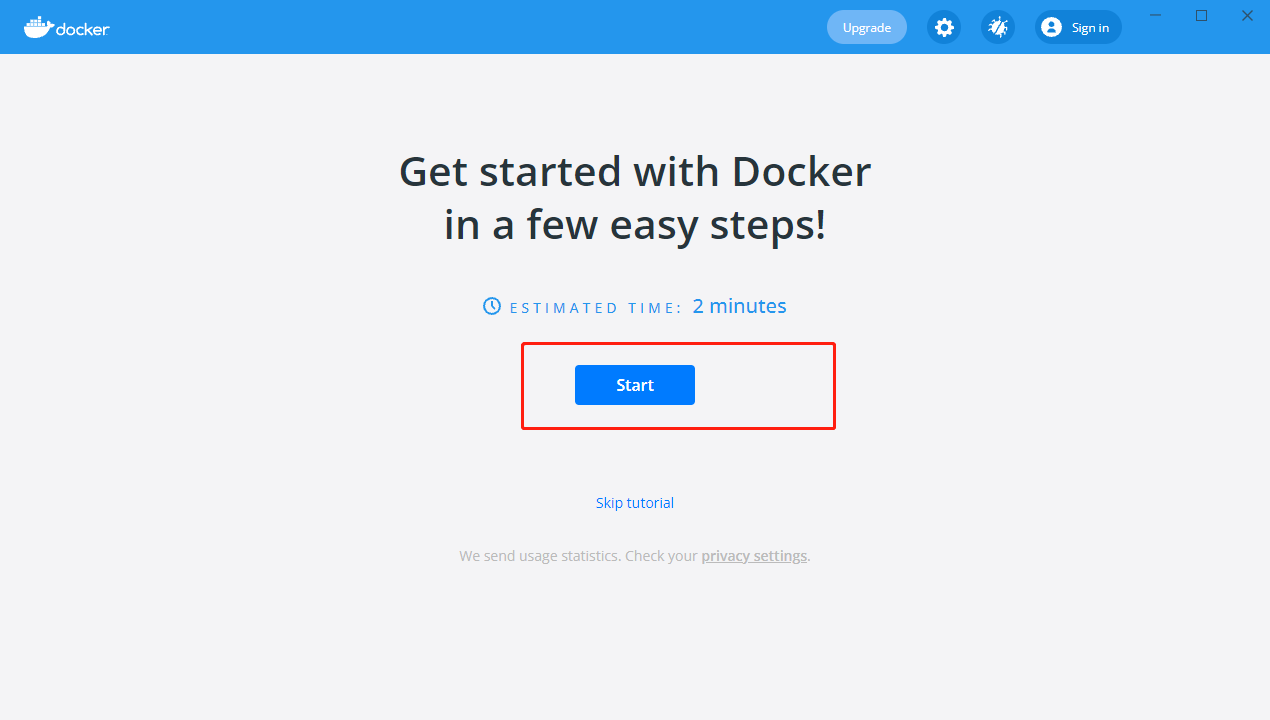
Click start here to start
I don't have any configuration here. All nextstep s are completed by done
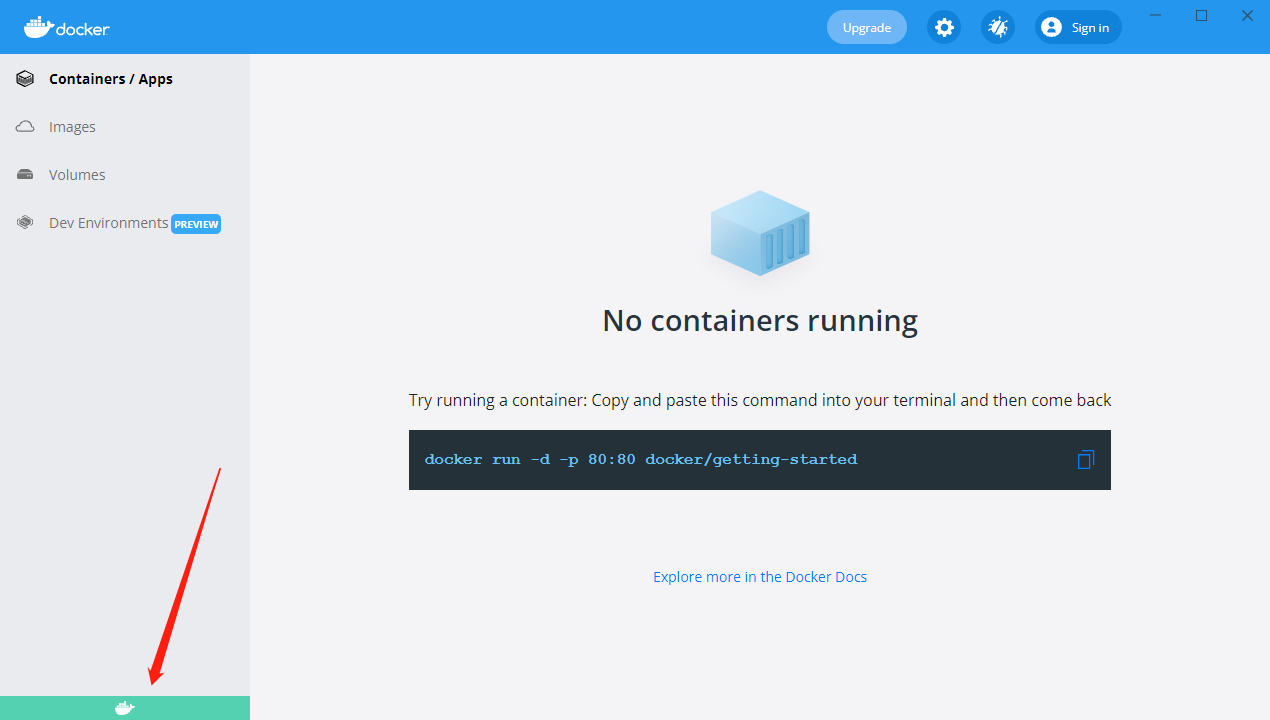
After the configuration is completed, the little Whale will start successfully when the interface is green
docker engine configuration (copy job)
Our manager showed me some accelerated configurations
{

  "builder": {

    "gc": {

      "defaultKeepStorage": "20GB",

      "enabled": true

    }

  },

  "debug": false,

  "experimental": false,

  "features": {

    "buildkit": true

  },

  "insecure-registries": [],

  "registry-mirrors": [

    "https://registry.docker-cn.com"

  ]

}
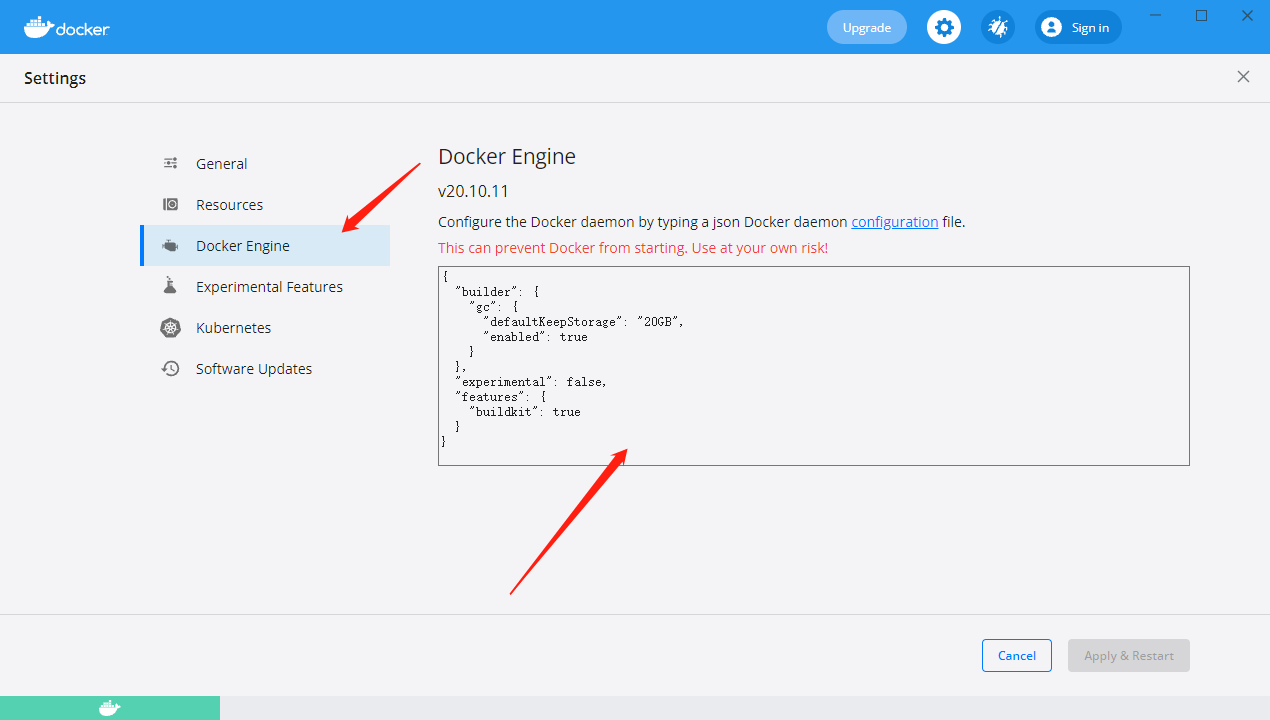
Just copy and paste it, then save and restart to close the docker window
Then open cmd
Enter the docker version number you can view
docker -v

This concludes the win installation section
docker some commands
Search image (fuzzy search)
docker search Image name

View local mirror
docker images

View all containers
docker ps -a

Start one or more containers that have been stopped
docker start container ID/Container name

Restart container
docker restart container ID/Container name

Stop a running container
docker stop container ID/Container name

Kill a running container
docker kill container ID/Container name

Delete a stopped container
docker rm container ID/Container name

Delete a running container
docker rm -f container ID/Container name
View local mirror

There is a difference between an image and a container. An image is a file, and a container is something that runs
II For application packaging, take net as an example
ps: the manager wrote it in net in the background. I can't feel that the focus is on the dockerfile file
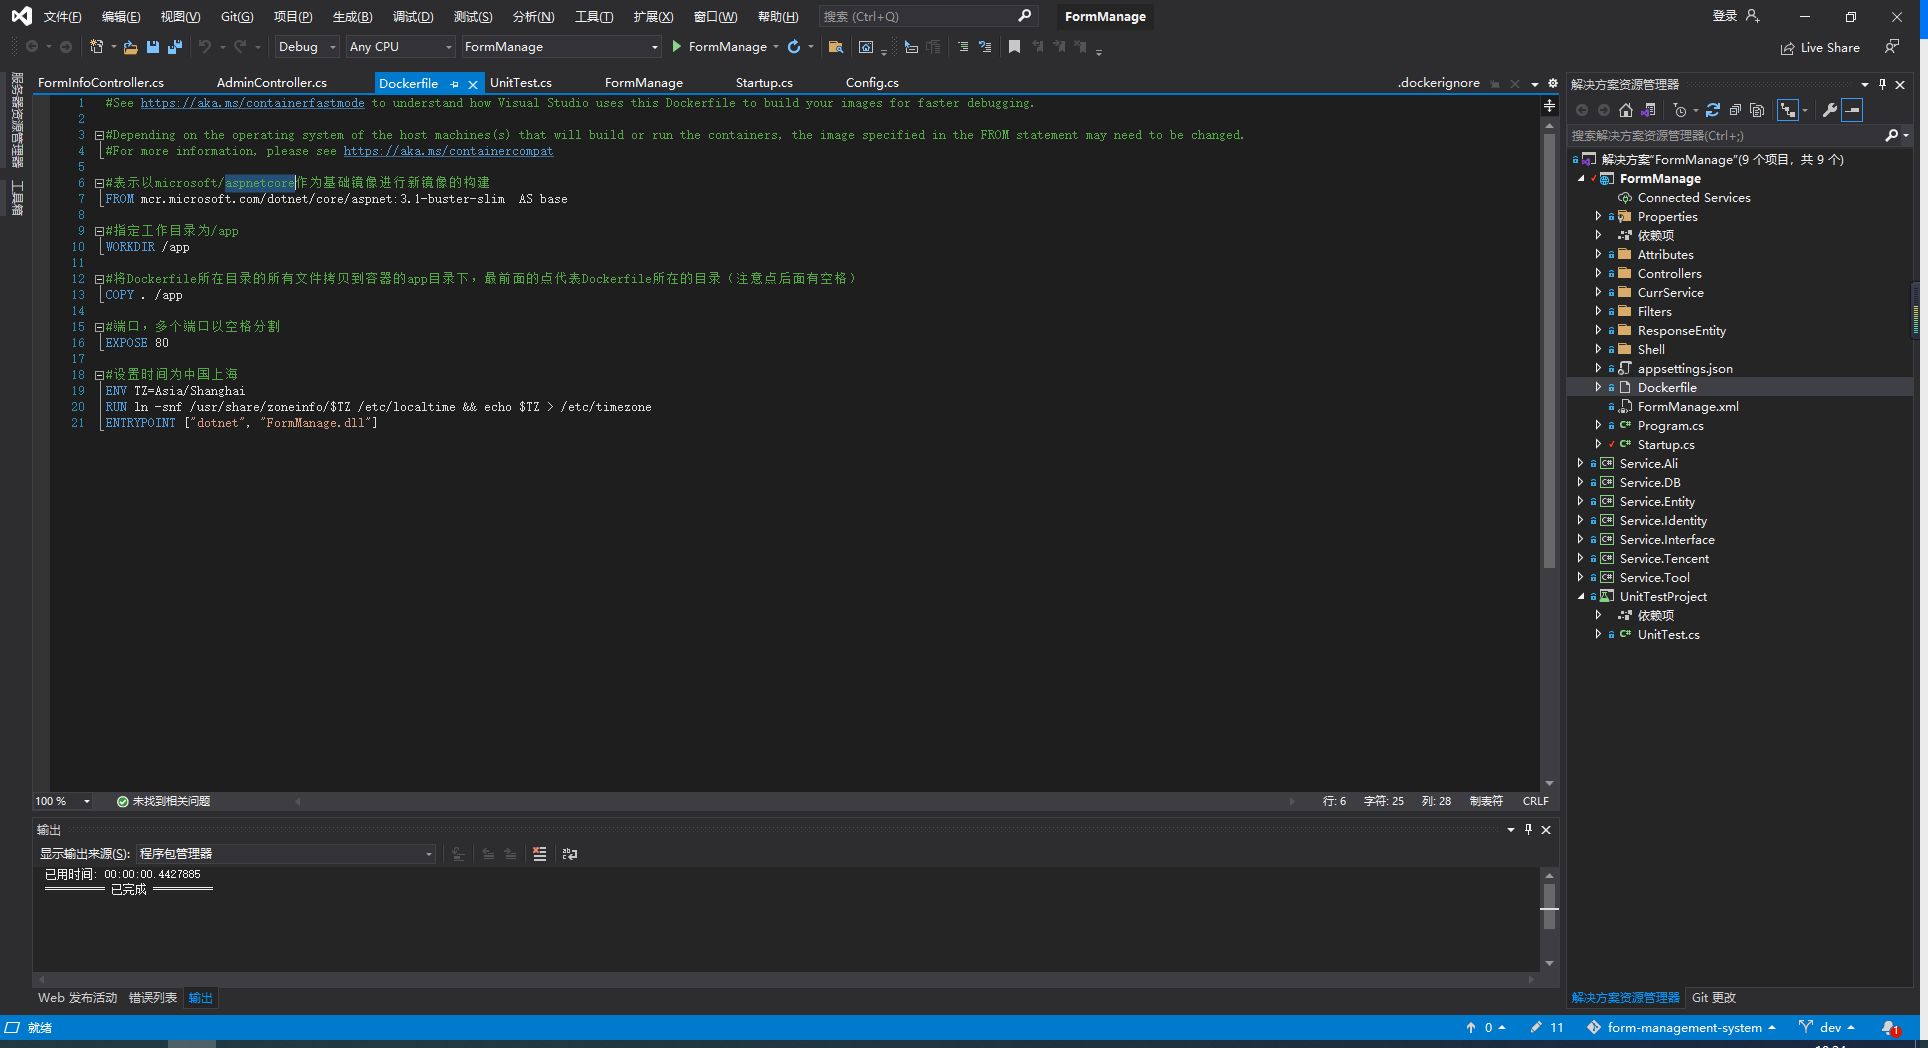
dockerfile configuration (net, copy operation)
The manager's remarks were very brief and clear
#See https://aka.ms/containerfastmode to understand how Visual Studio uses this Dockerfile to build your images for faster debugging.

#Depending on the operating system of the host machines(s) that will build or run the containers, the image specified in the FROM statement may need to be changed.
#For more information, please see https://aka.ms/containercompat

#Indicates that microsoft/aspnetcore is used as the basic image to build a new image
FROM mcr.microsoft.com/dotnet/core/aspnet:3.1-buster-slim  AS base

#Specify the working directory as / app
WORKDIR /app

#Copy all files in the Dockerfile directory to the app directory of the container. The first dot represents the Dockerfile directory (note that there is a space after the dot)
COPY . /app

#Ports, multiple ports separated by spaces
EXPOSE 80

#Set time to Shanghai, China
ENV TZ=Asia/Shanghai
RUN ln -snf /usr/share/zoneinfo/$TZ /etc/localtime && echo $TZ > /etc/timezone
#You can see that our project is called FormManage
ENTRYPOINT ["dotnet", "FormManage.dll"]
Then we'll release it
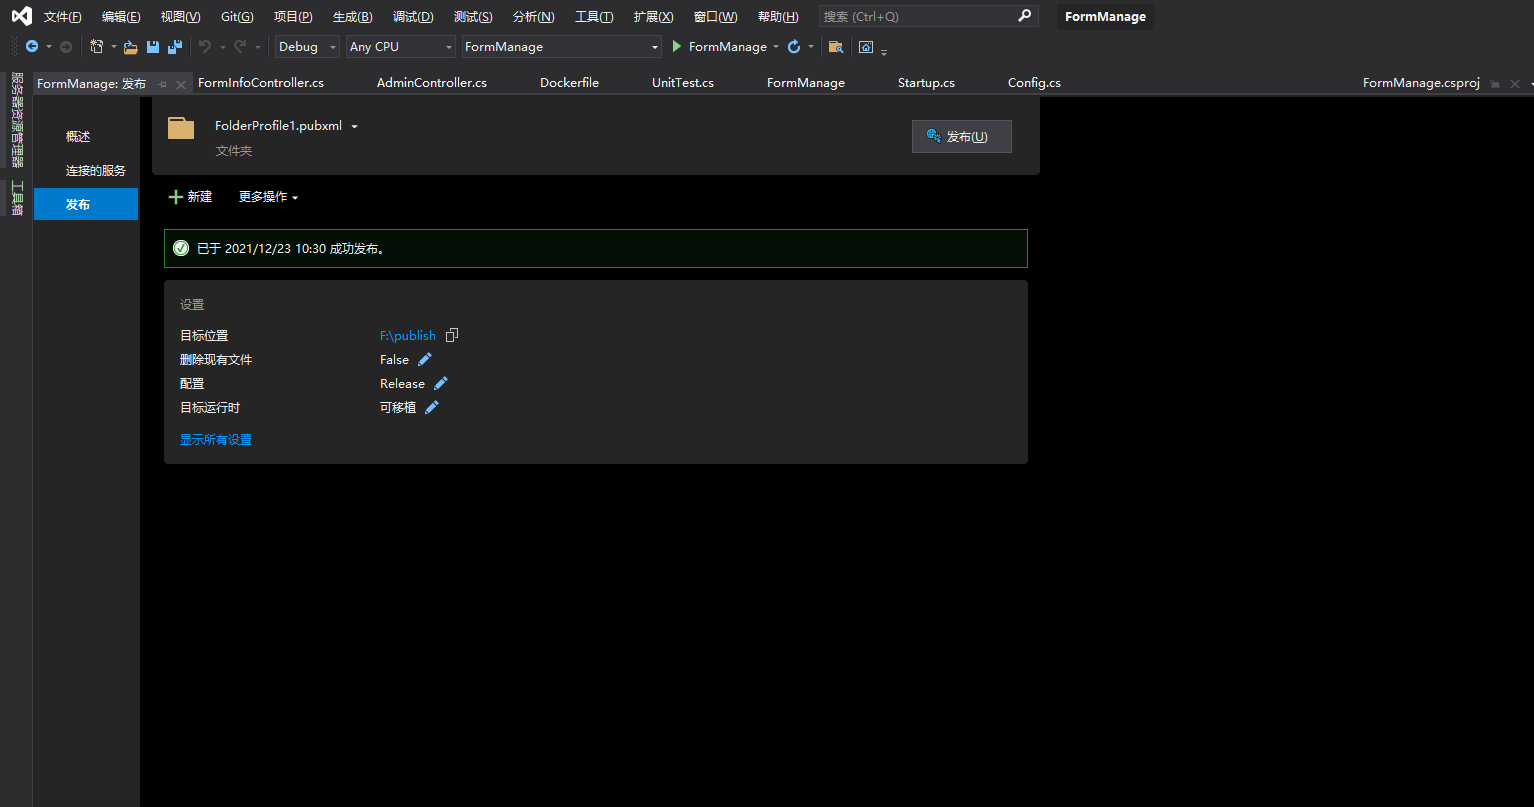
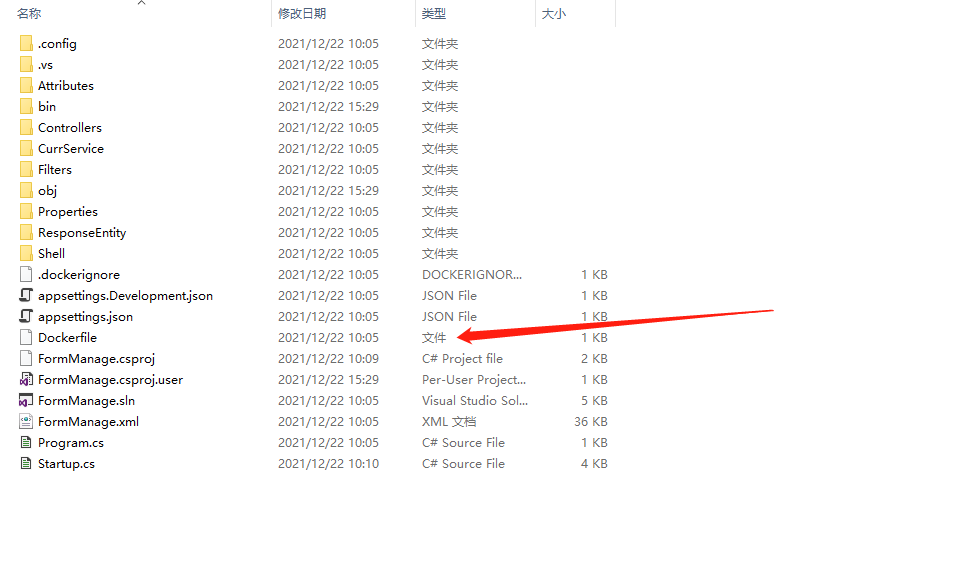
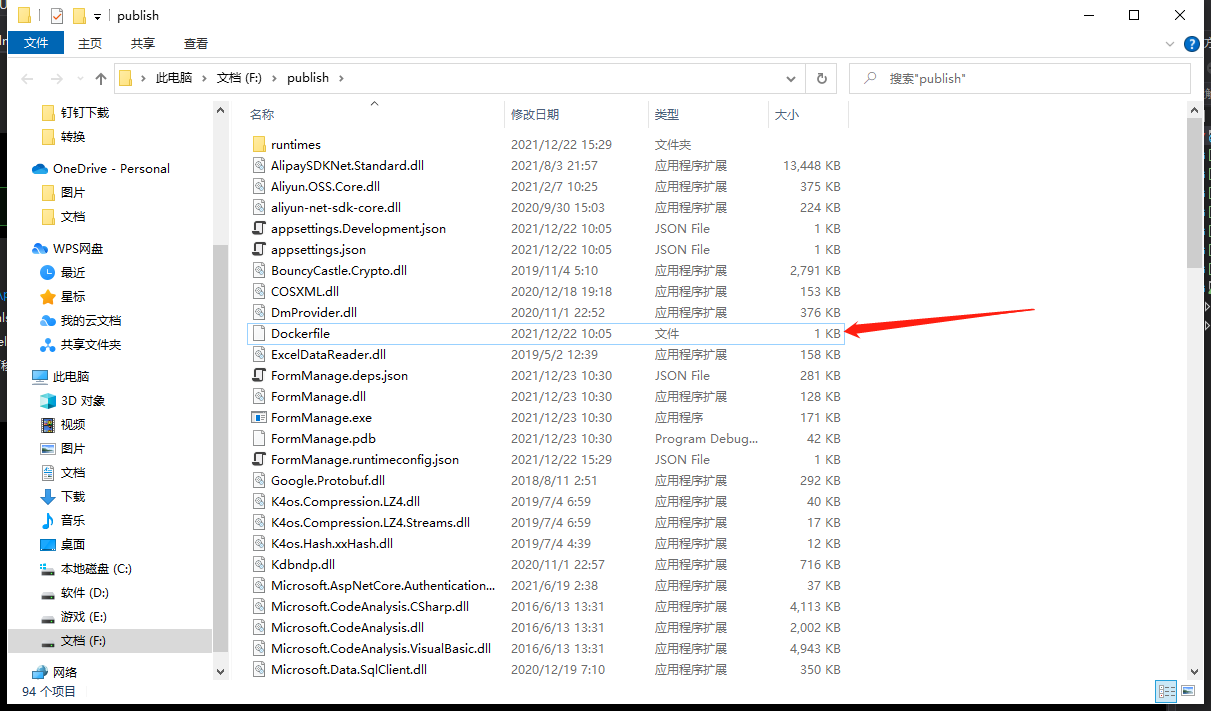
When you go to the publishing folder, you can see the dockerfile file
After that, we can log in to alicloud
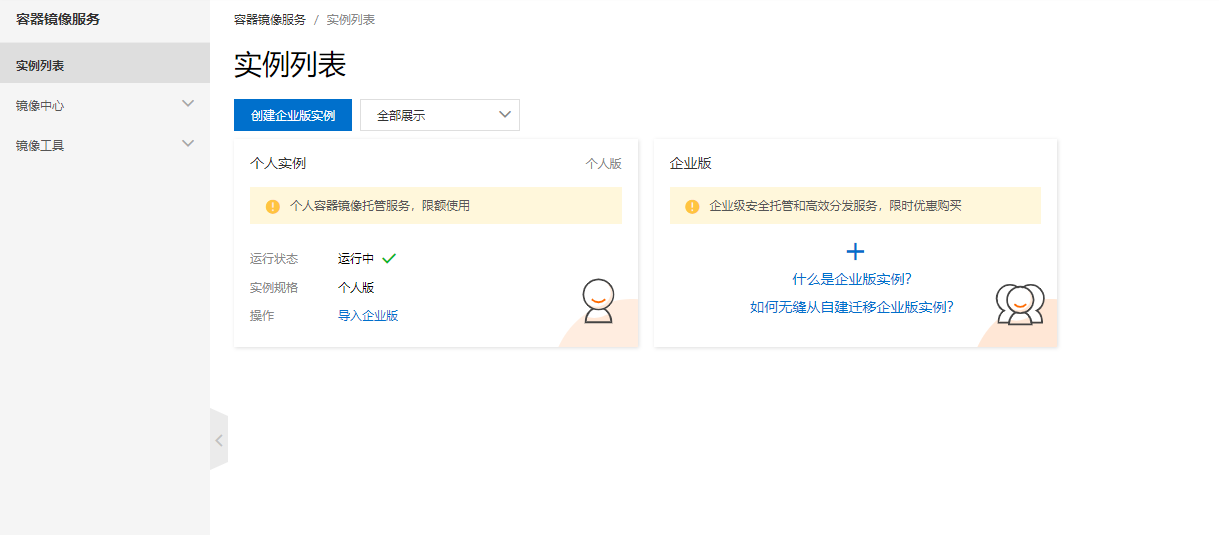
Alicloud - container mirroring service
Container mirroring service not found direct search

I chose a personal version here. Since the creation process has been established, it can't be posted step by step. You should probably remember the password of your alicloud image warehouse
After creation, enter the personal instance to see some configurations
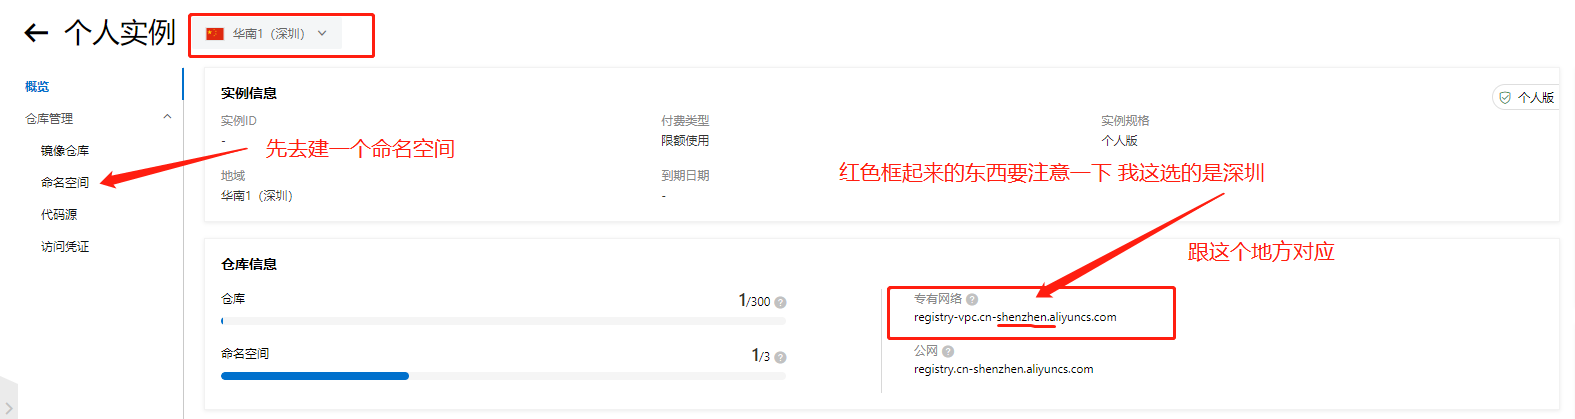
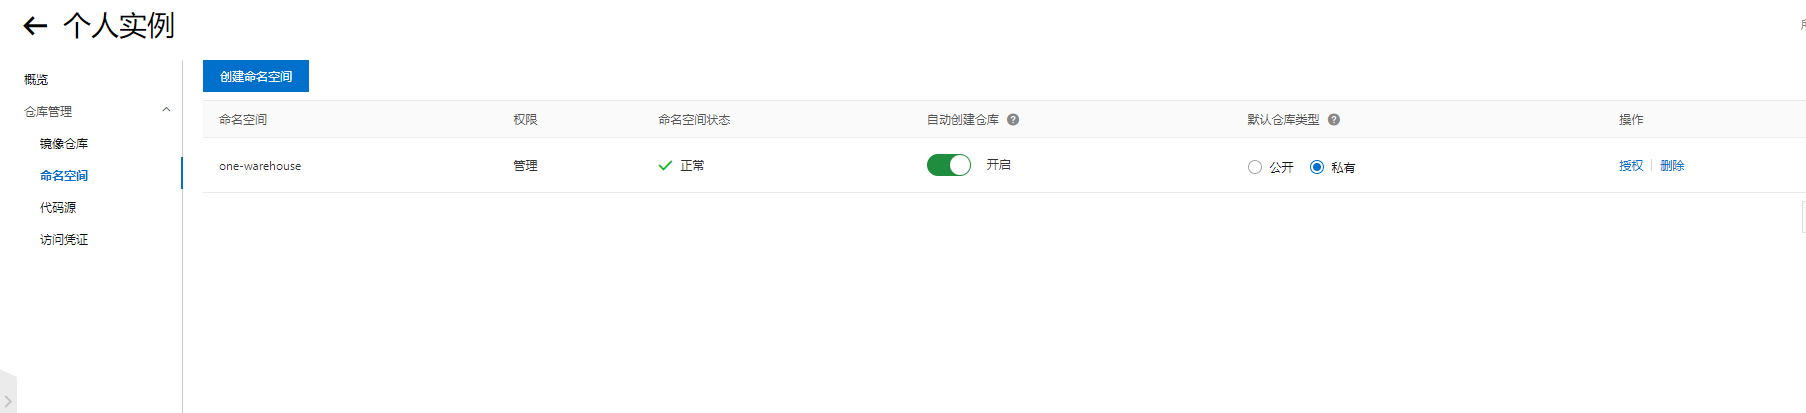
Creating a personal version of a namespace can only create three. Remember that it is useful after the name of the namespace
Fill in information
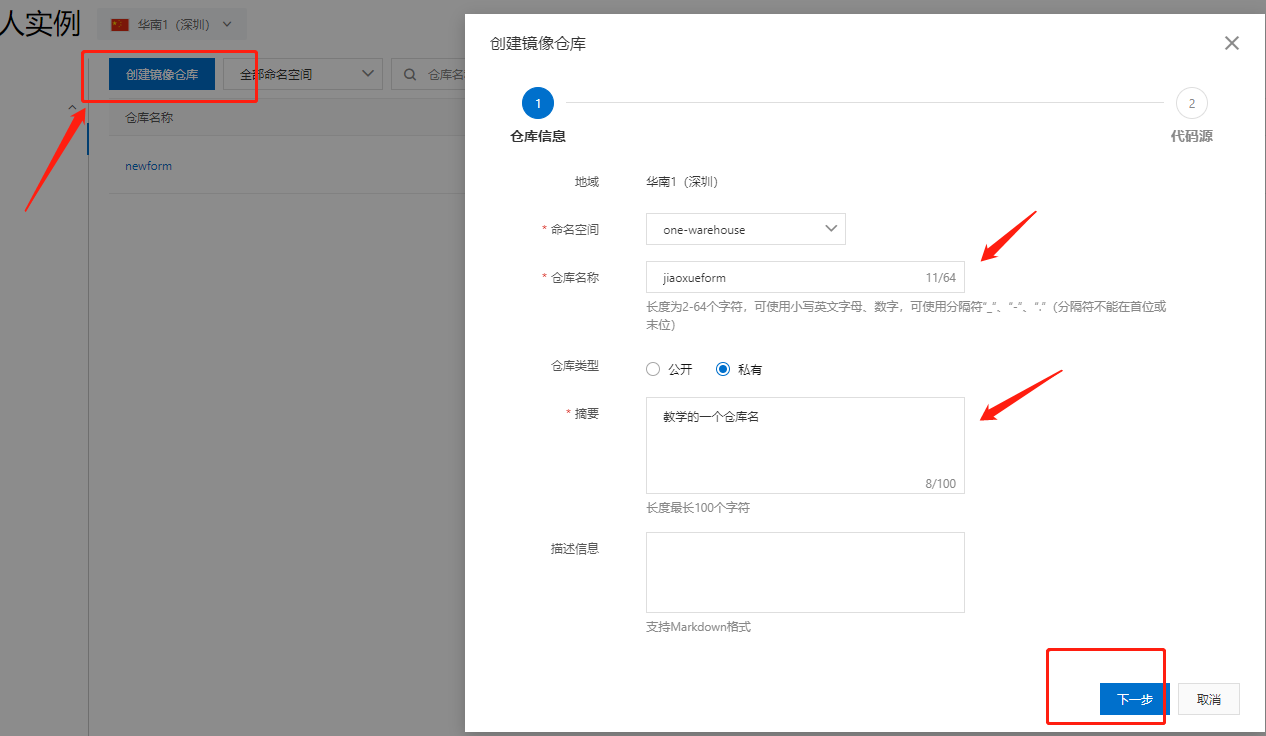
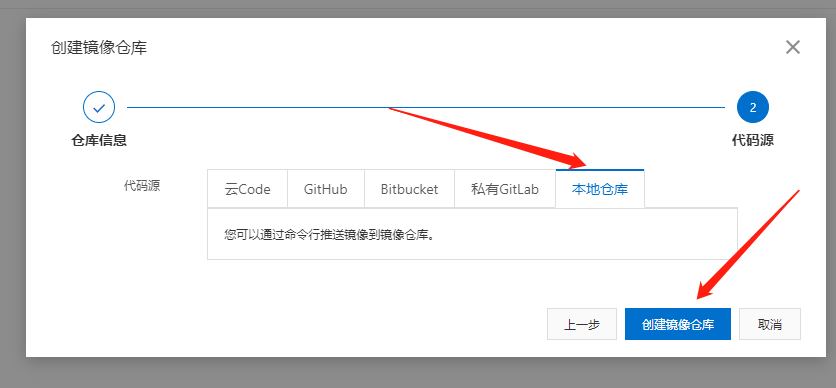
Select local warehouse and create
You will see this after you create it
It's useful to remember this user name
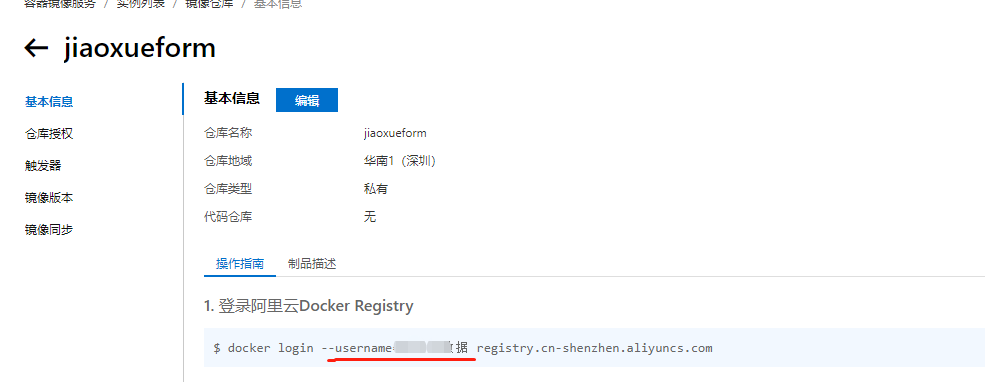
At this time, Ali's container image will be configured. Don't close the page. There are some things to use at the back of the page
Push local applications to Alibaba container image service (copy job)
The manager here lost three of my documents. It doesn't make sense to throw my face

I use the win system, so let's take a look at build push windows Bat file
The general contents are as follows: originArea can take a look at all the Shenzhen I use, where originArea = registry cn-shenzhen. aliyuncs. Anything else will do. Www. 68mn
Then, remove the brackets and change the following configuration to the corresponding content
The login name here is the user name just mentioned above, not the login account
@echo off
:: Automatically build a local image and push it to the image warehouse. Applicable windows system
:: Alibaba cloud image warehouse

set  originArea=registry.cn-shenzhen.aliyuncs.com
set  originNameSpan=[Namespace]
set  originName=[Warehouse name]
set  originUser=[Warehouse login]
set  imageName=[Image name]
set  dockerPwd=[Alibaba cloud image warehouse password]
set  buildPath=[Publish file root]

echo 'FormManage-Image auto push'

set/p oldVersion=Please enter the old version number:
set/p newVersion=Please enter the new version number:

echo 'Delete original mirror...'
docker image rm -f %imageName%
docker image rm -f %originArea%/%originNameSpan%/%originName%:%oldVersion%

echo 'Switch publishing path...'
cd %buildPath%

echo 'Build a new image...'
docker build -t %imageName% .

echo 'Log in to Alibaba cloud warehouse'
docker login --username=%originUser% %originArea%

echo 'Build alicloud image'
docker tag %imageName% %originArea%/%originNameSpan%/%originName%:%newVersion%

echo 'Push to alicloud image warehouse'
docker push %originArea%/%originNameSpan%/%originName%:%newVersion%

echo 'Push complete'

pause
Copy and paste, then we save it as a bet file and run it
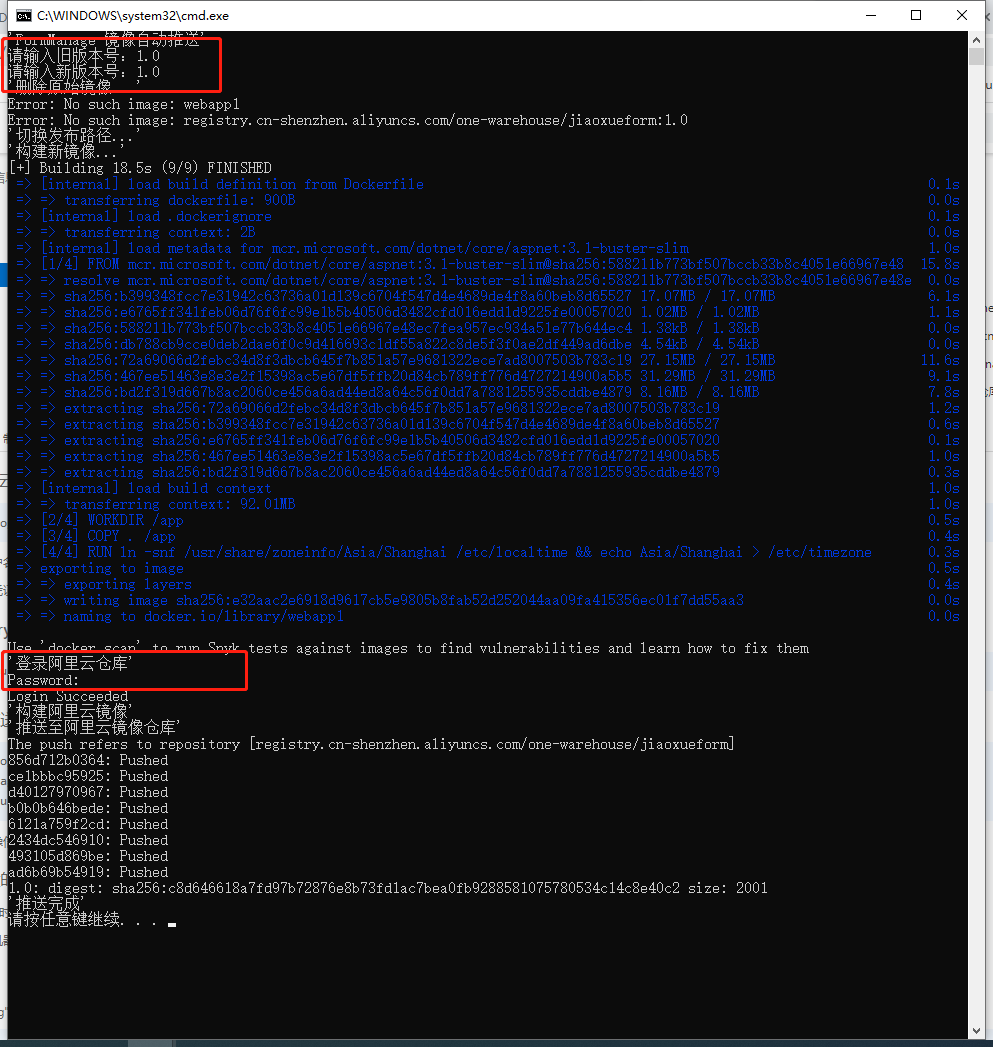
Enter the corresponding item, and then after it runs, we can see the image under the corresponding warehouse in Alibaba cloud image service

This concludes the paragraph
III Download docker on centos server and deploy our alicloud image
Because centos has integrated docker, so
yum install docker
This command will be installed directly
Input y installation
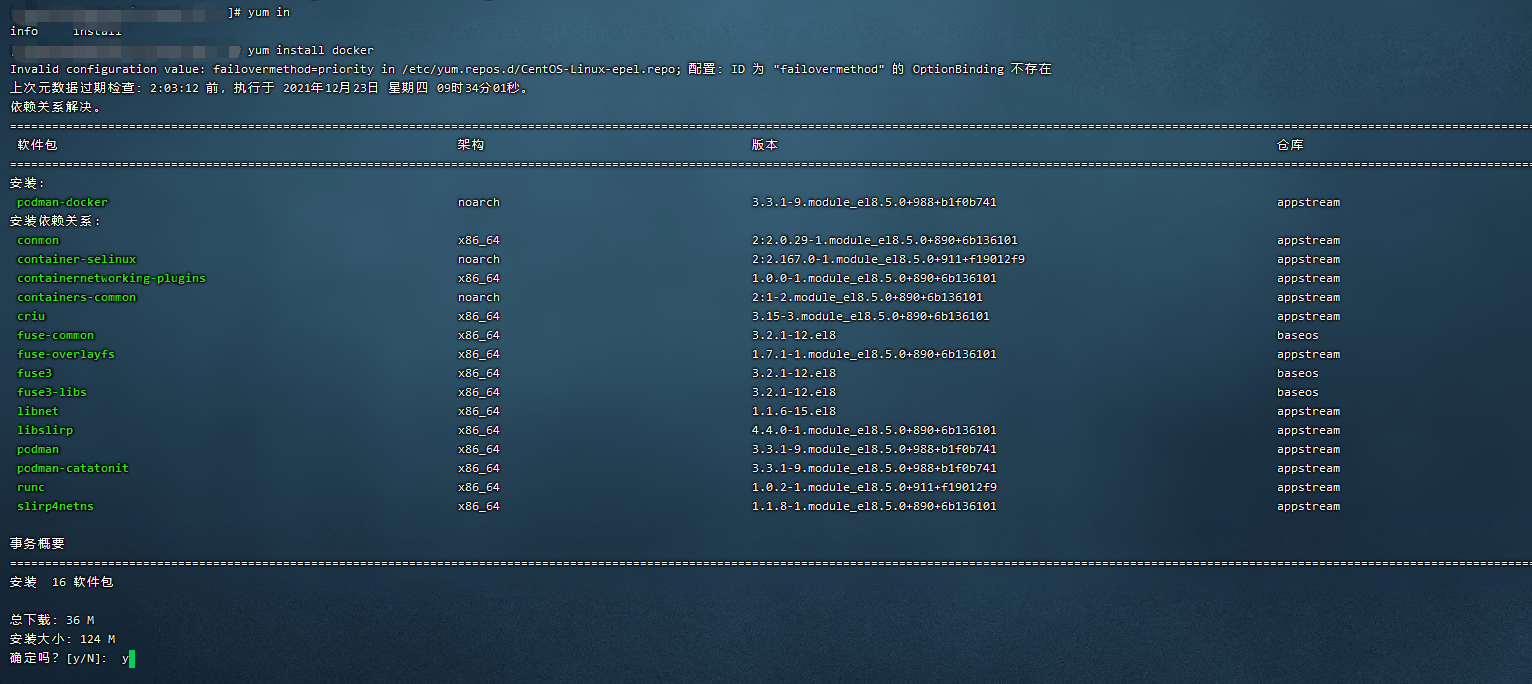
Check the version after installation

Then we find a folder and create an sh file
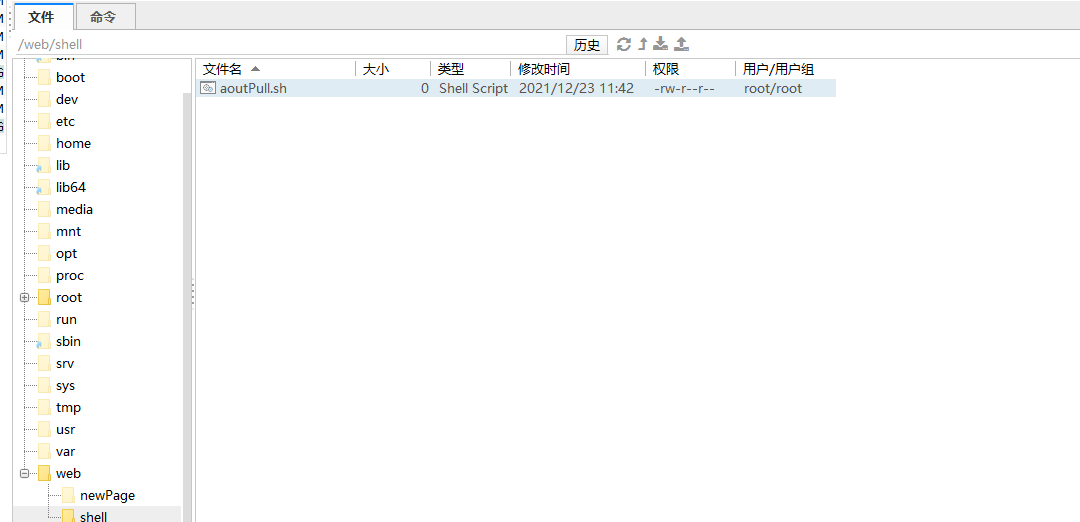
Open this file with a tool and edit it
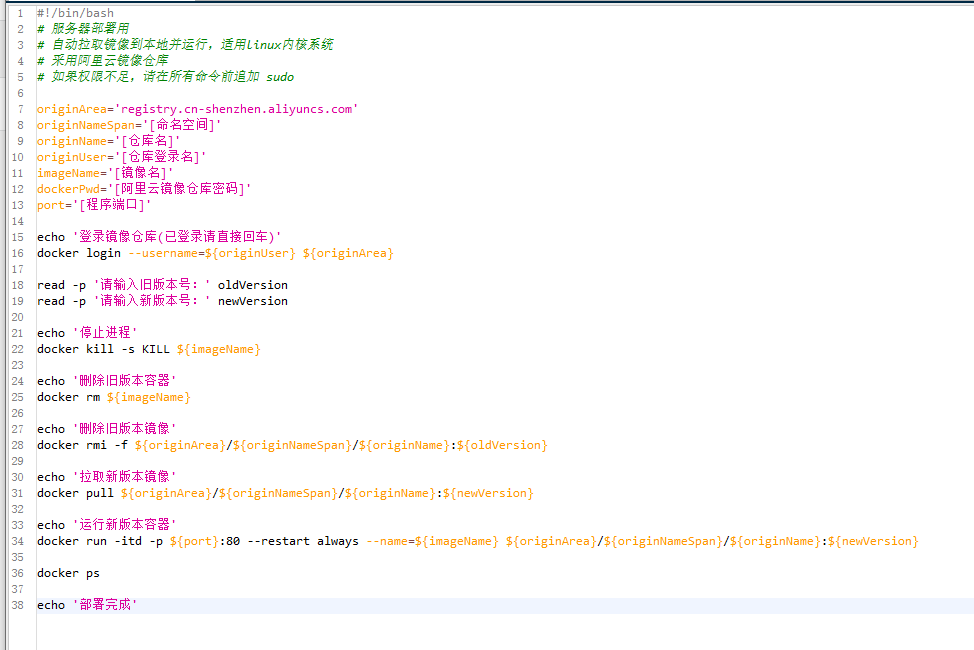
Or copy job (centos auto deploy file)
Modify the corresponding content
#!/bin/bash
# For server deployment
# Automatically pull the image to the local and run it, which is suitable for linux kernel system
# Alibaba cloud image warehouse
# If the permission is insufficient, append sudo before all commands

originArea='registry.cn-shenzhen.aliyuncs.com'
originNameSpan='[Namespace]'
originName='[Warehouse name]'
originUser='[Warehouse login]'
imageName='[Image name]'
dockerPwd='[Alibaba cloud image warehouse password]'
port='[Program port]'

echo 'Log in to the image warehouse(Logged in, please enter directly)'
docker login --username=${originUser} ${originArea}

read -p 'Please enter the old version number:' oldVersion
read -p 'Please enter the new version number:' newVersion

echo 'Stop process'
docker kill -s KILL ${imageName}

echo 'Delete old version container'
docker rm ${imageName}

echo 'Delete old version image'
docker rmi -f ${originArea}/${originNameSpan}/${originName}:${oldVersion}

echo 'Pull the new version image'
docker pull ${originArea}/${originNameSpan}/${originName}:${newVersion}

echo 'Run new version container'
docker run -itd -p ${port}:80 --restart always --name=${imageName} ${originArea}/${originNameSpan}/${originName}:${newVersion}

docker ps

echo 'Deployment complete'
Save and run it after editing (remember to enter the directory and run it again)
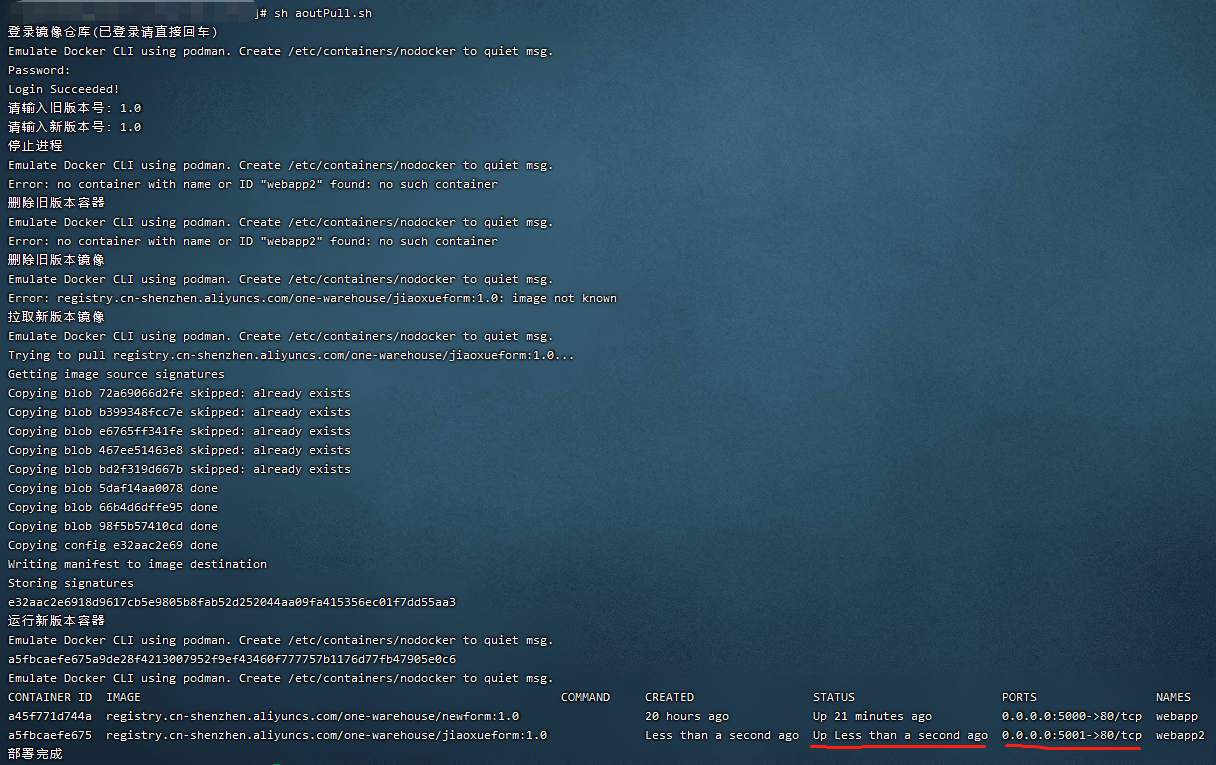
After entering the configuration, you can see that it is running. You can connect normally by opening the port in Alibaba cloud