1. Introduction
In practical work, when we carry out web automation, file upload is a very common operation, such as uploading user avatar, uploading ID card information, etc. So Hongge plans to explain and share the uploaded files according to their classification.
2. Why does selenium not provide API?
My friends or children's shoes must be curious. Since uploading files is so common and often used in automation, why doesn't selenium's webdriver provide methods (API s). Brother Hong explains the reason here: because uploading files requires opening a window, webdriver can't operate on window controls, In other words, selenium cannot recognize non web controls. The upload file window is built-in by the system and cannot recognize window elements. Therefore, there is no method provided. We need to change our thinking to upload files.
3. Upload file classification
First of all, we need to distinguish the types of upload buttons. Generally, there are two kinds: one is the input box, and the other is more complex. It is implemented through js and flash, and the label is not input.
There are two scenarios for uploading files: input controlled upload and non input control upload. In most cases, the input control uploads files, and very few use custom non input uploads. Today, Hongge's article is used to introduce the input control to upload files.
4. Upload file with input control
View the page element label of the uploaded file. If it is input, it indicates that the file is uploaded through the input control. We can directly upload files using the sendKeys() method, which is relatively simple.
Example code:
driver.findElement(By.id("attachment")).sendKeys("D:\\test.txt"); 5. Project practice
Brother Hong hasn't found it for a long time. Brother Hong uploads and modifies it to a small demo with reference to the online input, and performs automated testing to demonstrate it to you. The main reason is to know the idea and test process. The other things are the same. You just need to log in and then upload the file.
thinking
1. Navigate to the input box of the selected file
2. After finding this input box element, use the sendKeys() method to enter the absolute path name of the file you need to upload, so as to achieve the purpose of selecting the file.
5.1 HTML code of demo page
1.html code: upload_file.html. As follows:
<html>
    <head>
        <meta http-equiv="content-type" content="text/html;charset=utf-8" />
        <title>upload_file</title>
        <script type="text/javascript" async="" src="http://ajax.googleapis.com/ajax/libs/jquery/1.9.1/jquery.min.js"></script>
        <link href="http://netdna.bootstrapcdn.com/twitter-bootstrap/2.3.2/css/bootstrap-combined.min.css" rel="stylesheet" />
        <style type="text/css">
            #result{
                width: 1000px;
                height:300px;
                border:1px solid #eee;
            }
            #result img{
                width: 200px;
            }
            input{
                width: 70px;
                margin-top: 10px;
            }
            @-moz-document url-prefix() { input { width:65px; } }/*Set Firefox separately*/
        </style>
        <script type="text/javascript">

            var form = new FormData();//Creating FormData objects from HTML forms
            var url = '127.0.0.1:8080/'
            function selectFile(){
                var files = document.getElementById('pic').files;
                console.log(files[0]);
                if(files.length == 0){
                    return;
                }
                var file = files[0];
                //Display the uploaded pictures
                var reader = new FileReader();
                // Read the file into the page as a Data URL
                console.log(reader);
                reader.readAsBinaryString(file);
                reader.onload = function(f){
                    var result = document.getElementById("result");
                    var src = "data:" + file.type + ";base64," + window.btoa(this.result);
                    result.innerHTML = '<img src ="'+src+'"/>';
                }
                console.log('file',file);
                ///////////////////
                form.append('file',file);
                console.log(form.get('file'));
            }
          </script>
    </head>
    <body>
      <div class="row-fluid">
        <div class="span6 well">
          <h3>upload_file</h3>
          <div id = "result"></div>
          <input id="pic" type="file" name = 'pic' accept = "image/*" onchange = "selectFile()" />
        </div>
      </div>
    </body>
    <script src="http://netdna.bootstrapcdn.com/twitter-bootstrap/2.3.2/js/bootstrap.min.js"></script>
</html>
5.2 code design
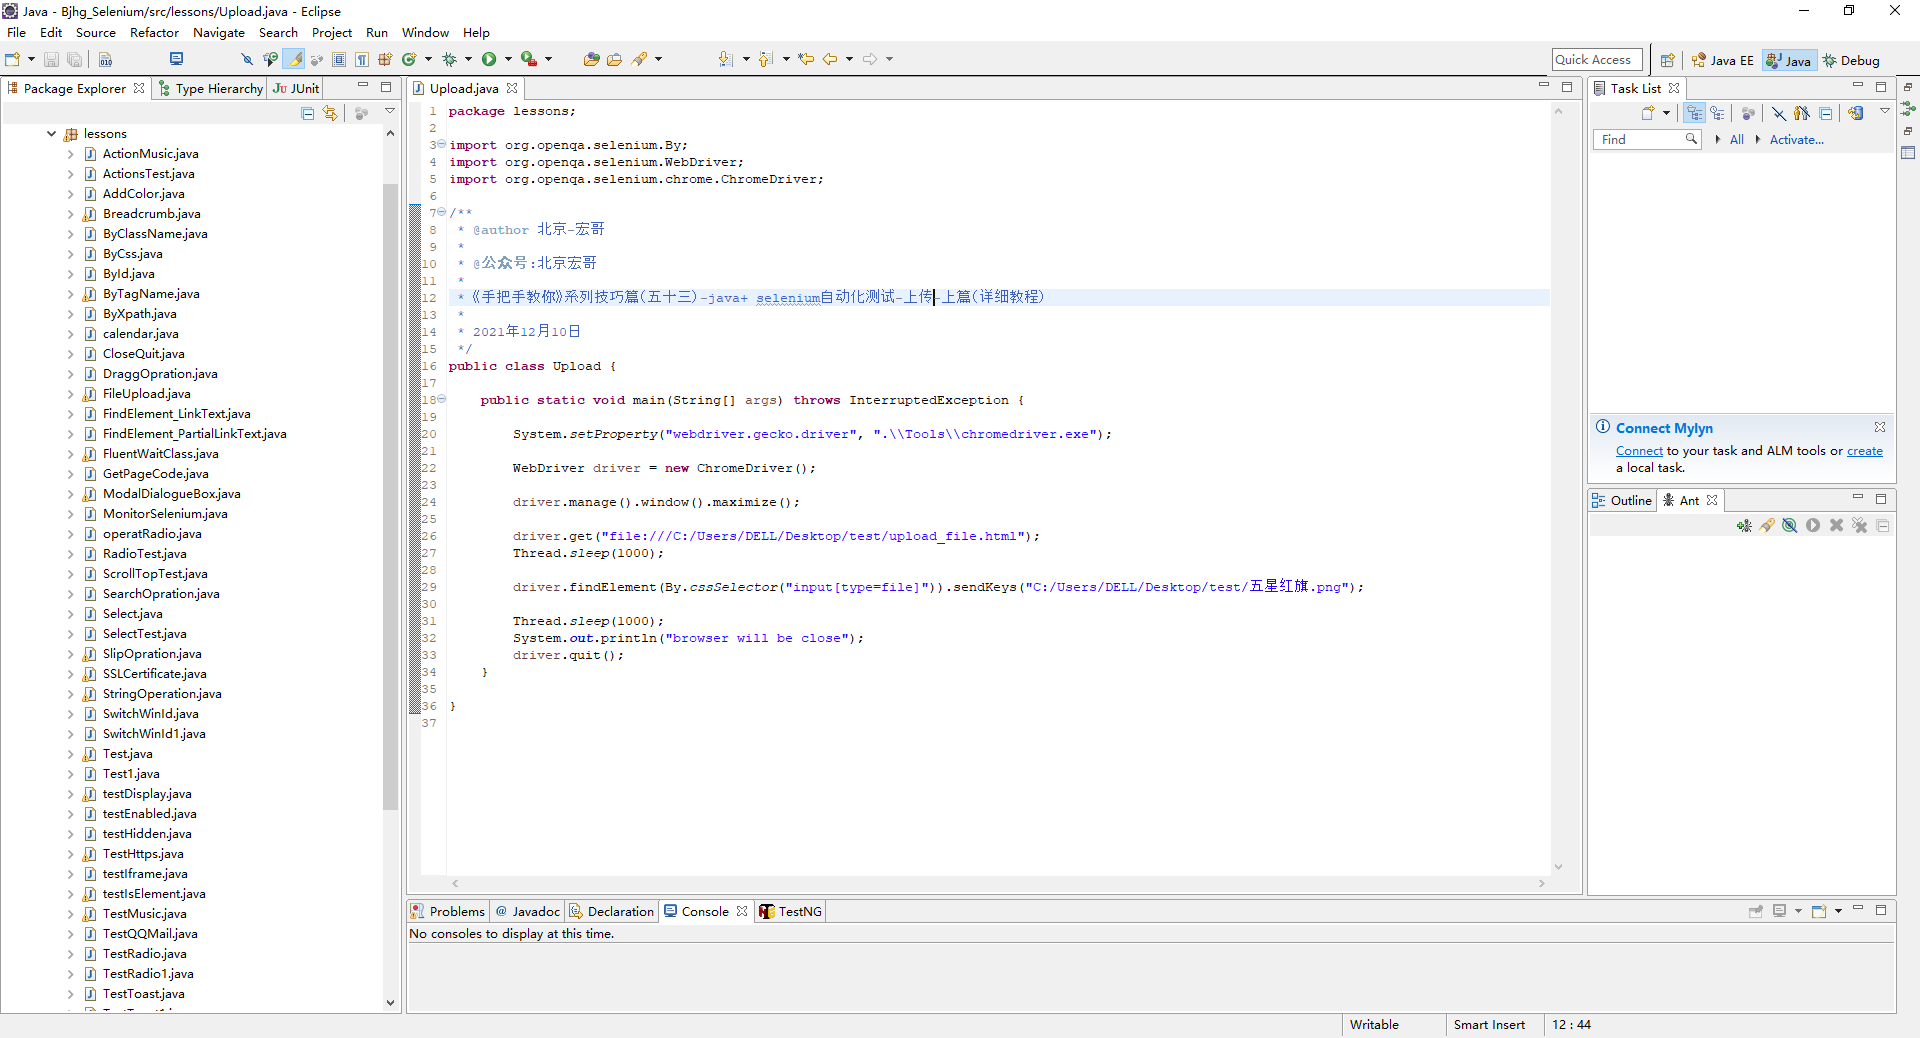
5.3 reference code
package lessons;
import org.openqa.selenium.By;
import org.openqa.selenium.WebDriver;
import org.openqa.selenium.chrome.ChromeDriver;
/**
* @author Beijing - Hongge
*
* @Official account: Beijing, Hong brother
*
* <Teach you by hand series tips (53) - java+ selenium automated testing - upload - Part 1 (detailed tutorial)
*
* 2021 December 10
*/
public class Upload {
public static void main(String[] args) throws InterruptedException {
System.setProperty("webdriver.gecko.driver", ".\\Tools\\chromedriver.exe");
WebDriver driver = new ChromeDriver();
driver.manage().window().maximize();
driver.get("file:///C:/Users/DELL/Desktop/test/upload_file.html");
Thread.sleep(1000);
driver.findElement(By.cssSelector("input[type=file]")).sendKeys("C:/Users/DELL/Desktop/test/Five star red flag.png");
Thread.sleep(1000);
System.out.println("browser will be close");
driver.quit();
}
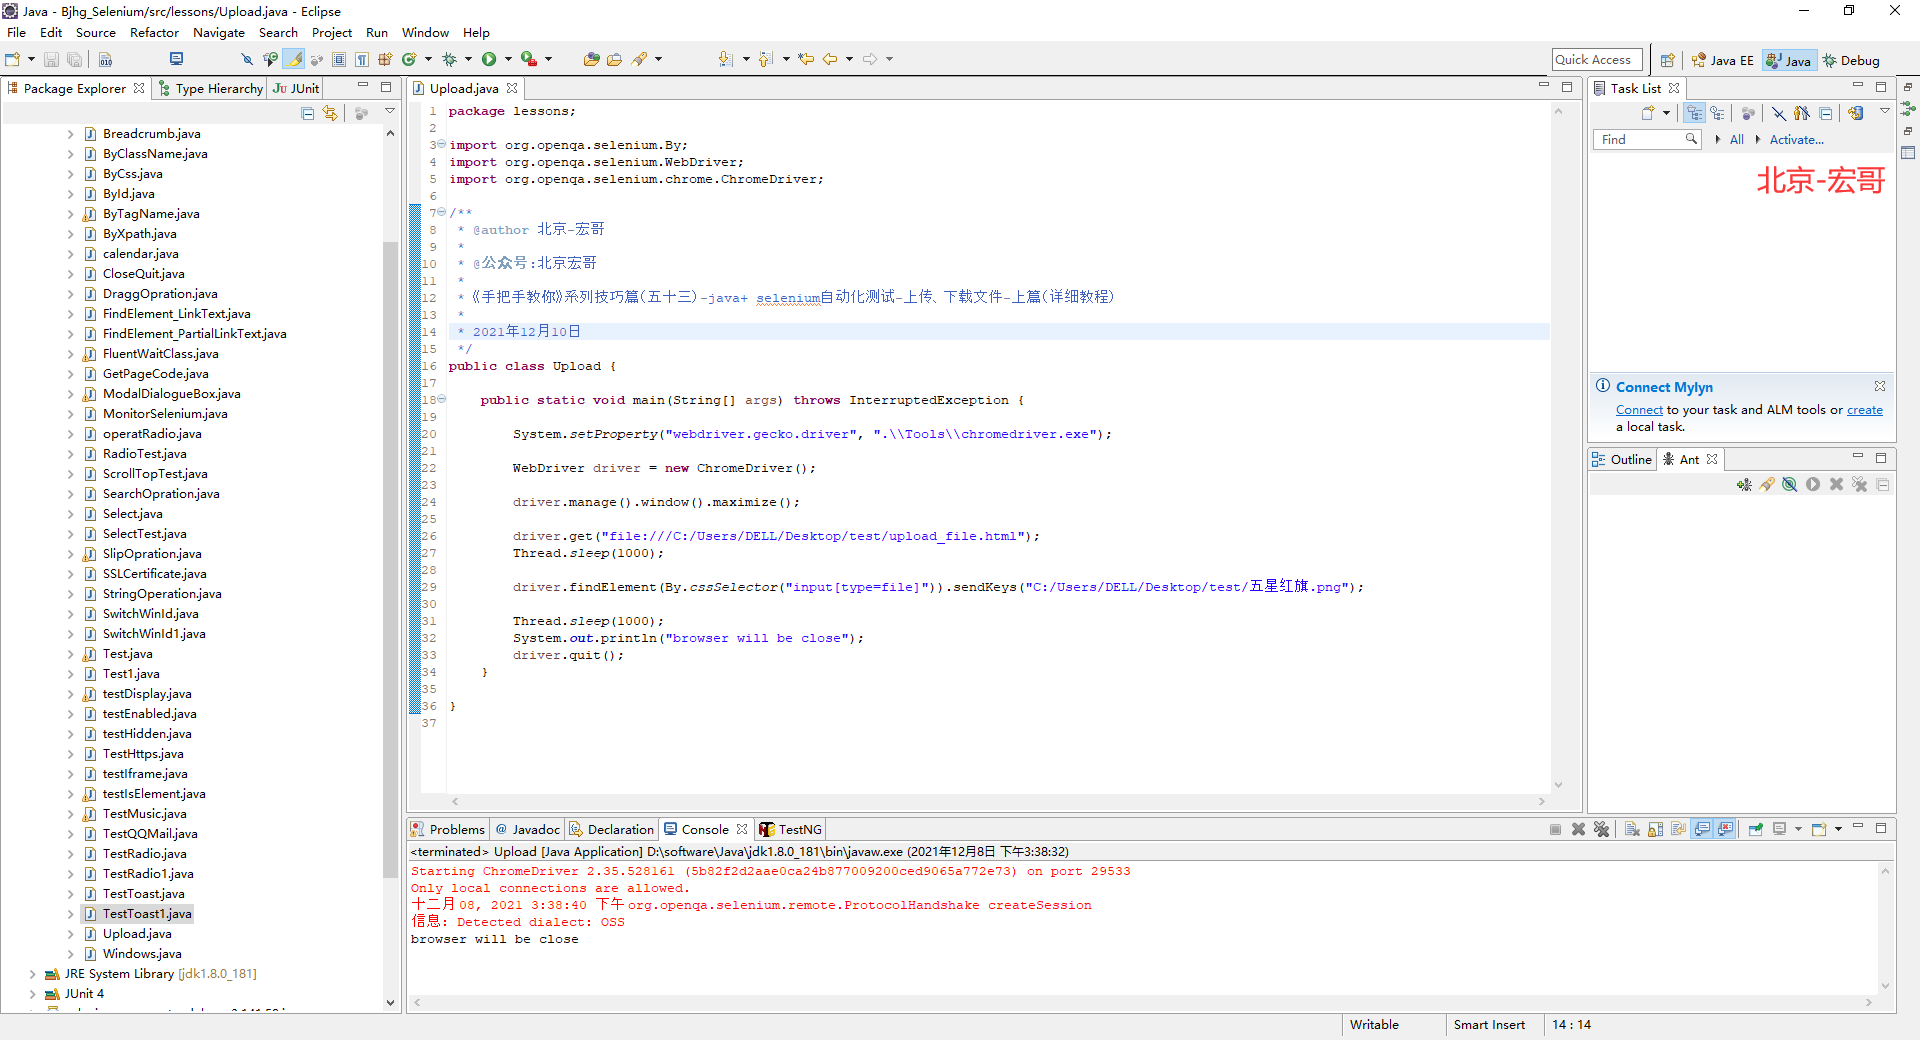
}5.4 operation code
1. Run the code, right-click run as - > java appliance, and the console will output, as shown in the following figure:
2. After running the code, the action of the browser on the computer side is shown in the following small video:
6. Summary
Well, it's not very early today. Brother Hong will explain and share here today. Thank you for your patience. The next article will explain how non input controls upload files.