1. Create a Springboot project
open IDEA and create a new Springboot project through file - > New - > Project... - > spring initializer
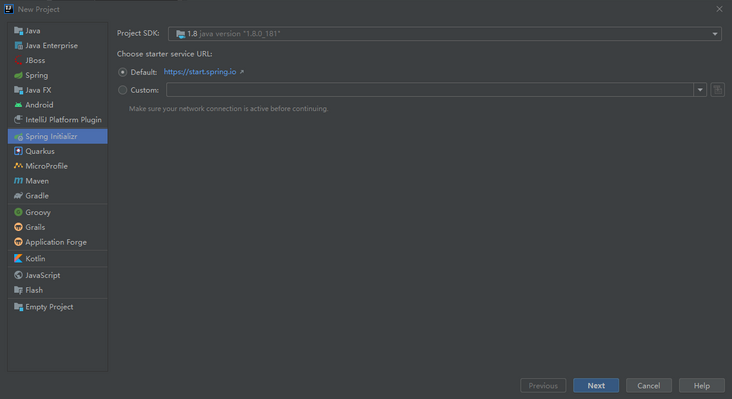
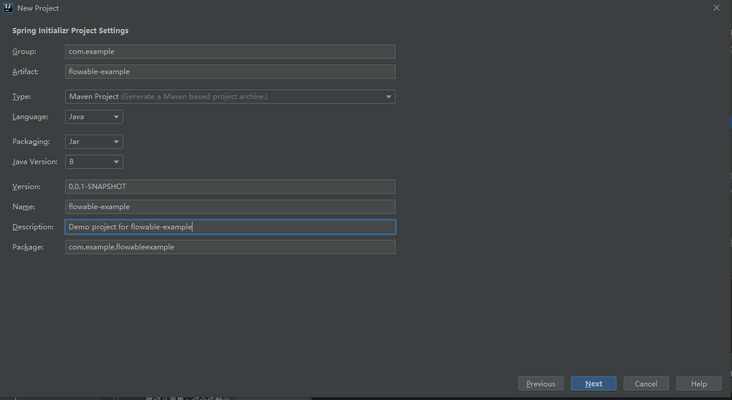
in the next interface, fill in the project Name and select 8 for JDK
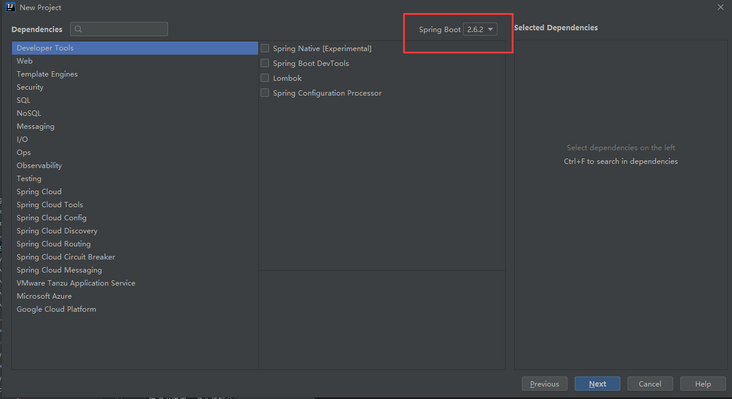
next, select Springboot 2.6.2
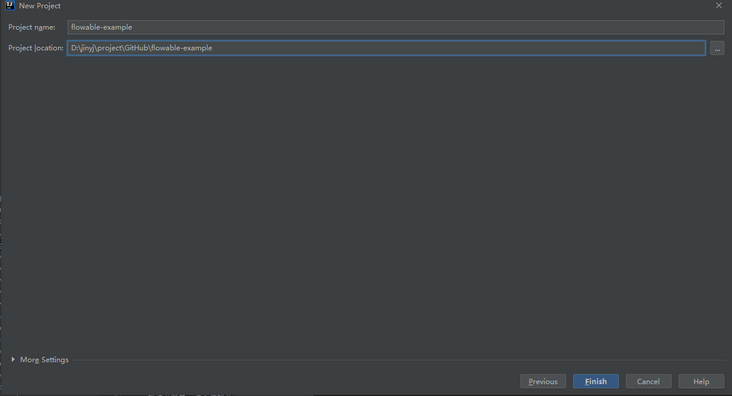
click Finish
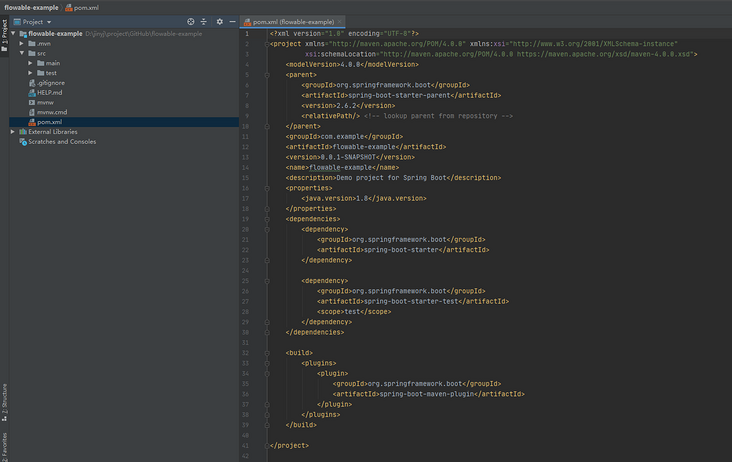
generate an empty Springboot project, POM XML file content:
2. Add Flowable dependency package
modify POM XML file
"properties" attribute added:
<flowable.version>6.7.2</flowable.version>
Note: please ensure that the Flowable version matches the springboot version, otherwise it will fail to start. View the springboot versions corresponding to different versions of Flowable. Refer to: https://blog.csdn.net/JinYJ20...
"dependencies" attribute added:
<dependency>
    <groupId>org.flowable</groupId>
    <artifactId>flowable-spring-boot-starter</artifactId>
    <version>${flowable.version}</version>
</dependency>
this dependency will automatically add the correct Flowable and Spring dependencies to the classpath.
Note: sometimes, dependent jars cannot be obtained automatically. You can right-click the project and select Maven - > reload project to force manual refresh.
now you can write the Spring Boot application:
import org.springframework.boot.SpringApplication;
import org.springframework.boot.autoconfigure.SpringBootApplication;

@SpringBootApplication
public class FlowableExampleApplication {

    public static void main(String[] args) {

        SpringApplication.run(FlowableExampleApplication.class, args);
    }

}
Flowable requires a database to store data. If you run the above code, you will get an exception prompt indicating that you need to add database driver dependencies in the classpath.
3. Add data source
now add MySQL database dependency:
<dependency>
    <groupId>mysql</groupId>
    <artifactId>mysql-connector-java</artifactId>
    <version>8.0.13</version>
</dependency>
Note: the MySQL dependency package version is modified according to the database version to which you are connected. Otherwise, the connection may fail
application. Add a data source to the properties file
spring.datasource.url=jdbc:mysql://127.0.0.1:3306/flowable?characterEncoding=UTF-8&serverTimezone=UTC
spring.datasource.driverClassName=com.mysql.cj.jdbc.Driver
spring.datasource.username=jinyangjie
spring.datasource.password=jinyangjie
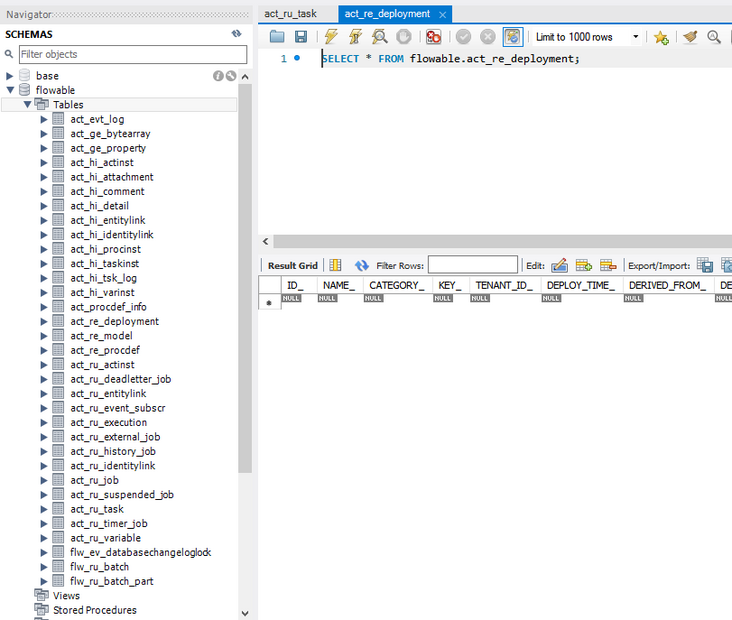
after the application is successfully started, check the database and you can see that the Flowable table has been automatically created:
Note: if the error "Caused by: java.lang.RuntimeException: Exception while initializing Database connection" occurs, please ensure that the configuration item of the data source is correct and check whether the MySQL dependency package version matches
4. REST support
4.1 add REST dependency
usually our applications use rest APIs. Add the following dependencies:
<dependency>
    <groupId>org.springframework.boot</groupId>
    <artifactId>spring-boot-starter-web</artifactId>
    <version>${spring.boot.version}</version>
</dependency>
<spring.boot.version>2.6.2</spring.boot.version>
the following is a simple use example of the Controller and Service layer. The example comes from the official document of Flowable.
4.2 adding process documents
any BPMN 2.0 process definition in the resources/processes directory will be automatically deployed. Create the processes directory and create a sample process definition (named one task process. Bpmn20. XML) in it.
<?xml version="1.0" encoding="UTF-8"?>
<definitions
        xmlns="http://www.omg.org/spec/BPMN/20100524/MODEL"
        xmlns:flowable="http://flowable.org/bpmn"
        targetNamespace="Examples">

    <process id="oneTaskProcess" name="The One Task Process">
        <startEvent id="theStart" />
        <sequenceFlow id="flow1" sourceRef="theStart" targetRef="theTask" />
        <userTask id="theTask" name="my task" flowable:assignee="jinyangjie" />
        <sequenceFlow id="flow2" sourceRef="theTask" targetRef="theEnd" />
        <endEvent id="theEnd" />
    </process>

</definitions>
4.3 service layer code example
create a new Spring service class and create two methods: one for starting the process and the other for obtaining the task list of the given task handler. Here, we simply wrap the Flowable call, which will be much more complex in the actual use scenario.
import org.flowable.engine.RuntimeService;
import org.flowable.engine.TaskService;
import org.flowable.task.api.Task;
import org.springframework.beans.factory.annotation.Autowired;
import org.springframework.stereotype.Service;
import org.springframework.transaction.annotation.Transactional;

import java.util.List;

@Service
public class MyService {

    @Autowired
    private RuntimeService runtimeService;

    @Autowired
    private TaskService taskService;

    @Transactional
    public void startProcess() {
        runtimeService.startProcessInstanceByKey("oneTaskProcess");
    }

    @Transactional
    public List<Task> getTasks(String assignee) {
        return taskService.createTaskQuery().taskAssignee(assignee).list();
    }

}
4.4 controller layer code example
@RestController
public class MyRestController {

    @Autowired
    private MyService myService;

    @RequestMapping(value="/process", method= RequestMethod.POST)
    public void startProcessInstance() {
        myService.startProcess();
    }

    @RequestMapping(value="/tasks", method= RequestMethod.GET, produces=MediaType.APPLICATION_JSON_VALUE)
    public List<TaskRepresentation> getTasks(@RequestParam String assignee) {
        List<Task> tasks = myService.getTasks(assignee);
        List<TaskRepresentation> dtos = new ArrayList<TaskRepresentation>();
        for (Task task : tasks) {
            dtos.add(new TaskRepresentation(task.getId(), task.getName()));
        }
        return dtos;
    }

    static class TaskRepresentation {

        private String id;
        private String name;

        public TaskRepresentation(String id, String name) {
            this.id = id;
            this.name = name;
        }

        public String getId() {
            return id;
        }
        public void setId(String id) {
            this.id = id;
        }
        public String getName() {
            return name;
        }
        public void setName(String name) {
            this.name = name;
        }

    }

}
Spring Boot will automatically scan the components and find @ Service and @ RestController we added on the application class. Run the application again and you can now interact with the REST API. For example, use cURL:
curl http://localhost:8080/tasks?assignee=jinyangjie
[]

curl -X POST  http://localhost:8080/process


curl http://localhost:8080/tasks?assignee=jinyangjie
[{"id":"b6350a6d-7070-11ec-bd1b-0a0027000006","name":"my task"}]
5. Summary
this article introduces the preliminary integration of Spring Boot. Obviously, there are many Spring Boot related contents that have not been mentioned, such as packaging WAR files and Spring Security support, which will be introduced in the following chapters.