In this article, we will implement a simple front-end and back-end separation function - student system. The front end adopts Vue+ElementUI and the back end adopts SpringBoot+MyBatis.
The article will not introduce the corresponding technical content, but describe the whole front and back-end development process
Environmental preparation
Before officially starting development, let's prepare the development environment. In order to avoid some errors, please keep consistent with my environment version.
First download node JS, go to the official website: https://nodejs.org/zh-cn/download/releases/
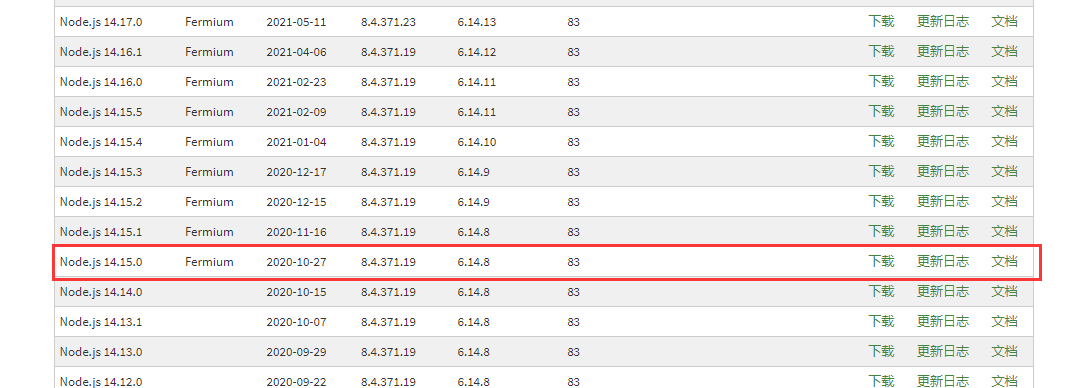
Download the installation package of 14.15.0. After downloading, you can install it successfully all the way next. After the installation is successful, verify it, open the cmd window and execute the command:
node -v
If the version number is output, the installation is successful. Then configure the Taobao image, which can speed up the dependent Download:
npm config set registry https://registry.npm.taobao.org
In this project, we use Vue element admin scaffold as the basic framework for development, so we need to download it and come to GitHub: https://github.com/PanJiaChen/vue-admin-template

Download or clone the project. After downloading, unzip it to get an existing background management system. Open the cmd window, switch the path to the project, and execute the instructions:
npm i
npm will help us download the dependencies needed for the project and wait for them to be downloaded:
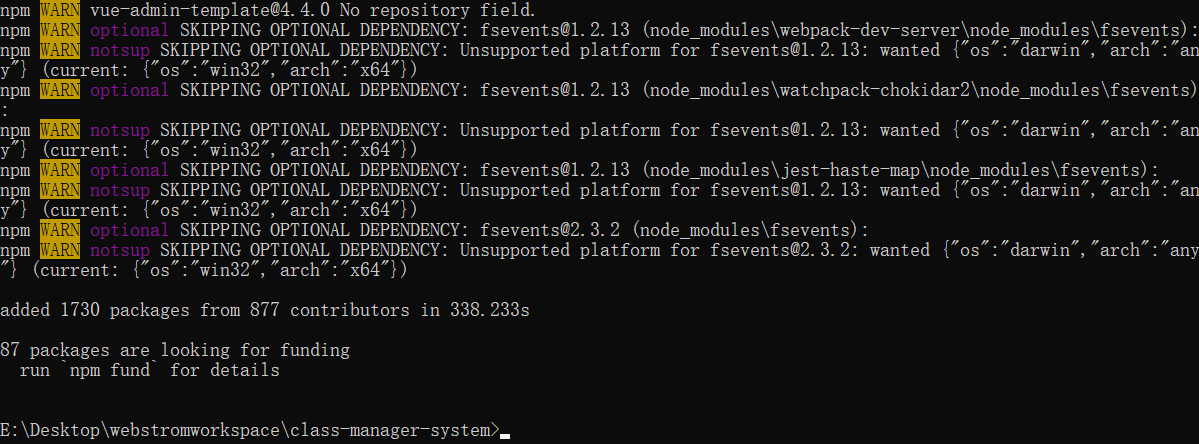
The warning is normal and there is no error. Now we can start the project and execute the instructions:
npm run dev

Directly click the login button to enter the background:
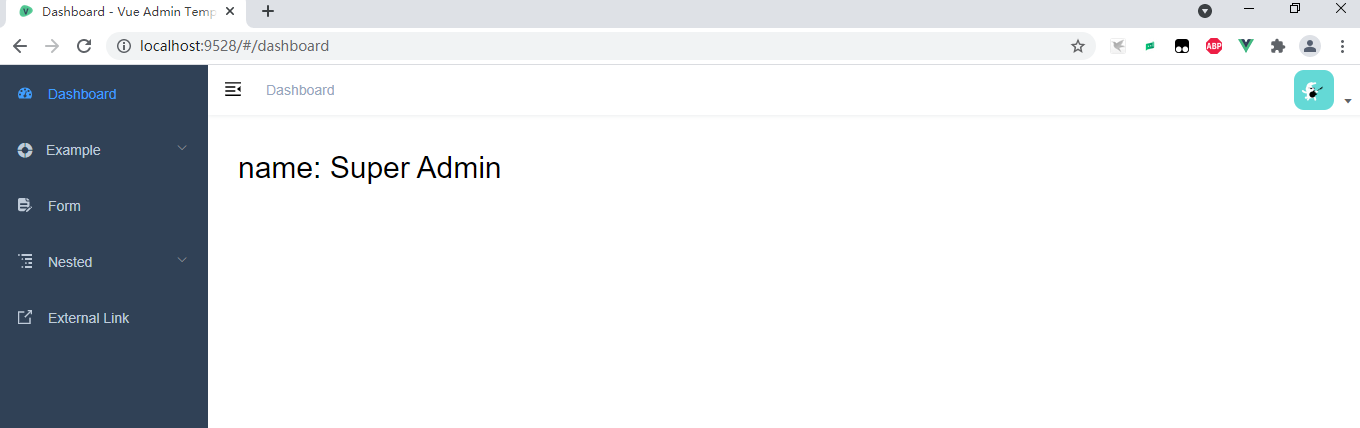
At present, the background is still an empty shell, and the next task is to realize it.
Introduction to scaffold project
If you are first exposed to Vue's scaffolding project, you will be at a loss when you see so many files in the project. It doesn't matter. Let's analyze the project structure first.
For Vue's scaffolding project, it has an entry file main js:
import Vue from 'vue'
import 'normalize.css/normalize.css' // A modern alternative to CSS resets
import ElementUI from 'element-ui'
import 'element-ui/lib/theme-chalk/index.css'
import locale from 'element-ui/lib/locale/lang/en' // lang i18n
import '@/styles/index.scss' // global css
import App from './App'
import store from './store'
import router from './router'
import '@/icons' // icon
import '@/permission' // permission control

if (process.env.NODE_ENV === 'production') {
  const { mockXHR } = require('../mock')
  mockXHR()
}
Vue.use(ElementUI, { locale })
// If you want the Chinese version of element UI, declare it as follows
// Vue.use(ElementUI)

Vue.config.productionTip = false

new Vue({
  el: '#app',
  router,
  store,
  render: h => h(App)
})
The content of this file is very simple. The first 11 lines introduce some modules and components. We don't need to worry about them. We focus on lines 23 ~ 27. In these five lines, an instance of Vue is created, bound to the DOM element with id app, and rendered using the render attribute. Therefore, its function is to render the content of APP components to the DOM element with id app, So where is the DOM element with id app?
Index. In the public directory You can find its shadow in HTML:
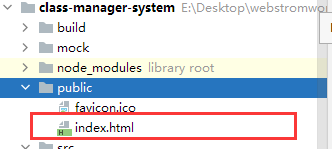
The code is as follows:
<!DOCTYPE html>
<html>
  <head>
    <meta charset="utf-8">
    <meta http-equiv="X-UA-Compatible" content="IE=edge,chrome=1">
    <meta name="viewport" content="width=device-width, initial-scale=1, maximum-scale=1, user-scalable=no">
    <link rel="icon" href="<%= BASE_URL %>favicon.ico">
    <title><%= webpackConfig.name %></title>
  </head>
  <body>
    <noscript>
      <strong>We're sorry but <%= webpackConfig.name %> doesn't work properly without JavaScript enabled. Please enable it to continue.</strong>
    </noscript>
    <div id="app"></div>
    <!-- built files will be auto injected -->
  </body>
</html>
It is necessary to explain that Vue scaffolds are generally SPA (Single Page Application) projects, that is, single page applications. Therefore, there is only one page in the whole project, and the page change is realized by the div with id app; In main JS, it renders the app component into this div, so the content of the page is actually determined by the app component.
The App component can be found in the root directory of the project:
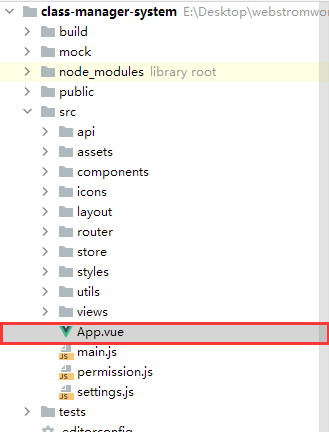
The code is as follows:
<template>
<div id="app">
  <router-view />
  </div>
</template>

<script>
  export default {
    name: 'App'
  }
</script>
A Vue component consists of three parts: template, script and style. Template is used to display the page content. Only one label is written here. Route view is the route label. It will determine the specific displayed content according to the route rules, so check the route rules.
There is an index in the router directory JS, which is used to configure routing rules:

There are a lot of contents in this file. Here, we will intercept some for analysis:
export const constantRoutes = [
  {
    path: '/login',
    component: () => import('@/views/login/index'),
    hidden: true
  },

  {
    path: '/404',
    component: () => import('@/views/404'),
    hidden: true
  },

  {
    path: '/',
    component: Layout,
    redirect: '/dashboard',
    children: [{
      path: 'dashboard',
      name: 'Dashboard',
      component: () => import('@/views/dashboard/index'),
      meta: { title: 'Dashboard', icon: 'dashboard' }
               }]
  }
]
path is used to specify routing rules, component is used to specify components, and Vue will listen for address changes in the address bar. When the address bar changes to / login, Vue will use the components configured in component to replace the routing label route view.
Student information - front end development
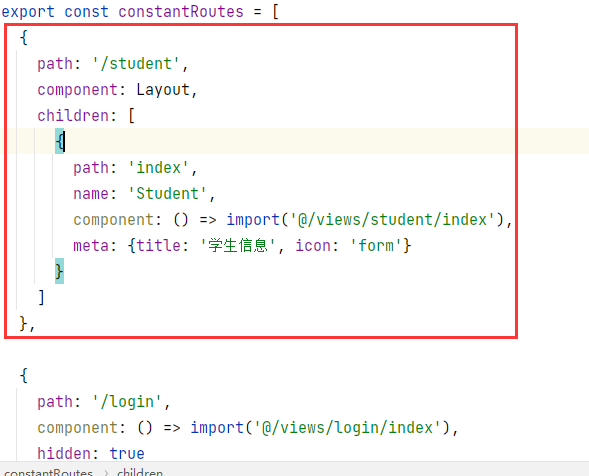
Just now, we briefly introduced Vue's scaffolding project. Next, let's implement a student information management. First, add routing rules:
{
    path: '/student',
    component: Layout,
    children: [
      {
        path: 'index',
        name: 'Student',
        component: () => import('@/views/student/index'),
        meta: {title: 'Student information', icon: 'form'}
      }
    ]
  },
Put it in the router directory index JS in the constantrotes attribute:
Here's another line of code:
component: () => import('@/views/student/index')Its function is to introduce a component to display the matching content of the current route, @ represents the src directory, so we need to create a new student directory in the src/views directory and an index. In the student directory Vue file:

index.vue contents are as follows:
<template>
<div>
  Student information
  </div>
</template>

<script>
  export default {
    name: "index"
  }
</script>

<style scoped>
</style>
See how it works:
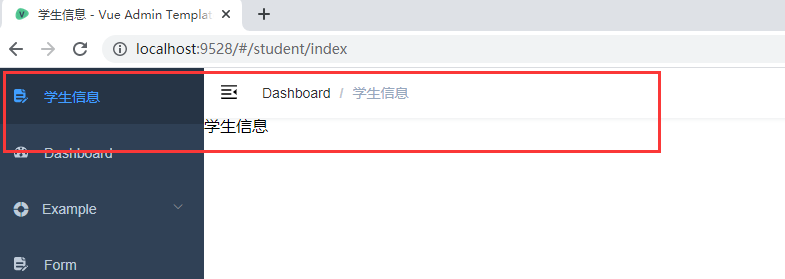
Such a menu item is defined. Next, we will write the page on the right. On the right, we use a table to display students' information. Go to the official website of element UI: https://element.eleme.cn/#/zh-CN/component/installation Table contents found:

Copy and paste the code of the table contents into the index. In the student directory Vue:
<template>
  <div>
    <el-table
      :data="tableData"
      stripe
      style="width: 100%">
      <el-table-column
        prop="id"
        label="Student number">
      </el-table-column>
      <el-table-column
        prop="name"
        label="Student name">
      </el-table-column>
      <el-table-column
        prop="project"
        label="major">
      </el-table-column>
      <el-table-column
        prop="class"
        label="class">
      </el-table-column>
    </el-table>
  </div>
</template>

<script>
export default {
}
</script>

<style scoped>

</style>
See the page effect:
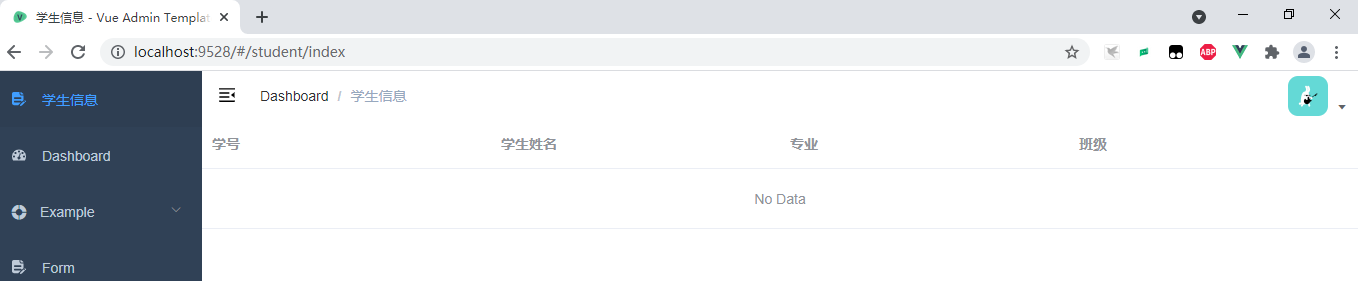
With the table, the next step is to prepare the data.
Student information - back end development
Create a student information table in the database:
create database class_system;

use class_system;

create table student(
	id varchar(10) primary key not null,
	name varchar(50) not null,
	project varchar(50) not null,
	class varchar(50) not null
);
The class here should create a class table and establish foreign key Association. In order to facilitate development, it is set to character type and several test data are added:
insert into student value ('1809100001','Zhang San','Computer science and technology','18 Computer class 1');
insert into student value ('1809100002','Li Si','Computer science and technology','18 Computer class 1');
insert into student value ('1809100003','Wang Wu','Computer science and technology','18 Computer class 2');
Create a SpringBoot application and introduce related dependencies:
<dependency>
  <groupId>com.baomidou</groupId>
  <artifactId>mybatis-plus-boot-starter</artifactId>
  <version>3.4.2</version>
</dependency>
<dependency>
  <groupId>org.projectlombok</groupId>
  <artifactId>lombok</artifactId>
  <version>1.18.10</version>
  <scope>provided</scope>
</dependency>
<dependency>
  <groupId>mysql</groupId>
  <artifactId>mysql-connector-java</artifactId>
  <version>5.1.35</version>
</dependency>
<dependency>
  <groupId>org.springframework.boot</groupId>
  <artifactId>spring-boot-starter-web</artifactId>
</dependency>
Create entity class:
@Data
public class Student {

    private String id;
    private String name;
    private String project;
    // The field name of the class in the database is class. In Java, class conflicts with the keyword, so use the @ TableField annotation to mark the corresponding relationship between the attribute and the field name
    @TableField("class")
    private String theClass;
}
Write Mapper interface:
@Mapper
public interface StudentMapper extends BaseMapper<Student> {
}
Write Service interface:
public interface StudentService{

    List<Student> findAll();
}
Write the implementation class of the Service interface:
@Service
public class StudentServiceImpl implements StudentService {

    @Autowired
    private StudentMapper studentMapper;

    @Override
    public List<Student> findAll() {
        return studentMapper.selectList(null);
    }
}
Finally, in application Configure the following database related information in YML:
spring:
  datasource:
    driver-class-name: com.mysql.jdbc.Driver
    username: root
    password: 123456
    url: jdbc:mysql:///class_system
Test whether the following methods are useful:
@SpringBootTest
class ClasssystemApplicationTests {

    @Autowired
    private StudentService studentService;

    @Test
    void contextLoads() {
        List<Student> students = studentService.findAll();
        students.forEach(System.out::println);
    }
}
Operation results:
Student(id=1809100001, name=Zhang San, project=Computer science and technology, theClass=18 Computer class 1)
Student(id=1809100002, name=Li Si, project=Computer science and technology, theClass=18 Computer class 1)
Student(id=1809100003, name=Wang Wu, project=Computer science and technology, theClass=18 Computer class 2)
In order to facilitate the contact between the front and back ends, the response results are simply encapsulated here:
@Data
public class R {

    private Integer code;
    private Map<String, Object> data = new HashMap<>();

    private R() {
    }

    public static R ok() {
        R r = new R();
        r.setCode(200);
        return r;
    }

    public static R error() {
        R r = new R();
        r.setCode(500);
        return r;
    }

    public R data(String key, Object value) {
        this.data.put(key, value);
        return this;
    }
}
Next, you can write the Controller:
@RestController
public class StudentController {

    @Autowired
    private StudentService studentService;

    @GetMapping("/getStudents")
    public R getStudents(){
        List<Student> students = studentService.findAll();
        return R.ok().data("students",students);
    }
}
Start the SpringBoot application, check whether the returned results are correct, and visit http://localhost:8080/getStudents :

Here, the back-end development is completed.
Student information - front and rear integration
So far, we have realized the front-end page display and the back-end interface development. The next step is to apply the data interface to the front-end project.
First, modify the in the root directory of the front-end project env.development file:

Put Vue in file_ APP_ BASE_ Modify the configuration value of API to the address of our backend application:
# base api
VUE_APP_BASE_API = 'http://localhost:8080'
However, this will cause the login function of the front-end project to not work properly:
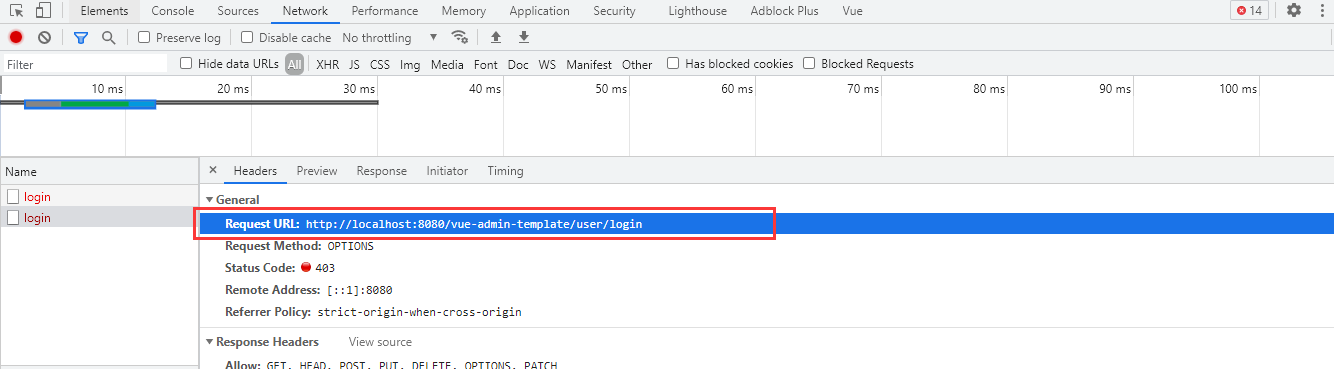
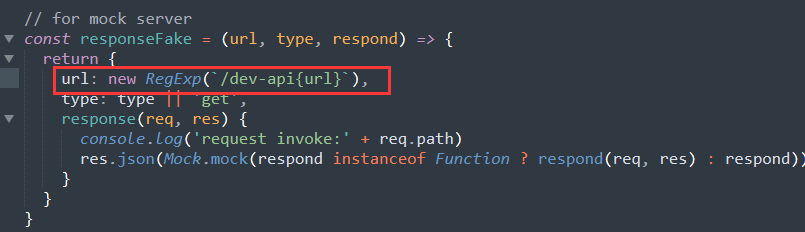
This is because the front-end project uses mock JS wrote a server-side login, and when we modified base_ After the API, the requested path is tampered with, so modify the mock server in the mock directory under the root directory JS file:

Amend line 37 to read:
You also need to modify the user. api under src JS file:
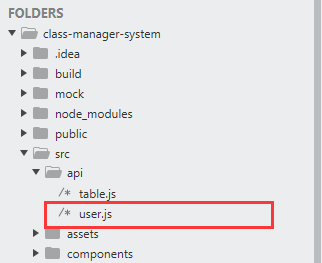
Add the following contents to the three functions of the file:

After that, restart the front-end project and log in to the background.
Finally, modify the request under utils under src JS file:

Amend line 49 to read:
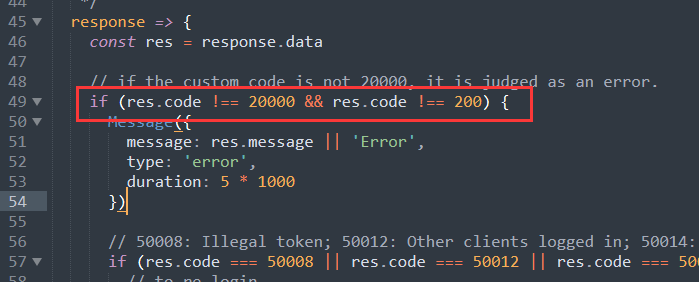
In this way, the front-end project can correctly receive the response from the back-end project.
Next, start writing the code formally. First, write the data interface and create a new student.api in the src/api directory JS file:
import request from '@/utils/request'

export default{
  list(){
    return request({
      url:'/getStudents', // Interface address
      method:'get')
    }
  }
}
Then, under student, click index It is called in Vue:
<template>
  <div>
    <el-table
      :data="list"
      stripe
      style="width: 100%">
      <el-table-column
        prop="id"
        label="Student number">
      </el-table-column>
      <el-table-column
        prop="name"
        label="Student name">
      </el-table-column>
      <el-table-column
        prop="project"
        label="major">
      </el-table-column>
      <el-table-column
        prop="theClass"
        label="class">
      </el-table-column>
    </el-table>
  </div>
</template>

<script>
import studentApi from '@/api/student.js' // Import Api file

export default {
  data(){
    return{
      list:[]
    }
  },
  // Lifecycle hook
  created(){
    this.fetchData()
    console.log(this.list)
  },
  methods:{
    fetchData(){
        studentApi.list().then(response=>{
          this.list = response.data.students
        })
    }
  }
}
</script>

<style scoped>

</style>
At this time, when viewing the page effect, a new problem is found:

This is a very common cross domain problem in front end and back end separation projects. Here I first solve it in a relatively simple way, that is, add @ CrossOrigin annotation on the Controller of the back-end project:
@RestController
@CrossOrigin
public class StudentController {
	......
}
Restart the backend project to view the page effect:
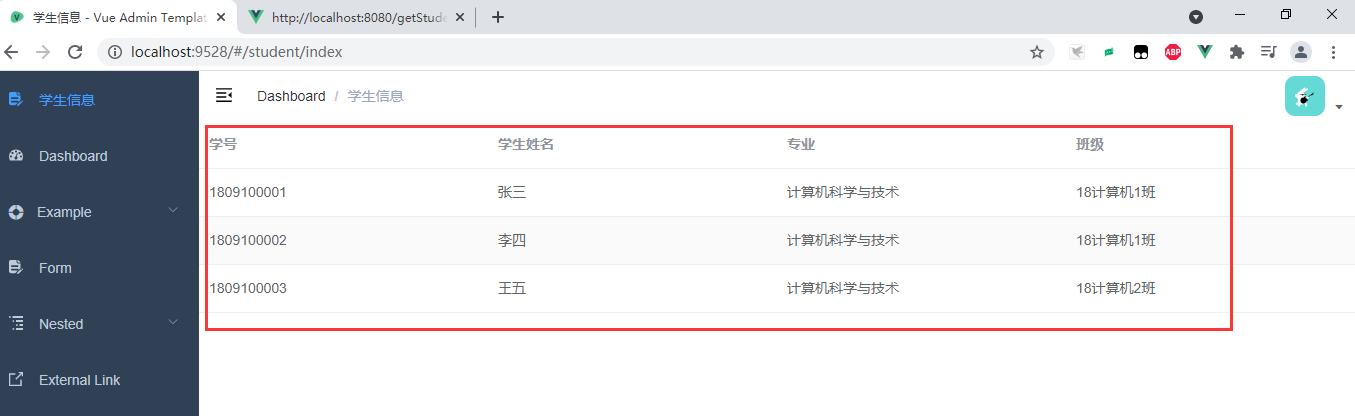
Here, a complete front and rear end separation function is completed. Do you know if you are familiar with the development process of front and rear end separation?