brief introduction
RuyiStudio integrates windows version of NNIE mapper and simulation library, and has the function of generating NNIE wk and simulation
NNIE function, with code editing, compilation, debugging, execution, network topology display and target detection
Box, vector similarity comparison, debugging, positioning information acquisition and other functions.
1, Install software
1) Install wget
from http://gnuwin32.sourceforge.net/packages/wget.htm Download the WGet installation package from the web page, select (Complete package, except sources) to download, and download wget-1.11.4-1-setup Exe, double-click install. After the installation is completed, wget.exe will be installed Add the installation directory where exe is located (GnuWin32\bin) to the user environment variable PATH to download the dependent package from the web page. It is recommended to create a variable named WGet in the user environment variable first_ The environment variable of PATH. The variable value is WGet Exe installation directory (GnuWin32\bin), and then% WGET_PATH% is added to the user environment variable PATH.
2) Installation of MinGW-W64
Download source code
Enter the official download website: https://sourceforge.net/projects/mingw-w64/files/mingw-w64/ , select
X86 for 7.3.0_ 64 Win32 sEH version download
Extract and set environment variables
Right click the computer - > properties - > advanced system settings - > environment variables, and add the following variables to the system variables (if there is a variable with the same name, the added variable values are separated by semicolons): variable name Path, variable value bin Path of MinGW, C:\MinGW\bin
In the C:\MinGW\bin directory, add x86_64-w64-mingw32-gcc.exe and rename it mingw32 GCC Exe, otherwise the RuyiStudio tool cannot automatically recognize the MinGW tool chain.
2, Prepare source files
Unzip the file ruyi_env_setup Extraction code: a6md
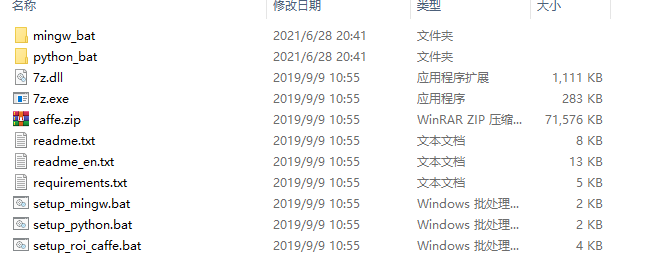
Download the installation package file Installation package file Links: extraction Codes: 7h6d
1) Place the downloaded file in the python35 directory
2) Add libraries_v140_x64_py35_1.1.0.tar.bz2 and place in Ruyi_ env_ Under setup folder
3)caffe.zip Extraction code: 86ae, which needs to be decompressed under python35 \ lib \ site packages
3, Perform installation
Click setup_python.bat for installation and setup_ python. The bat script calls python_ Setup under bat folder_ download_ python. bat,setup_extract_python.bat and setPath_python.bat, download the dependency package of Python and caffe (the dependency package has been downloaded) and install it.
opencv_python-3.4.2.16-cp35-cp35m-win_amd64.whl, protobuf-3.6.1-cp35-cp35m-win_amd64.whl, Cython-0.28.5-cp35-cp35m-win_amd64.whl and PyYAML-3.13-cp35-cp35m-win_amd64.whl needs to enter the python35 directory from cmd and install it with the pip install filename command (such as pip install opencv_python-3.4.2.16-cp35-cp35m-win_amd64.whl).
4, Add environment variable
1) Add the variable Ruyi to the user environment variable_ PYTHON_ Path, the variable value is the location of the current script, that is, if the current bat script is placed in D: \ programfiles \ Ruyi_ env_ Under the setup directory, you can set Ruyi_ PYTHON_ The variable value of path is "D:\programFiles\ruyi_env_setup\python35;D:\programFiles\ruyi_env_setup\python35\Scripts;D:\programFiles\ruyi_env_setup\python35\Library\bin".
2) Manually add "% RUYI_PYTHON_PATH%;" To the beginning of the user environment variable path.
3) Manually add the user environment variable PYTHONPATH: D: \ programfiles \ Ruyi_ env_ Setup \ python35 \ lib \ site packages \ caffe \ python, which is used by the tool to identify Caffe.
Occasionally, it is clear that the environment variable has been set successfully, and python can be recognized when running cmd. However, when Python cannot be recognized on ruyi tool, you need to restart the computer.
Cython-0.28.5-cp35-cp35m-win_amd64.whl and PyYAML-3.13-cp35-cp35m-win_amd64.whl,setup_roi_caffe.bat is for the network with the proposal layer. If it is not involved, the relevant error prompts need not be handled.
5, Using RuyiStudio-2.0.21
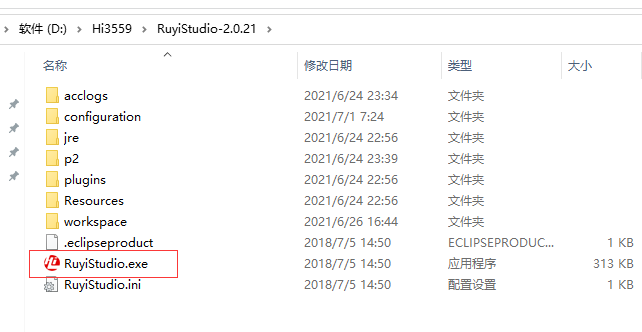
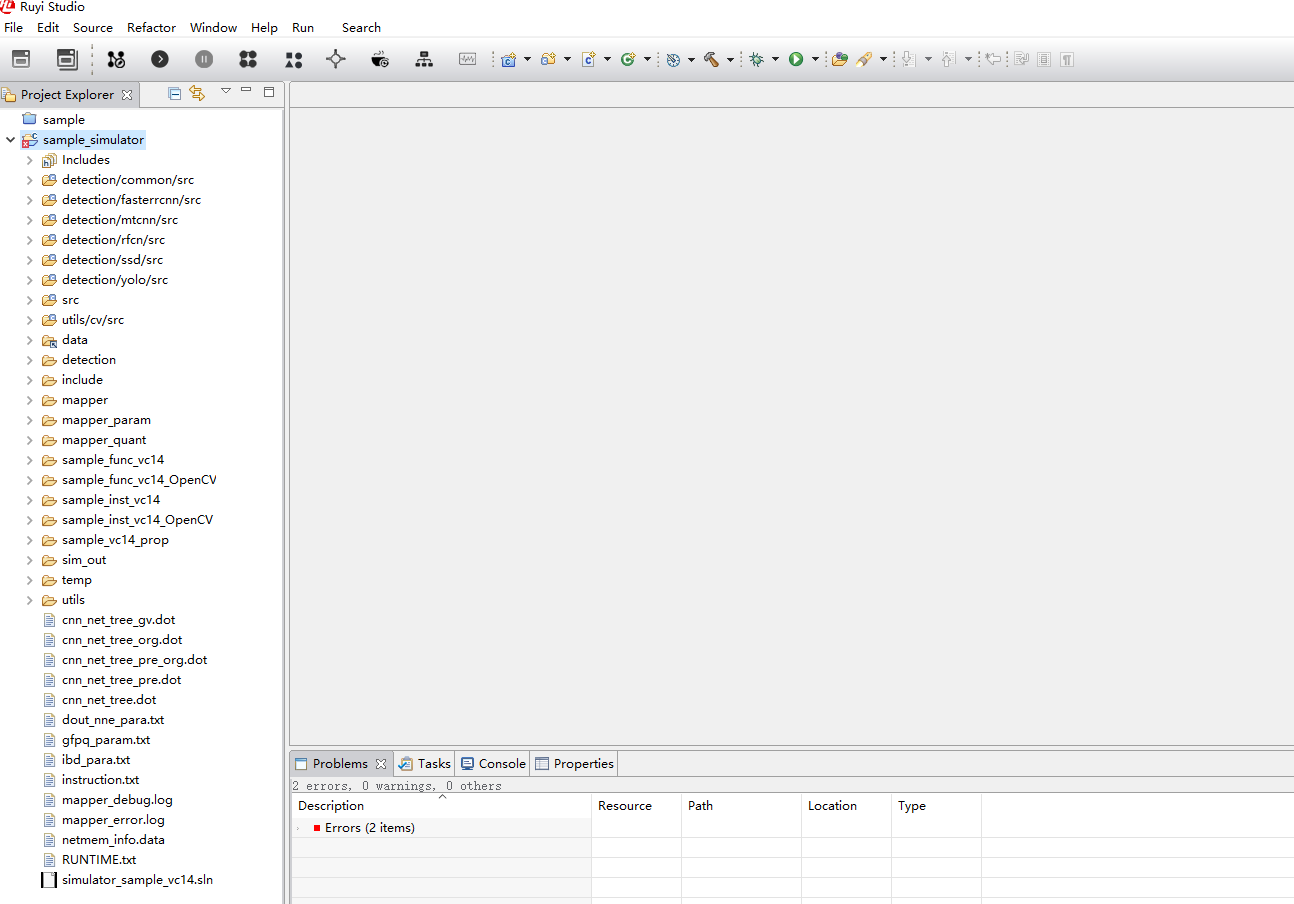
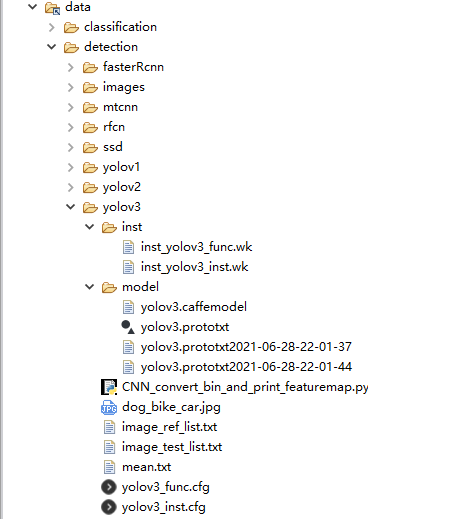
Load the project file, here use the official source code
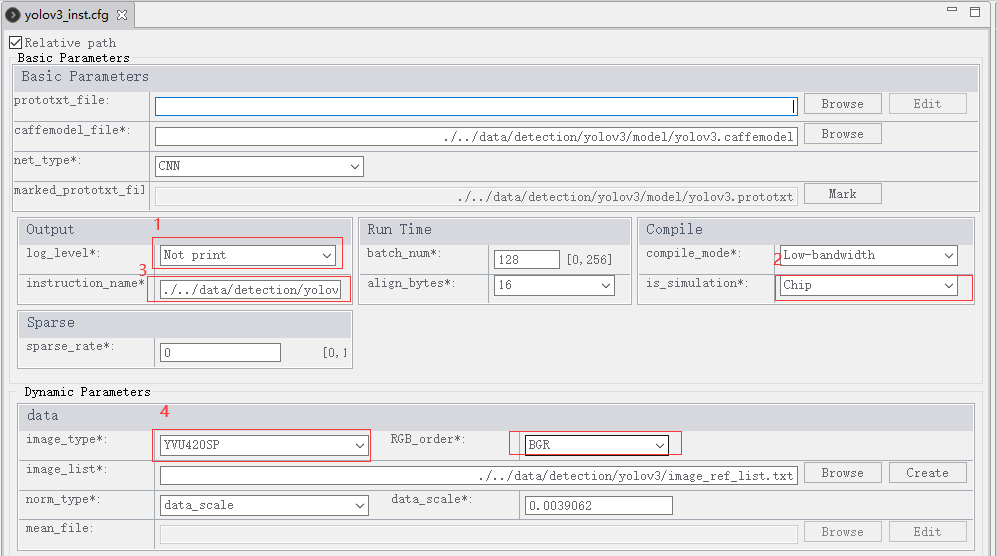
Click yolov3_inst.cfg file, the following dialog box pops up
1)log_level No print compile fast
2) Chip runs on the board and is simulated by simulator PC
3) Output file wk path
4)image_type YUV420SP is used for real-time video streaming instead of a single picture.

click Generate wk file
Taking yolov3 as an example, Inst is finally generated_ yolov3_ Inst.wk file
Quantitative loss comparison (to be)
1) mapper quantization results;
2) Use the python intermediate layer output tool CNN provided by Ruyi studio_ convert_ bin_ and_ print_ featuremap. py
3) Files generated when running on the board;
Use the Vector Comparison tool of Ruyi Studio
6, Transplant yolov3
get into nnie/sample Folder, open and edit sample_nnie.c file,Find the following two parts and make changes according to your needs
SAMPLE_SVP_NNIE_Yolov3_SoftwareInit
    pstSoftWareParam->u32OriImHeight = pstNnieParam->astSegData[0].astSrc[0].unShape.stWhc.u32Height;
    pstSoftWareParam->u32OriImWidth = pstNnieParam->astSegData[0].astSrc[0].unShape.stWhc.u32Width;
    pstSoftWareParam->u32BboxNumEachGrid = 3;
    pstSoftWareParam->u32ClassNum = 80;
    pstSoftWareParam->au32GridNumHeight[0] = 13;//Picture size / 32
    pstSoftWareParam->au32GridNumHeight[1] = 26;//Picture size / 16
    pstSoftWareParam->au32GridNumHeight[2] = 52;//Picture size / 8
    pstSoftWareParam->au32GridNumWidth[0] = 13;
    pstSoftWareParam->au32GridNumWidth[1] = 26;
    pstSoftWareParam->au32GridNumWidth[2] = 52;
    pstSoftWareParam->u32NmsThresh = (HI_U32)(0.3f*SAMPLE_SVP_NNIE_QUANT_BASE);
    pstSoftWareParam->u32ConfThresh = (HI_U32)(0.5f*SAMPLE_SVP_NNIE_QUANT_BASE);
    pstSoftWareParam->u32MaxRoiNum = 10; //How many targets can each picture contain
    pstSoftWareParam->af32Bias[0][0] = 116;
    pstSoftWareParam->af32Bias[0][1] = 90;
    pstSoftWareParam->af32Bias[0][2] = 156;
    pstSoftWareParam->af32Bias[0][3] = 198;
    pstSoftWareParam->af32Bias[0][4] = 373;
    pstSoftWareParam->af32Bias[0][5] = 326;
    ...
Copy model to development board
7, Problems in plate end operation
1) Version inconsistency
[Level]:Debug,[Func]:SAMPLE_COMM_SVP_CheckSysInit [Line]:82 [Info]:Svp mpi init ok!
[Level]:Info,[Func]:SAMPLE_SVP_NNIE_Yolov3 [Line]:2898 [Info]:Yolov3 Load model!
[Func]:HI_MPI_SVP_NNIE_LoadModel [Line]:420 [Info]:Error(0xa0338003): the nnie_mapper version(1.2) should be 1.1, please check nnie_mapper version!
 [Level]:Error,[Func]:SAMPLE_COMM_SVP_NNIE_LoadModel [Line]:560 [Info]:Error,HI_MPI_SVP_NNIE_LoadModel failed!
 [Level]:Error,[Func]:SAMPLE_SVP_NNIE_Yolov3 [Line]:2901 [Info]:Error,SAMPLE_COMM_SVP_NNIE_LoadModel failed!
[Level]:Debug,[Func]:SAMPLE_COMM_SVP_CheckSysExit [Line]:95 [Info]:Svp mpi exit ok!
The mapper version used is inconsistent with the SDK version
2)
[Func]:HI_MPI_SVP_NNIE_LoadModel [Line]:443 [Info]:Error(0xa0338003): the enRunMode(1) of input model should be 0!
 [Level]:Error,[Func]:SAMPLE_COMM_SVP_NNIE_LoadModel [Line]:562 [Info]:Error,HI_MPI_SVP_NNIE_LoadModel failed!

 [Level]:Error,[Func]:SAMPLE_SVP_NNIE_Yolov3 [Line]:2904 [Info]:Error,SAMPLE_COMM_SVP_NNIE_LoadModel failed!

[Level]:Debug,[Func]:SAMPLE_COMM_SVP_CheckSysExit [Line]:95 [Info]:Svp mpi exit ok!
<3>[svp_nnie] [Func]:SVP_NNIE_CheckForwardParamKernel [Line]:1145 [Info]:<3>[svp_nnie] Error(0xa0338003),info in astSrc[] is illegal
<3>[svp_nnie] [Func]:SvpNnieForward [Line]:625 [Info]:<3>[svp_nnie] Error(0xa0338003),Check forward param failed!
<3>[svp_nnie] [Func]:SVP_NNIE_CheckSrcBlob [Line]:476 [Info]:<3>[svp_nnie] Error(0xa0338003),astBlob[0].u32Stride(352) should be equal to or greater than 416
<3>[svp_nnie] [Func]:SVP_NNIE_CheckForwardParamKernel [Line]:1145 [Info]:<3>[svp_nnie] Error(0xa0338003),info in astSrc[] is illegal
Error(0xa0338003),astBlob[0].u32Stride(352) should be equal to
[SAMPLE_SVP_NNIE_yolov3_ViToVo]-1757: Error(0xa0338003),SAMPLE_SVP_NNIE_Yolov3_Proc failed!
 [Level]:Error,[Func]:SAMPLE_SVP_NNIE_RoiToRect [Line]:1490 [Info]:Error(0xa0338003),u32ClassNum(1061997773) must be less than or equal 30 to!
[Func]:HI_MPI_SYS_MmzFlushCache [Line]:1102 [Info]:Null point
[Func]:SVP_NNIE_CheckForwardWithBboxParamUser [Line]:528 [Info]:Error(0xa0338003),pstForwardCtrl->u32SrcNum(0) must be [1,16]
[Func]:HI_MPI_SVP_NNIE_ForwardWithBbox [Line]:759 [Info]:Error(0xa0338003): Check forward with roi parameters failed!
 [Level]:Error,[Func]:SAMPLE_SVP_NNIE_ForwardWithBbox [Line]:211 [Info]:Error,HI_MPI_SVP_NNIE_ForwardWithBbox failed!

 [Level]:Error,[Func]:SAMPLE_SVP_NNIE_Yolov3_Proc [Line]:1590 [Info]:Error,SAMPLE_SVP_NNIE_Forward failed!

[SAMPLE_SVP_NNIE_yolov3_ViToVo]-1751: Error(0xa0338003),SAMPLE_SVP_NNIE_Rfcn_Proc failed!
1) There is no data in the video. Check VI and VPSs
2) The model used is not xxx_inst.wk, and xxx_func.wk. No chip is selected during generation.
3)s_ stYolov3SoftwareParam. The parameters obtained by strect are incorrect