@[TOC](Vite+Vue3+Vue Router+Vuex+CSS preprocessor (less/sass) configuration guide - the most detailed series in the whole network)
Official Chinese documents of Vite
Vue3 official Chinese document
Vue Router 4.x Official Chinese documents
Vuex 4.x Official Chinese documents
This article only introduces the detailed steps of using Vite to build Vue3 project and install Vuex, Vue Router and CSS preprocessor. Please refer to the official documents for the specific use of each content.
1, Build Vite+Vue3
Compatibility Note
Vite requires node JS version > = 12.0.0.
Use NPM
$ npm init vite@latest
Then follow the prompts!
You can also directly specify the project name and the template you want to use through additional command-line options. For example, to build a Vite + Vue project, run:
# npm 6.x
npm init vite@latest my-vue-app --template vue

# npm 7 +, additional double horizontal lines are required:
npm init vite@latest my-vue-app -- --template vue
Project structure
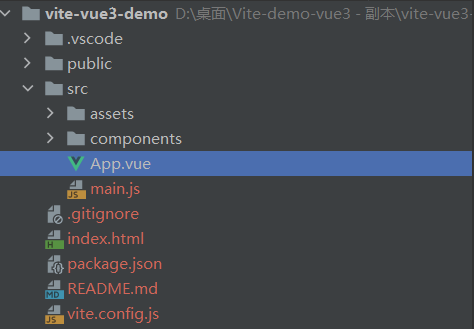
Run project
On the console, enter:
cd my-project(Your project name, as shown in the figure above, is what I want to enter cd vite-vue3-demo)
npm install
npm run dev
appear:
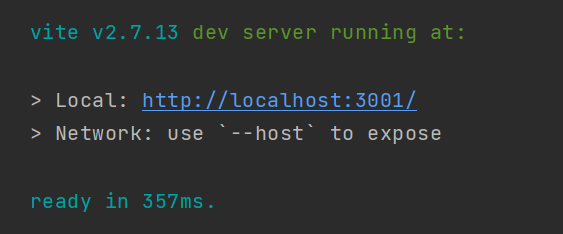
Click the link to open:
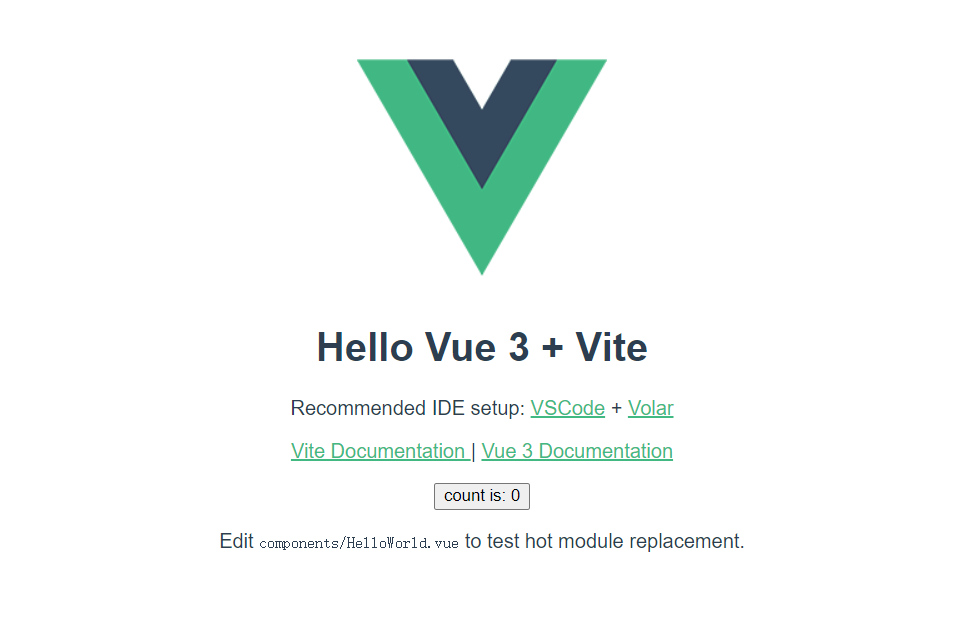
Run successfully!
2, Installing Vue Router
Vue Router 4.x Official Chinese documents
Install Vue router 4 X version
npm install vue-router@4
Create a router / index JS file
Create a router folder in the src directory of the project, and create an index in the router folder JS file:
import { createRouter,createWebHistory } from "vue-router";

const router = createRouter({
    history: createWebHistory(),
    routes: [
        // {
        //     path: '/HelloWorld',
        //     name: 'HelloWorld',
        //     component: () => import('@/components/HelloWorld.vue')
        // },
        {
            path: '/HelloWorld',
            name: 'HelloWorld',
            component: () => import('../components/HelloWorld.vue')
        },
    ]
})

export default router;
If you want to use the above route @ / components / HelloWorld Vue, you need to go to vite config. JS file is configured as follows before @ can be used
import { defineConfig } from 'vite'
import vue from '@vitejs/plugin-vue'
import { resolve } from 'path'
// https://vitejs.dev/config/
export default defineConfig({
  plugins: [vue()],
  resolve: {
    alias: {
      '@': resolve(__dirname, 'src')
    }
  },
})
Added:
import { resolve } from 'path'
 resolve: {
    alias: {
      '@': resolve(__dirname, 'src')
    }
  },
main.js introduction
import { createApp } from 'vue'
import App from './App.vue'
import router from './router/index'

const app = createApp(App)
app.use(router)
app.mount('#app')
Test routing
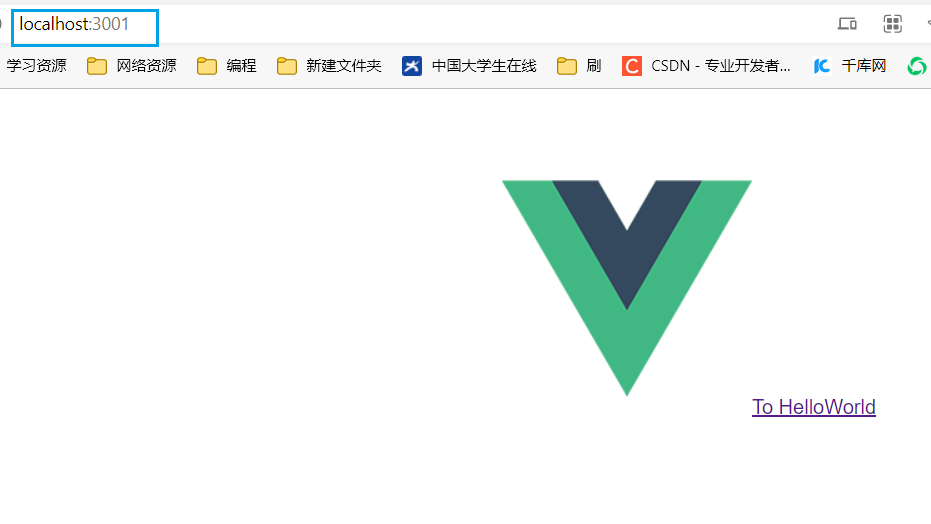
Modify app The < template > in Vue is:
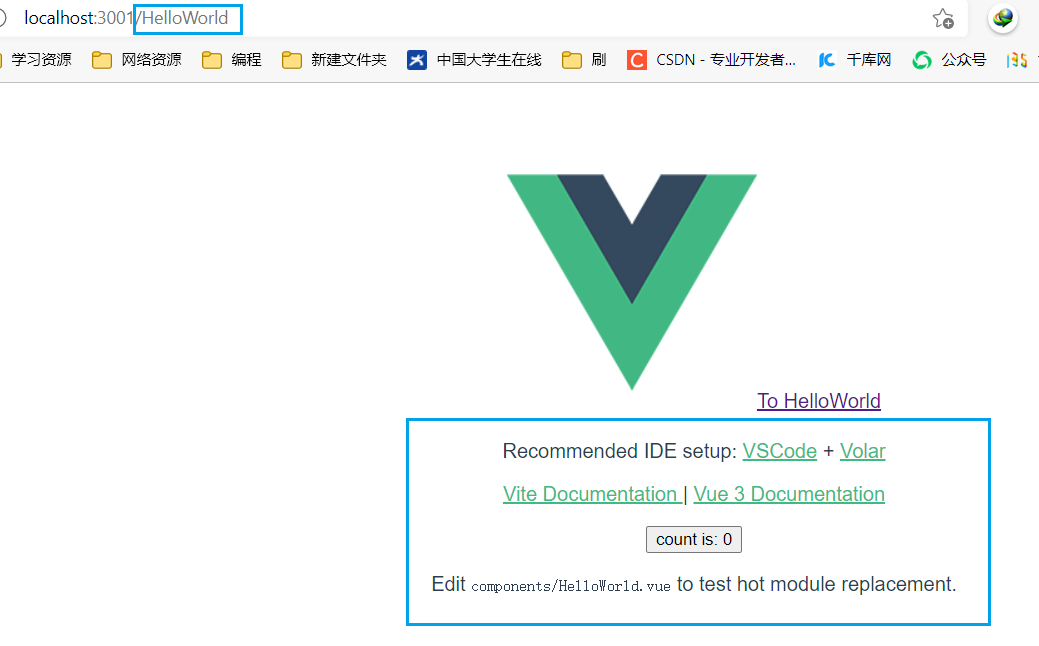
<template>
  <img alt="Vue logo" src="./assets/logo.png" />
  <router-link to="/HelloWorld">To HelloWorld</router-link>
  <router-view></router-view>
</template>
Restart the project and click To HelloWorld to jump to the route:
3, Install Vuex
Vuex 4.x Official Chinese documents
Install vuex 4 X version
npm install vuex@next --save
Create a new store / index js
Create a store folder in the src directory of the project, and create an index in the store folder JS file:
import {createStore} from "vuex";

export const store = createStore({
    state: {
        finish: 9999999999666666666,
    },
    getters: {},
    mutations: {},
    actions: {},
    modules: {}

});
main.js introduction
import {createApp} from 'vue'
import App from './App.vue'
import router from './router/index'
import {store} from './store';

const app = createApp(App)
app.use(router)
app.use(store)
app.mount('#app')
Added:
import {store} from './store';
app.use(store)
Test Vuex
On app Add < template > in Vue:
<template>
  <h1>{{$store.state.finish}}</h1>
  <img alt="Vue logo" src="./assets/logo.png" />
  <router-link to="/HelloWorld">To HelloWorld</router-link>
  <router-view></router-view>
</template>
effect:

Note: This is $store state. Finish is not this$ store.state.finish. Both of these two methods can be used in the local runtime, but the latter cannot be used in the packaging deployment. This is not recommended
Recommended vuex persistence plug-in: vuex persistent state
usage method:
import {createStore} from "vuex";
// vuex persistence plug-in
import createPersistedState from "vuex-persistedstate"
export const store = createStore({
    plugins: [createPersistedState()],
    state: {
        finish: 9999999999666666666,
    },
    getters: {},
    mutations: {},
    actions: {},
    modules: {}

});
This plug-in is to save your vuex data to the browser and solve the problem of vuex data loss on the refresh page. I won't talk about it here
4, Install less
Vite provides the right scss, .sass, .less, .styl and Built in support for stylus files. It is not necessary to install specific vite plug-ins for them, but the corresponding preprocessor dependencies must be installed:
# .scss and .sass
npm install -D sass

# .less
npm install -D less

# .styl and .stylus
npm install -D stylus
Automatically turned on by < style lang = "less" scoped > (or other preprocessor).
Reference blog:
vue3. Construction of 0 + vite + vuex + Vue router