Note: the function of this process is that as long as we upload the code to the GIT platform, we don't have to worry about it. jenkins can automatically publish our git original code compilation test deployment to the production environment. We don't have to pack the jar package ourselves every time and then pull it to the linux environment Java jar for publishing, because it's very troublesome to change the code every time. The whole deployment process is divided into three steps: installing middleware, configuring environment, and deploying and publishing. with pipeline Mode deployment.
(please feel free to know something. I came according to my company's specifications. Please forgive me, ha ha)
Install the required middleware for Linux system first. Mine is Redis+MySQL+RabbitMQ+Nacos+fastDFS.
I. installation and configuration environment
1. Create a jenkins user in Linux, set the password, and switch users
useradd jenkins

passwd jenkins

su jenkins
2. Download Tomcat from the browser Zip and Jenkins war
https://tomcat.apache.org/ https://jenkins.io/download/ (pull to / home/jenkins / on Linux)
3. Unzip tomcat Zip to delete all the files under webapps in tomcat
unzip tomcat.zip

rm -rf ./tomcat/webapps/*
4 Jenkins War is copied to webapps and renamed ROOT
cp jenkins.war ./tomcat/webapps/ROOT
5. Add execution permission to jenkins user from root user
su root

cd /home/jenkins/tomcat/bin/

chmod o+x  ./*.sh  #Set the execution permission for other groups of users of the sh suffix file, otherwise jenkins user has no permission to open tomcat
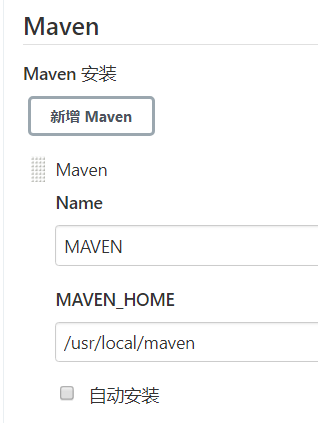
6. Installation of Maven:
Pull the downloaded apache-maven-3.6.0 to / usr/local/
mv apache-maven-3.6.0 maven

cd /usr/local/maven/bin/   #Go to maven download directory

chmod o+x   ./*    #Set execution permission, which will be used later
Edit / usr / local / Maven / conf / settings xml
If the < localrepository > has a configuration path, delete it and use the default path. The warehouse can use Alibaba cloud or your own company:
<mirror>
        <id>nexus-aliyun</id>
        <name>Nexus aliyun</name>
        <mirrorOf>central</mirrorOf>
        <url>https://maven.aliyun.com/repository/public</url>
    </mirror>
Save it.
Set environment variables:
vim /etc/profile

export MAVEN_HOME=/usr/local/maven

export PATH=$MAVEN_HOME/bin:$PATH

source /etc/profile
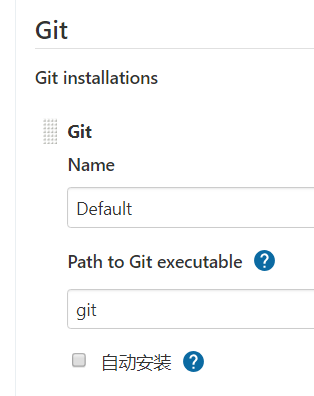
7. Installing Git
whereis git  #Find the Git path and install it again if it has not been installed
yum install curl-devel expat-devel gettext-devel openssl-devel zlib-devel
yum install git
8 open jenkins as jenkins user
su jenkins

sh /home/jenkins/tomcat/bin/starup.sh
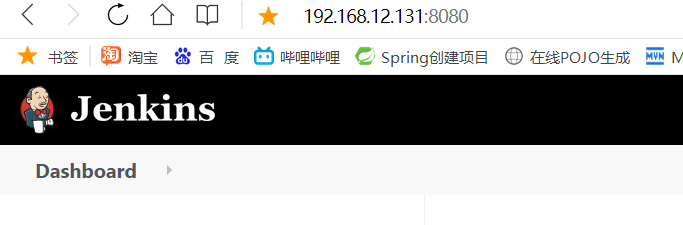
The browser opens 192.168.12.131:8080 (port your own linux). If the jenkins page comes out, it means success.
Copy the path displayed by the browser and view it in linux, such as: less / home / appuser / jenkins/secrets/
Come up with a string of hash values and copy the password to the browser to log in. Just set the administrator user and plug-in. I download the recommended plug-in.
Click Manage (settings) - global tool management - configure jdk, git, maven after entering. This completes the installation configuration step

FAQ:
1. Problem: when you enter jenkins for the first time, it displays offline; After entering, the plug-in will report red; All the downloaded plug-ins failed to install.
Solution: Baidu has three ideas to solve the above problems
1. If you enter the jenkins plug-in and report a red error, change the site address https to http, that is, setting - plug-in management - Advanced (the fourth button) - change the lowest url to http - submit below - get it at the bottom right corner immediately
In this way, it is normal not to report red, but I still fail to download all plug-ins. Start the following methods
2. If you just go in and show that you are offline and your network is OK, it is an environmental problem. It is found that my problem is the version problem. I used tomcat10 and jdk1 8.0_ 51,jenkins. war2. 289.1, later changed to tomcat8 and jdk1 8.0_ 211 redeployment is normal. You can download plug-ins (I think most of them are version incompatibility).
II. Start deployment and release process
In fact, most of them have been completed here, and the rest can be simply deployed in their own way. I am a production environment pipeline Deployment.
1 Jenkins new assembly line project setting name (your own project service name), such as base service

2 top four items: the first item is General (tick)
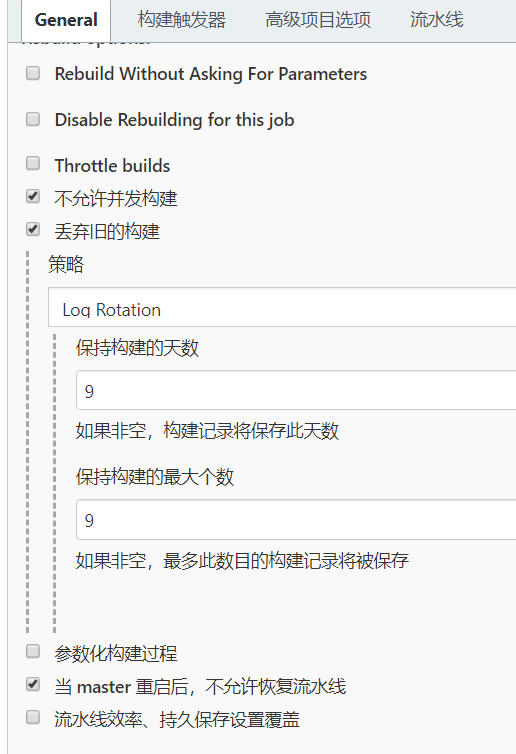
Concurrent builds are not allowed
Discard old builds (enter: 9 to 9 respectively)
After the master is restarted, pipeline recovery is not allowed
3 second build trigger:
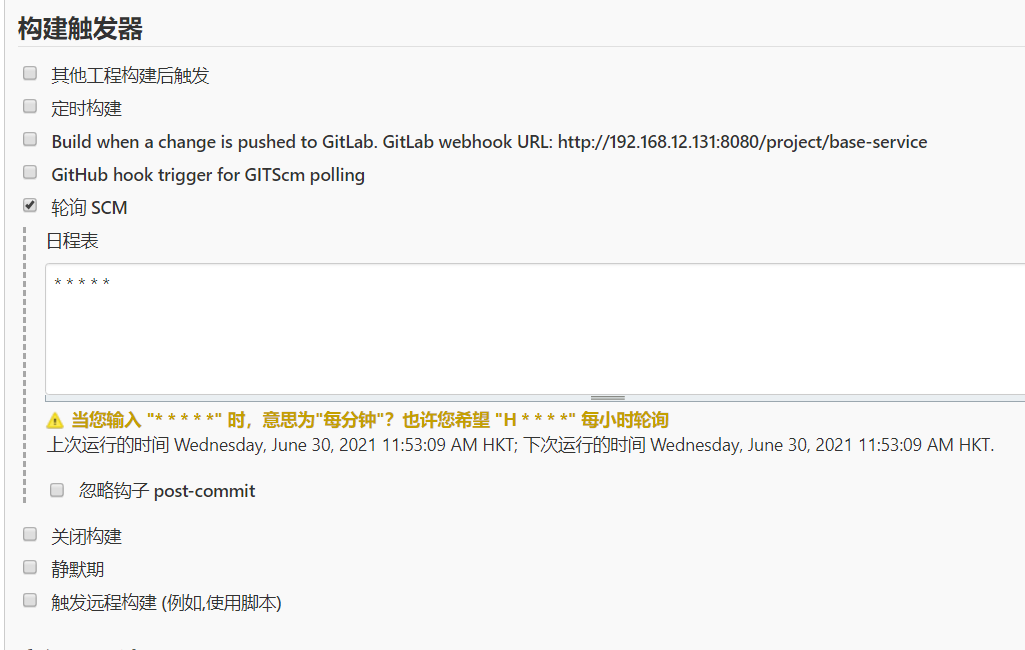
Polling SCM (input: * * *)
4 the third advanced project option:
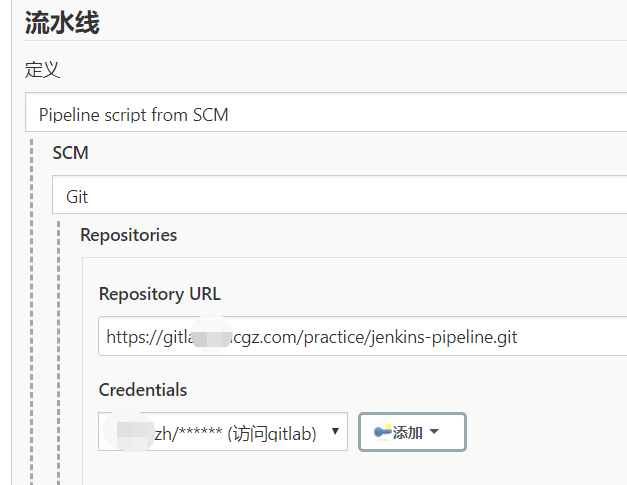
(the git address is the path of the pipeline configuration file, which is described below, and how to build it first. Note: the gitlab user must have the permission to upload the pipeline configuration warehouse and the permission to the java source code warehouse, otherwise the deployment test will report no permission error, and it is OK to give permission. I mean that the pipeline configuration warehouse account must have permission to access jav A source code warehouse. Generally, the source code is written by us, and the pipeline configuration file is also written by us, so there is no problem, unless the code is written and deployed by different people (one gitlab)
Take a look at my gitlab warehouse pipeline configuration file path ():
Let's see how to set it:
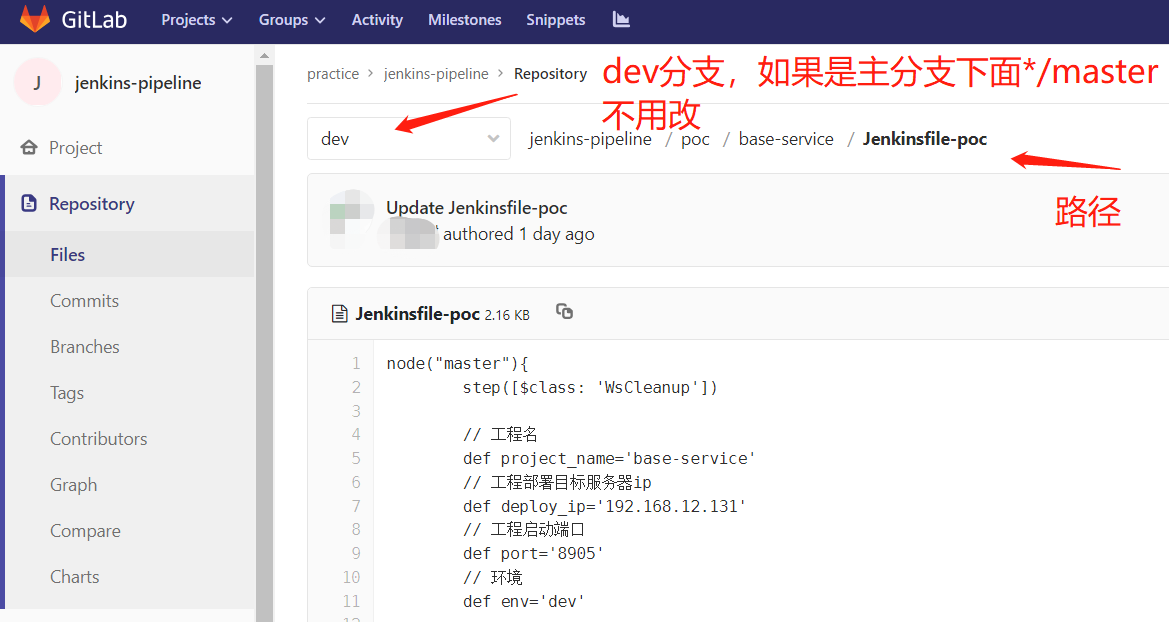
Note the specified branch is dev, so write: * / dev
Source library browser automatically (no change)
My script path is POC / base service / jenkinsfile POC (path from dev node to file)
5. Click Save, and then click build immediately. The first time you will download the source code and rely on it for a long time. Test release deployment completed.
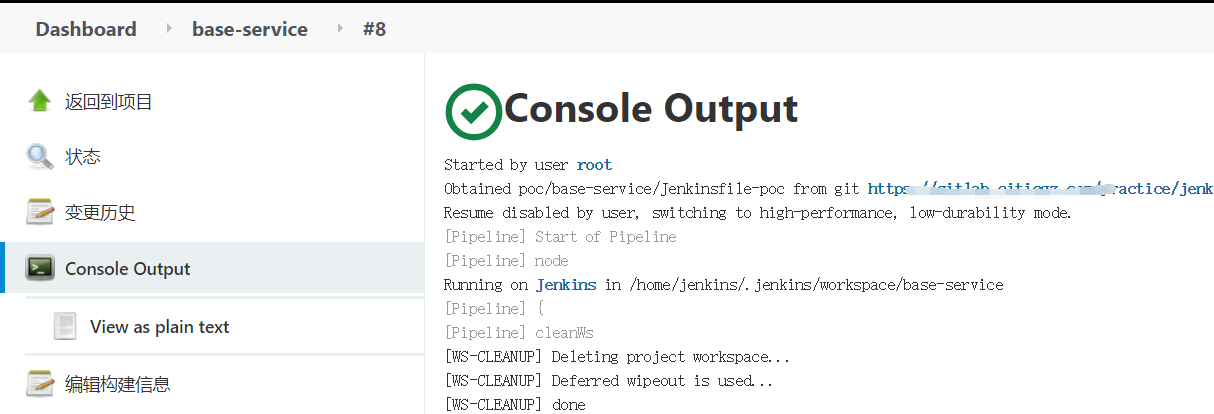
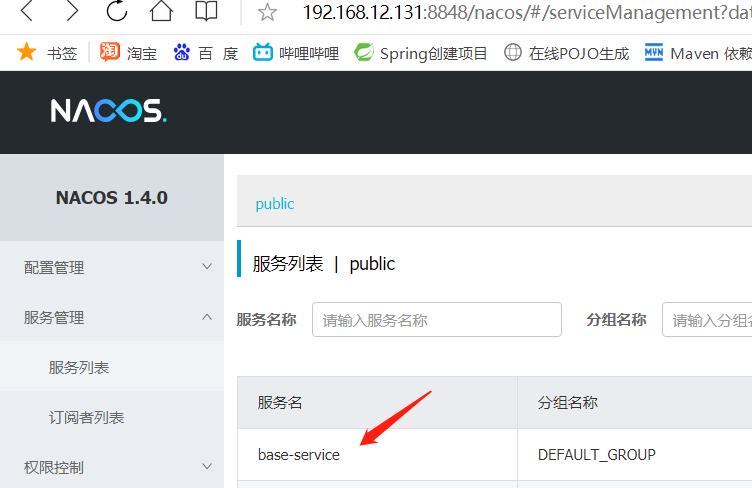
I registered with nacos, so if there is a service list, it means that it has been started successfully
In fact, jenkins construction is relatively simple. The key point is pipeline The compilation, packaging and deployment completed by the configuration file.
About upload configuration; About profile content
Let me briefly say that the process is to create a PoC / base service / Jenkins file POC path in windows and upload such a file to the dev branch of git platform (the file can be edited in idea)
git finished product: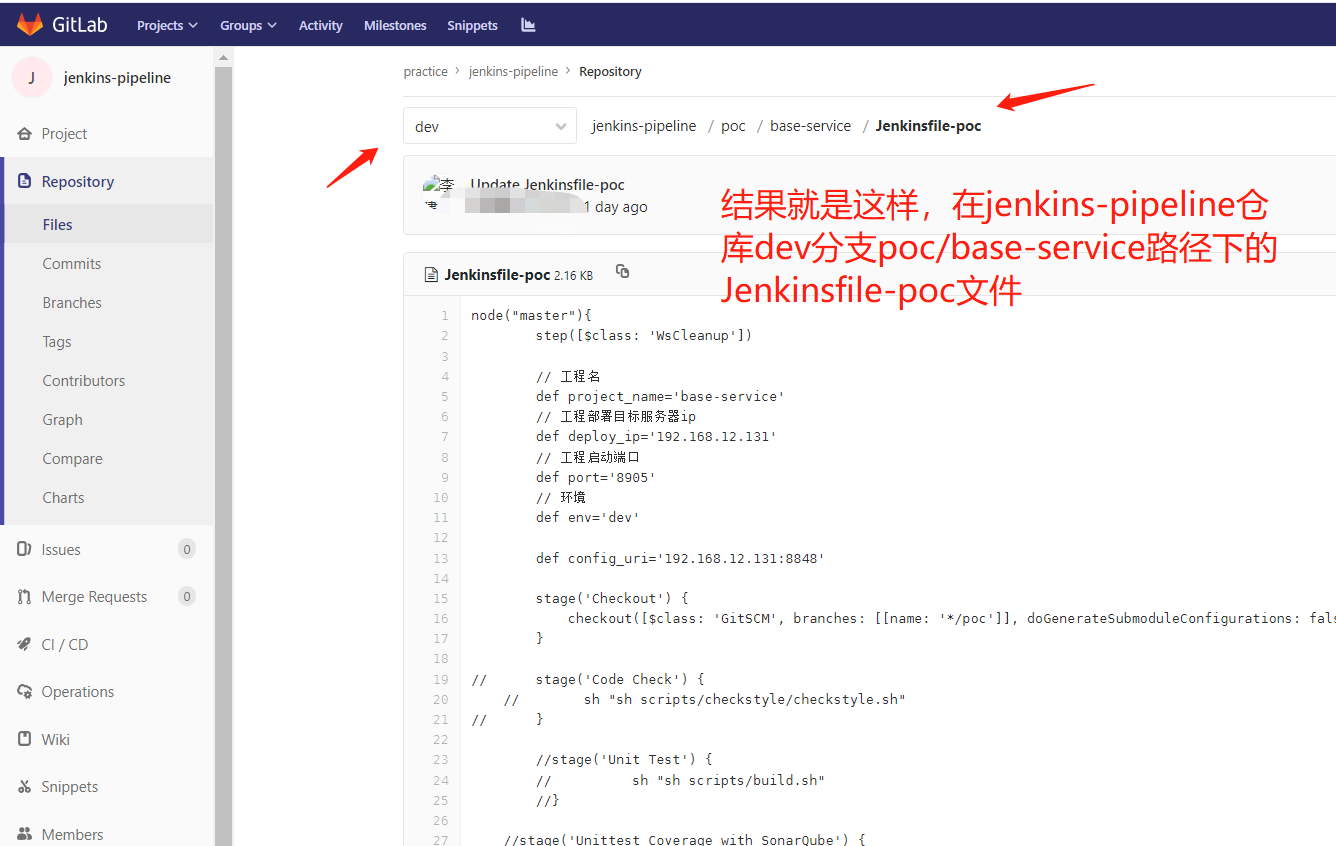
Configuration file content - change several places:
node("master"){
	step([$class: 'WsCleanup'])

	// 1 project name (service name)
	def project_name='base-service'
	// 2. Project deployment target server ip (linux machine address)
	def deploy_ip='192.168.12.131'
	// 3 project startup port (this doesn't matter)
	def port='8905'
	// 4 environment (dev matching nacos configuration)
	def env='dev'

	def config_uri='192.168.12.131:8848'
//5 here you need to change the identification code and java source code path (f0c86d7-7d54-4f77-aedf-3fe43b51fbe and https://gitlab.citicgz.com/rmp-backend-poc/base-service.git )
	stage('Checkout') {
	    checkout([$class: 'GitSCM', branches: [[name: '*/poc']], doGenerateSubmoduleConfigurations: false, extensions: [], submoduleCfg: [], userRemoteConfigs: [[credentialsId: 'f0c86da7-7d54-4f77-aedf-31fe43b51fbe',url: 'https://gitlab.citicgz.com/rmp-backend-poc/base-service.git']]])
	}

//	stage('Code Check') {
    //        sh "sh scripts/checkstyle/checkstyle.sh"
//	}

	//stage('Unit Test') {
	//	    sh "sh scripts/build.sh"
	//}

    //stage('Unittest Coverage with SonarQube') {
        // Sonar unit test coverage
       //def sonarqubeScannerHome = tool name: 'SonarQube Scanner'

        //withSonarQubeEnv('Sonarqube53') {
         //sh "${sonarqubeScannerHome}/bin/sonar-scanner"
        //}
    //}

	stage('Archive Artefact') {
 		    sh "mvn package -Dmaven.test.skip=true"

//6. Change your identification code here (7d49d98-8e4a-4e5b-acb4-6e0b50910e7)
	withCredentials([usernamePassword(credentialsId:'7d49d98-8e4a-4e5b-acb4-6e0bb5010e7', usernameVariable: 'USERNAME', passwordVariable: 'PASSWORD')]){
	    stage("Deploy to $env") {
               sh "sshpass -p $PASSWORD ssh  $USERNAME@$deploy_ip \" rm -rf /home/$USERNAME/$project_name \" "
                sh "mkdir $project_name"
                sh "cp ./target/*.jar $project_name"
                sh "cp ./scripts/startup.sh $project_name"
                sh "tar -cvf $project_name'.tar' $project_name "
                sh "sshpass -p $PASSWORD scp $project_name*.tar  $USERNAME@$deploy_ip:/home/$USERNAME/ "
                sh "sshpass -p $PASSWORD ssh  $USERNAME@$deploy_ip \"cd /home/$USERNAME;tar -xvf $project_name*.tar  \" "
                sh "sshpass -p $PASSWORD ssh  $USERNAME@$deploy_ip \"cd /home/$USERNAME;rm -f $project_name*.tar  \" "
                withEnv(['JENKINS_NODE_COOKIE=dontKillMe']) {
                    sh "sshpass -p $PASSWORD ssh  $USERNAME@$deploy_ip \"cd /home/$USERNAME/$project_name; chmod +x startup.sh;/bin/bash -l startup.sh $env $port $config_uri \" "
                }
	    }
	}
}
Modify: change the IP port of its own registry, and nacos creates a new configuration file base-service-dev.properties with dev suffix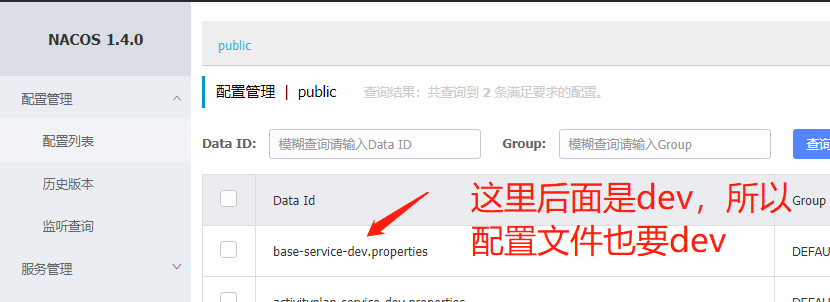
The identification code of question 5 belongs to the user gitlab. In jenkins - Settings - password credentials - this long string of random codes is the identification code. Copy and paste it into the configuration file. The identification code of question 5. Change the path behind it to the gitlab address of the java source code we uploaded (this git user can access the source code and configuration file)
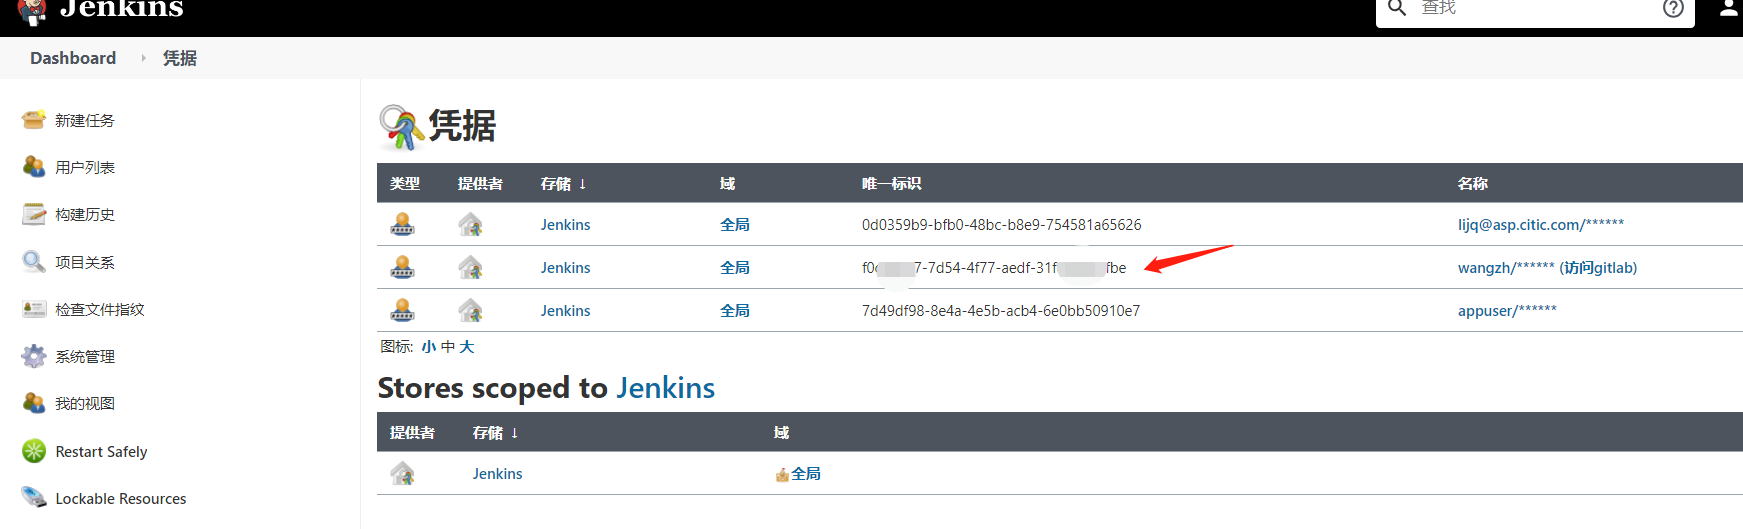
The identification code password of question 6 is the identification code of the target server user to be published, such as the appuser user published to linux. A user named appuser is added to the jenkins page. The password is the password of this user, and the password is the same as that of linux. It will be passed as a variable to the remote connection remote copy. Then look at its identification code and copy it.

FAQ: Several pits encountered
1. Problem: the deployment console reports an ERROR: Error cloning remote repo 'origin'
solve:
The GIT installation path specified by Jenkins global tool is incorrect. Change it to the path address you downloaded. It may also be that my git account only has the permission of configuration file, but not the permission of source code git warehouse (because the source code is not written by me, it is different from a gitlab). The solution is that Jenkins adds a user who has the permission of my gitlab configuration center and the permission of uploading java source code GIT.
2. The deployment console reports an error that Permission denied does not have permission, indicating that the user used by jenkins does not have permission to the corresponding file when executing the script
Solution:
1) not recommended chmod 777
2) let Jenkins execute as root or the corresponding user, for example, modify Jenkins configuration file JENKINS_USER="root"
3) enter the bin directory of tomcat as root user and give jenkins user the permission to add corresponding files
cd /home/jenkins/tomcat/bin/
chown a+x *.sh
cd /usr/local/maven/bin/
chown a+x ./*
3. Jenkins started the project and reported an error
Use ss -lntp|grep 8905 to check whether the service is up, but nacos does not find it. Check the CD / home / appuser / base service / logs / logs log. If there is no java startup log, it indicates that there is an error during startup. Kill the process and start it manually to check what the error is; It is found that rabbitmq does not have permission. It is because rabbitmq admin user is configured without sufficient permission. The solution is to change rabbitmq
#Create super administrator user
rabbitmqctl add_user admin yourPassword
#Assign the administrator role to the super administrator user
rabbitmqctl set_user_tags admin administrator
#Grant super administrator user rights
rabbitmqctl set_permissions -p / admin '.*' '.*' '.*'
4. Other issues
About 70% of the errors in configuring the environment are version problems. I tried the jdk problem, changed other versions of 1.8, tomcat problem, reduced version, maven problem, reduced version. I didn't write well for the first time. If there is a problem, please give me a lot of guarantees, ha ha