preface
This paper introduces how to make your own classifier in detail. This paper takes mask recognition as an example
1, Classifier making
1. Sample preparation
Create a mask folder in the project root directory created by pycharm

Create have in the mask folder_ Mask and no_mask is used to place positive samples, i.e. photos with masks, and negative samples, i.e. photos without masks. After searching, you can download them to the mask detection training set. I can't upload them because there are too many files here.

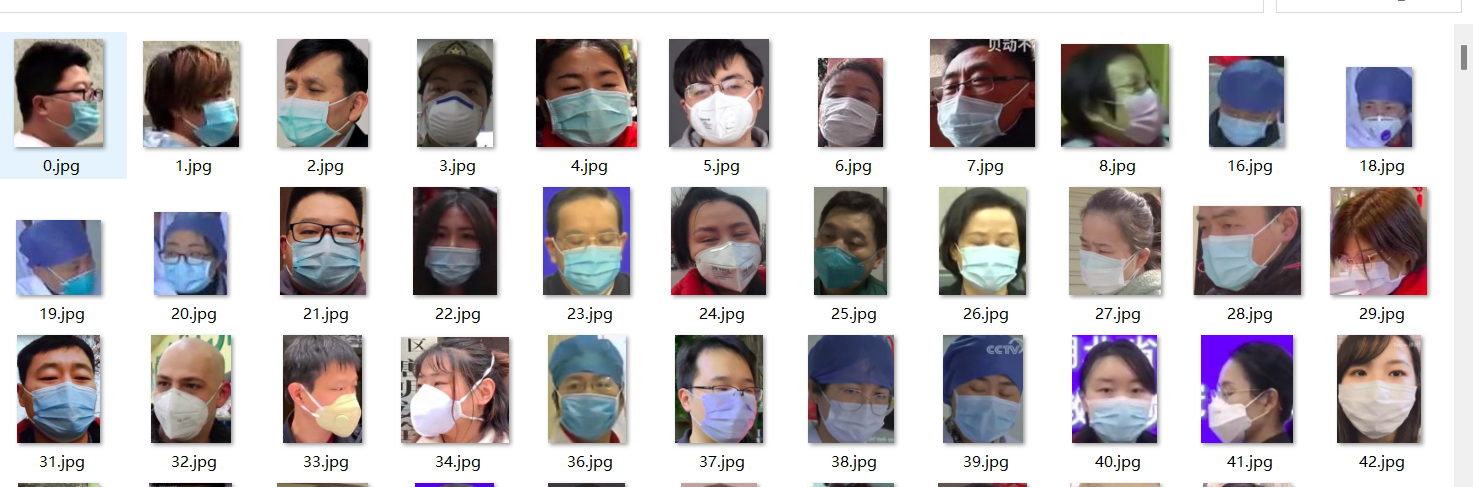
Positive sample not processed
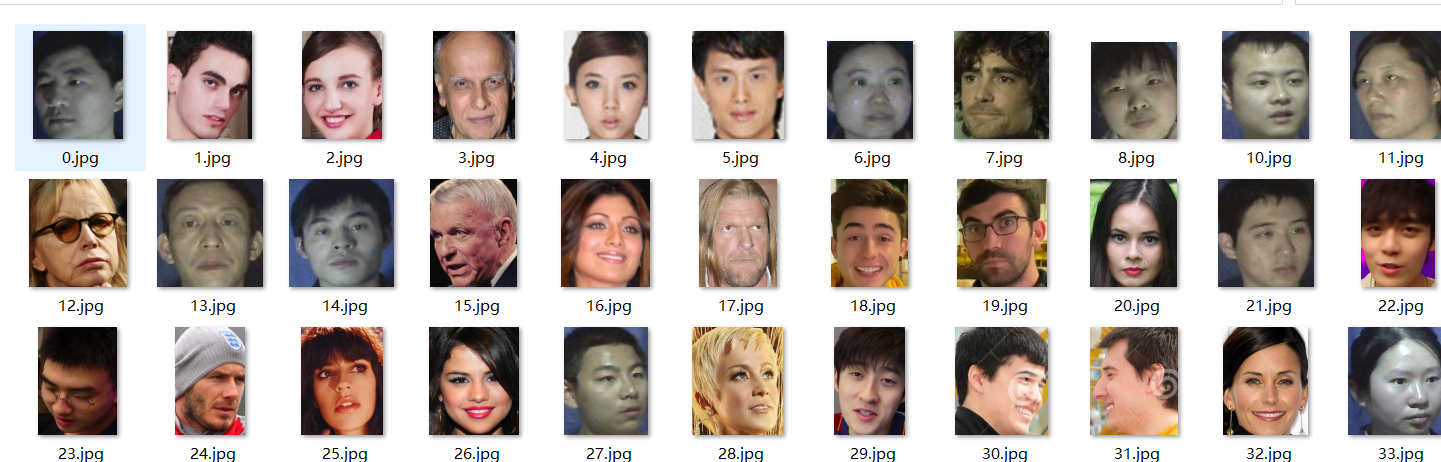
Negative sample not processed
2. Sample making
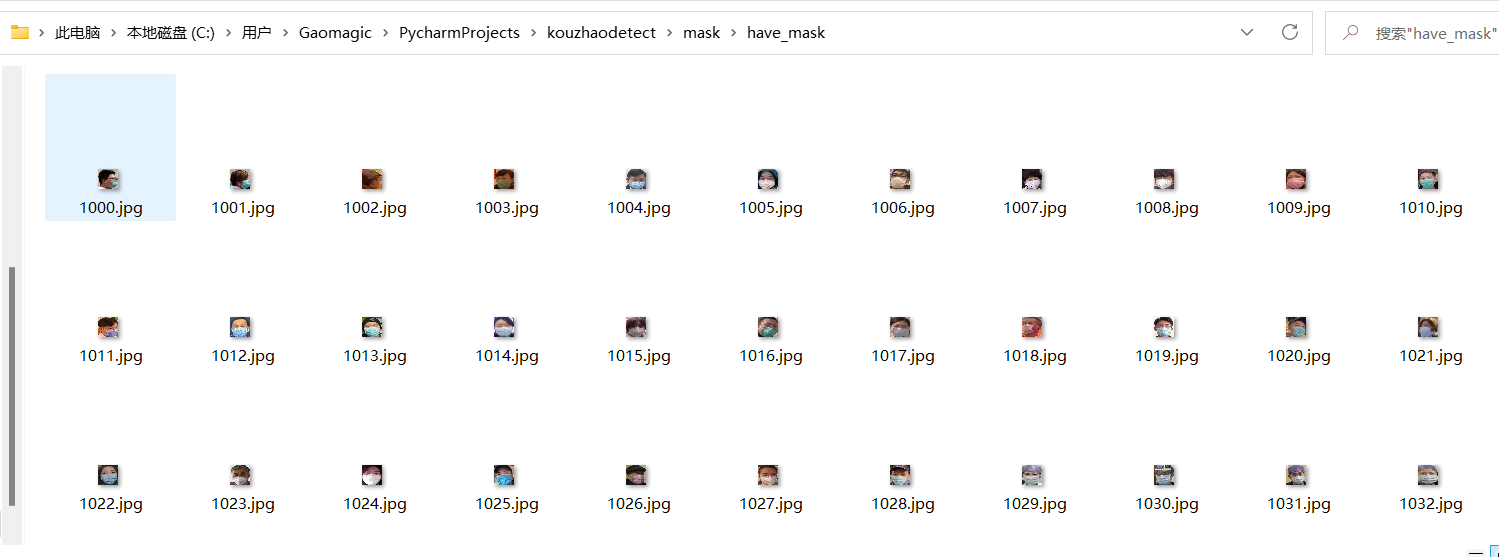
(1) Picture rename
To facilitate batch processing of samples, we need to rename the samples. Run the following to obtain positive samples named by continuous pictures beginning with 1000.
Change to the path of negative samples, and change the count to 10000 to obtain negative samples named for continuous pictures beginning with 10000
coding:utf-8
import os

path = r'C:\Users\Gaomagic\PycharmProjects\kouzhaodetect\mask\have_mask'  # Path of positive samples in face mask dataset
filelist = os.listdir(path)
count = 1000  # Start file name 1000 jpg
for file in filelist:
    Olddir = os.path.join(path, file)
    if os.path.isdir(Olddir):
        continue
    filename = os.path.splitext(file)[0]
    filetype = os.path.splitext(file)[1]
    Newdir = os.path.join(path, str(count) + filetype)
    os.rename(Olddir, Newdir)
    count += 1
(2) Modify picture pixels
import pandas as pd
import cv2

for n in range(10000, 11790):  # The number representing the beginning and end of the photo in the positive dataset
    path = r'C:\Users\Gaomagic\PycharmProjects\kouzhaodetect\mask\no_mask/' + str(n) + '.jpg'
    # Read picture
    img = cv2.imread(path)
    img = cv2.resize(img, (80, 80))  # Modify the sample pixel to 20x20
    cv2.imwrite(r'C:\Users\Gaomagic\PycharmProjects\kouzhaodetect\mask\no_mask/' + str(n) + '.jpg', img)
    n += 1
The effect after modification is as follows
Positive sample
Negative sample

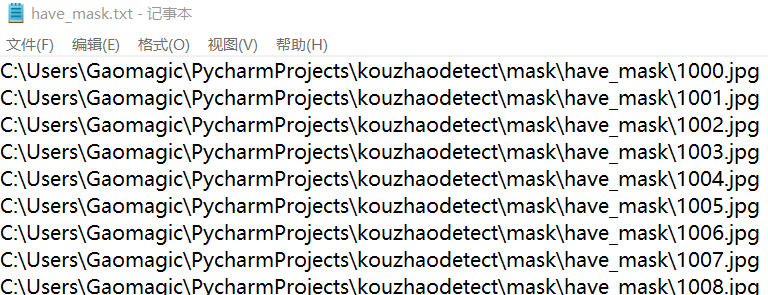
3. Generate resource record file
Press win+r and enter cmd to open the command prompt interface and enter have_mask folder

Enter the following code to create a path file
dir /b/s/p/w *.jpg > have_mask.txt
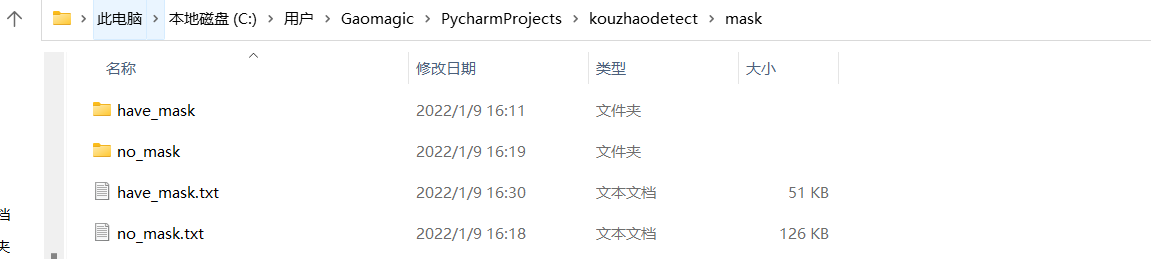
Now in have_ A have will be generated under the mask_ mask. Txt file and put it in the upper directory
For no_mask repeat the above steps
The final results are as follows
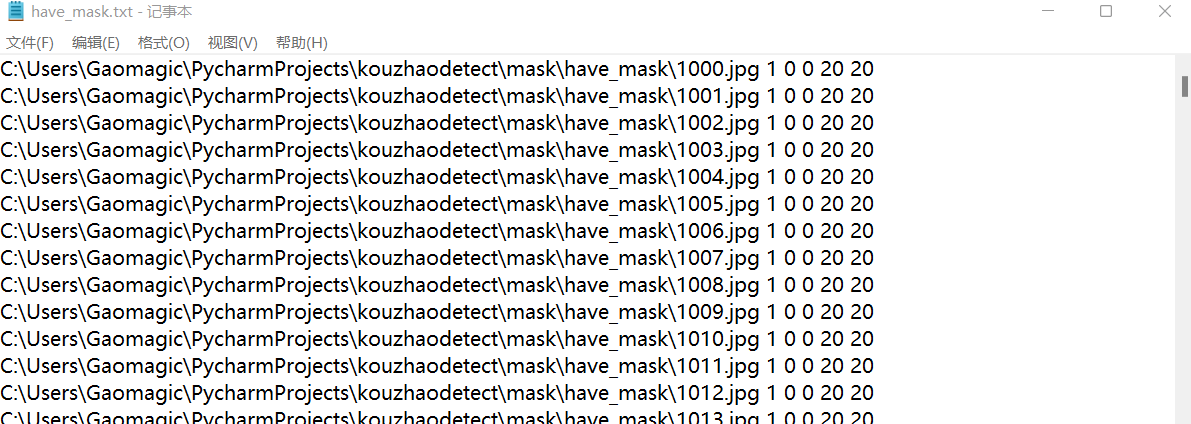
After that, the positive samples should be preprocessed in have_mask.txt add 1 0 0 20 at the end and execute the following code
coding:utf-8
Houzhui=r" 1 0 0 20 20" #suffix
filelist = open(r'C:\Users\Gaomagic\PycharmProjects\kouzhaodetect\mask\have_mask.txt','r+',encoding = 'utf-8')
line = filelist.readlines()
for file in line:
    file=file.strip('\n')+Houzhui+'\n'
    print(file)
    filelist.write(file)
Final file
4. Generate vec file
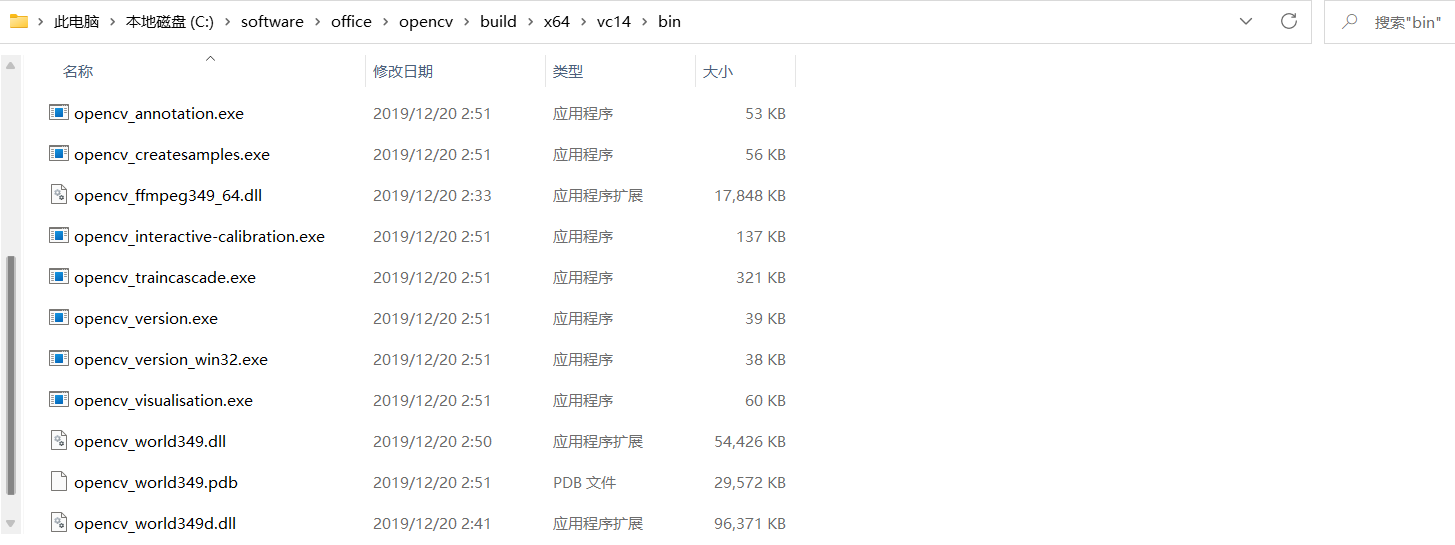
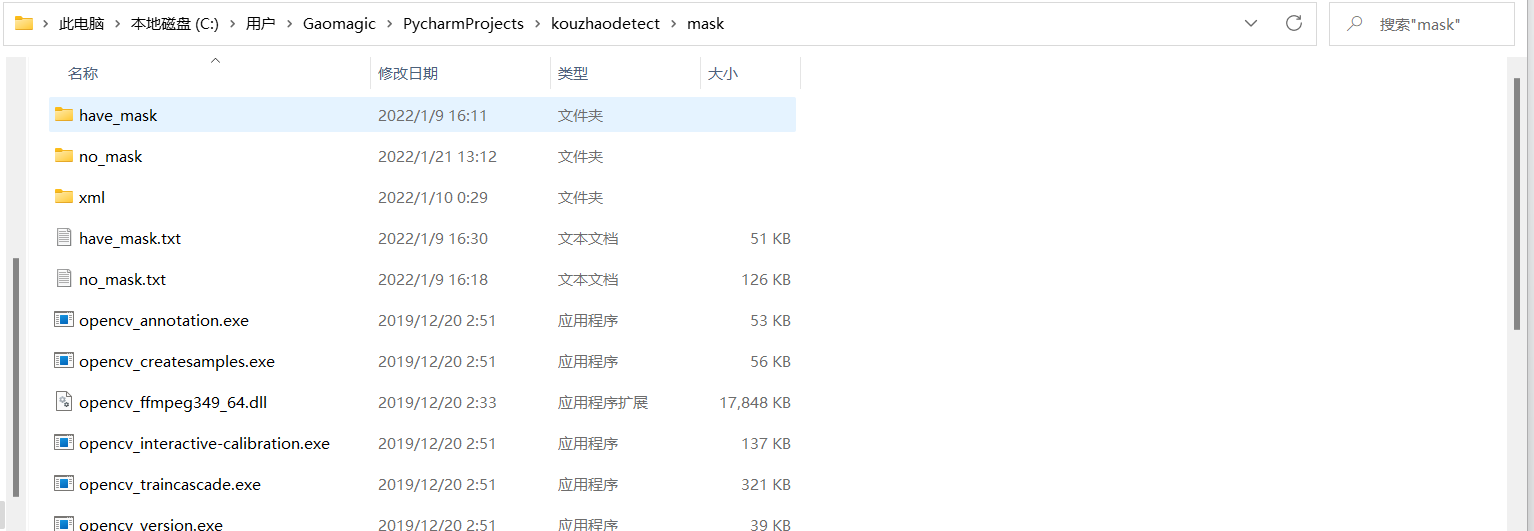
Copy the files in the following opencv package to the project mask folder, and create xml in the current folder to place the trained model
Press win+R, enter cmd to enter the command window, then enter the mask folder, and then enter the following command:
opencv_createsamples.exe -vec havemask.vec -info have_mask.txt -num 400 -w 20 -h 20
Get havemask VEC file

5. Training model
Create a new text file in the current folder and add the following code
opencv_traincascade.exe -data xml -vec havemask.vec -bg no_mask.txt -numPos 250 -numNeg 500 -numStages 20 -w 20 -h 20 -mode ALL

pause
Modify the file name to start bat

Open start Bat start training model
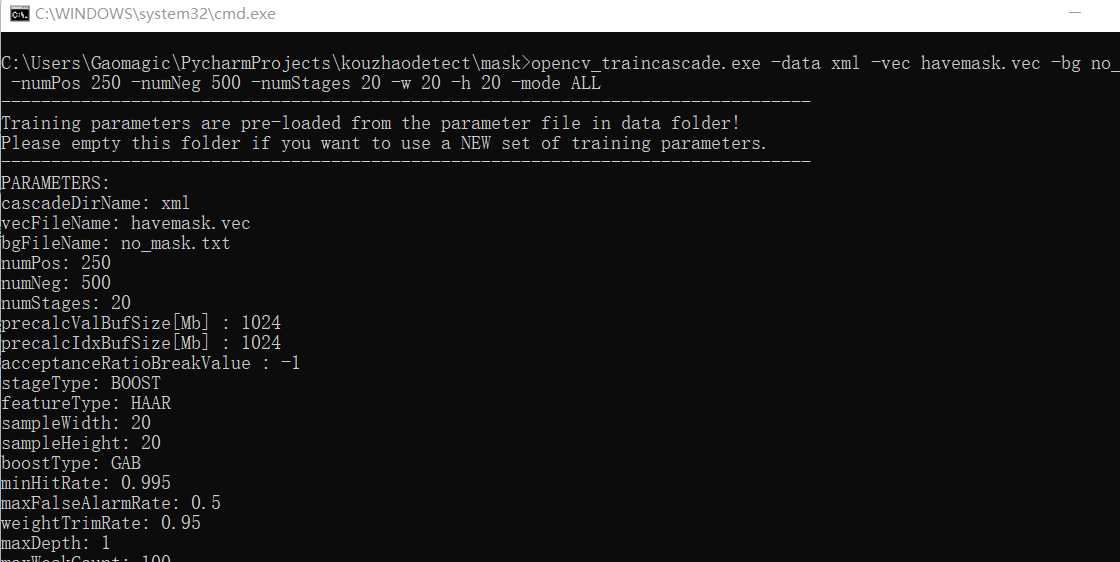
The training time is determined according to the number of training samples. The proportion of my training is 250:500, which is expected to last about half an hour
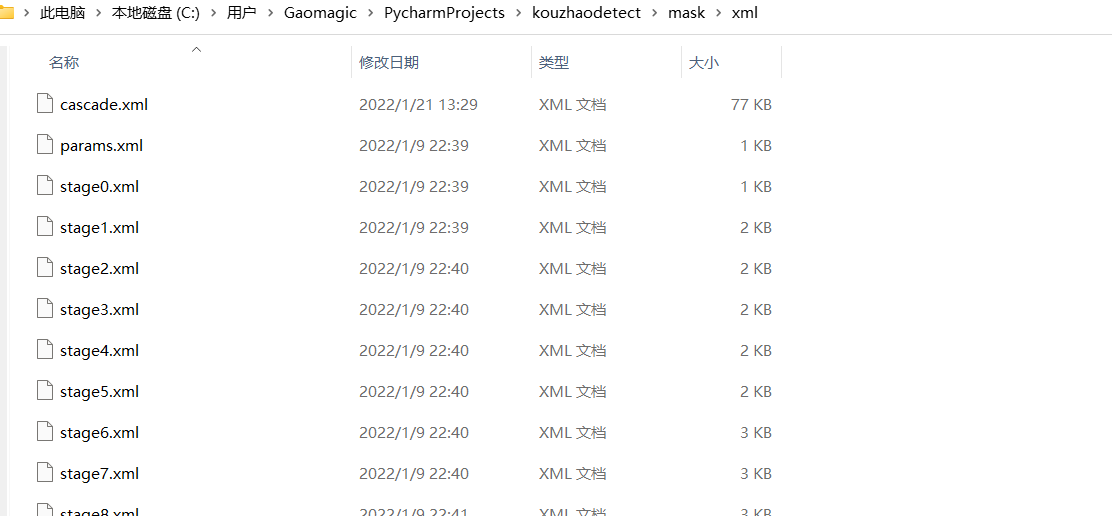
After the training, you can see the following files under the xml file. The first file is our trained classifier
2, Test classifier
Enter the following code
import cv2

detector = cv2.CascadeClassifier(r'C:\Users\Gaomagic\PycharmProjects\kouzhaodetect\mask\xml\haarcascade_mcs_nose.xml')
mask_detector = cv2.CascadeClassifier(r'C:\Users\Gaomagic\PycharmProjects\kouzhaodetect\mask\xml\cascade.xml')
cap = cv2.VideoCapture(0)
while True:
    ret, img = cap.read()
    gray = cv2.cvtColor(img, cv2.COLOR_BGR2GRAY)
    nose = detector.detectMultiScale(gray, 1.1, 3)
    if ret:
        for (x, y, w, h) in nose:
            face = img[y:y + h, x:x + w]
            mask_face = mask_detector.detectMultiScale(gray, 1.1, 5)
            cv2.rectangle(img, (x, y), (x + w, y + h), (0, 0, 255), 2)
            cv2.putText(img, "no_mask", (x, y), cv2.FONT_HERSHEY_SIMPLEX, 1, (0, 0, 255), 2)
            for (x2, y2, w2, h2) in mask_face:
                cv2.rectangle(img, (x2, y2), (x2 + w2, y2 + h2), (0, 255, 0), 2)
                cv2.putText(img, "have_mask", (x2, y2), cv2.FONT_HERSHEY_SIMPLEX, 1, (0, 255, 0), 2)
        cv2.imshow('mask', img)
        cv2.waitKey(3)

cap.release()
cv2.destroyAllWindows()
The following test results are obtained
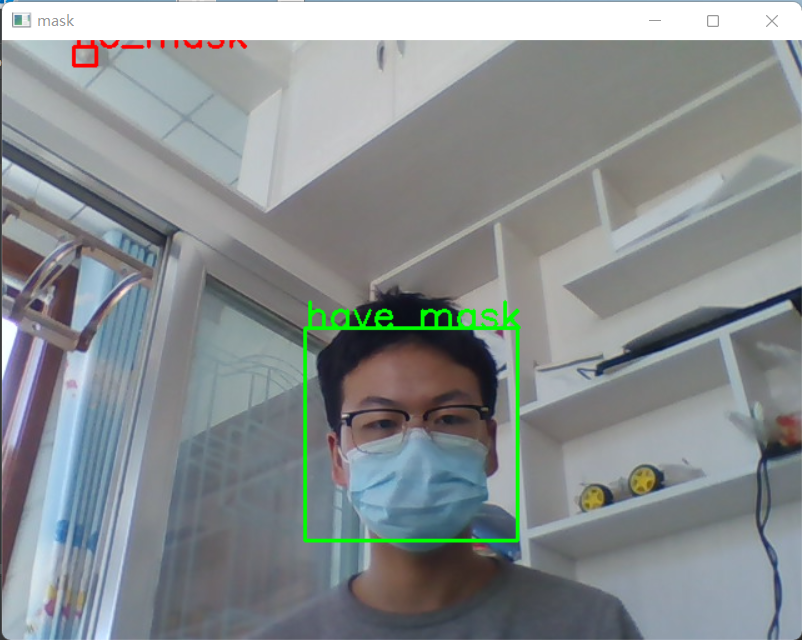
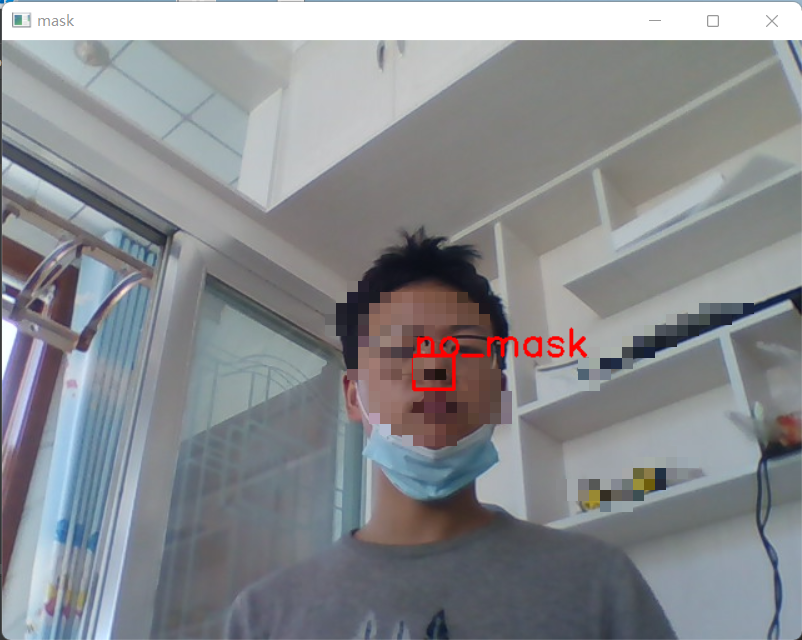
The training accuracy is not very high. When nose recognition is detected, it means that you don't wear a mask.
summary
Taking mask recognition as an example, this paper describes how to make your own classifier