Note: when the mobile phone (APP) is turned on, the content will be better displayed, and only private chat bloggers who will not talk can do so (refer to HTML5 introduction to mastery for the structure of knowledge points)
If you want to take the code or join the learning plan (* * the blogger will supervise you and teach you to write articles * *), pull it to the bottom (the Web on the PC side is opened) and add the blogger, and the directory is also at the bottom.
Participation 1_ Remember the link of this column on the machine when the front-end learning plan of bit blogger sends a document. An example is as follows:
I have joined 1_ Free front-end of bit blogger, stand up learning plan, column link: https://blog.csdn.net/a757291228/category_11609526.html
1, Use of forms
1.1 text style
🐶 1_bit: in the last section, we learned the style of tables. In this section, we learn the style of words and pictures. In the previous section, we learned from the table that the style setting needs some specific attributes. In this section, the text style and picture style are also changed through the corresponding attributes.
👸 Xiaoyuan: through the study in the previous section, I think I already know the use of styles. As long as I know the giving of attributes and corresponding values, it's basically OK.
🐶 1_bit: Well, now that we have learned about the title tag h, we only need to give an attribute align to align it, such as center, left, right, as shown in the following example.
<h1 align="center">Zhang Xiaofan's interesting life</h1>
<p align="center">My life is very interesting, very interesting, very interesting, very interesting...How interesting is it? It's just very interesting, very interesting, very interesting...</p>

🐶 1_bit: the content of this page will be displayed in the center.
👸 Xiaoyuan: can you also set left and right attributes?
🐶 1_bit: Yes, isn't it very simple?
👸 Xiaoyuan: Yes.
1.2 fonts
🐶 1_bit: we can also set the font and use the face attribute, such as the following example.
<h1 align="center">Zhang Xiaofan's interesting life</h1>
<p align="center">
    <font face="Blackbody">
        My life is very interesting, very interesting, very interesting, very interesting...How interesting is it? It's just very interesting, very interesting, very interesting...
    </font>
</p>
👸 Xiaoyuan: eh? What label is this font?
🐶 1_bit: this font is a font label. We can use the font label to set the font, color and size of its internal text. For example, the following example.
<h1 align="center">Zhang Xiaofan's interesting life</h1>
<p align="center">
    <font face="Blackbody" size="5" color="red">
        My life is very interesting, very interesting, very interesting, very interesting...How interesting is it? It's just very interesting, very interesting, very interesting...
    </font>
</p>

👸 Xiaoyuan: Wow, I see. I feel I can make rainbow text display.
🐶 1_bit: hahaha, you can try. We can also set superscript sup tag and subscript sub tag, for example, the following code example.
<h1 align="center">Zhang Xiaofan's interesting life</h1>
<p align="center">
	 <font face="Blackbody" size="5" color="red">
	     My life is very interesting, very interesting, very interesting, very interesting...How interesting is it? It's just very interesting, very interesting, very interesting...
	 </font>
	 <p>
	     My happiness is like<font color>happy<sup>999</sup>*happy<sub>999</sub></font>equally
	 </p>
</p>

👸 Xiaoyuan: hahaha, it's very interesting. I learned it.
1.3 strikeout, italics, bold
🐶 1_bit: of course, you can also use strikethrough label s, italic label i and bold label b.
<h1 align="center">Zhang Xiaofan's interesting life</h1>
<p align="center">
    <font face="Blackbody" size="5" color="red">
        My life is very interesting, very interesting, very interesting, very interesting...How interesting is it? It's just very interesting, very interesting, very interesting...
    </font>
    <p>
        My happiness is like<font color>happy<sup>999</sup>*happy<sub>999</sub></font>equally
    </p>
    <p>
        My happiness is like<s><font color>happy<sup>999</sup>*happy<sub>999</sub></s></font>
        <b>equally</b>
        <i>equally</i>
    </p>
</p>

1.4 no line breaks
👸 Xiaoyuan: is there any other operation method of words?
🐶 1_bit: you can also set a line not to wrap, and use the nobr tag. Where the br tag is to wrap, then nobr is not to wrap, for example.
<h1 align="center">Zhang Xiaofan's interesting life</h1>
    <p align="center">
        <font face="Blackbody" size="5" color="red">
            <nobr>
                My life is very interesting, very interesting, very interesting, very interesting...How interesting is it? It's just very interesting, very interesting, very interesting...My life is very interesting, very interesting, very interesting, very interesting...How interesting is it? It's just very interesting, very interesting, very interesting...My life is very interesting, very interesting, very interesting, very interesting...How interesting is it? It's just very interesting, very interesting, very interesting...My life is very interesting, very interesting, very interesting, very interesting...How interesting is it? It's just very interesting, very interesting, very interesting...My life is very interesting, very interesting, very interesting, very interesting...How interesting is it? It's just very interesting, very interesting, very interesting...My life is very interesting, very interesting, very interesting, very interesting...How interesting is it? It's just very interesting, very interesting, very interesting...My life is very interesting, very interesting, very interesting, very interesting...How interesting is it? It's just very interesting, very interesting, very interesting...My life is very interesting, very interesting, very interesting, very interesting...How interesting is it? It's just very interesting, very interesting, very interesting...
            </nobr>
        </font>
        <p>
            My happiness is like<font color>happy<sup>999</sup>*happy<sub>999</sub></font>equally
        </p>
        <p>
            My happiness is like<s><font color>happy<sup>999</sup>*happy<sub>999</sub></s></font>
            <b>equally</b>
            <i>equally</i>
        </p>
    </p>
👸 Xiaoyuan: I see.
🐶 1_bit: then let's take a look at the use of picture labels.
👸 Xiaoyuan: OK.
2, Picture
2.1 use of basic picture labels
Next, let's start to learn the use of picture labels img.
OK, I've learned a little before.
The picture tag uses img and can use conventional picture formats, such as jpg, gif, png, etc. a simple picture is shown in the following example.
<img src="./img/1.png">
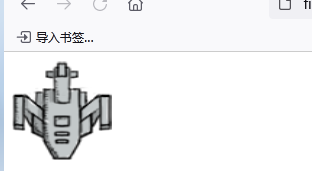
Where src represents the source of the current picture, and its value is the corresponding path. Generally speaking, if the width and height of the whole image are not limited, the image will be displayed in the proportion of the original image in the web page. Sometimes it is too large in the web page. At this time, you can set the specific size for the height and width, such as the following example.
<img width="100" height="100" src="./img/1.png">
2.2 picture border
Can I add a border?
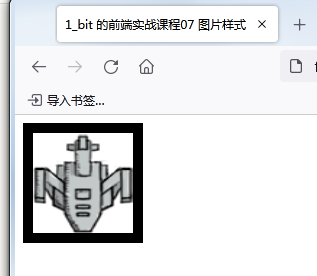
Of course, for example, the following example uses border to add a border to the picture.
<img border="10" width="100" height="100" src="./img/1.png">
2.3 horizontal and vertical distance of picture
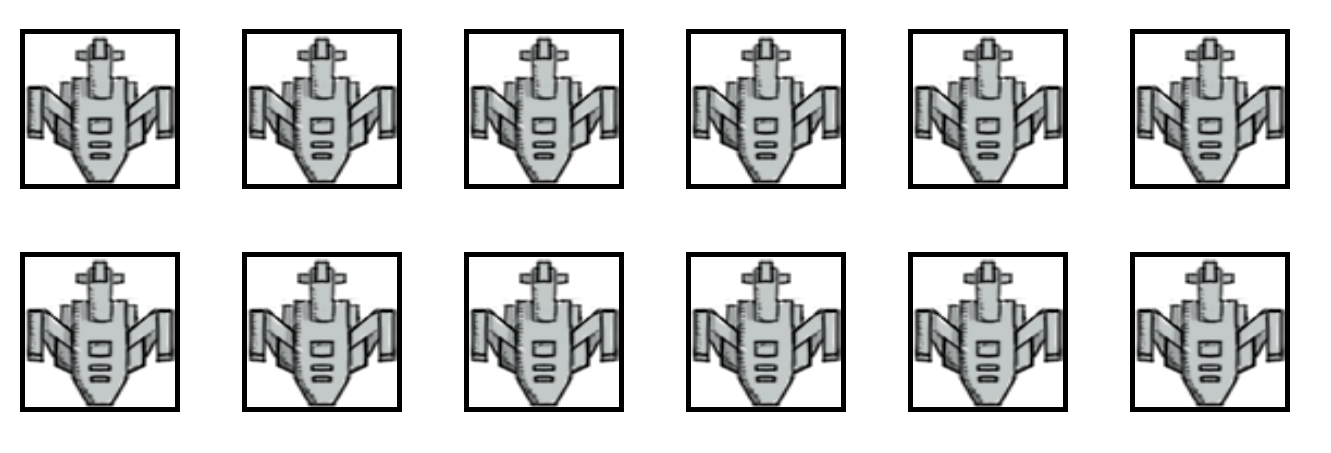
If there are multiple pictures, we can set the horizontal spacing hspace or vertical spacing vspace of their pictures, such as the following code.
<img hspace="60" vspace="60" border="10" width="300" height="300" src="./img/1.png">
<img hspace="60" vspace="60" border="10" width="300" height="300" src="./img/1.png">
<img hspace="60" vspace="60" border="10" width="300" height="300" src="./img/1.png">
<img hspace="60" vspace="60" border="10" width="300" height="300" src="./img/1.png">
<img hspace="60" vspace="60" border="10" width="300" height="300" src="./img/1.png">
<img hspace="60" vspace="60" border="10" width="300" height="300" src="./img/1.png">
<img vspace="60" hspace="60" border="10" width="300" height="300" src="./img/1.png">
<img vspace="60" hspace="60" border="10" width="300" height="300" src="./img/1.png">
<img vspace="60" hspace="60" border="10" width="300" height="300" src="./img/1.png">
<img vspace="60" hspace="60" border="10" width="300" height="300" src="./img/1.png">
<img vspace="60" hspace="60" border="10" width="300" height="300" src="./img/1.png">
<img vspace="60" hspace="60" border="10" width="300" height="300" src="./img/1.png">
I suddenly remembered that sometimes when the mouse moves to the picture, the text will be displayed. How to do this?
2.4 picture text
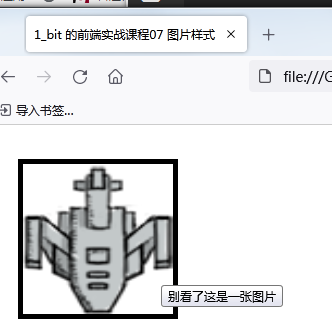
You only need to add a title tag, such as the following example.
<img title="Don't look. This is a picture" hspace="60" vspace="60" border="10" width="300" height="300" src="./img/1.png">
I see. There's another one. I remember that sometimes when the picture can't be displayed, a text will be displayed. How to do this?
This only needs to add an alt attribute, such as the following example.
<img alt="aircraft" title="Don't look. This is a picture" hspace="60" vspace="60" border="10" width="300" height="300" src="./img/1.png">

i see.
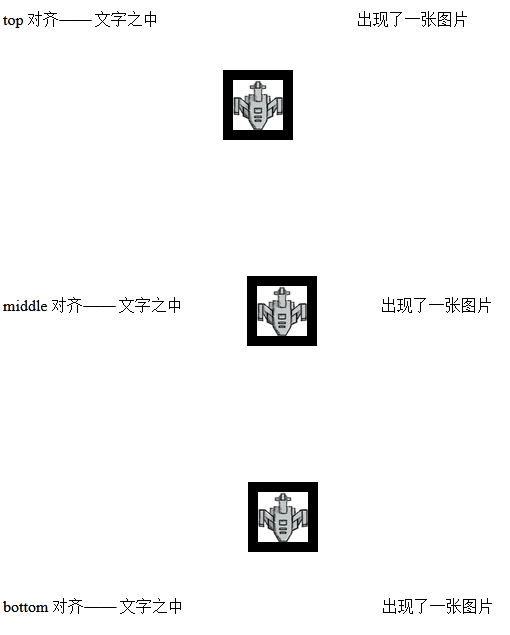
2.5 picture text alignment
We can also add the corresponding alignment when the picture and text appear together, such as the following code example.
<p>
    top Align——
    In words
    <img align="top" alt="aircraft" title="Don't look. This is a picture" hspace="60" vspace="60" border="10" width="50" height="50" src="./img/1.png">
    A picture appears
</p>

<p>
    middle Align——
    In words
    <img align="middle" alt="aircraft" title="Don't look. This is a picture" hspace="60" vspace="60" border="10" width="50" height="50" src="./img/1.png">
    A picture appears
</p>

<p>
    bottom Align——
    In words
    <img align="bottom" alt="aircraft" title="Don't look. This is a picture" hspace="60" vspace="60" border="10" width="50" height="50" src="./img/1.png">
    A picture appears
</p>
I see. I see.
catalogue
[first stage of front-end employment course] HTML5 zero foundation to actual combat (VII) text and picture styles
[first stage of front-end employment course] HTML5 zero foundation to actual combat (VI) table explanation
[first stage of front-end employment course] HTML5 zero foundation to actual combat (V) basic elements
[first stage of front-end employment course] HTML5 zero foundation to actual combat (IV) pseudo categories and pseudo elements
[first stage of front-end employment course] HTML5 zero foundation to actual combat (III) an introduction to CSS Foundation
[first stage of front-end employment course] HTML5 zero foundation to actual combat (II) hyperlink
[first stage of front-end employment course] HTML5 zero foundation to actual combat (I) detailed explanation of basic code structure