Cause: when implementing a system, we need to add the scratch crawler framework, which involves multiple crawlers. Originally, we just wanted to simply start the crawler. We refer to the fifth link, but it is still inconvenient. Later, we learned that scratch can manage crawlers, such as modify, delete, add, run, etc., so we introduced the scratch service.
This paper involves introducing the scratch crawler into the django project, writing the crawler data into the database in django, and using the scratch service to manage the scratch crawler.
reference resources:
How to run the scratch framework in django
django builds an integrated script of Blog
Run the Scrapy project in the Django project
Django+Scrapy is used in combination and crawls data into storage
Scrapy runs multiple crawlers
1. Install the scratch
 pip install scrapyd
 pip install scrapyd-client
After installing scrapd in windows, you also need to implement a bat script, because there is a scrapd deploy (no extension) in the scripts file in the python installation directory. This file is a startup file, but it cannot run under windows. Create a directory named scratch deploy. In the above-mentioned scratch deploy peer directory Bat file, as follows:
@echo off

"D:\Anaconda3\python.exe" "D:\Anaconda3\Scripts\scrapyd-deploy" %1 %2 %3 %4 %5 %6 %7 %8 %9
Note: the first path is python Exe path. The second is the path of the scrapd deploy file.
2. Deploy scrapd
2.1. Create a new scratch file in the root directory of Django project (used to deploy the scratch project).
2.2. Create a new scratch project in the root directory of Django project or copy the existing scratch project to the root directory of Django project.
2.3. Edit the scene under the scene item Cfg file
[settings]
default = example.settings#settings path of the root directory of the scratch subdirectory

[deploy:test]
url = http://localhost:6800/
project = example#Scratch sub root name
Note: deploy is followed by the deployment name here, just take it, and project is the project name.
2.4. Enter the scratch path in the terminal interface and execute the command "scratch" (in fact, start the scratch service)
2.5. Enter the root directory of the scratch project and publish the project to scratch (the parameters here must be consistent with the configuration in cfg)
scrapyd-deploy target -p project
-
target: Department signature
-
Project: project name
If it is not deployed in the root directory of the scratch project, an error will be reported and the project cannot be found

-
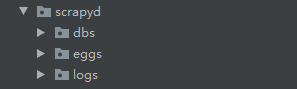
There will be three more folders in the scrapd directory (at first, there seems to be only two, but there are no logs)
2.6. Browser address bar entry http://127.0.0.1:6800/
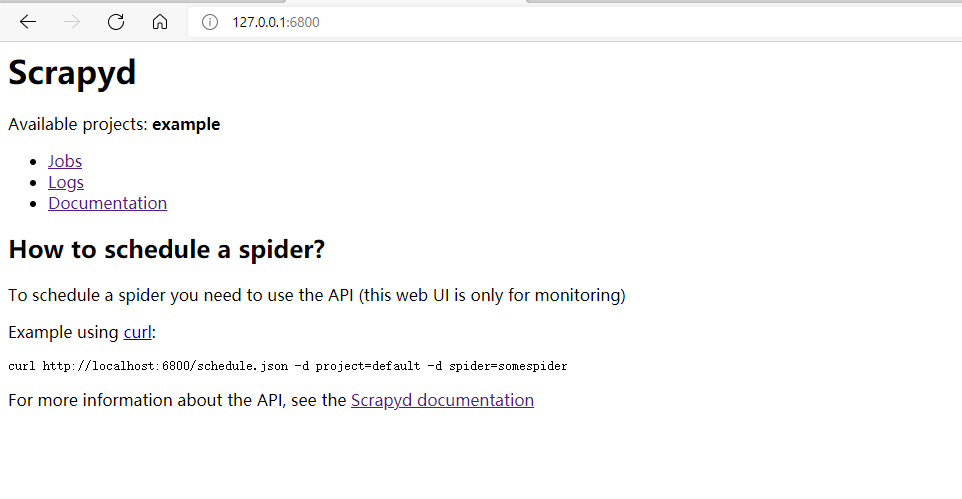
You can see the available project example, which indicates that the deployment is successful.
3. Configure Django interactive environment in the scene project
You can also deploy the scratch service after configuring the scratch crawler project.
3.1. In the scene item settings Configure django interactive environment in py (added in the previous lines)
import os
import sys
sys.path.append(os.path.dirname(os.path.abspath('.')))
os.environ['DJANGO_SETTINGS_MODULE'] = 'Django.settings'#settings path of django sub root directory
# Manually initialize Django:
import django
django.setup()
3.2. item. Django model class is introduced into py
import scrapy
from scrapy_djangoitem import DjangoItem
from son app import models

class Spider1Item(DjangoItem):#Corresponding to a reptile
	django_model = models.Table name
3.3. pipelines. Calling save() in PY
class Spider1Pipeline(object):
    def process_item(self, item, spider):
        print('Open database')
        item.save() # The data will be automatically added to the specified table
        #print('close database ')
        return item
After the crawler is started, the data will be written to the database.
3.4. Start a crawler on the server (it needs to be a crawler deployed to the server)
curl statement
curl http://localhost:6800/scedule.json -d project = project name - d spider = crawler name
python statement, which can be used for the django button to start the crawler
import requests
req=requests.post(url="http://localhost:6800/schedule.json",data={"project":"example","spider":"book"})
If you do not use the scrapd service, but want to start multiple crawlers in django at the same time, you can also create a run Py file, here is the fifth link.
#reference resources https://www.cnblogs.com/wuzhiblog/p/scrapy_run_spiders.html
from scrapy.crawler import CrawlerProcess
from scrapy.utils.project import get_project_settings

# Get CrawlerProcess instance according to project configuration
process = CrawlerProcess(get_project_settings())

# Add crawler to execute
process.crawl('spider1')
process.crawl('spider2')
process.crawl('spider3')

# implement
process.start()