Configure Nginx hidden version number
■ hide the Nginx version number to avoid security vulnerabilities
■ how to hide the version number of Nginx
● modify the configuration file method
● modify the source code method
Modify profile method
Add Nginx configuration file to server_ The value of the tokens option is set to off
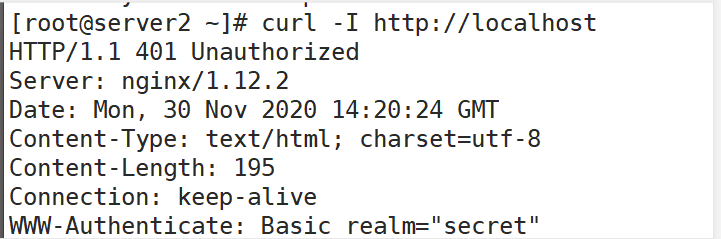
Before hiding:
Modify profile
ln -s /usr/local/nginx/conf/nginx.conf /etc/ //Soft connection
vi /etc/nginx.conf
http {
include mime.types;
default_type application/octet-stream;
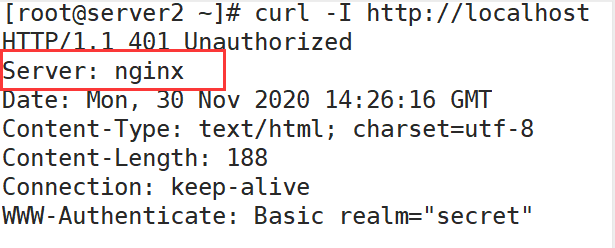
server_tokens off;

Restart the service, visit the website and use curl -I command to detect
systemctl stop nginx.service
systemctl start nginx.service
curl -I http://localhost
Modified source code method
Modify profile
vi /etc/nginx.conf
http {
    include       mime.types;
    default_type  application/octet-stream;
    server_tokens on;                                    //open

vi nginx-1.12.2/src/core//nginx.h
#define nginx_ Version 1111222 / / release time
#define NGINX_ Version "1.1.1" / / modify the version number
#define NGINX_VER          "IIS/i" NGINX_VERSION / / build the server software

Recompile installation
systemctl stop nginx
cd nginx-1.12.2/
make && make install
Restart the service, visit the website and use curl -I command to detect
systemctl start nginx.service
curl -I http://localhost

Modify Nginx users and groups
■ Nginx runtime process needs the support of users and groups to realize access control when reading website files
■ Nginx uses nobody user account and group account by default
■ method of modification
● specify users and groups during compilation and installation
./configure --user=nginx --group=nginx
● modify the configuration file to specify users and groups
vi /etc/nginx.conf

View users and groups
ps aux | grep nginx

Configure Nginx web page cache time
■ after Nginx returns the web page data to the client, the cache time can be set to facilitate the direct return of requests for the same content in the future, so as to avoid repeated requests and speed up the access speed
■ it is generally set for static web pages, and the cache time is not set for dynamic web pages
■ setting method
● modify the configuration file and add expiration parameters for specific contents in http section, server section or location section
give an example
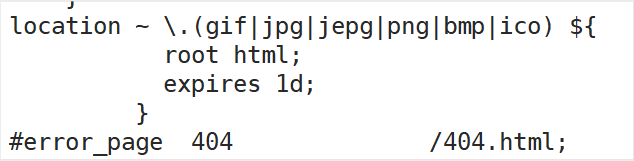
● modify the configuration file of Nginx and add the expires parameter in the location section
Enter the configuration file and modify relevant parameters
vi /etc/nginx.conf
 location ~ \.(gif|jpg|jepg|png|bmp|ico) ${
                   root html;
                   expires 1d;
                 }
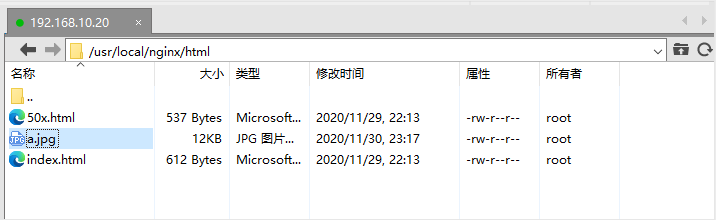
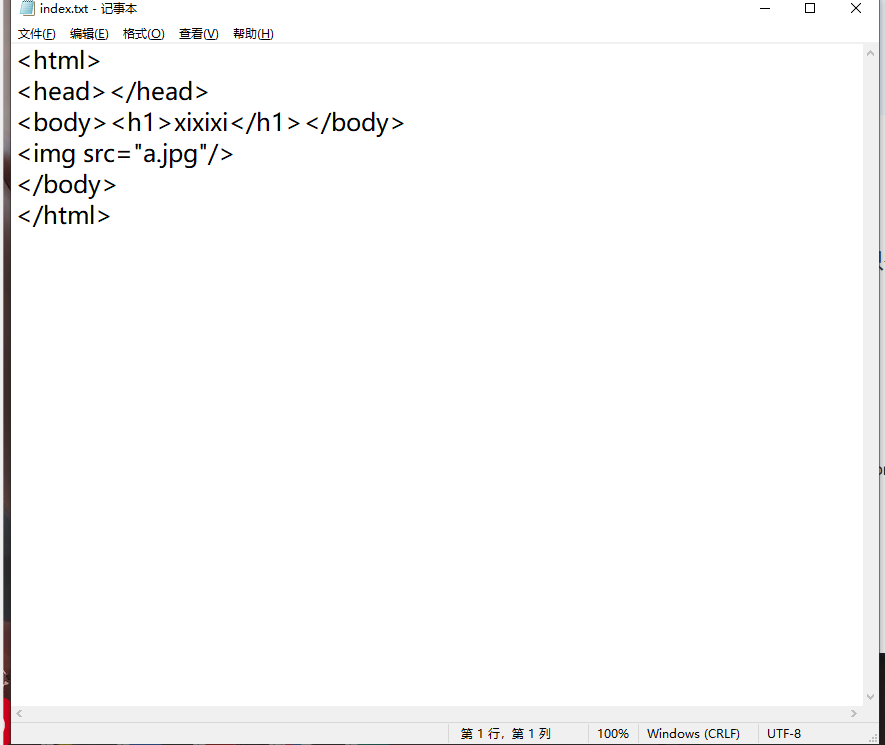
Transfer files to directory
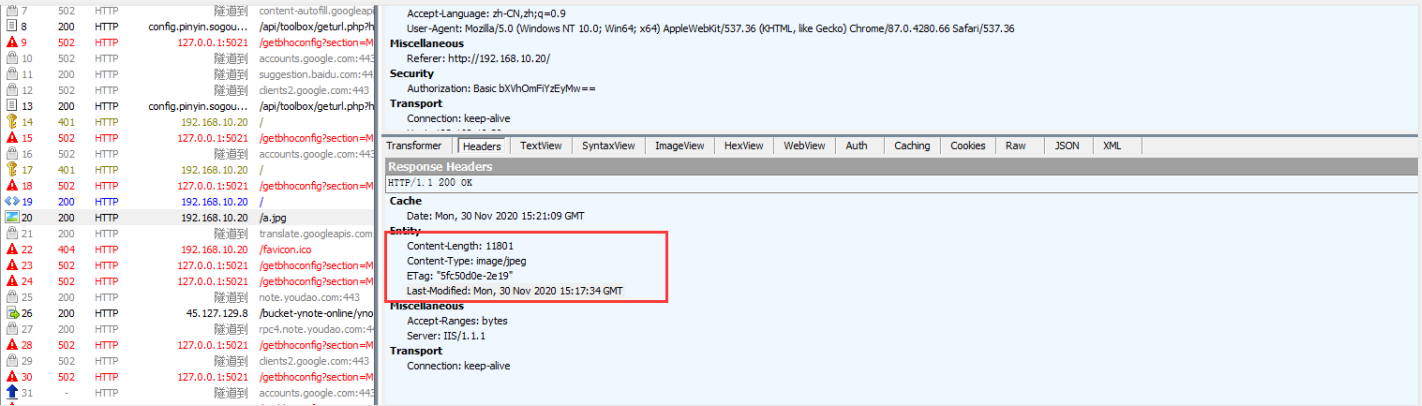
cd /usr/local/nginx/html/
vi index.html
<img src="a.jpg" />:
Packet capture view
Log cutting of Nginx
■ as the running time of Nginx increases, the log will also increase. In order to easily grasp the running status of Nginx, you need to pay attention to the Nginx log file at all times
■ too large log files are a disaster for monitoring
● regularly cut the log files
■ Nginx itself does not have the function of log segmentation processing, but the automatic cutting of logs can be realized through the script of Nginx signal control function
■ log cutting is carried out periodically through the planned tasks of Linux
■ the idea of writing script for log cutting
● set time variable
● set the path to save the log
● rename the current log file
● rebuild new log files
● delete log files that take too long
● set cron tasks, execute scripts regularly, and automatically split logs
give an example
cd /usr/local/nginx/logs/
vi fg.sh
#!/bin/bash
#Log segmentation
d=$(date -d "-1 day" "+%Y-%m-%d")
logs_path="/var/log/nginx"
pid_path="/usr/local/nginx/logs/nginx.pid"
[ -d $logs_path ] || mkdir $logs_path
mv /usr/local/nginx/logs/access.log ${logs_path}/aa.com.access.log-$d
kill -HUP $(cat $pid_path)
find $logs_path -mtime +60 | xargs rm -rf
chmod +x fg.sh
./fg.sh
cd /var/log/nginx
ls -lh

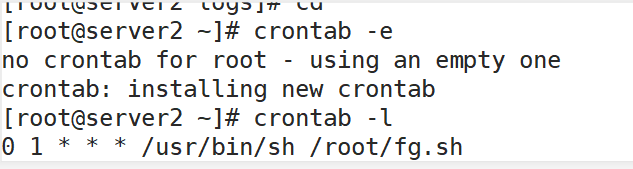
Set the crontab task and execute the script for automatic log segmentation at 1:00 every day
Create log
crontab -e
0 1 * * * /usr/bin/sh /root/fg.sh

see
crontab -l
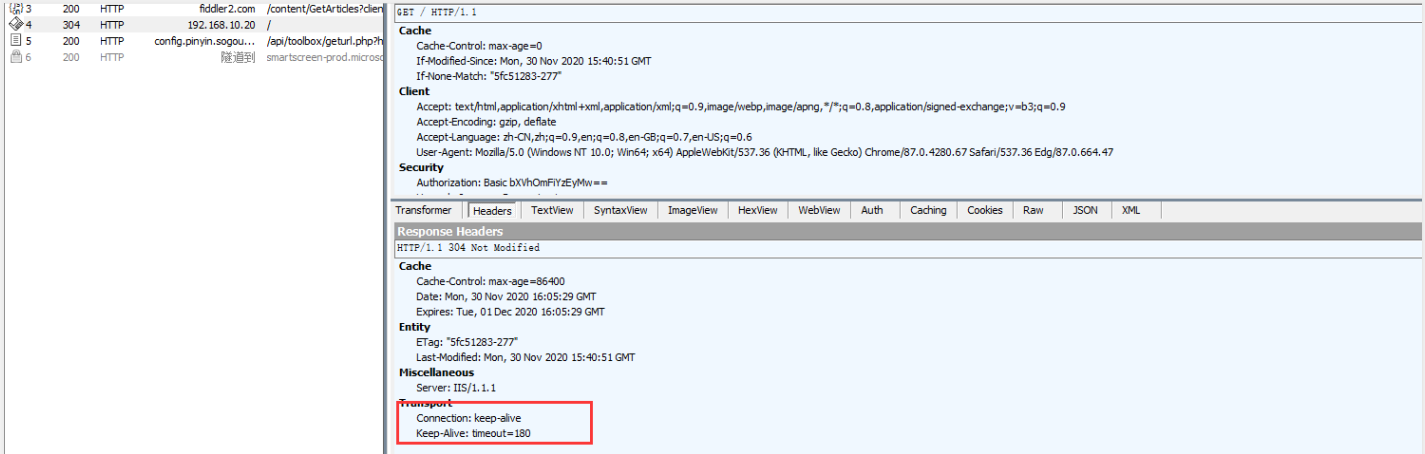
Configure Nginx to realize connection timeout
■ in order to prevent the same client from occupying the connection for a long time and causing waste of resources, the corresponding connection timeout parameters can be set to control the connection access time
■ timeout parameters
● Keepalive_timeout
◆ set the connection retention timeout
● Client_header_timeout
◆ specify the timeout time for waiting for the client to send the request header
● Client_body_timeout
◆ set the request body read timeout
■ request has a request body only if it is post, and get has no request body, which directly follows "get"? The request header is generally used to store some cookie s and token information;
A Cookie is a simple text file saved in the client. This file is associated with a specific Web document and saves the information when the client accesses the Web document. When the client accesses the Web document again, this information can be used by the document. Because "Cookie" has a magical feature that can be saved on the client, it can help us realize the function of recording users' personal information without using complex CGI and other programs. For example, a Web site may generate a unique ID for each visitor and save it on each user's machine in the form of a Cookie file. If you use a browser to access the Web, you will see all cookies saved on your hard disk. In this folder, each file is a text file composed of "name / value" pairs, and another file holds the information of all corresponding Web sites. Each Cookie file here is a simple and ordinary text file. Through the file name, you can see which Web site has placed cookies on the machine (of course, the site information is also saved in the file).
● introduction of Token: token is that the client frequently requests data from the server, and the server frequently goes to the database to query and compare the user name and password, judge whether the user name and password are correct, and give corresponding prompts. In this context, token came into being.
● definition of Token: a token is a string generated by the server as a token requested by the client. After the first login, the server generates a token and returns the token to the client. In the future, the client only needs to bring the token to request data without bringing the user name and password again.
● purpose of using Token: the purpose of Token is to reduce the pressure of the server, reduce frequent database query and make the server more robust. The request body is generally used to store post parameters and parameter data
give an example
vim /usr/local/ nginx/conf/nginx. conf
http {
...
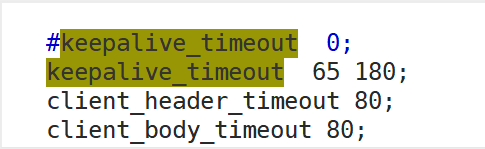
keepalive_timeout 65 180; //The previous parameter is the timeout time for the server to actively shut down, and the latter parameter is the time for the client browser to actively shut down
client_header_timeout 80; //Waiting for the client to send the request header timeout will send 408 error
client_body_timeout 80; //Set the timeout time for the client to send the request body
...
}
Packet capture view
Change the number of Nginx running processes
■ in high concurrency scenarios, more Nginx processes need to be started to ensure fast response, so as to process user requests and avoid blocking
■ configuration method for changing the number of processes
● modify the configuration file and process configuration parameters
■ modify the worker of the configuration file_ Processes parameter
● it is generally set as the number of CPU s or cores
● in case of high concurrency, it can be set to twice the number of CPU s or cores
■ increasing the number of processes can reduce the overhead of the system and improve the service speed
■ by default, multiple processes of Nginx may run on one CPU, and different processes can be allocated to different CPUs for processing, making full use of hardware multi-core and multi CPU
■ use ps aux to check the change of the number of running processes
■ change the process number configuration
● cat /proc/cpuinfo | grep -c "physical" / / retrieve the number of cpu cores
ps aux | grep nginx / / a main process contains a child process
vim /usr/ local/nginx/ conf/nginx. conf
worker_processes 2; // Change to the same or twice the number of cores
worker_cpu_affinity 01 10; // Set each process to be processed by a different CPU
give an example
cat /proc/cpuinfo | grep -c "physical"

vi /etc/nginx.conf
user  nginx nginx;
worker_processes  8;
worker_cpu_affinity 00000001 00000010 00000100 00001000 00010000 00100000 01000000 10000000;

events {
    use epoll;                                  //Use high concurrency
    worker_connections  4096;
}
View process
systemctl stop nginx
systemctl start nginx
ps aux | gerp nginx

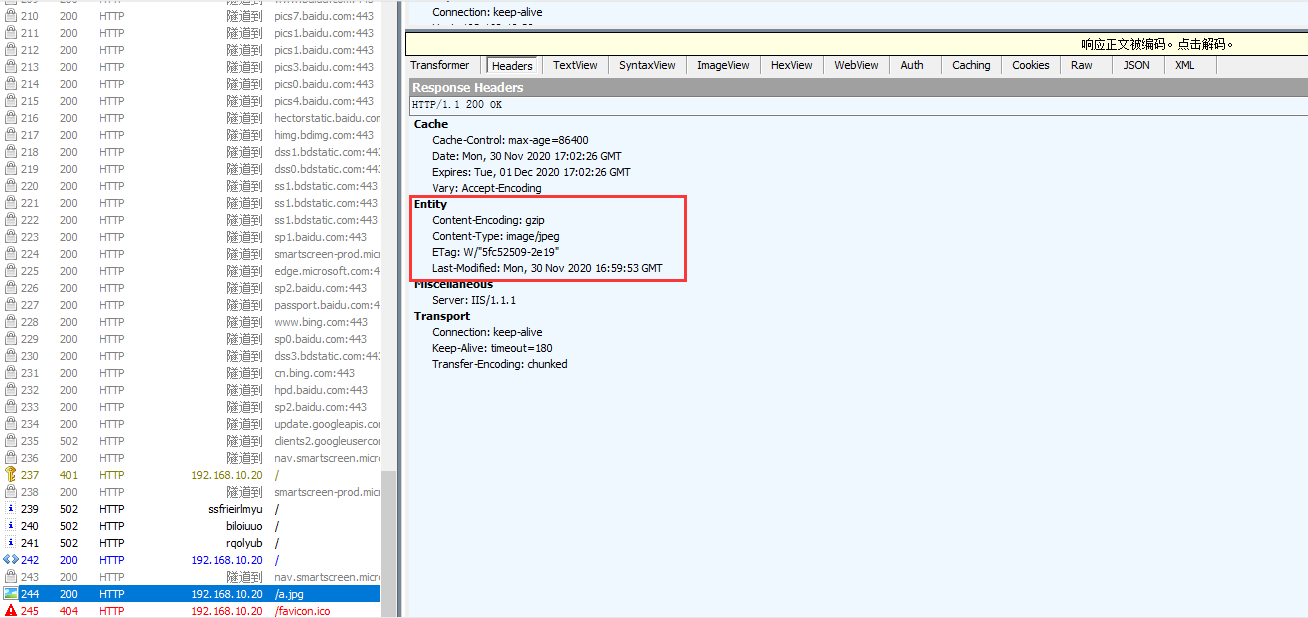
Configure Nginx to realize web page compression function
■ NGX of Nginx_ http_ gzip_ Module compression module provides the function of compressing file content
■ allow the Nginx server to compress the output content before sending it to the client, so as to save the website bandwidth and improve the user's access experience. It is installed by default
■ corresponding compression function parameters can be added to the configuration file to optimize the compression performance
■ compression function parameters
● gzip on: enable gzip compressed output
● gzip_min_length 1k: sets the minimum number of bytes allowed to compress the page
● gzip_A buffers 4 16k: apply for 4 memory units of 16k as the compression result stream cache. The default value is to apply for memory space with the same size as the original data to store gzip compression results
● gzip_http_version 1.0: set to identify the HTTP protocol version. The default is 1.1. At present, most browsers already support gzip decompression, but the processing is slow and consumes server CPU resources
■ compression function parameters
● gzip_comp_level 2: specify gzip compression ratio. 1 has the smallest compression ratio and the fastest processing speed; 9 the compression ratio is the largest, the transmission speed is fast, but the processing speed is the slowest
● gzip_types text/plain: compression type, which web documents can be compressed
● gzip_ Variable on: let the front-end cache server cache the gzip compressed pages
give an example
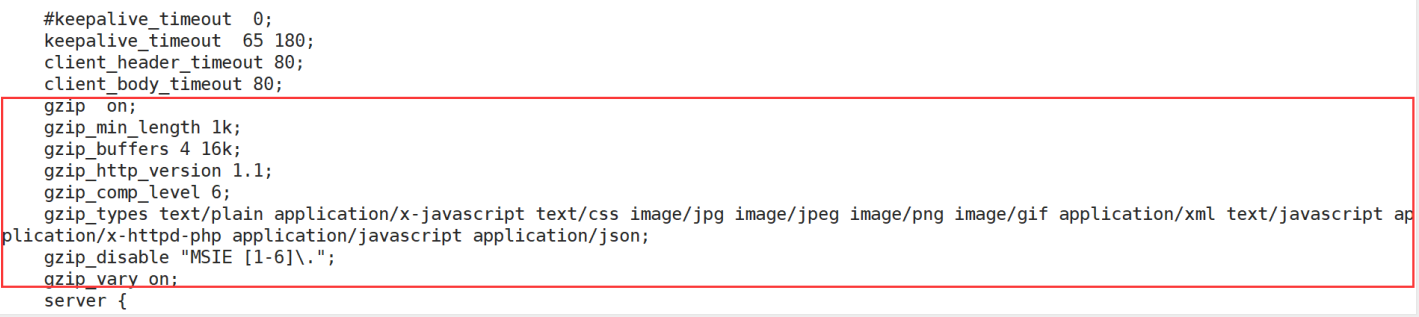
vi /etc/nginx.conf
    gzip  on;
    gzip_min_length 1k;
    gzip_buffers 4 16k;
    gzip_http_version 1.1;
    gzip_comp_level 6;
    gzip_types text/plain application/x-javascript text/css image/jpg image/jpeg image/png image/gif application/xml text/javascript application/x-httpd-php application/javascript application/json;
    gzip_disable "MSIE [1-6]\.";
    gzip_vary on;
Packet capture view
Configure Nginx to realize anti-theft chain
■ in the enterprise website service, the anti-theft chain function is generally configured to avoid the illegal theft of website content and economic losses
■ Nginx anti-theft chain is also very powerful. By default, the anti-theft chain processing can be realized by simple configuration
give an example
vi /etc/nginx.conf

nginx -t
systemctl stop nginx
systemctl start nginx
cd /usr/local/nginx/html/
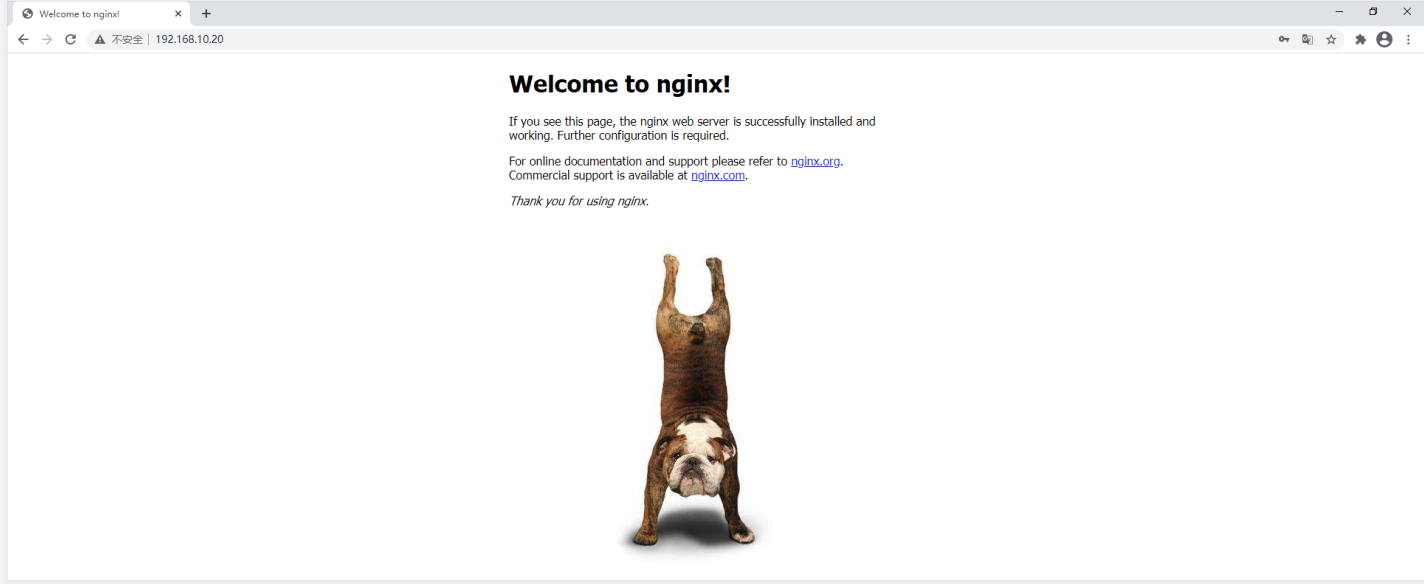
On the browser http://192.168.10.20 View effect

Conduct chain stealing operation on another host to see the effect
yum -y install httpd
vi /var/www/html/index.html

systemctl stop firewalld
setenforce 0
systemctl start httpd
vi /etc/hosts

On the browser http://192.168.10.10

Parameter optimization of FPM module
■ the PHP parsing function of Nginx is realized. If it is handled by FPM, in order to improve the processing speed of PHP, the parameters of FPM module can be adjusted
■ adjust FPM module parameters according to the memory and service load of the server
■ start fpm process mode, which is specified by pm parameter
● static: a fixed number of fpm processes will be generated
● dynamic: fpm process will be generated in a dynamic way
■ FPM optimization parameters
● parameters of Static mode
◆ pm.max_children: Specifies the number of processes to start
● parameters of Dynamic mode
◆ pm.max_children: Specifies the maximum number of startup processes
◆ pm.start_servers: initial number of fpm processes in dynamic mode
◆ pm.min_spare_servers: minimum number of fpm empty closed processes in dynamic mode
◆ pm.max_spare_servers: maximum number of fpm empty closed processes in dynamic mode
give an example
Close the firewall and open the FPM PHP module
systemctl stop firewalld
setenforce 0
netstat -anpt | grep 9000

cd /usr/local/php/etc/php-fpm.d/
vi www.conf

Reload and start the file to verify the number of processes
cd
pkill php-fpm
/usr/local/php/sbin/php-fpm -c /usr/local/php/lib/php.ini
ps aux | grep php-fpm
