001. Use Conda to manage Python environment in Anaconda
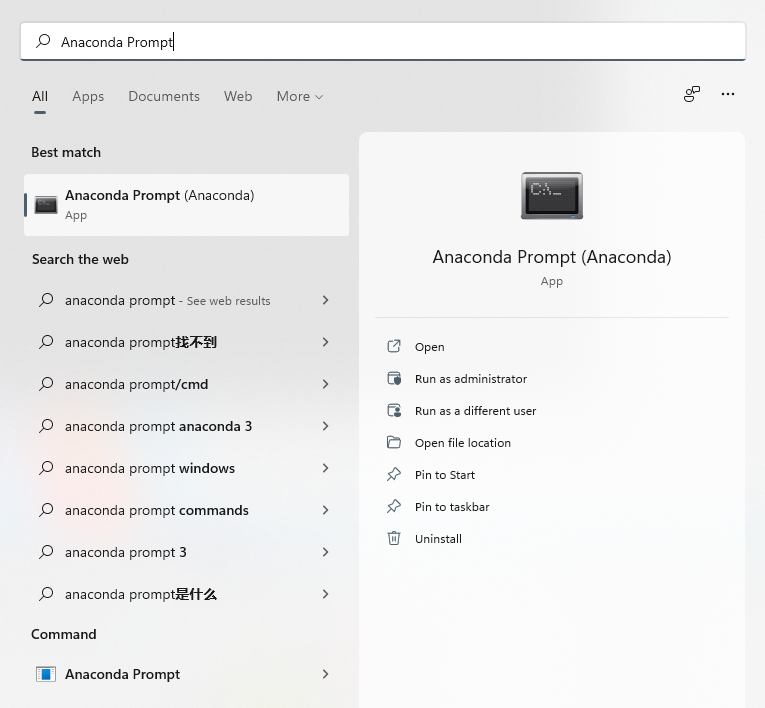
Tool: Anaconda Prompt (Anaconda) | please run it with administrator privileges
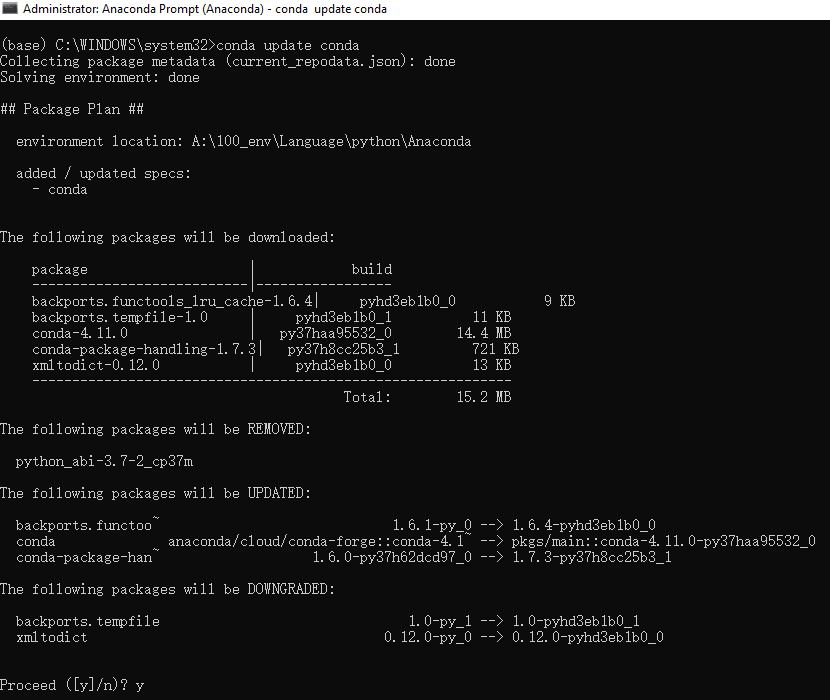
Update Anaconda
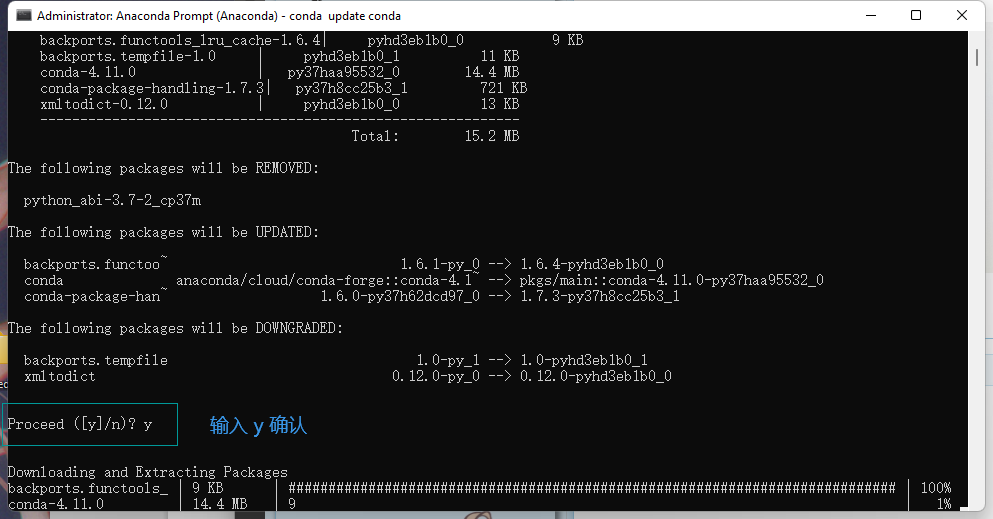
conda update conda
Create environment
conda create -n env_name package_names
env_name: environment name
package_names: package name, version can be specified
Case 1
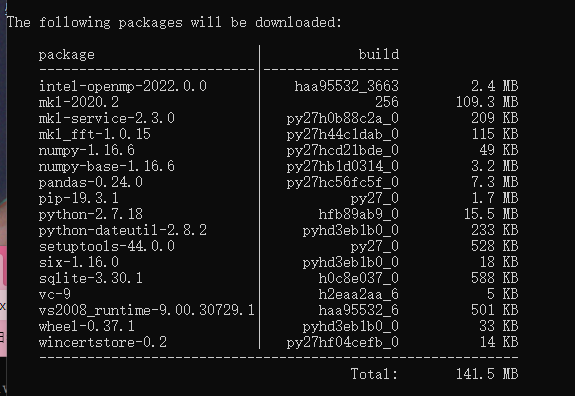
Requirement: create evn_python2, python version is the latest version of 2, and pandas0.0 is installed at the same time Version 24.0, Numpy package
conda create -n evn_python2 python=2 numpy pandas=0.24.0
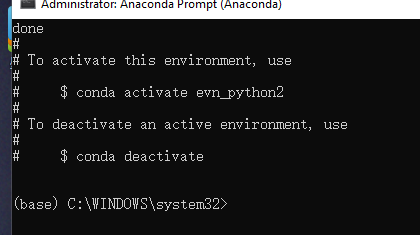
Switch environment
Windows:
conda activate my_env
Linux:
source activate my_evn
Query the packages installed in the current environment
conda list
Leave the environment
conda deactivate
Environment sharing
Export environment
conda env export > environment.yaml
You can specify the path to save.
(python373) C:\Windows\system32>conda env export > d:\environment.yam
Import and update environment
(1) Enter the current environment first
conda activate Environment name
(2) Update environment
conda env update -f=/path/to/environment.yml
Where, - f indicates the local path of the environment file to be used; Set / path / to / environment Replace YML with the actual local path.
List environment
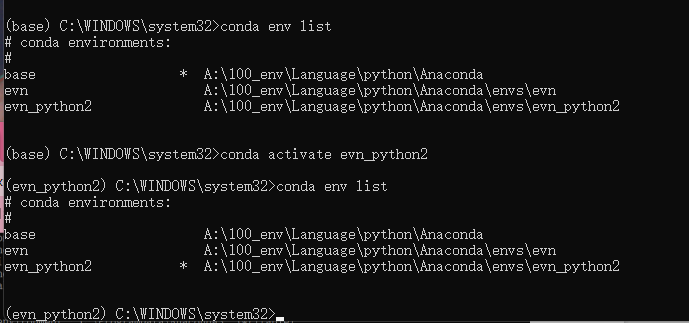
conda env list
The asterisk indicates the current environment
The default environment of Anaconda command line (that is, the environment used when no environment has been selected) is named base

Delete environment
conda env remove -n env_name
View environment information
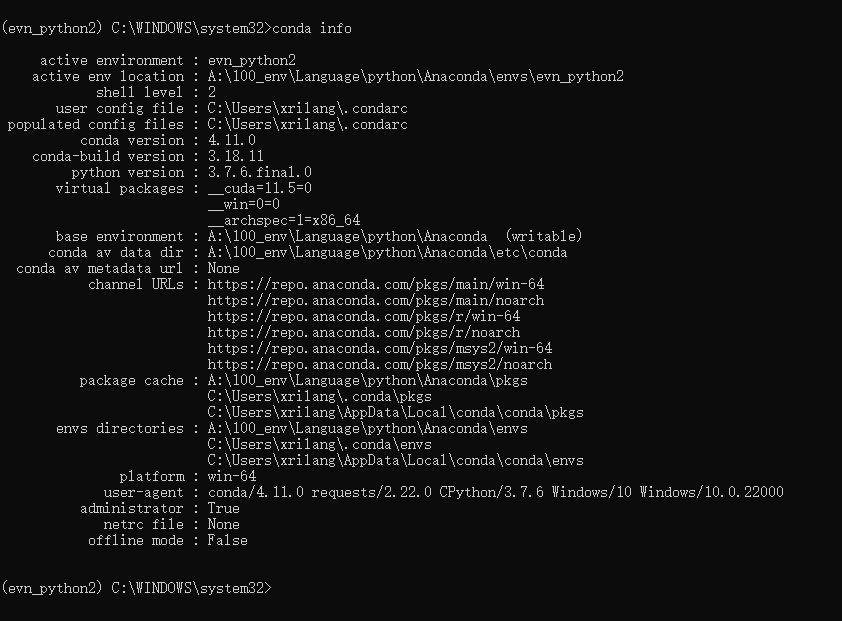
conda info
002. Using conda to manage Python packages in Anaconda
Installation package
Search package
conda search requests
Installation package
conda install requests
In addition, if you can't find the package you want to install in the library provided by Anaconda, or you want to install an updated version, you can also call
Install through community maintained CONDA forge. For example, if you want to use CONDA forge to install Pandas, you can use
Give orders.
conda install -c conda-forge pandas
If the package you want to install cannot be found in the above libraries, you can also use the standard Python package management command pip to complete the installation in the current ring
Installation of third-party packages in the environment. For example, the tushare package used to obtain domestic financial and stock data can be used in the current ring
Use the following commands to complete the installation:
pip install tushare
Uninstall package and upgrade package
Uninstall package
conda uninstall packages_name
If you want to delete a package in another environment in the current environment, you can use the following command.
conda uninstall my_env packages_name
Upgrade package
Upgrade a package of the current environment
conda update my_env packages_name
Upgrade a package from another environment
conda update my_env packages_name
Upgrade all packages of the current environment
conda update --all
Add new libraries or remove libraries for Anaconda
add to
Using the mirror image of China University of science and technology
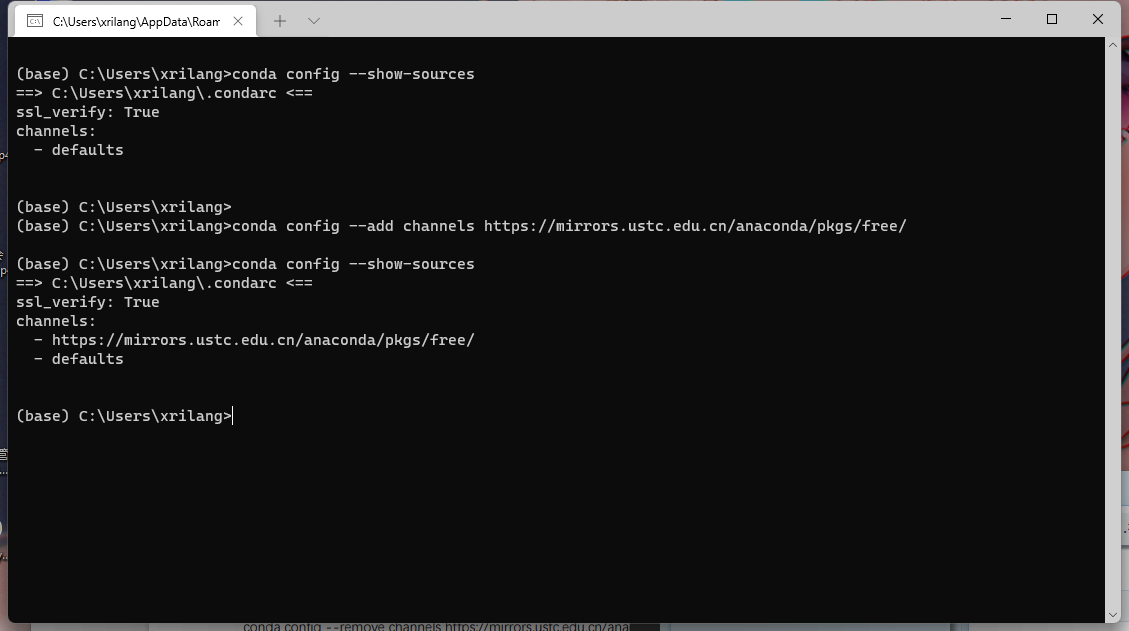
conda config --add channels https://mirrors.ustc.edu.cn/anaconda/pkgs/free/
Displays the current mirror addresses
conda config --show-sources
The configuration information of conda is stored in In condarc file
- windows system condarc is located in C:\Users \ username \ directory
- Linux system/ condarc is located in / home / username / directory
Set the channel address (mirror source address) to be displayed during search
conda config --set show_channel_urls yes
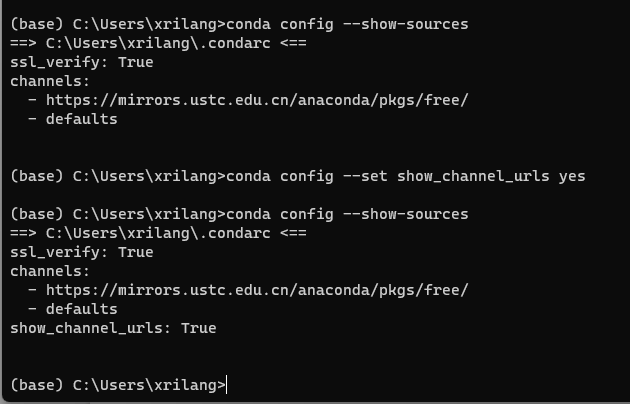
remove
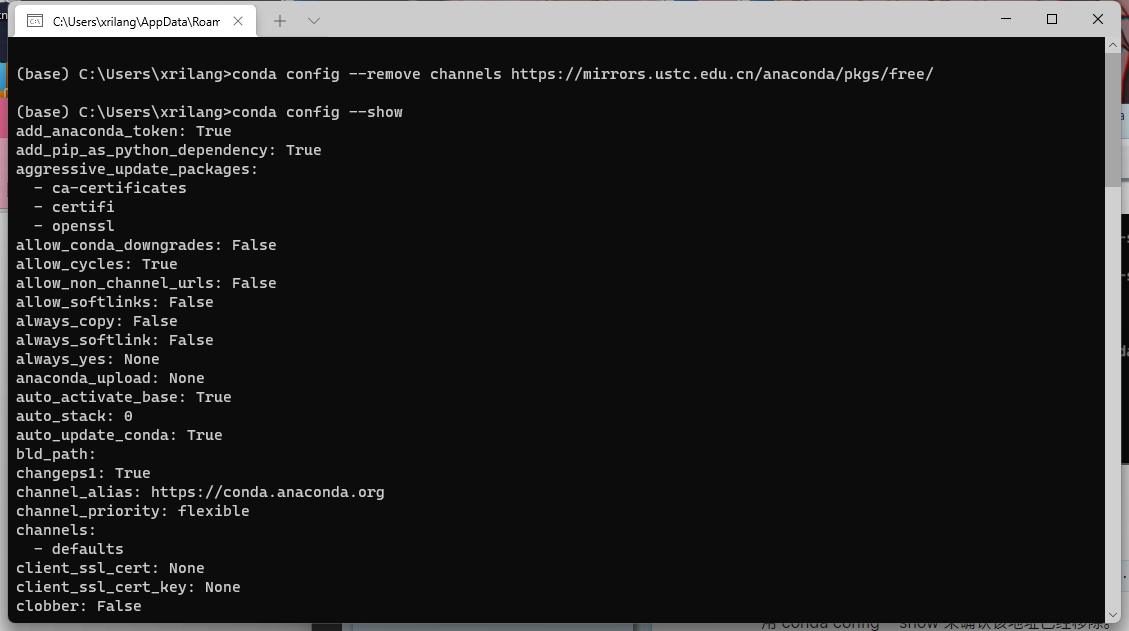
conda config --remove channels https://mirrors.ustc.edu.cn/anaconda/pkgs/free/
Use conda config --show to confirm that the address has been removed.
conda config --show
conda config --show-sources
003.Anaconda basic usage exercise
1. Configure alicloud source OR Tsinghua source
conda config --add channels https://mirrors.ustc.edu.cn/anaconda/pkgs/free/
conda config --add channels https://mirrors.tuna.tsinghua.edu.cn/anaconda/pkgs/free/
conda config --add channels https://mirrors.tuna.tsinghua.edu.cn/anaconda/pkgs/main/
conda config --add channels https://mirrors.tuna.tsinghua.edu.cn/anaconda/cloud/conda-forge/
conda config --show-sources
conda config --set show_channel_urls yes
conda config --add channels https://mirrors.aliyun.com/anaconda/pkgs/free/
conda config --add channels https://mirrors.aliyun.com/anaconda/pkgs/main/
conda config --show-sources
conda config --set show_channel_urls yes

Delete source
conda config --remove channels URL
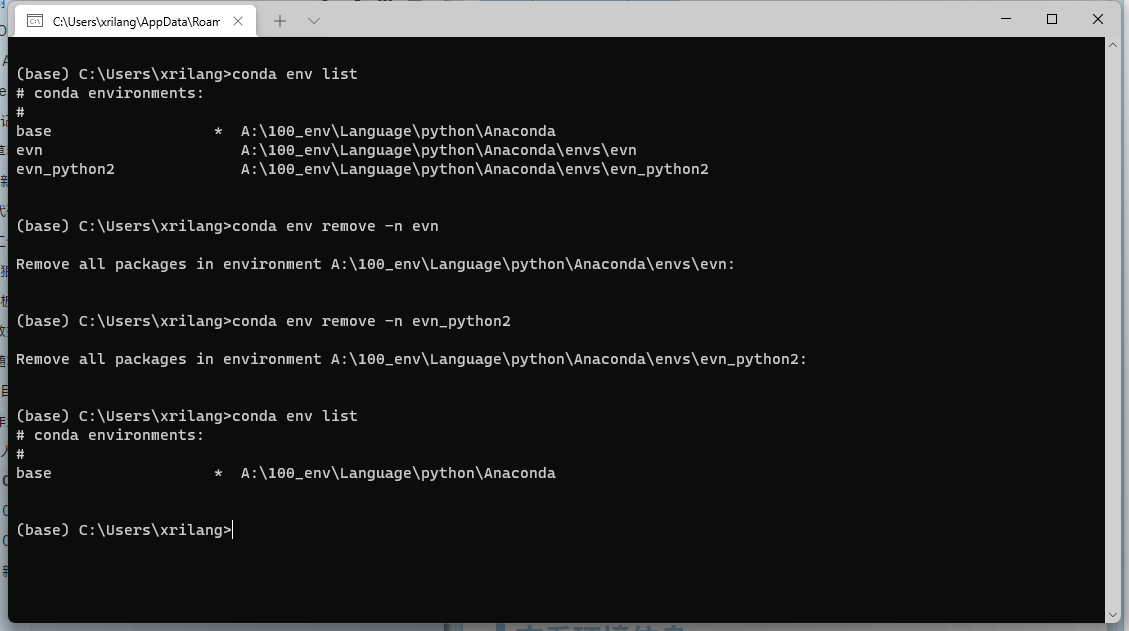
2. Check the existing environment and delete the useless environment
conda env list

conda env remove -n evn
conda env remove -n evn_python2
3. Configure the environment as required
Environment 1:
Python3.7.3 Tensorflow-gpu 1.13.1 Numpy1.16.3
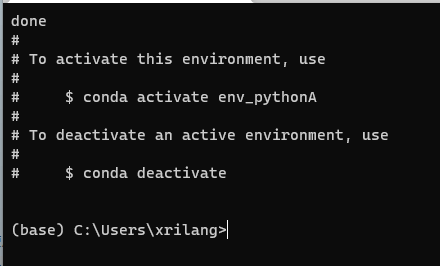
conda create -n env_pythonA python=3.7.3 Tensorflow-gpu=1.13.1 Numpy=1.16.3
Environment 2:
Python3.10.0 TensorFlow-gpu 2.8.0 Numpy1.22.1
conda create -n env_pythonB python=3.10.0 Tensorflow-gpu=2.8.0 Numpy=1.22.1
An error occurred
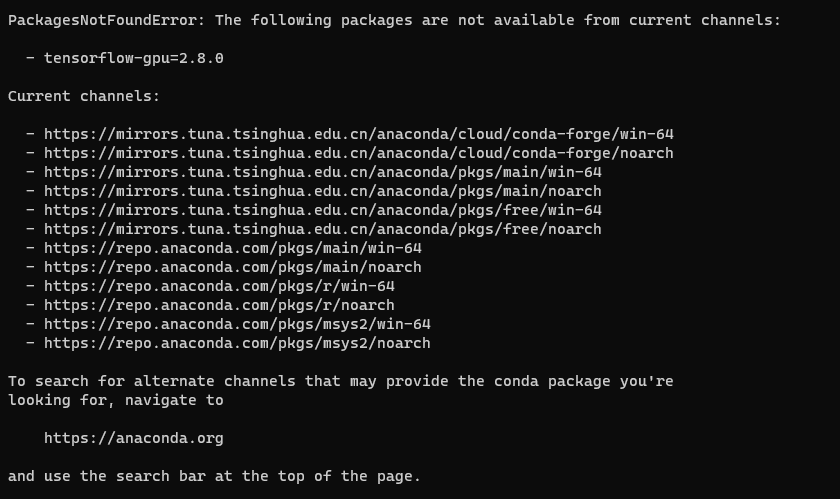
Search TensorFlow package
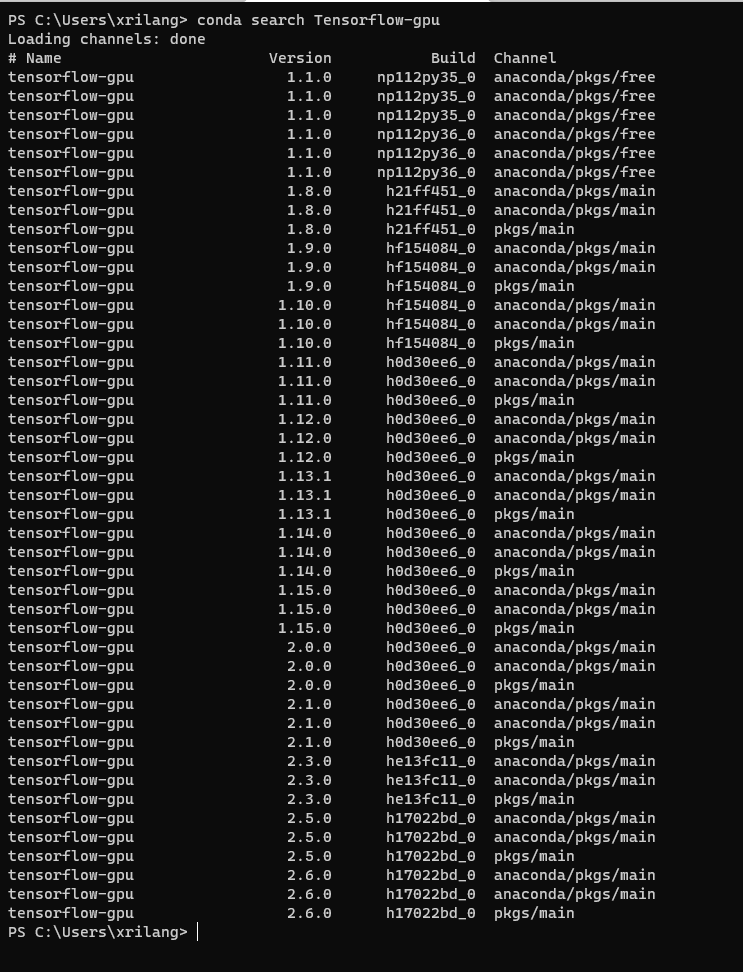
The maximum version found is 2.6.0
conda create -n env_pythonB python=3.10.0 Tensorflow-gpu=2.6 Numpy=1.22
Incompatibility found between versions
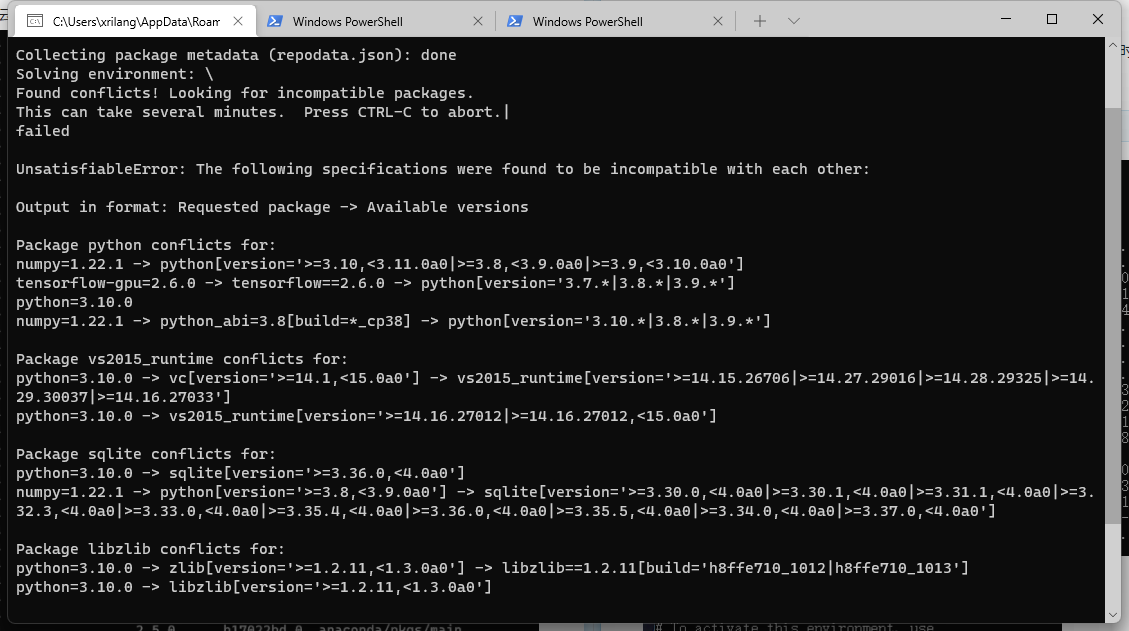
According to the prompt,
When numpy=1.22.1, the python version is > = 3.8, ❤️. 9.0a0
When tensorflow GPU = 2.6.0, the python version is required to be 3.7 Or 3.8 Or 3.9*
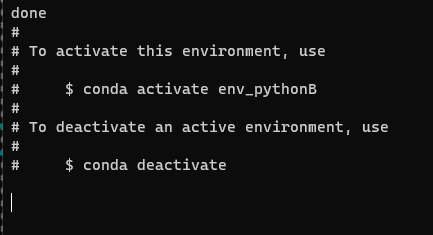
conda create -n env_pythonB python=3 tensorflow-gpu=2.6.0 Numpy=1.22.1
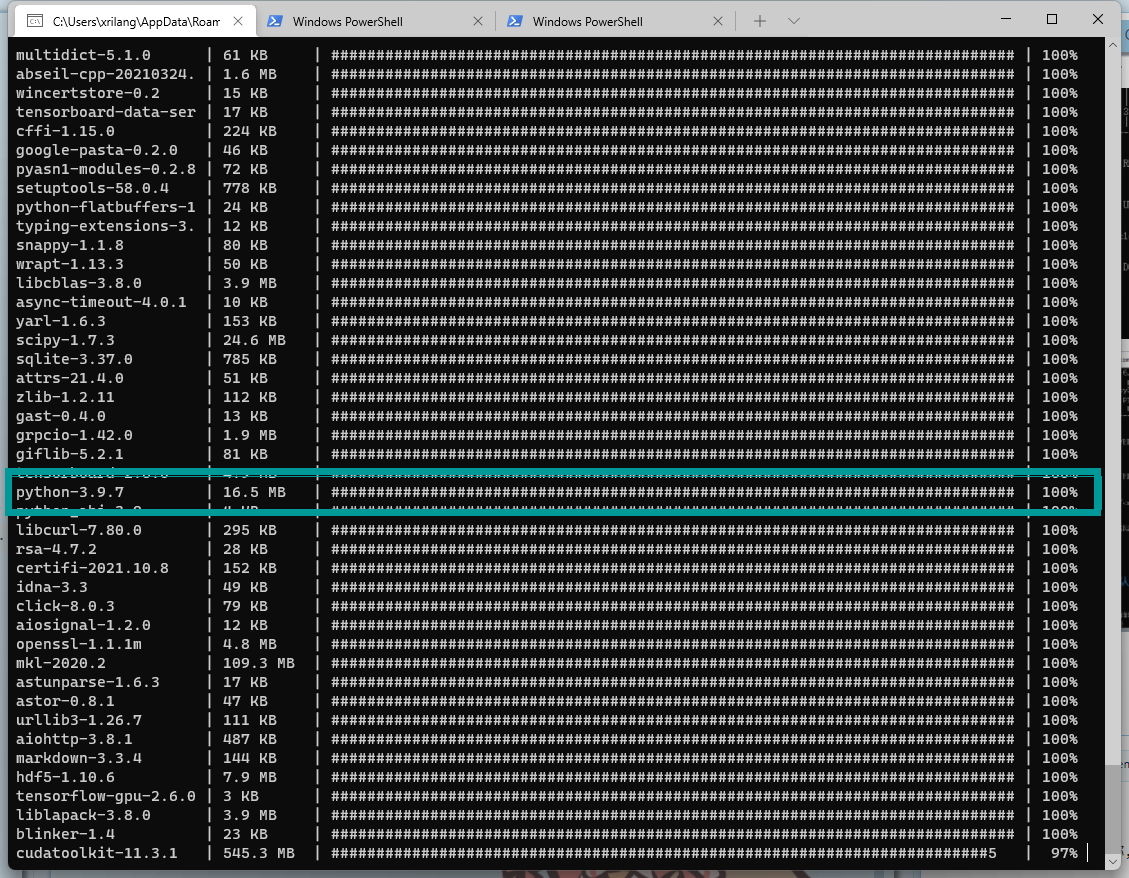
At present, python version 3.9.7 is automatically selected.
(the process is a little long. You can have a cup of coffee)
4. Test in pychar
(1) Find environment path
conda info --env

perhaps
conda env list

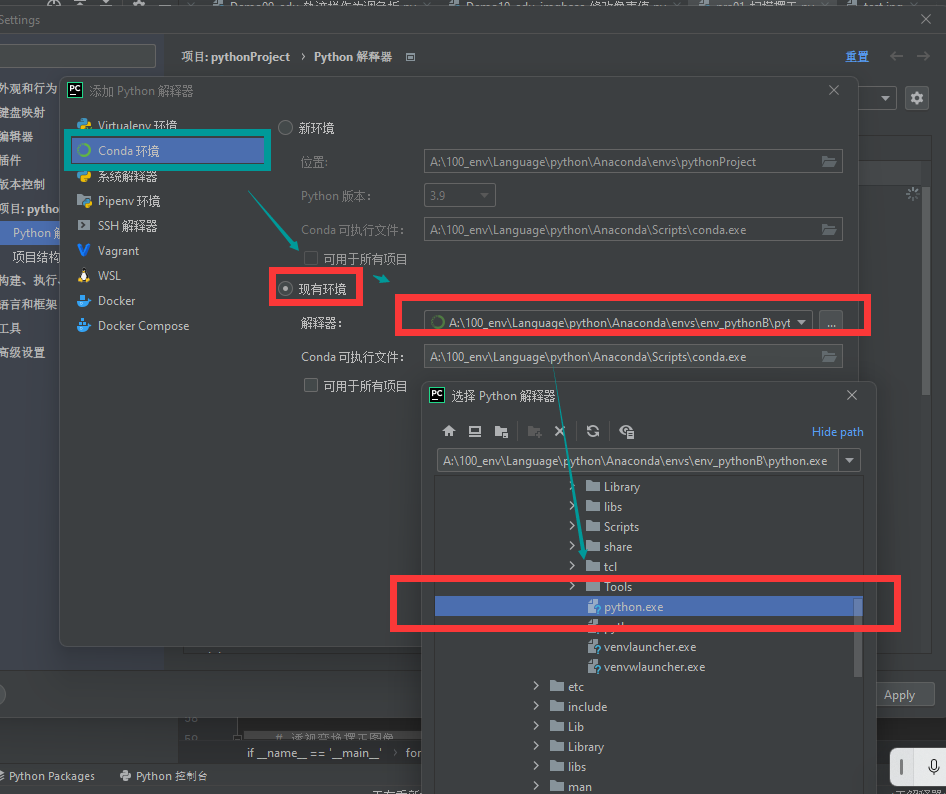
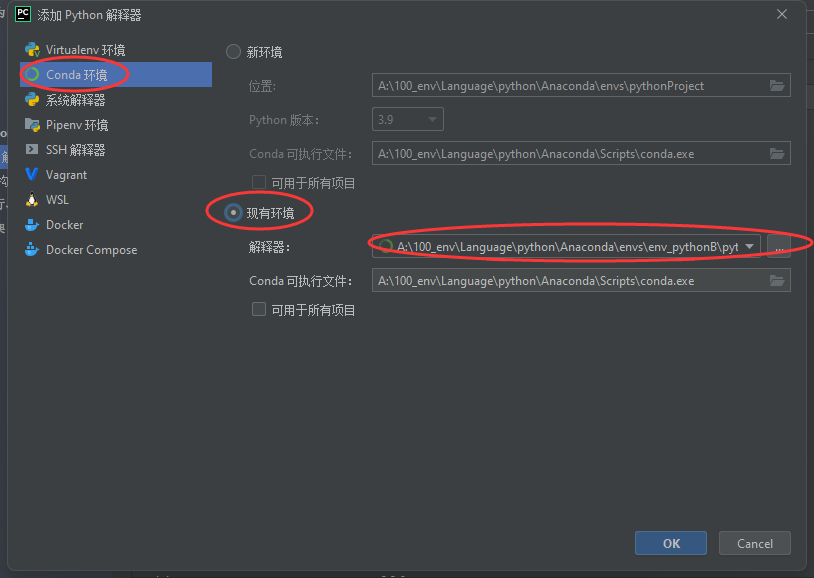
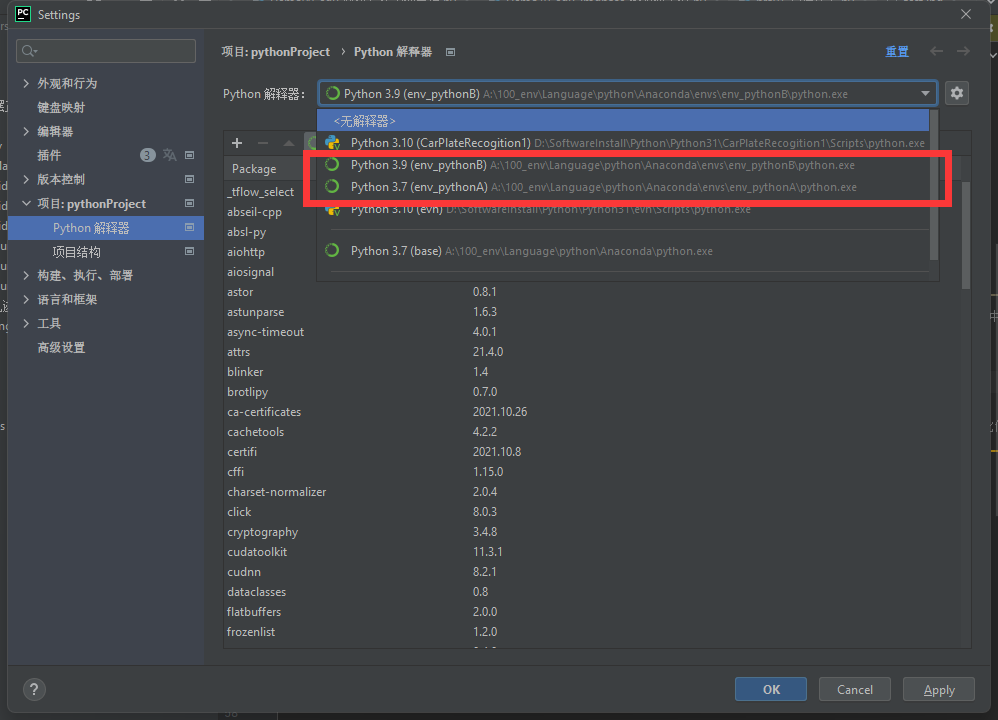
(2) Add environment to PyCharm
data
Build TensorFlow (google.cn) from source code in Windows Environment
004.Anaconda installs OpenCV
1. Switch environment
conda activate env_pythonA

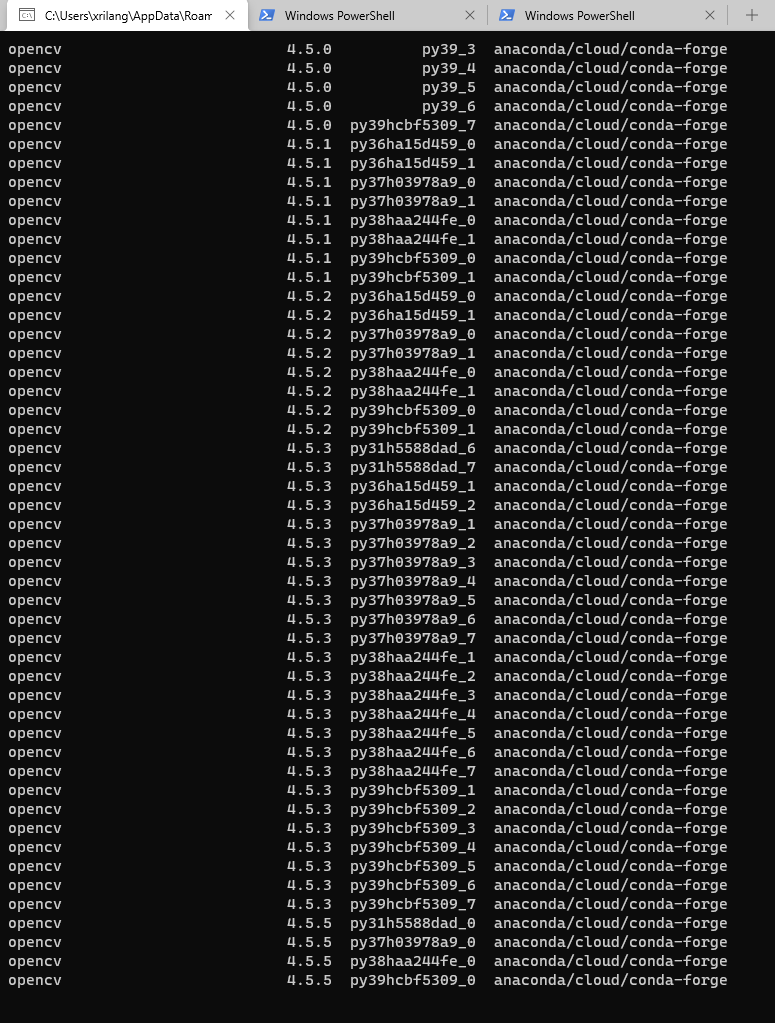
2. Find the package about opencv
conda search opencv
3. Install opencv
conda install opencv
4. Import in pycharm
# Import opencv Library
import cv2 as cv