1, To create a basic project
1. Create an app project first
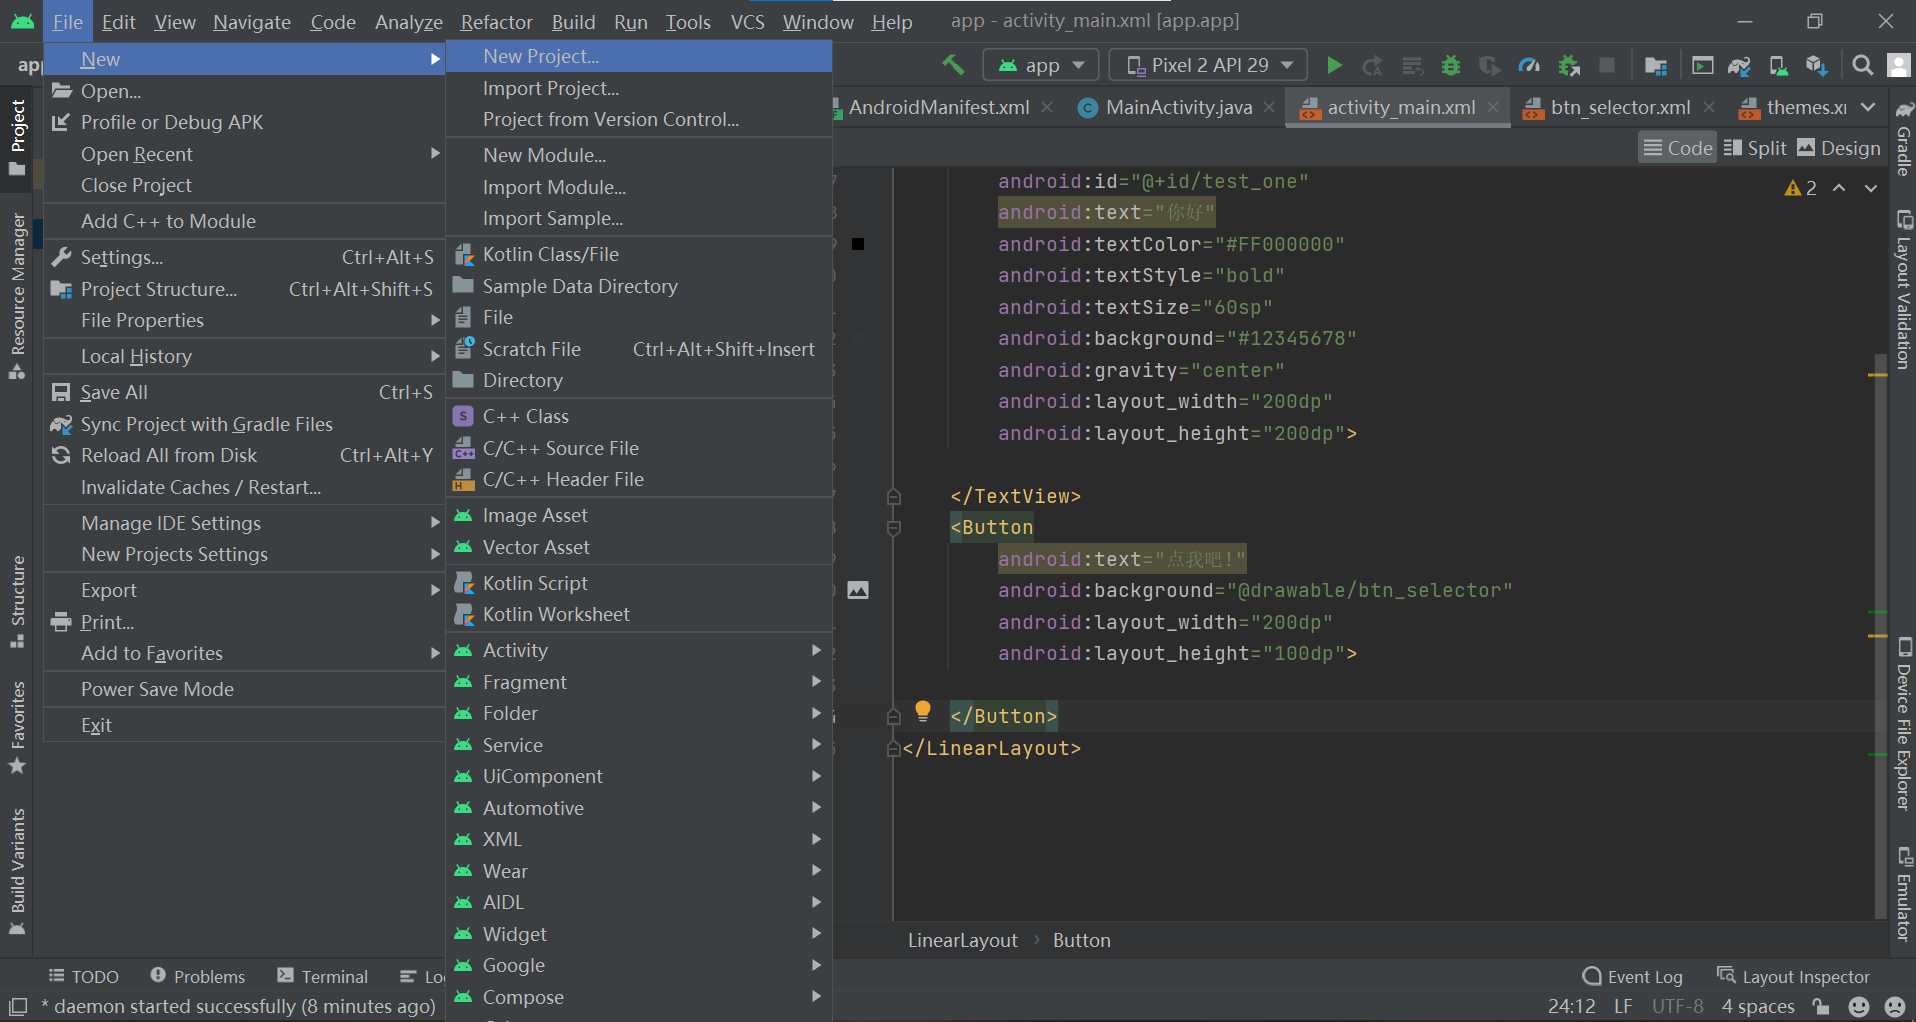
2. Select Basic Activity
3. Complete basic project creation
4. Run it to see if the virtual machine is available

5. Connect real machine test
Because the camera function will be used, you need to use the real machine for testing. Next, configure the real machine for testing.
Refer to this article Blog.
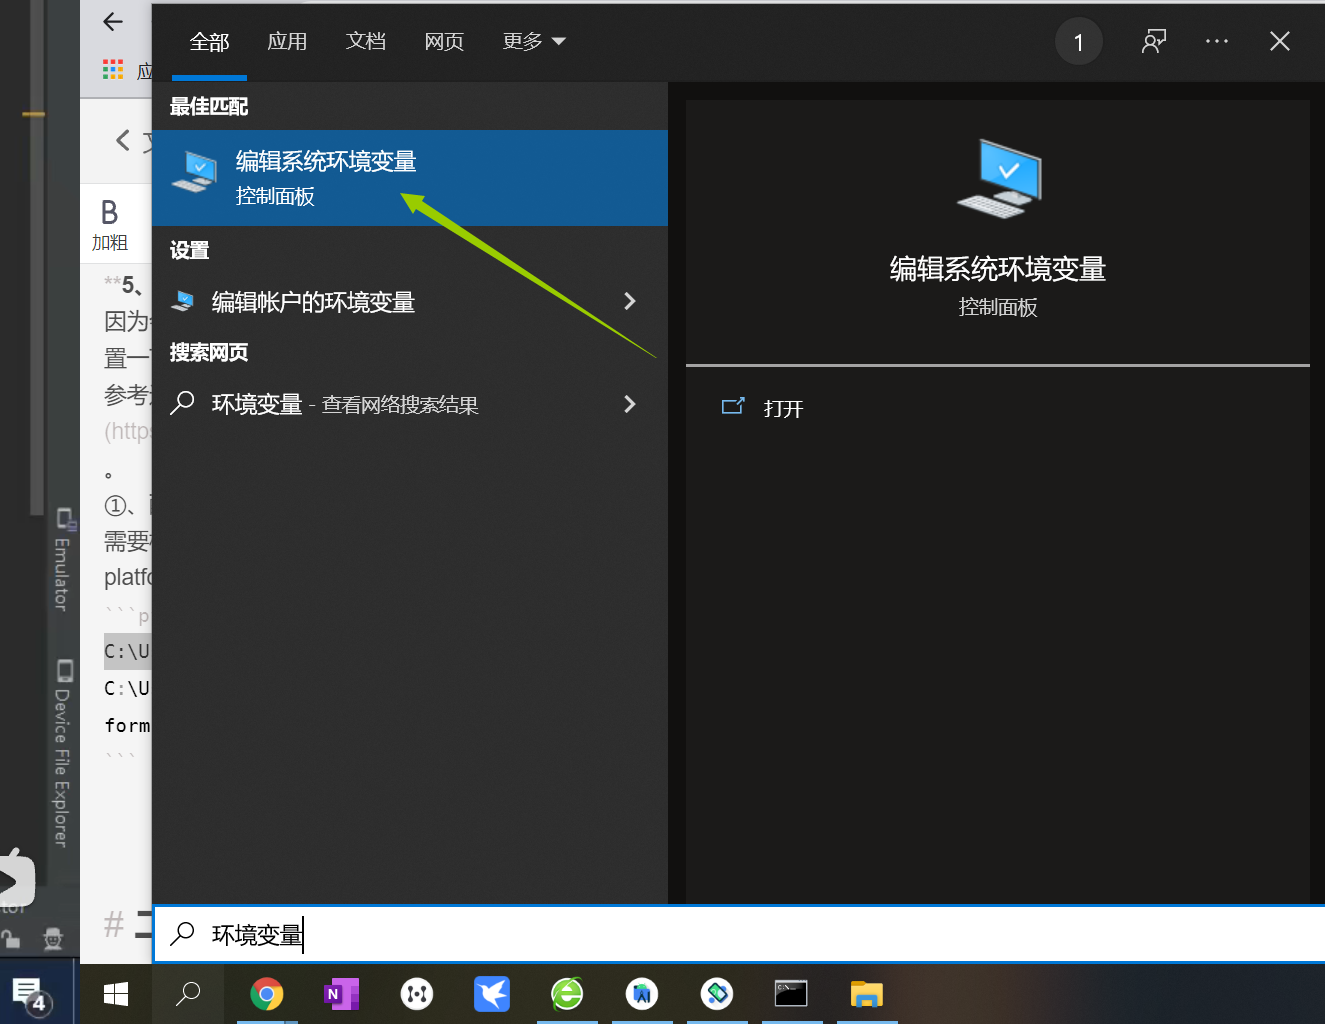
① . configure sdk environment variables
It needs to be configured according to Sdk when installing Android Studio and platform tools in Sdk file. My path is:
C:\Users\Administrator\AppData\Local\Android\Sdk
C:\Users\Administrator\AppData\Local\Android\Sdk\platform-tools

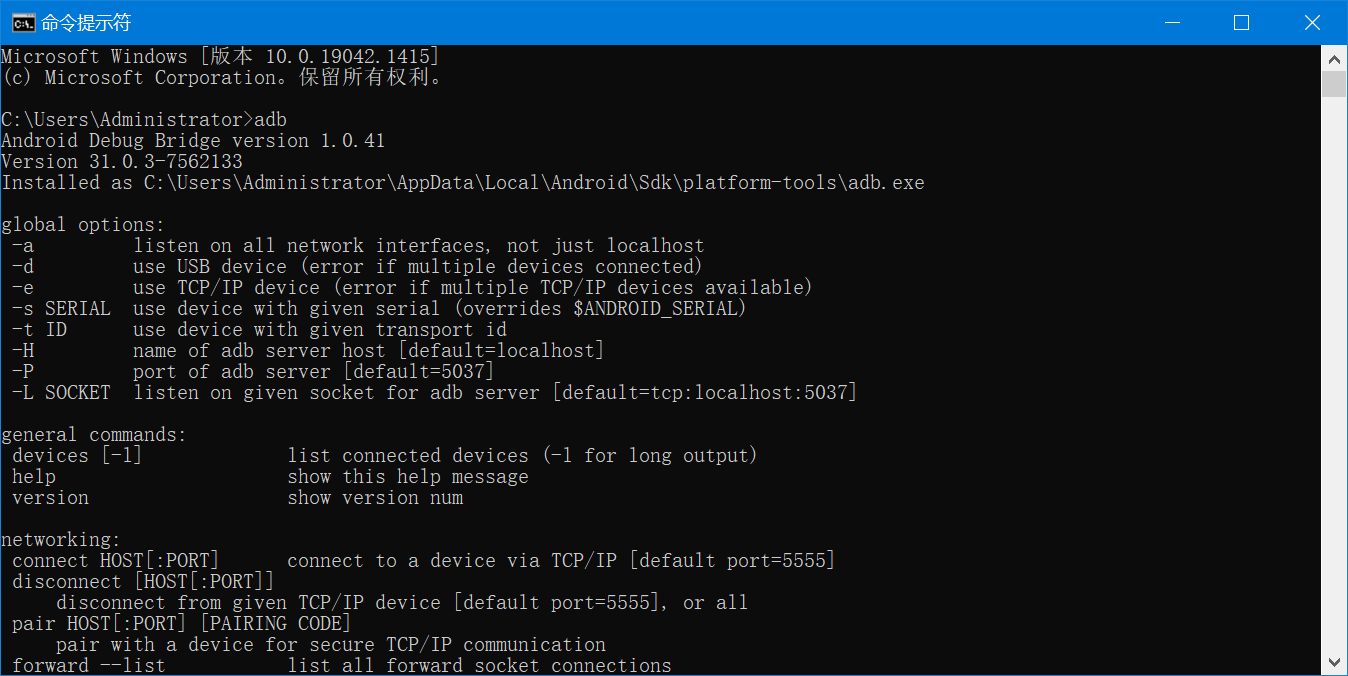
After configuration, open cmd and enter adb. If the following text appears, the configuration is successful.
② Download the Android version corresponding to the mobile phone
My android version number can be seen in system management - > about mobile phone. Mine is 10. Download the corresponding Android version.

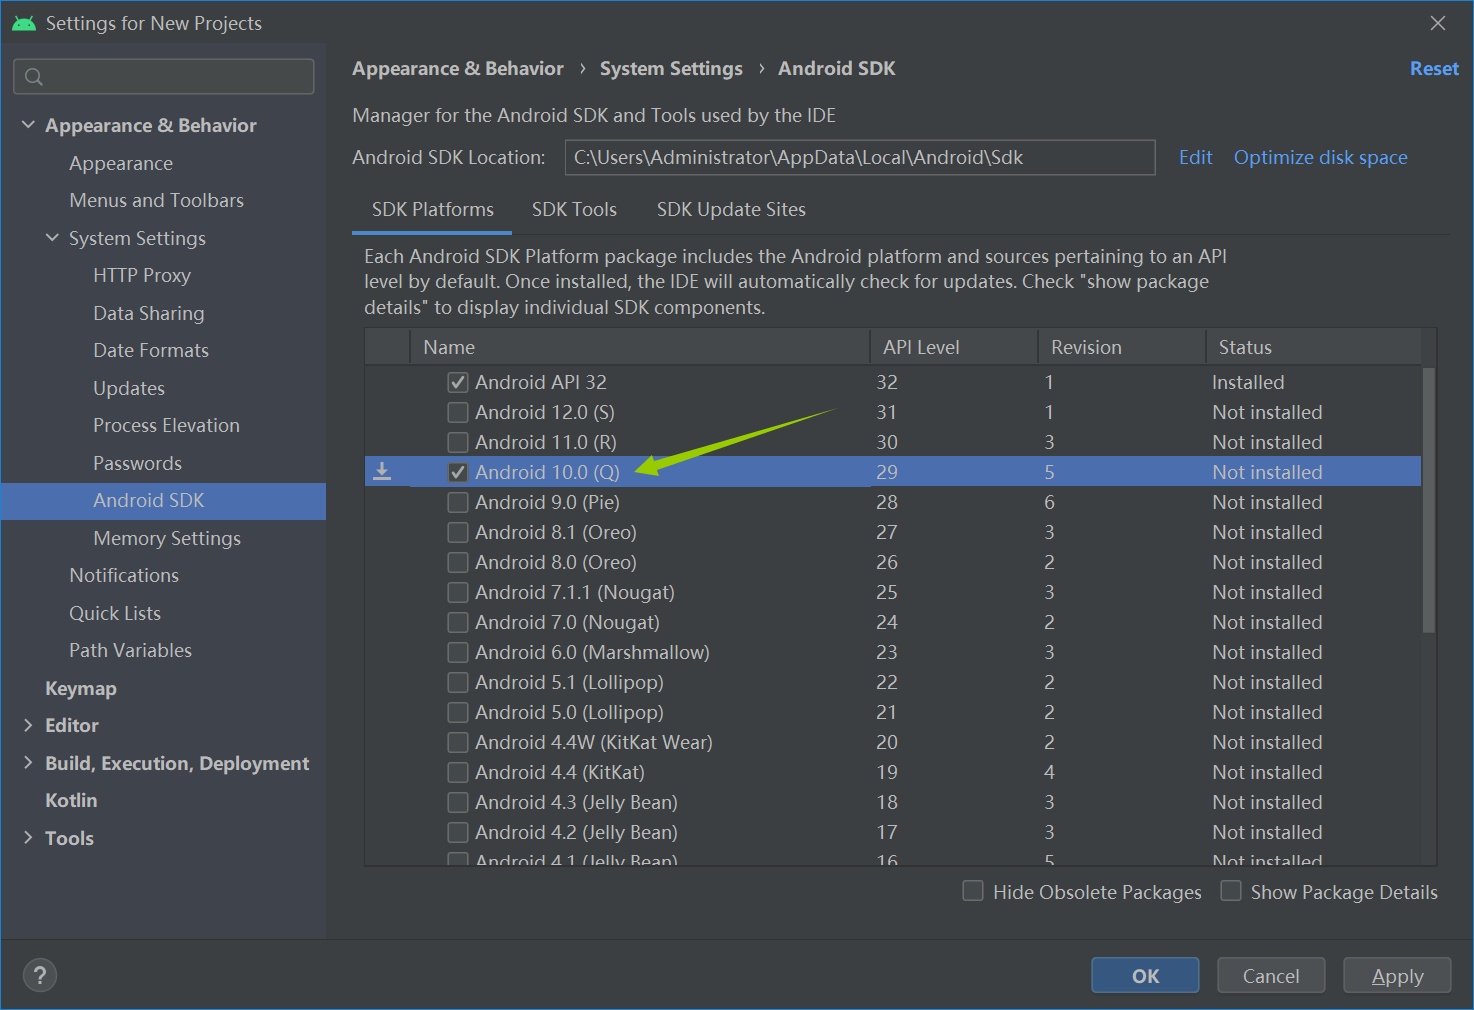
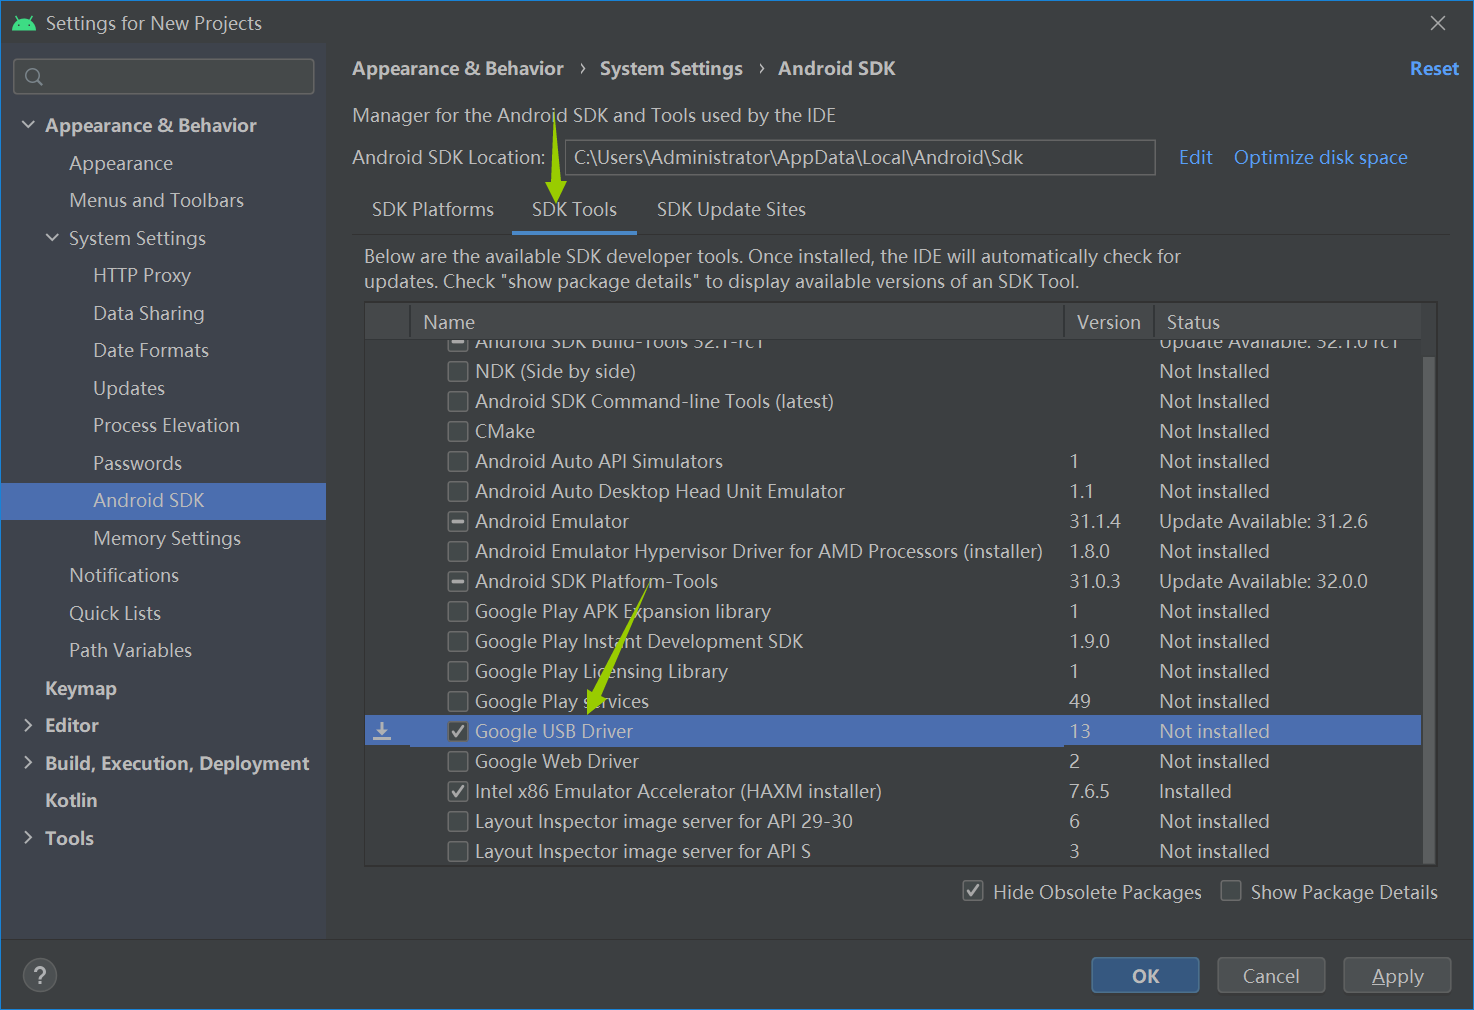
Check the two as shown in the figure, and then click Apply. Wait for the download to complete and click finish.
③ . install USB Driver to mobile phone
To open the developer option, generally set the version information - > software version number in it, click 7 times, open the developer option and enter, and open usb debugging. Connect the charging cable to the computer. Whether usb debugging is allowed when the mobile phone pops up, click allow.

It can be found that the installation has been successful.
2, OpenCv environment configuration
1. Add opencv module
arrive earlier than Official website Download, unlimited version, you can also go to this Blog Download the specified Opencv library from the network disk.
After downloading, unzip it. There is one more app file for the version beginning with 3. There is no difference between the version beginning with 4. You can use it. Many tutorials import java modules... I've been here for a long time. The most convenient way is to import the sdk folder directly.

How to import modules:
① . new module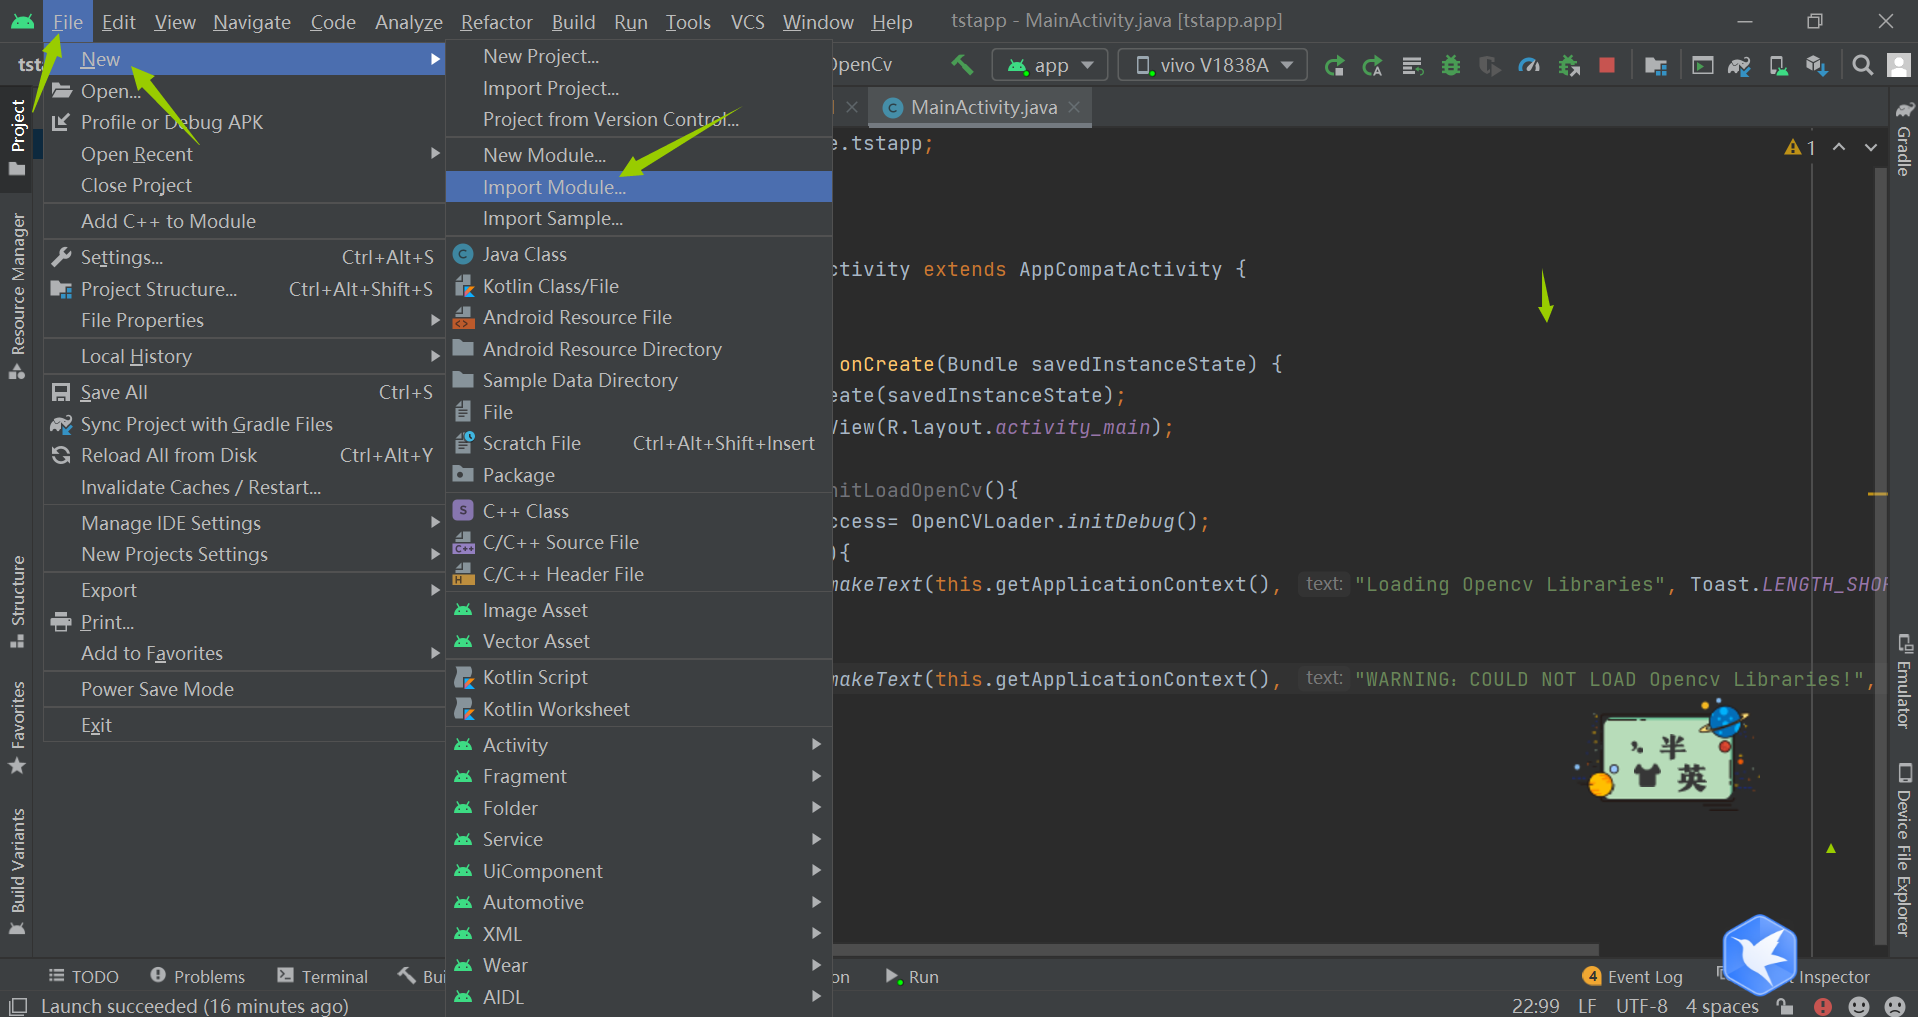
② , navigate to the sdk directory
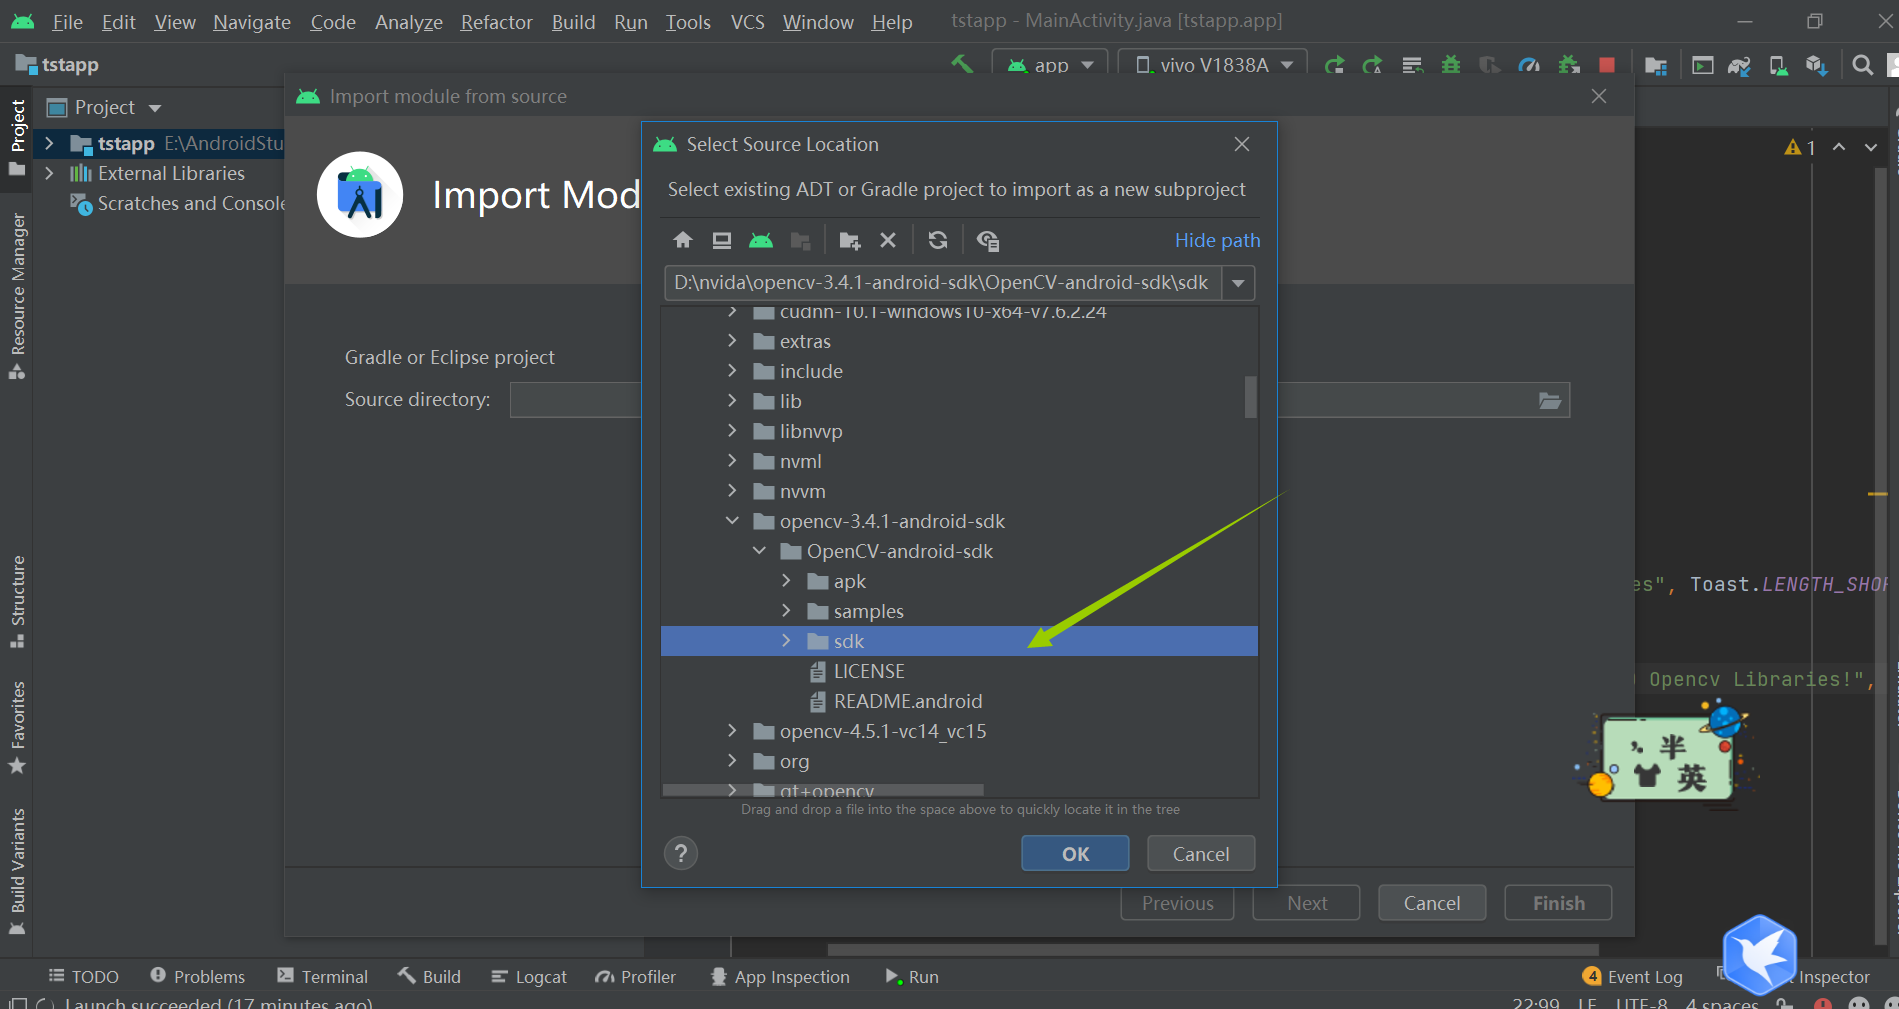
Click ok and the import is successful. After successful import, there will be an expandable opencv folder (named by yourself), which must be expandable. Then there will be another opencv build gradle.
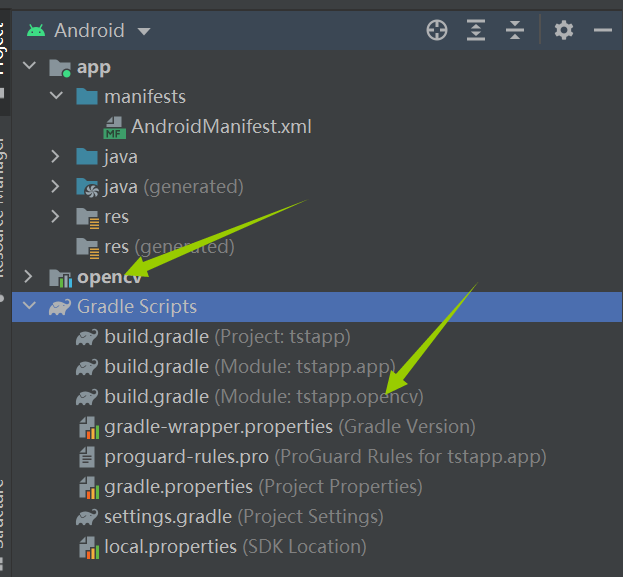
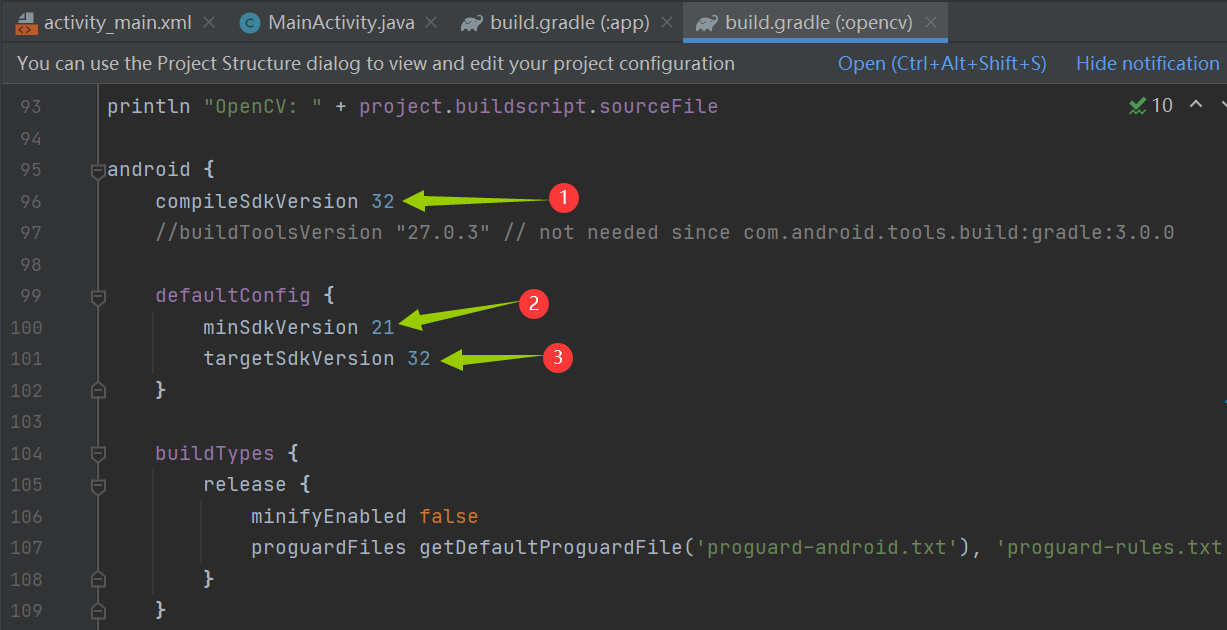
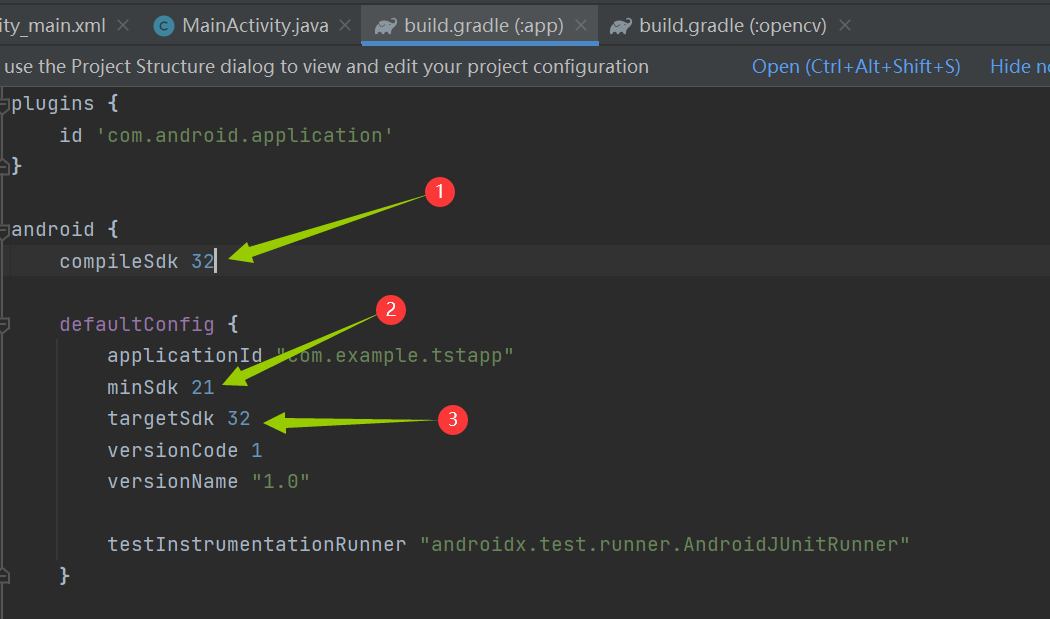
③ , modify build gradle
Opencv (self named) build The version information in gradle is changed to the build in app The gradle version information is consistent. As shown in the figure below, the three positions in the first figure are changed to the version number of the corresponding position in the second figure.
④ , import
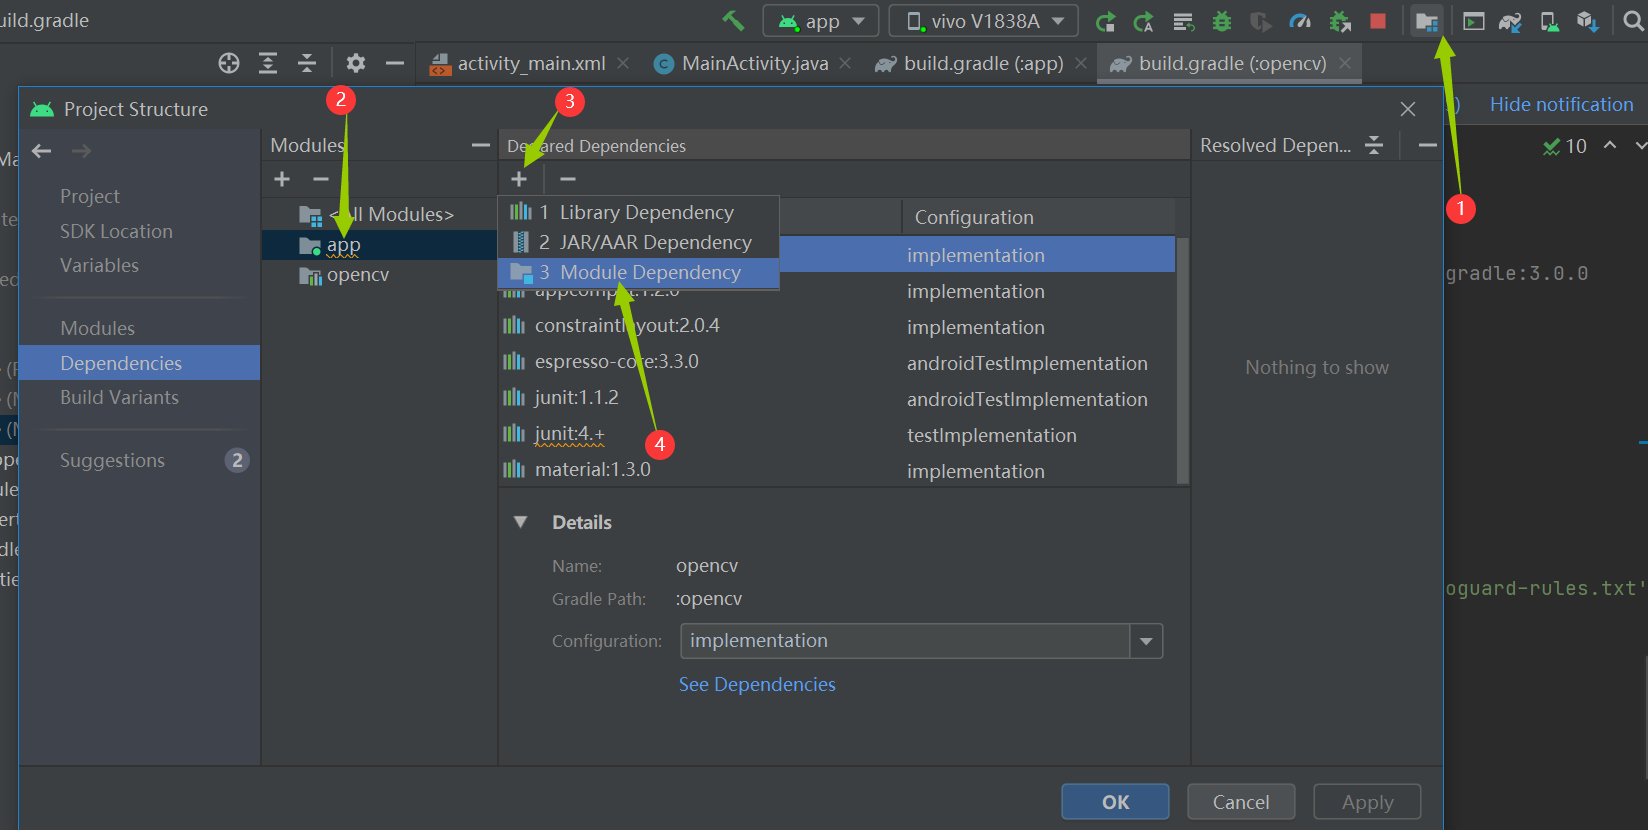
Click in the order shown in the figure, and the package you just loaded will appear. Select import. Next, click make project as shown in the figure. If no error is reported, it is successful.
3, opencv experience
1. Import picture resources
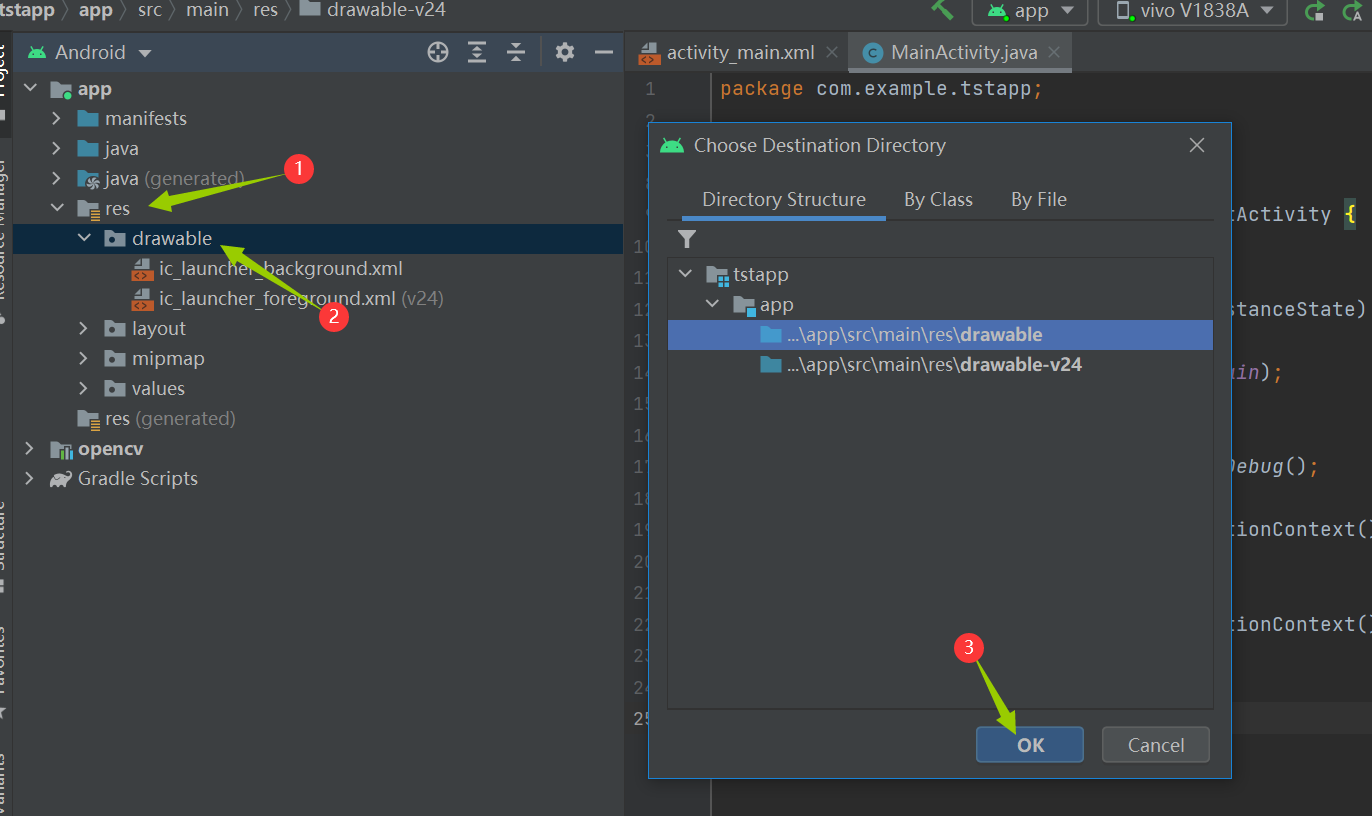
Copy the picture directly, then paste it into the drawable folder under res, and click ok directly after the pop-up window.
2. Add component
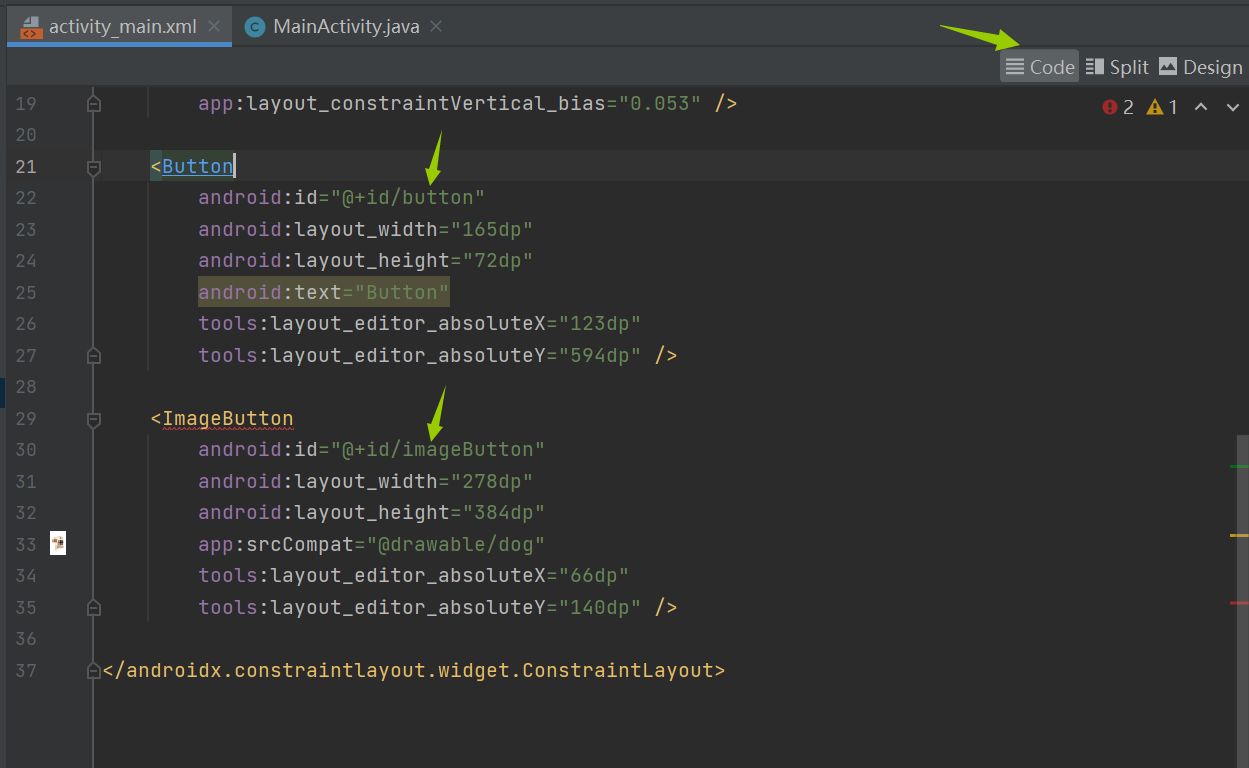
Select activity_main.xml, then find the button and drag it into the white box on the left.
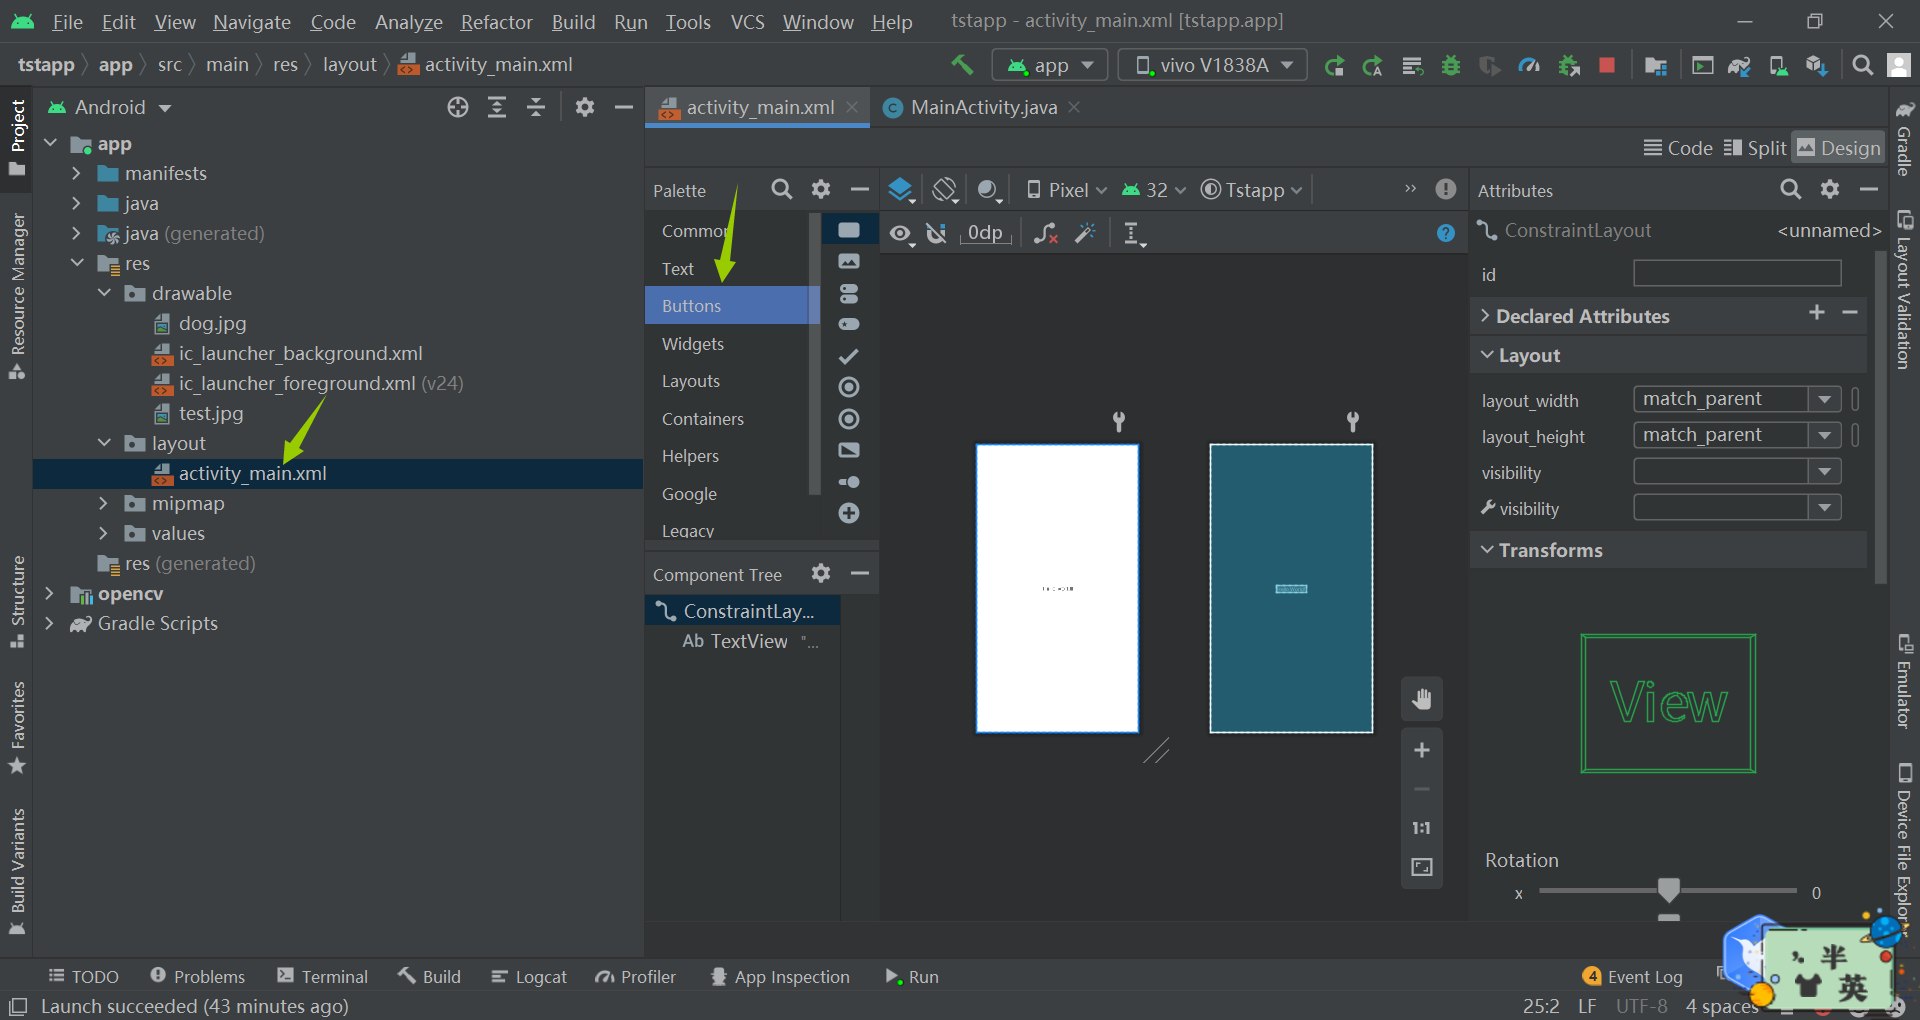
Drag the following one. The first is the button button, and the second is the picture. After the picture is dragged in, you will be allowed to select resources. Select the imported picture.

Preview with code and find that it has not been defined. Open mainactivity Java, define
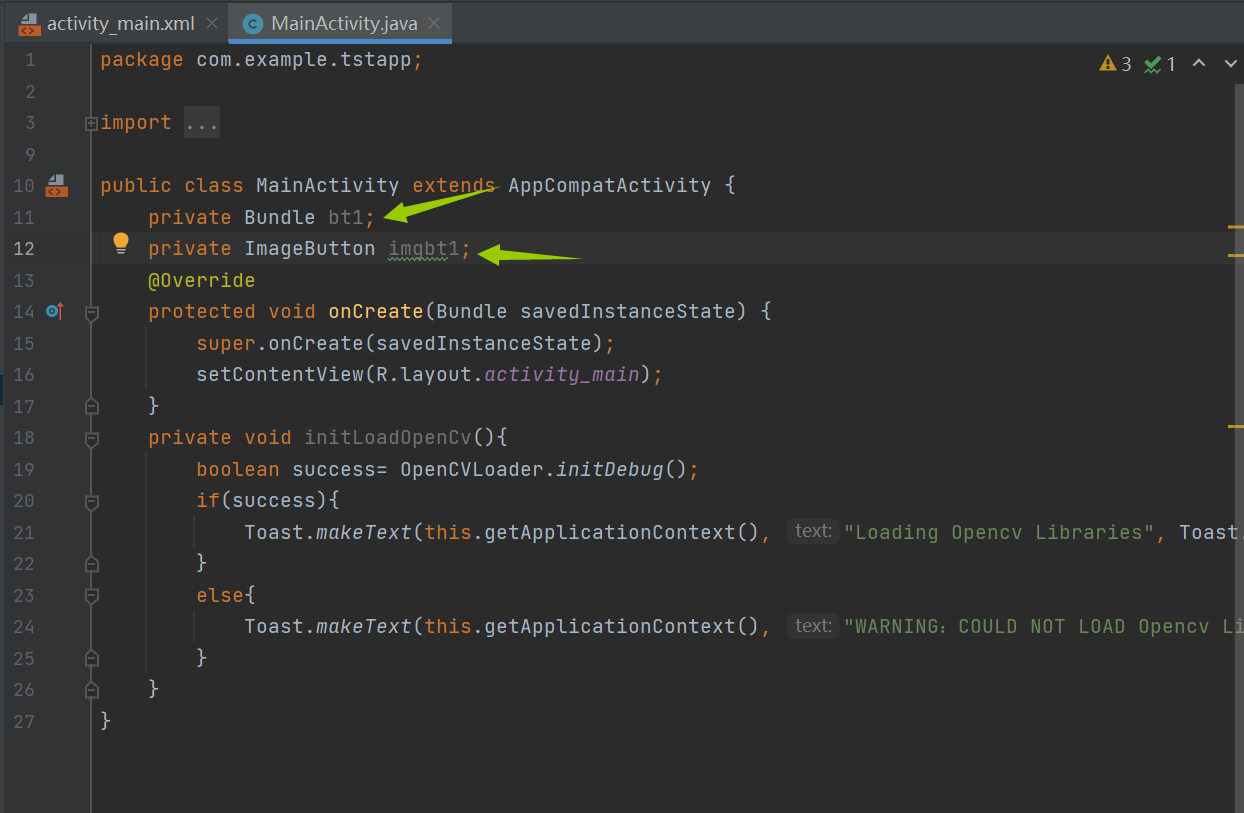
To initialize, first implement a function:
private void initLoadOpenCv(){
    boolean success= OpenCVLoader.initDebug();
    if(success){
        Toast.makeText(this.getApplicationContext(), "Loading Opencv Libraries", Toast.LENGTH_SHORT).show();
    }
    else{
        Toast.makeText(this.getApplicationContext(), "WARNING: COULD NOT LOAD Opencv Libraries!", Toast.LENGTH_SHORT).show();
    }
}
Then call it in the onCreate function.
Binding components:

3. And operation examples
The size of the two pictures should be the same as that of the operation.
Complete mainactivity The Java code is as follows:
package com.example.tstapp;

import androidx.appcompat.app.AppCompatActivity;

import android.graphics.Bitmap;
import android.os.Bundle;
import android.view.View;
import android.widget.Button;
import android.widget.ImageButton;
import android.widget.Toast;

import org.opencv.android.OpenCVLoader;
import org.opencv.android.Utils;
import org.opencv.core.Core;
import org.opencv.core.Mat;

import java.io.IOException;

public class MainActivity extends AppCompatActivity {
    private Button bt1;
    private ImageButton imgbt1;
    private Mat mat1;
    private Mat mat2;
    private Mat mat3;
    private Bitmap bitmap1;
    @Override
    protected void onDestroy() {
        super.onDestroy();
        mat1.release();
    }
    @Override
    protected void onCreate(Bundle savedInstanceState) {
        super.onCreate(savedInstanceState);
        setContentView(R.layout.activity_main);
        initLoadOpenCv();
        bt1=findViewById(R.id.button);
        imgbt1=findViewById(R.id.imageButton);
        mat1=new Mat();
        mat2=new Mat();
        mat3=new Mat();
        try{
            mat1= Utils.loadResource(this,R.drawable.dog);
            mat2= Utils.loadResource(this,R.drawable.test);
        } catch (IOException e) {
            e.printStackTrace();
        }
        bt1.setOnClickListener(new View.OnClickListener() {
            @Override
            public void onClick(View view) {
                Core.bitwise_and(mat1,mat1,mat3);
                bitmap1=Bitmap.createBitmap(mat3.width(),mat3.height(),Bitmap.Config.ARGB_8888);
                Utils.matToBitmap(mat3,bitmap1);
                imgbt1.setImageBitmap(bitmap1);
            }
        });
    }
    private void initLoadOpenCv(){
        boolean success= OpenCVLoader.initDebug();
        if(success){
            Toast.makeText(this.getApplicationContext(), "Loading Opencv Libraries", Toast.LENGTH_SHORT).show();
        }
        else{
            Toast.makeText(this.getApplicationContext(), "WARNING: COULD NOT LOAD Opencv Libraries!", Toast.LENGTH_SHORT).show();
        }
    }
}
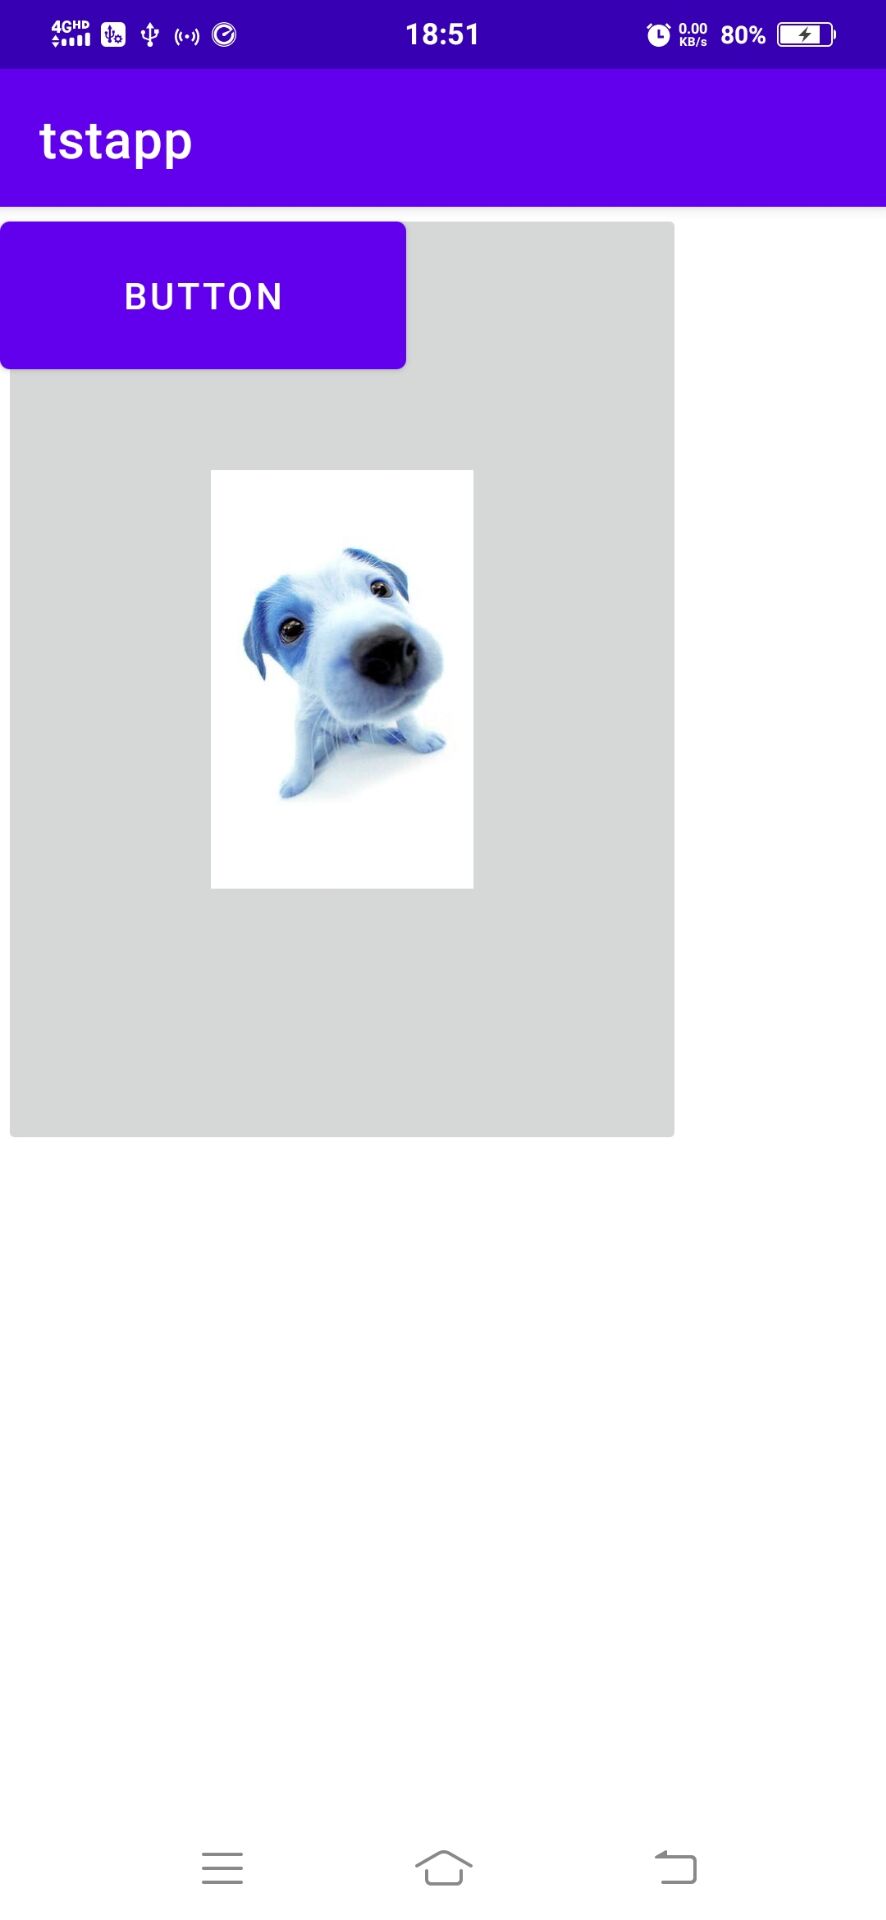
The dog is the imported picture resource. The above code performs the same picture and operation. The effect is as follows:
Before clicking the button:

After clicking the button:

4. Gray conversion example
Click the button to change the function to the following function.
        bt1.setOnClickListener(new View.OnClickListener() {
            @Override
            public void onClick(View view) {
                Imgproc.cvtColor(mat1,mat3,Imgproc.COLOR_BGRA2GRAY);
                bitmap1=Bitmap.createBitmap(mat3.width(),mat3.height(),Bitmap.Config.ARGB_8888);
                Utils.matToBitmap(mat3,bitmap1);
                imgbt1.setImageBitmap(bitmap1);
            }
        });
So far, the environment has been completely run through.