preface
1, Continuous integration
1. Software development life cycle
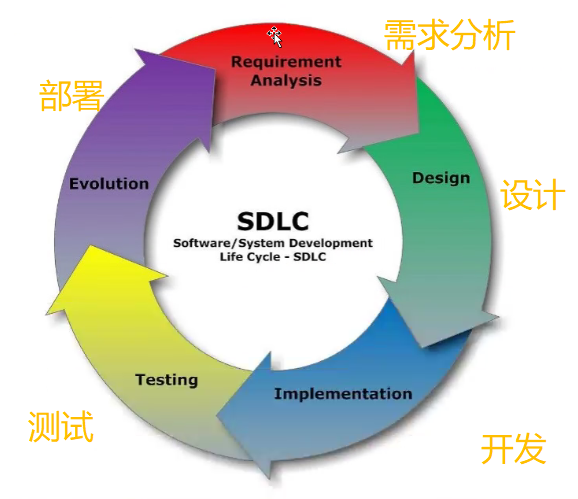
Software development life cycle SDLC, a collection of plans, development (code landing), testing (function test / stress test / unit test / release online) - > collect user feedback ----- > upgrade
2. Software development waterfall model
Waterfall model of software development (traditional) ---- > pipeline work -------- requirement analysis ----- design ----- implementation ----- test ----- release ----- collect feedback
advantage
Advantages: it is fast, simple and easy to use. It only pays attention to the previous stage and does not pay attention to the later stage. It provides inspection nodes divided by stages for the project
shortcoming
The partition of each node is fixed and cannot be returned/Delay time/Waste resources/Each stage produces a large number of documents, which greatly increases the workload/
Wait until the end of the last step of the product to achieve considerable results and increase the development risk/Does not adapt to changes in user needs
2, Agile development
1. Iterative development
The traditional development adopts a large cycle for development. During iterative development, the development process is divided into multiple small cycles, that is, one "large development" becomes multiple "small development"
Split into step by step
case
SpaceX The company wants to build a high thrust rocket to send humans to Mars. However, instead of building a large rocket from the beginning, it first built the simplest small rocket  Falcon  1. As a result, the first launch exploded, and it was not until the fourth launch that it successfully entered orbit. Then, a medium-sized rocket was developed Falcon 9,70 launches in nine years. Finally, it is developed Falcon Heavy rocket. If SpaceX Without iterative development, it may not go to heaven until now
2. Incremental development
Small and medium-sized companies, the purpose is to control costs
Each version of the software will add a complete function that users can perceive. That is, iterations are divided according to new functions.
case
 The real estate company develops a 10 building community. If the incremental development mode is adopted, the first iteration of the company is to deliver Building 1 and the second iteration is to deliver Building 2	Each iteration is to complete a complete building. Instead of digging the foundation of 10 buildings in the first iteration, building the skeleton of each building in the second iteration and erecting the roof in the third iteration.
3. Agile development
The software is developed into multiple iterations, and each iteration is a complete software development cycle
Core idea -- < < decoupling >
advantage
 advantage:Early delivery---->cost reduction---->Reduce risk---->Timely understand the market demand and reduce the risk of product inapplicability
3, What is continuous integration
Frequently integrate the code into the trunk, and the purpose is to continue the collection, so that the product can iterate quickly and ensure the quality
Before reaching the backbone, the test must be automated. As long as one test case fails, it cannot be integrated (avoiding cost and time)

Teams can quickly move from one function to another
technological process
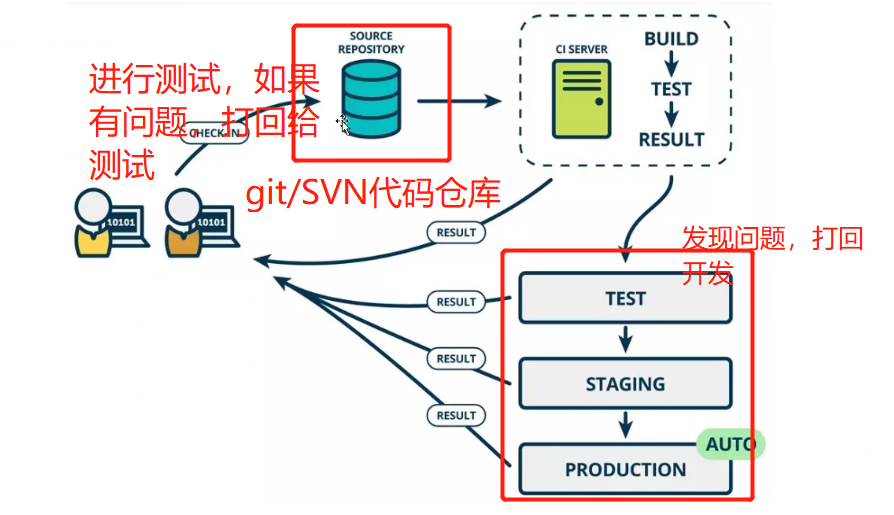
Submit - Test [round 1] - build - Test [round 2] - deploy - rollback
4, Components of CI
Constituent elements

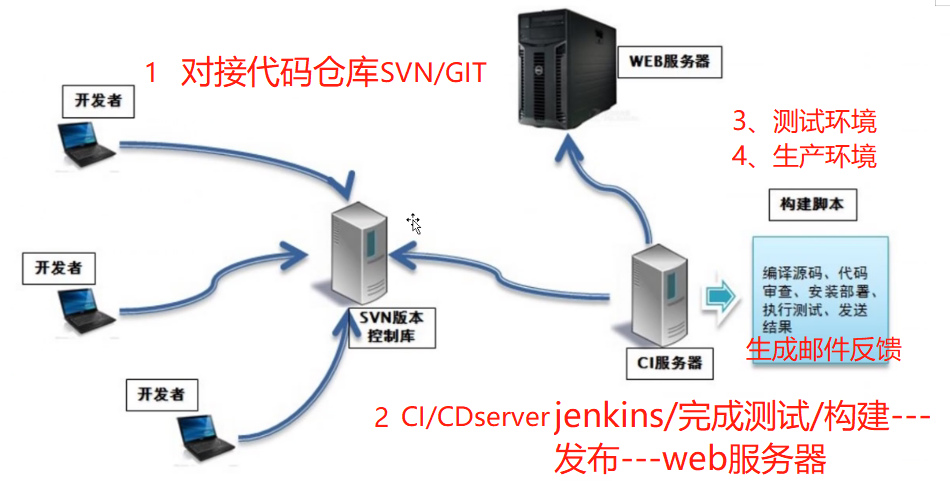
1,An automatic construction process, from code detection, compilation, testing, results and testing are all completed automatically
2,A code repository needs version control software to ensure the maintainability of the code. It is generally used SVN/GIT
3,Code cloud is generally used Gitee Domestic github/Generally, private warehouses are built/
4,A continuous integration server, jenkins complete
5,development------SVN/GIT-----ci/cd Compile, build, deploy------testing environment-----Operation and maintenance (migration) [data migration] in billions PB Level) production environment
advantage

Reduce risk and repair cost
 Health testing
 Reduce duplication of work
 Provide deployment unit package to facilitate unit testing of test engineers
 Improve quality
5, Jenkins
Insert code here is a popular open source continuous integration tool, which is widely used in project development and has the functions of automatic construction, testing and deployment
1,Open Source java Language development, continuous integration tools, support continuous integration and continuous deployment------>JDK
2,Easy to install and deploy configuration: Yum Install, download project package----<war package>----/adopt docker Container quick install deployment. convenient web Interface deployment management
3,RSS/E-mail adopt RSS Pass when publish build is complete e-mail Notifications, generating JUNIT/TestNG Test (the mail configuration after upgrade is different, which should be paid attention to)
4,Distributed build: build jenkins colony
5,Document identification: jenkins Track which builds generate which jar
6,Rich plug-in support: git/svn/maven/docker
6, Build java environment
Compiler 1.8jdk environment
First step
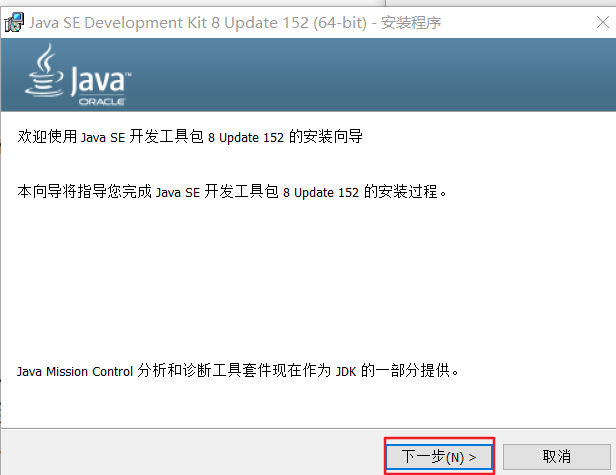
Step two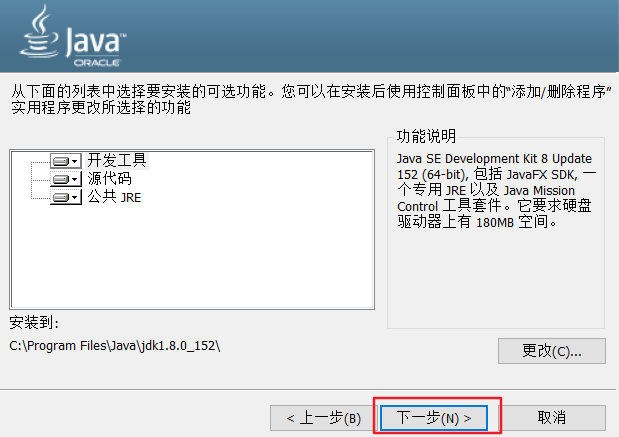
Step 3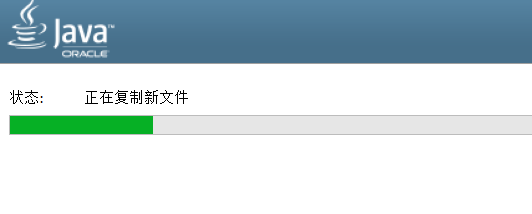
Step 4
Step 5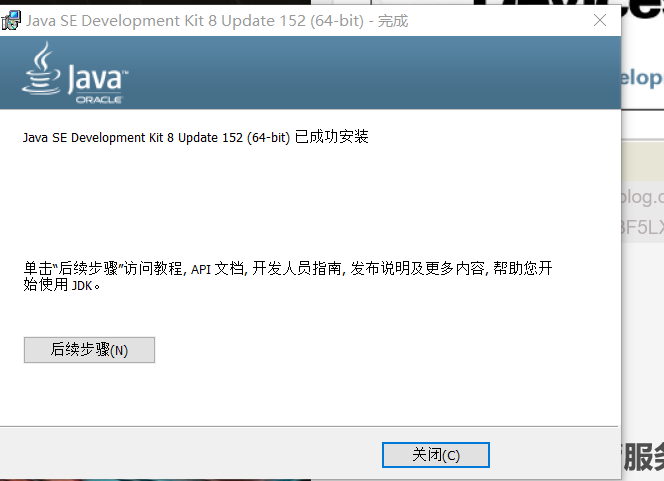
Step 6: Click C disc
 Step 7: Click programfilm
 Step 8: Click java
 Step 9: Click jdk1.8.0_152
 Step 10: Click bin
 Step 11: Click javac
 Step 12: this computer property
 Step 13: Advanced Settings
 Step 14: environmental variables
 Step 15: system variables
 Step 16:\bin\address(This address is: C disc-->javac All addresses)
ideaIU
Step 1: installation
 Step 2: change the path
 Step 3: click 64/java/add
 Step 4: click Install
 Step 5: automatically generate to the specified path
 Step 6: restart later
 Step 7: complete
 Step 8: enter the software/bin in
 Step 9: transfer jetbrains-agent Copy into/bin in
 Step 10: in/bin Medium editing idea64.exe.vmoptions Add the following
-javaagent:G:\IntelliJ IDEA 2019.3.1\bin\jetbrains-agent.jar
 Step 11: copy the activation code
 Step 12: open intellij IDEA The application program can paste the copied activation code into it
 Step 13: open intellij IDEA
 Step 14: create New project
 Step 15: select the menu Maven
 Step 16;Right side interface 1 Creat from archetype Tick. 2. Select below to webapp Ending options
 Step 17: modify Name After, the path of the file can be placed on the specified disk
7, Gitlab code managed server installation
1. What is Gitlab
Gitlab official website: https://about gitlab. com
Gitlab is an open source project for warehouse management system. It uses gitlab as a code management tool and builds web services on it
Gitlab can be deployed on its own server, and all information such as database is in its own hands, which is suitable for collaborative development within the team
2. Installing Gitlab
Gitlab installation
Code one
First step
yum install -y policycoreutils openssh-server openssh-client postfix

Code two
Step two
systemctl enable sshd && sudo systemctl start sshd

Code three
Step 3
systemctl enable postfix && systemctl start postfix

Code 4 [if the firewall is closed, this configuration is not required]
Step 4
firewall-cmd --add-service=ssh --permanent
firewall-cmd --add-service=http --permanent
firewall-cmd --reload

Code five
Download gitlab package and install
Download the installation package online
wget
https://mirrors.tuna.tsinghua.edu.cn/gitlab-ce/yum/el6/gitlab-ce-12.4.2-ce.0.el6.x86_64.rpm
Installation:
Step 5
rpm -ivh gitlab-ce-12.4.2-ce.0.el6.x86_64.rpm

Code six
Modify gitlab configuration
vim /etc/gitlab/gitlab.rb
Step 6
vim /etc/gitlab/gitlab.rb
23 external_url 'http://192.168.199.10:82'
1112 nginx['listen_port']=82
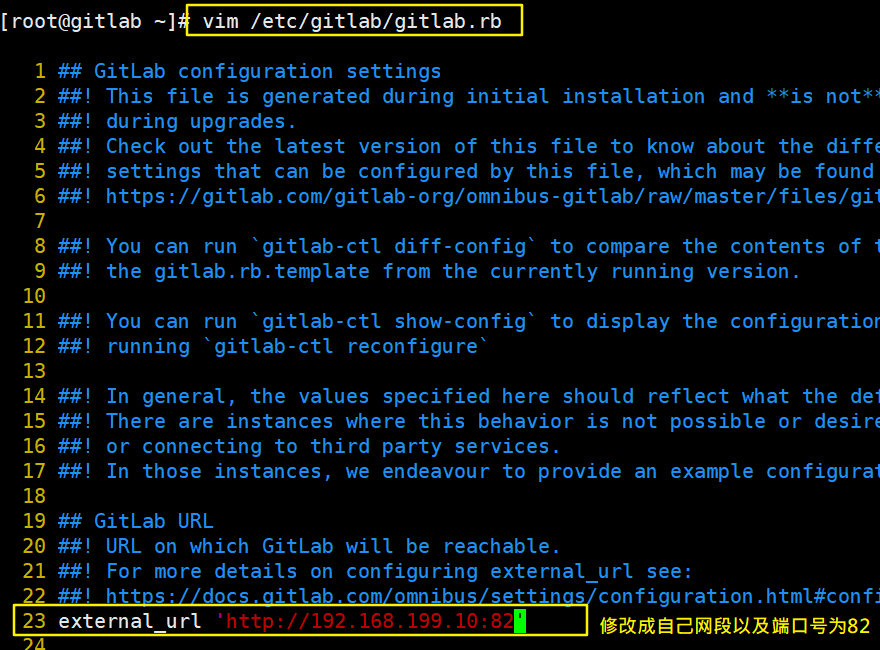

Code seven
Overload configuration
gitlab-ctl reconfigure

Code eight
Start gitlab
gitlab-ctl restart


Code nine
Add port to firewall
firewall-cmd --zone=public --add-port=82/tcp --permanent
firewall-cmd --reload

web page
First step
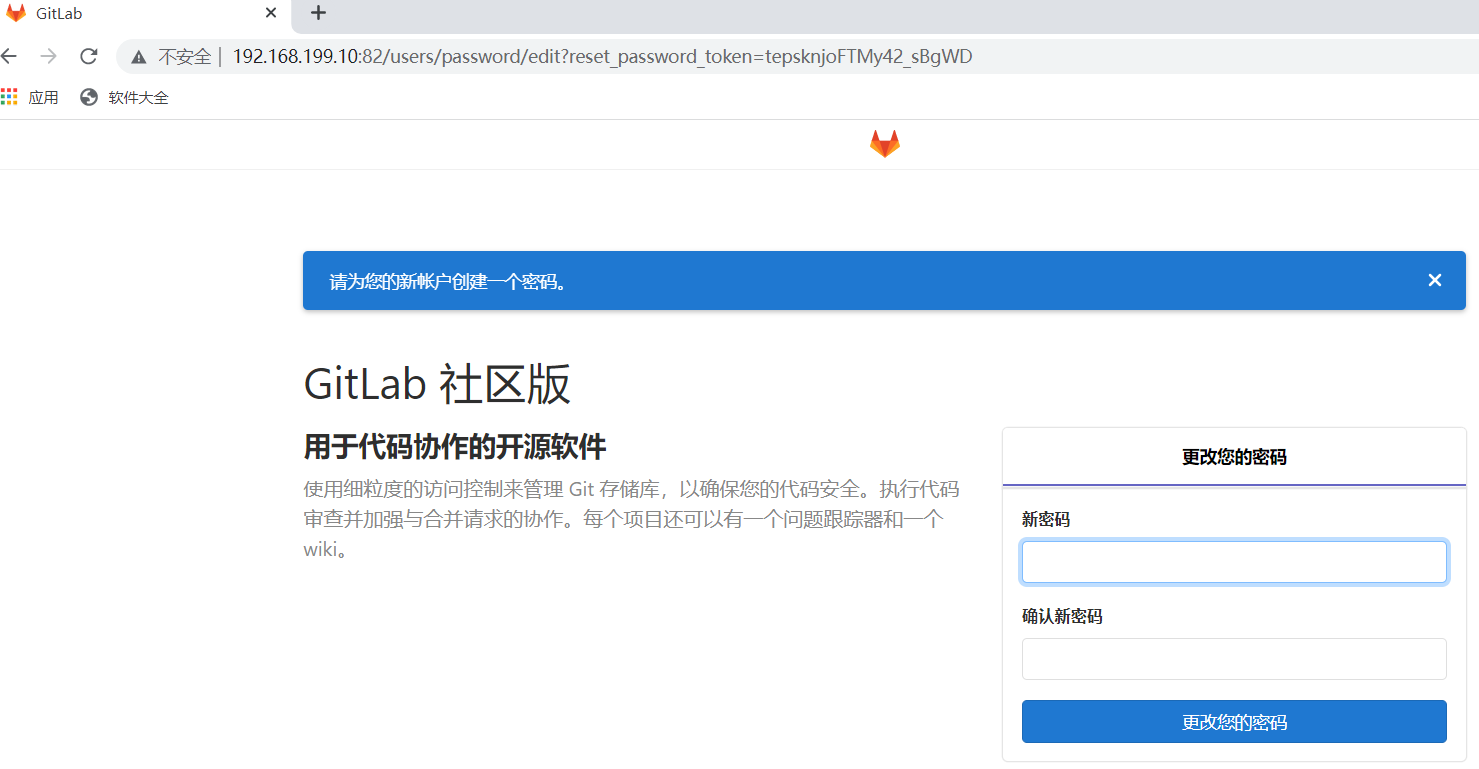
Step two
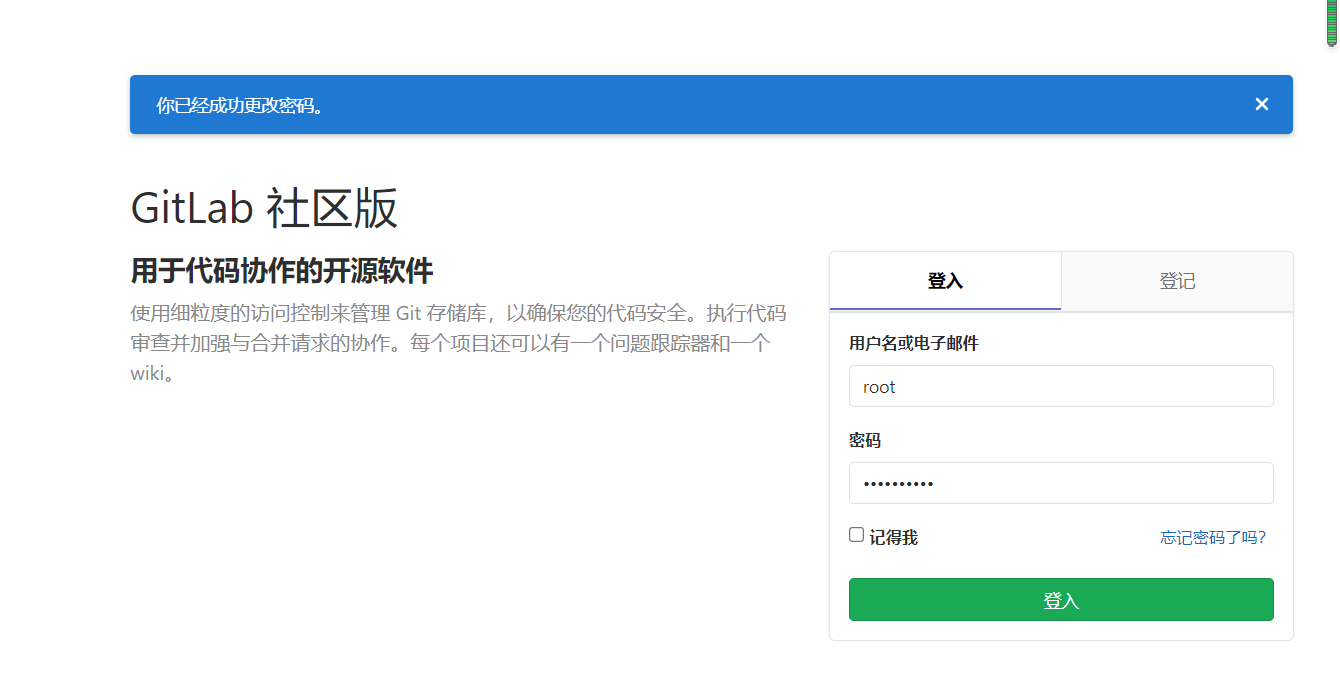
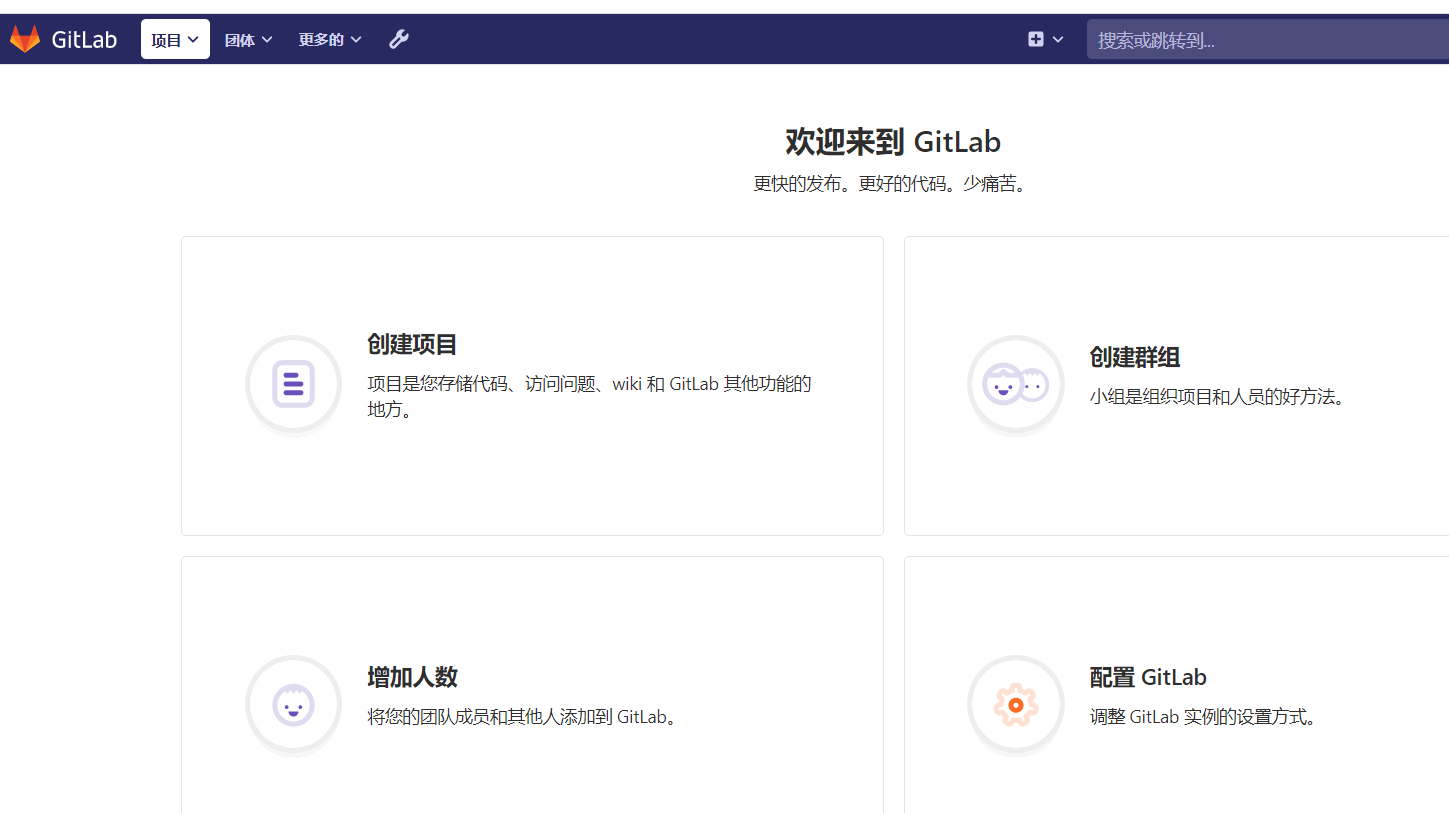
1, Add group / create a group
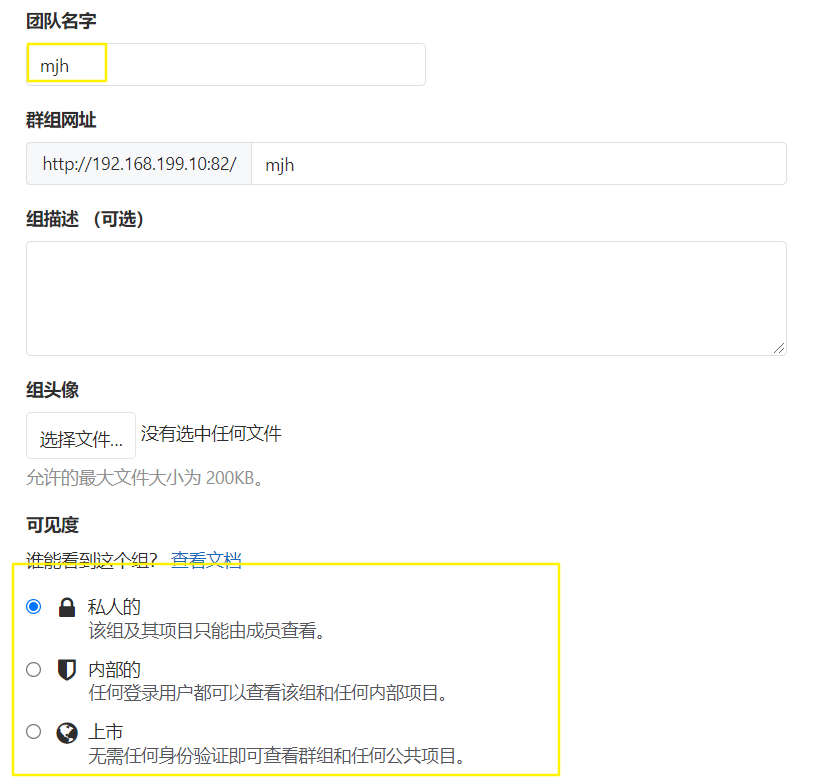
Step 1: create a group
 Step 2: write team name
 Step 3: select the visible range
private---private
internal---inside
public---open
 Step 4: click Create/create group Button

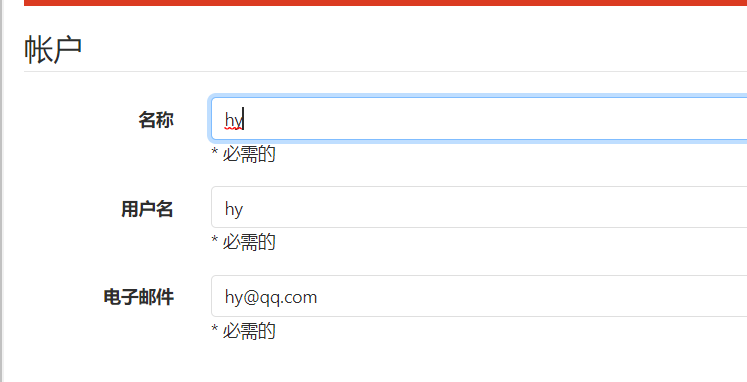
2, Add user / add people
Step 1 fill in personal information
 Step 2: create a user/add people
 Step 3 modify edit --Purpose change password
 Step 4: change the password
Step 5 submit modification information




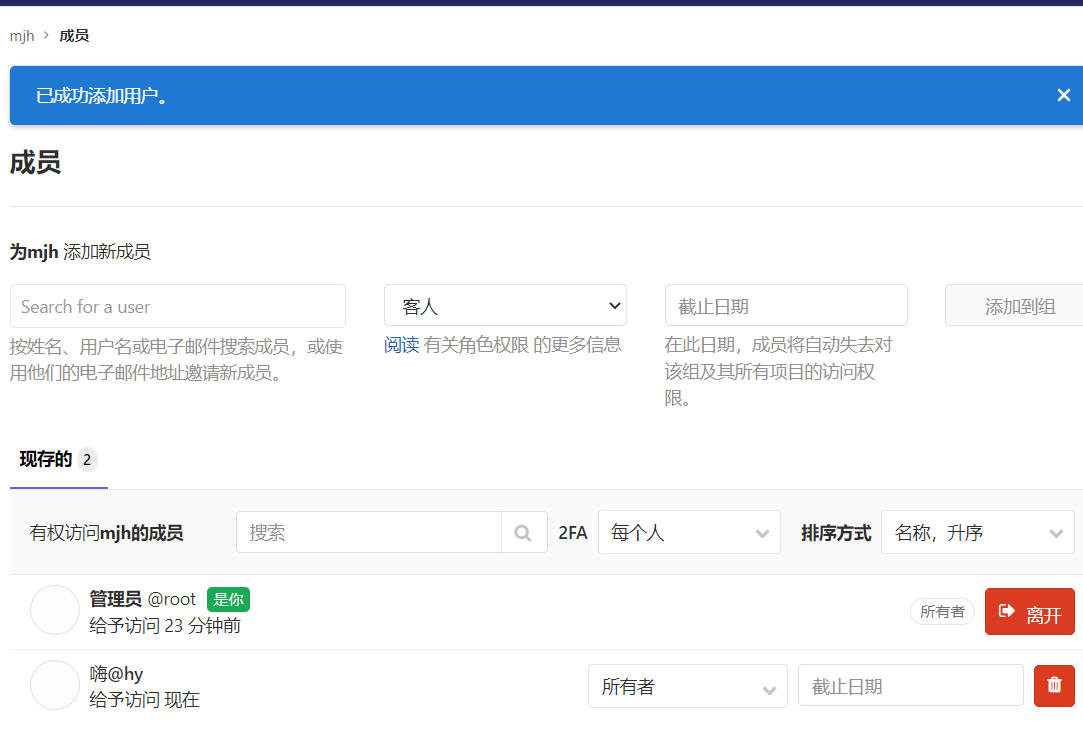
3, Add user to group
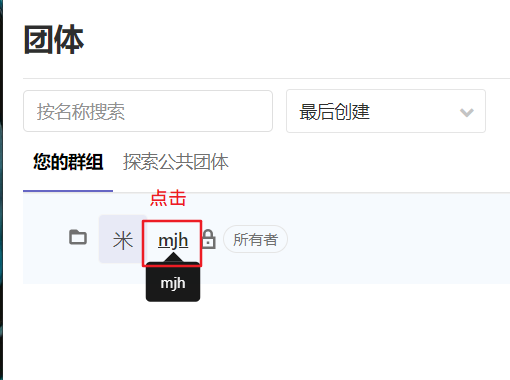
Step 1 Click group
 Step 2: click the group name
 Step 3 Click member
 Step 4: add members to the group
 Step 5 assign roles to members
Guest: Can create issue,Comment, cannot read or write version Library
Reporter: Code can be cloned, but not submitted, QA,PM You can give this permission
Developer: You can clone code, develop, submit push,Ordinary developers can grant this permission
Maintainer: You can create items, add tag,Protect branches, add project members and edit projects. Core development can grant this permission
Owner: You can set project access permissions - Visibility Level,The leader of the development team can grant this permission to delete projects, migrate projects and manage team members
 Step 6 click OK
Click group
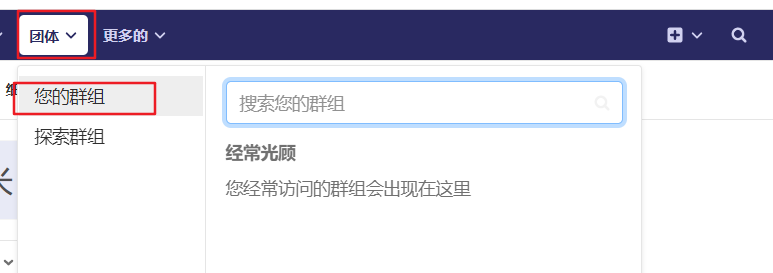
Click members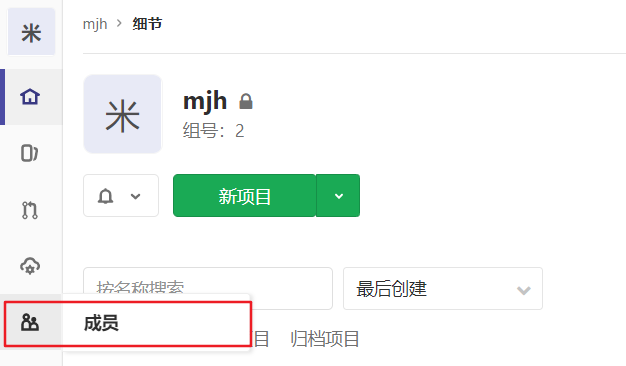
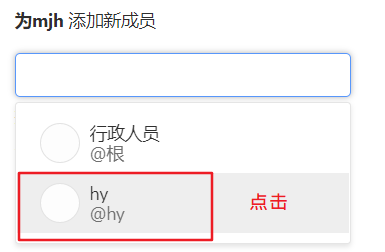
Click owner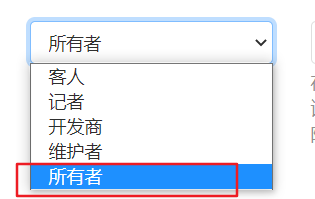
Click add to group
4, Create project
Step 1 Click new project
 Step 2 fill in the project name
 Step 3 click OK to complete the project creation
Click new project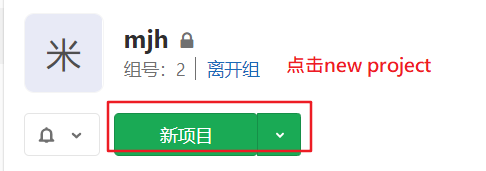
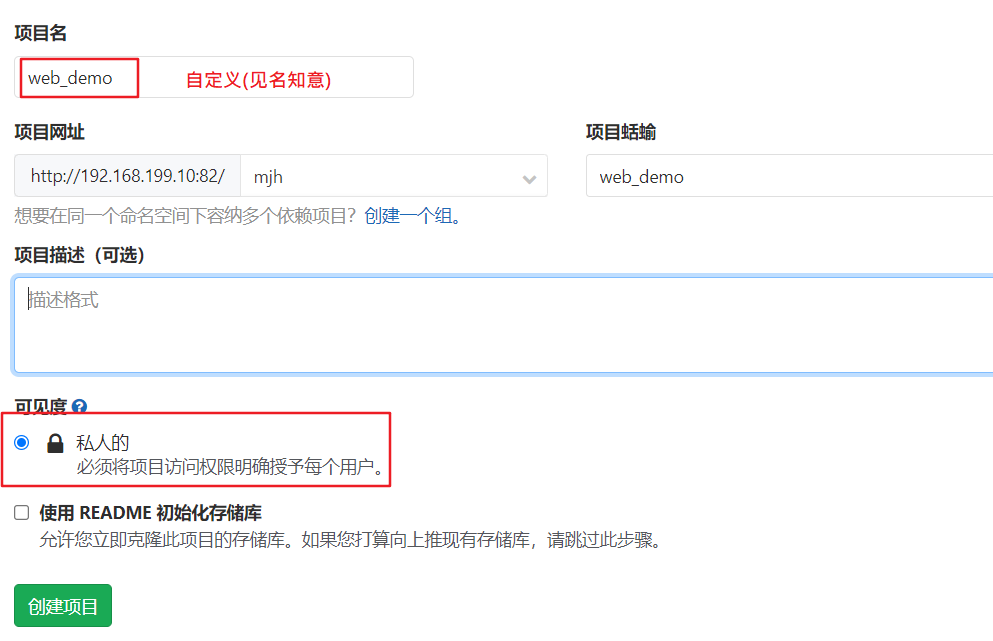
Docking form
