target
Under windows, make an 8GB USB flash disk as a multi boot USB flash disk for grub2 boot (start wepe, install centos7,debian10, etc.)
Support both bios motherboard and uefi motherboard
Tool preparation
a. A windows 10 computer
b. The virtualbox is installed on the windows 10 computer, and a linux virtual machine is installed
c. A U SB flash disk. The capacity here is 8GB
d. Some software
Partition software diskgenius https://www.diskgenius.cn/download.php
grub-2.04-for-windows https://ftp.gnu.org/gnu/grub/grub-2.04-for-windows.zip
grub4dos http://dl.grub4dos.chenall.net/grub4dos-0.4.6a-2021-05-16.7z
System image
centos7 http://isoredirect.centos.org/centos/7/isos/x86_64/
debian10 https://cdimage.debian.org/debian-cd/current/amd64/iso-cd/
Debian 10 installs the required vmlinuz and initrd GZ two files
Micro PE toolbox http://www.wepe.com.cn/download.html
Gparted https://gparted.org/download.php
Step description
Partition and format USB flash disk - > install grub2 to USB flash disk - > place files and configure grub2 CFG - > test the starting effect of u disk
Detailed steps
1. Partition and format of U disk
Using partition software diskgenius Divide the USB flash disk into an area, the type is GPT or MBR, and the file system selects fat32 format. Because UEFI supports booting in fat32 format,
UEFI does not support ntfs format boot. In order to ensure compatibility with BIOS and UEFI firmware, the file system in fat32 format is selected.
Zoning is risky, novices must be cautious! USB flash disk has data, which must be backed up first. Distinguish between hard disk and USB flash disk, choose USB flash disk operation, and never operate the computer's hard disk.
Official partition help page https://www.diskgenius.cn/help/index.php?from=dg
The following figure is a screenshot of my U SB flash drive after clearing all partitions, creating new partitions and formatting them as fat32.
It can be seen that after the partition is successful, there are 2048 reserved sectors in the front of the u disk, which is just 1024KB, ensuring the successful writing of grub2.

2. Install grub2 to u disk
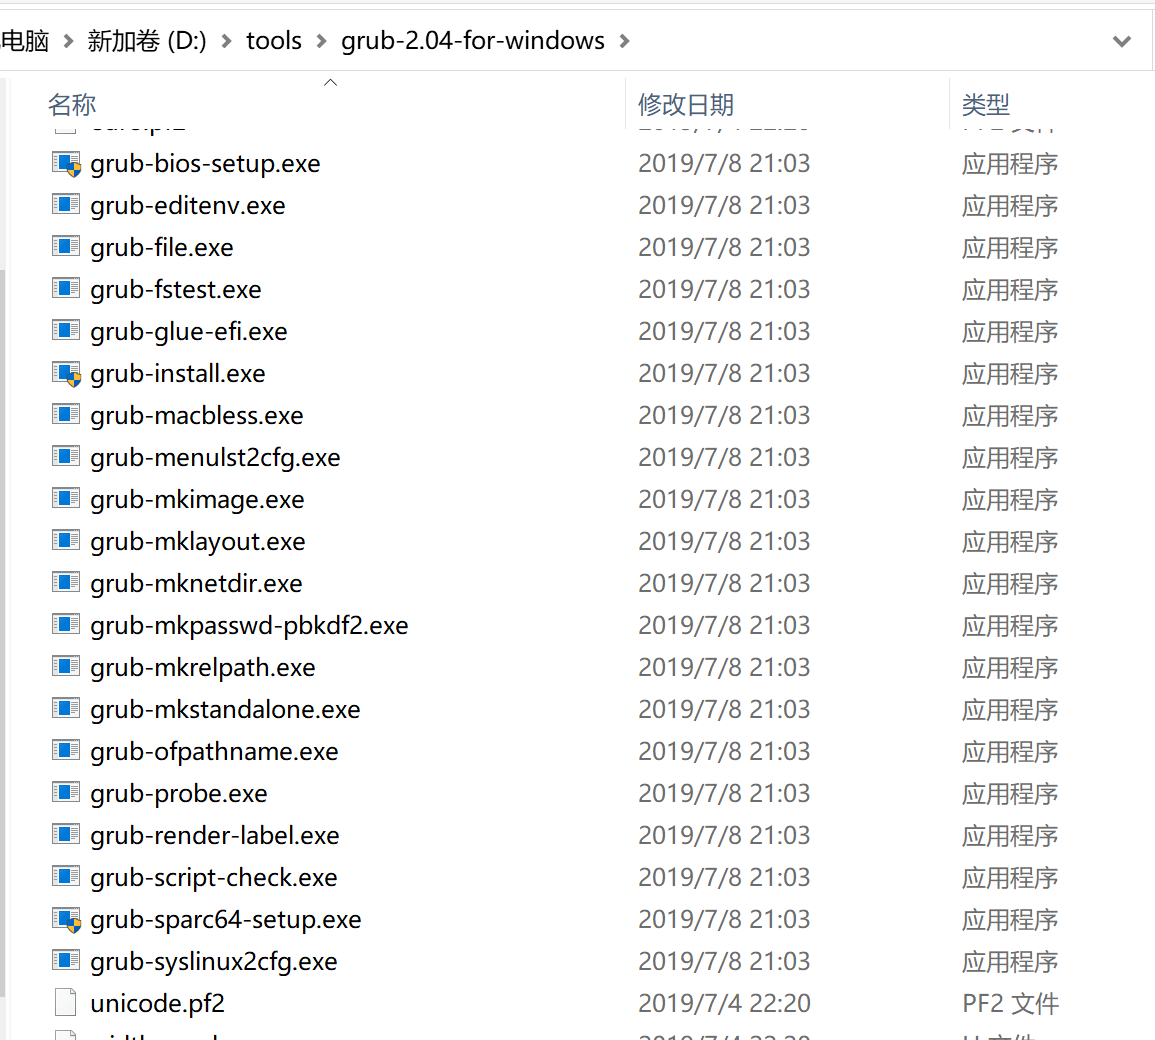
Download good grub2-2.04-for-windows , unzip it to disk d, for example, d:\tools\grub-2.04-for-windows
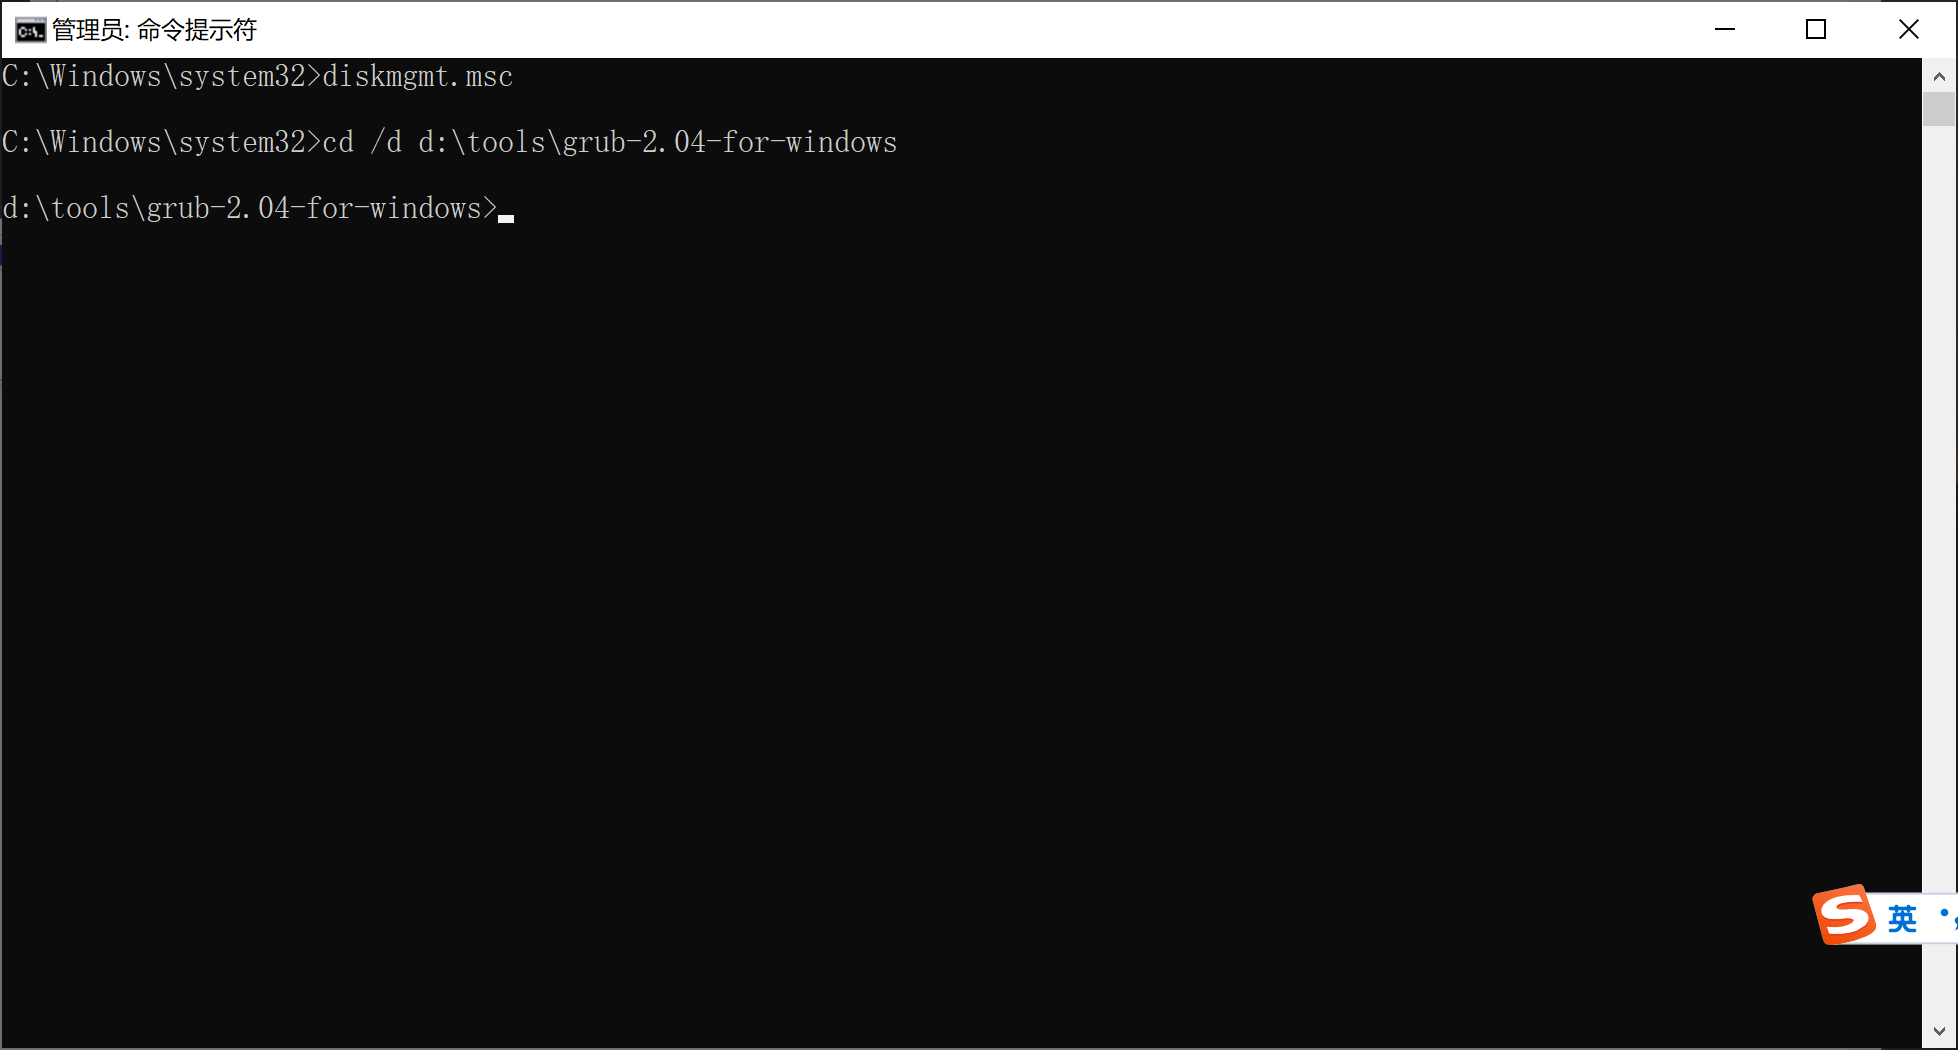
Click the search button in the lower left corner of the computer, enter cmd, and click "run as administrator".
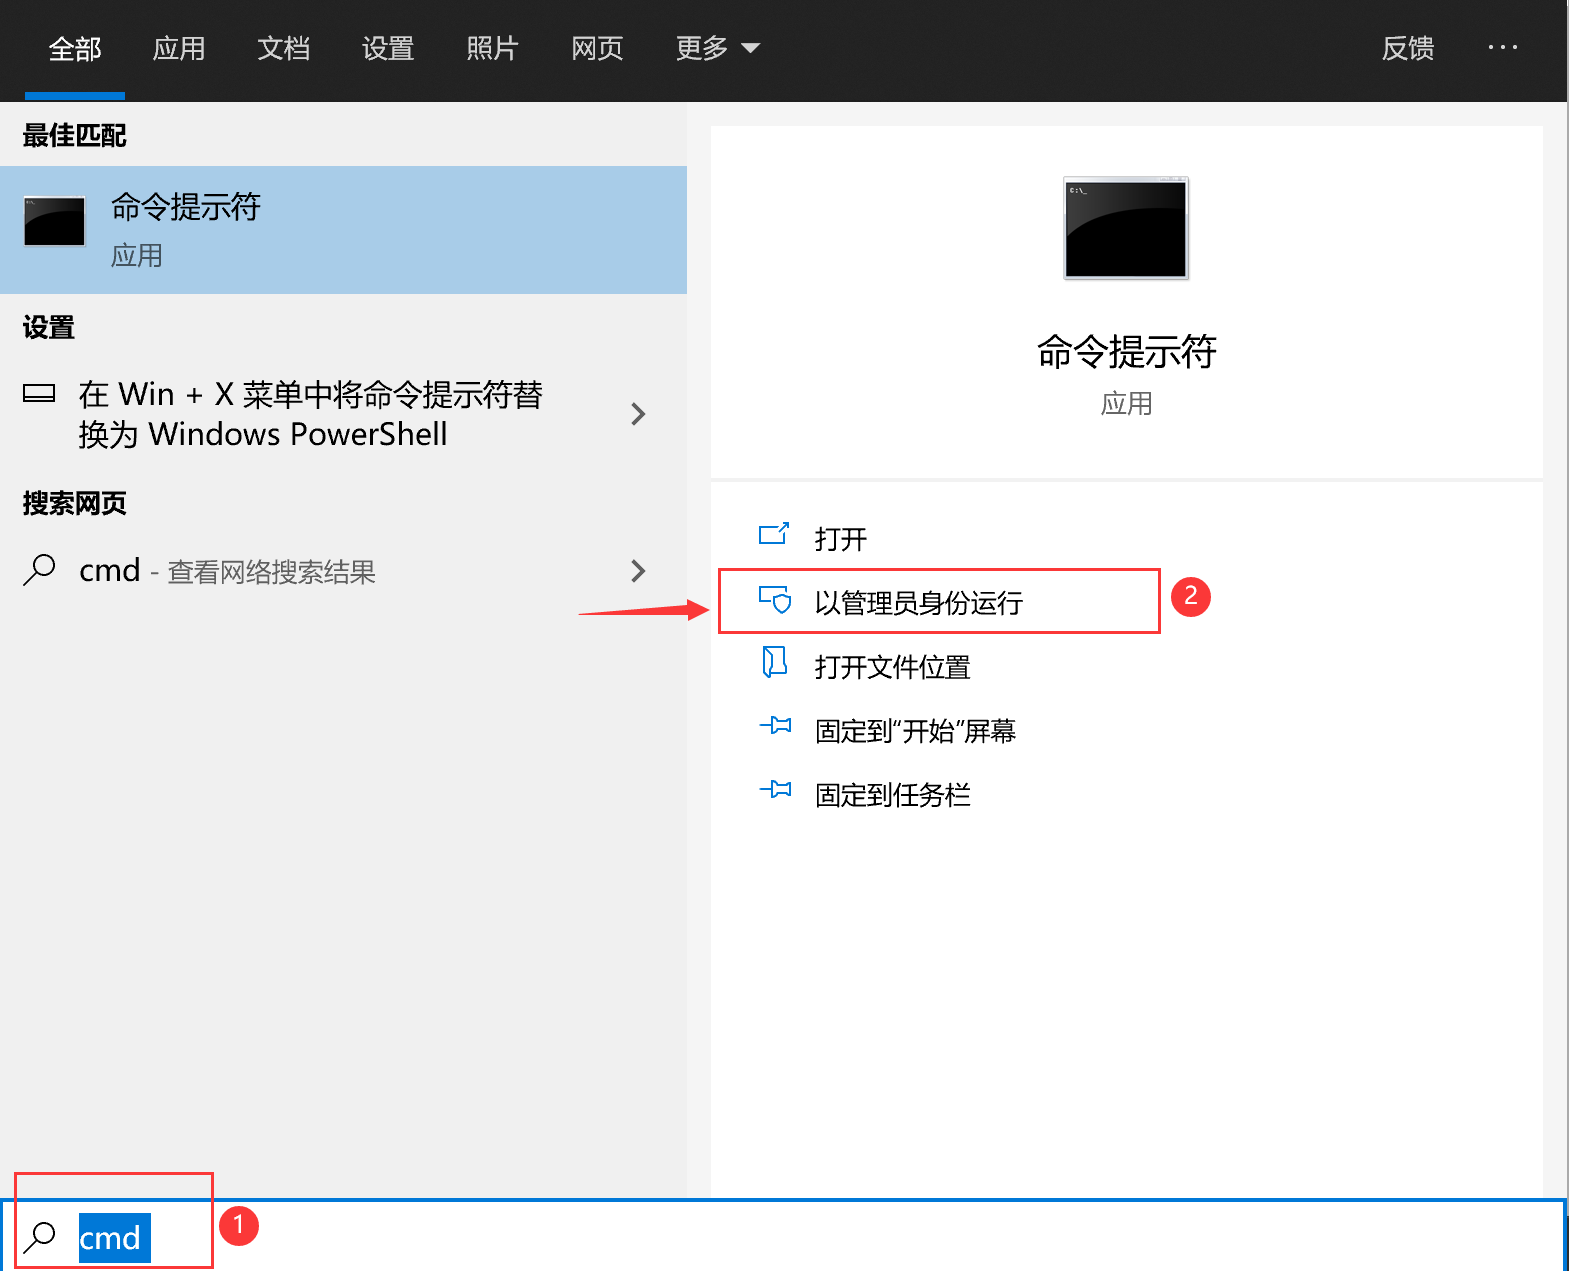
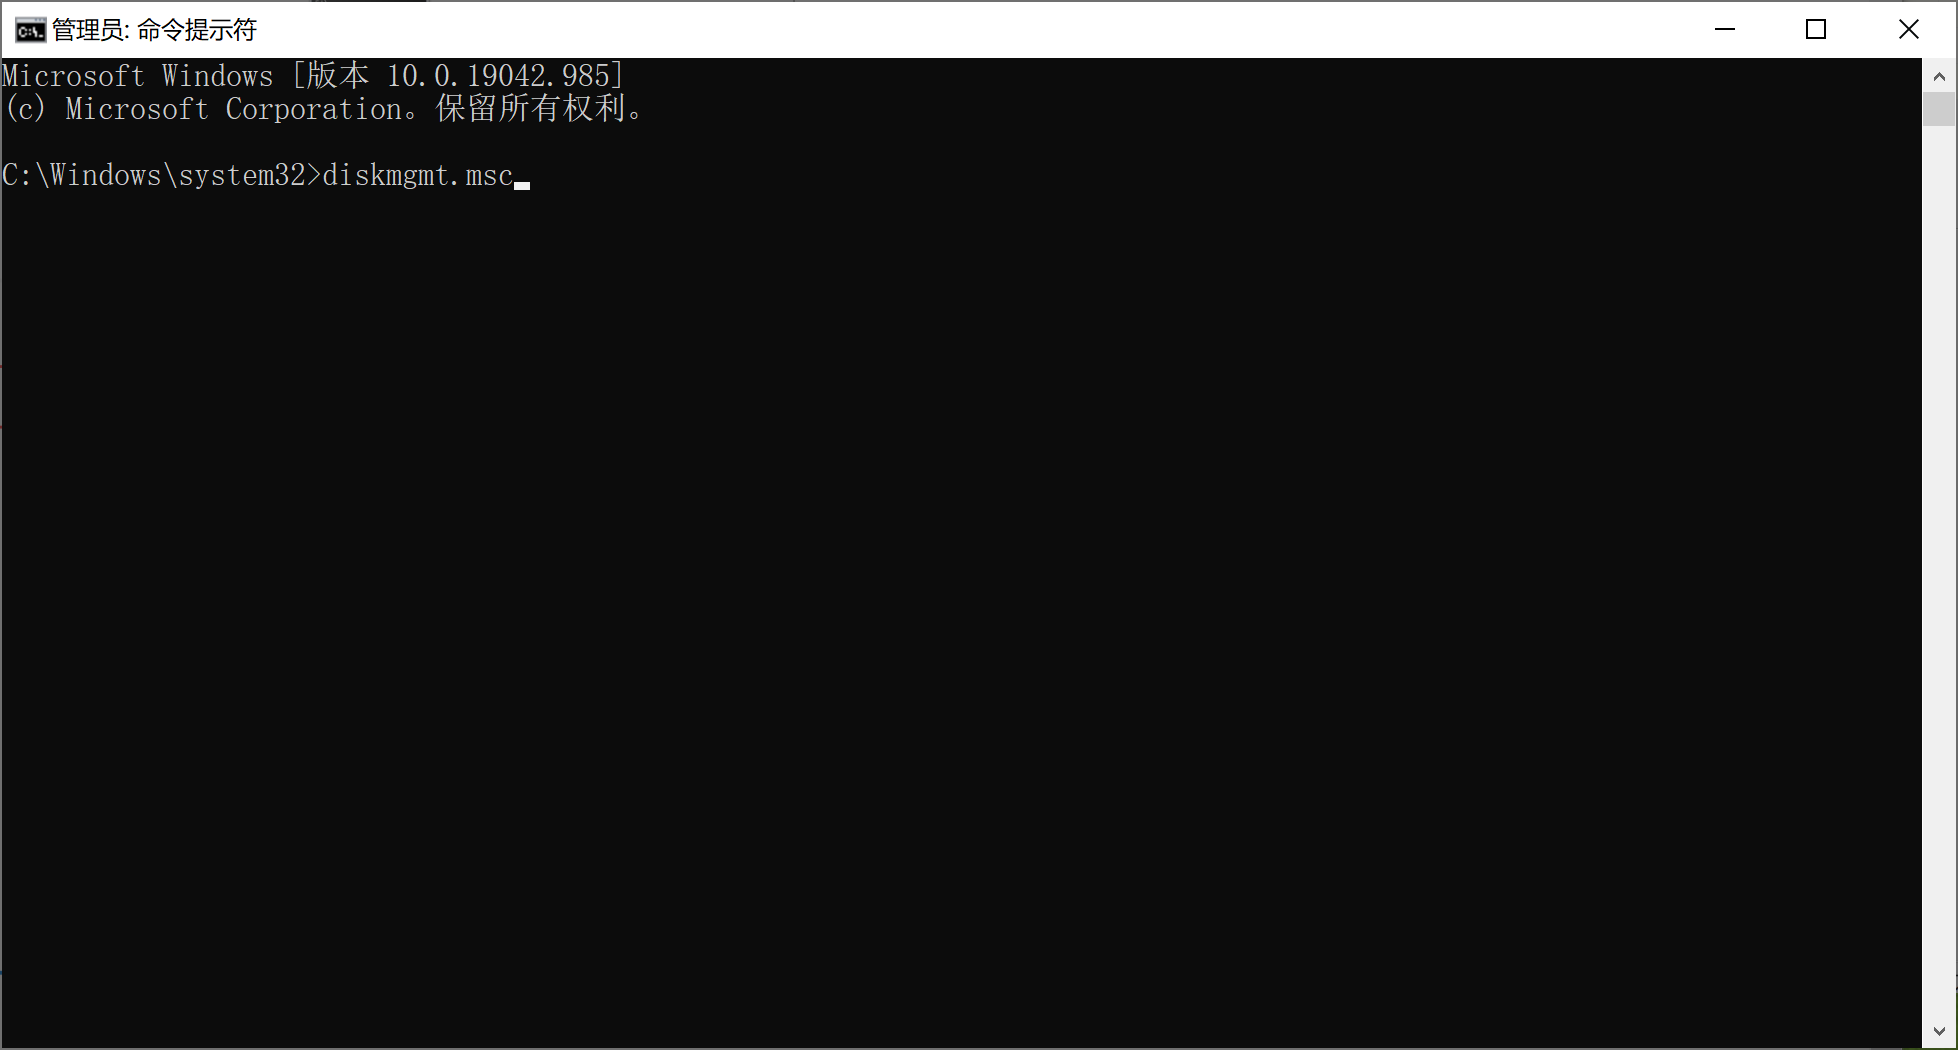
Enter the command prompt in GMT MSc, press enter to open. Check the number and letter of the U SB flash drive.
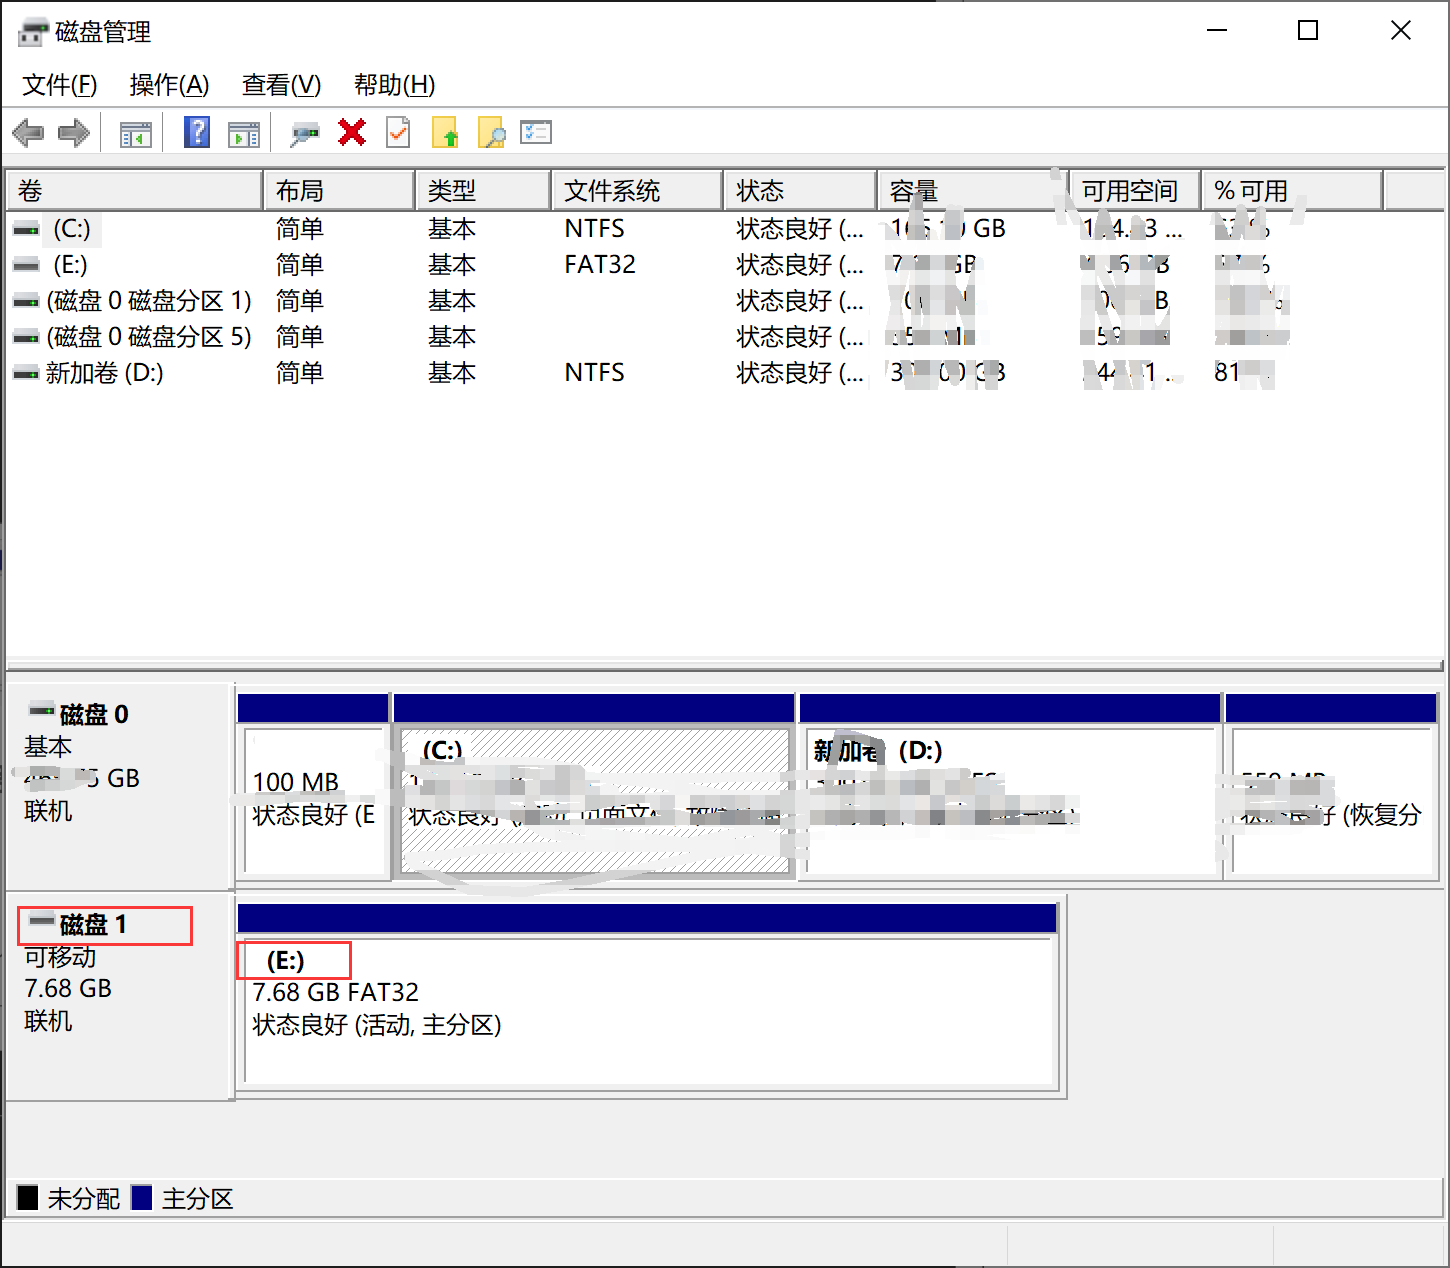
The u disk here shows disk 1, and the description number is 1. The drive letter is E. It will be used when installing grub2. It is very important. Please match the following commands.
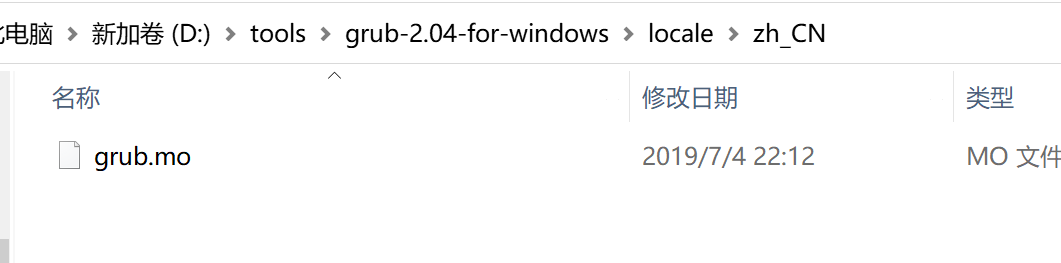
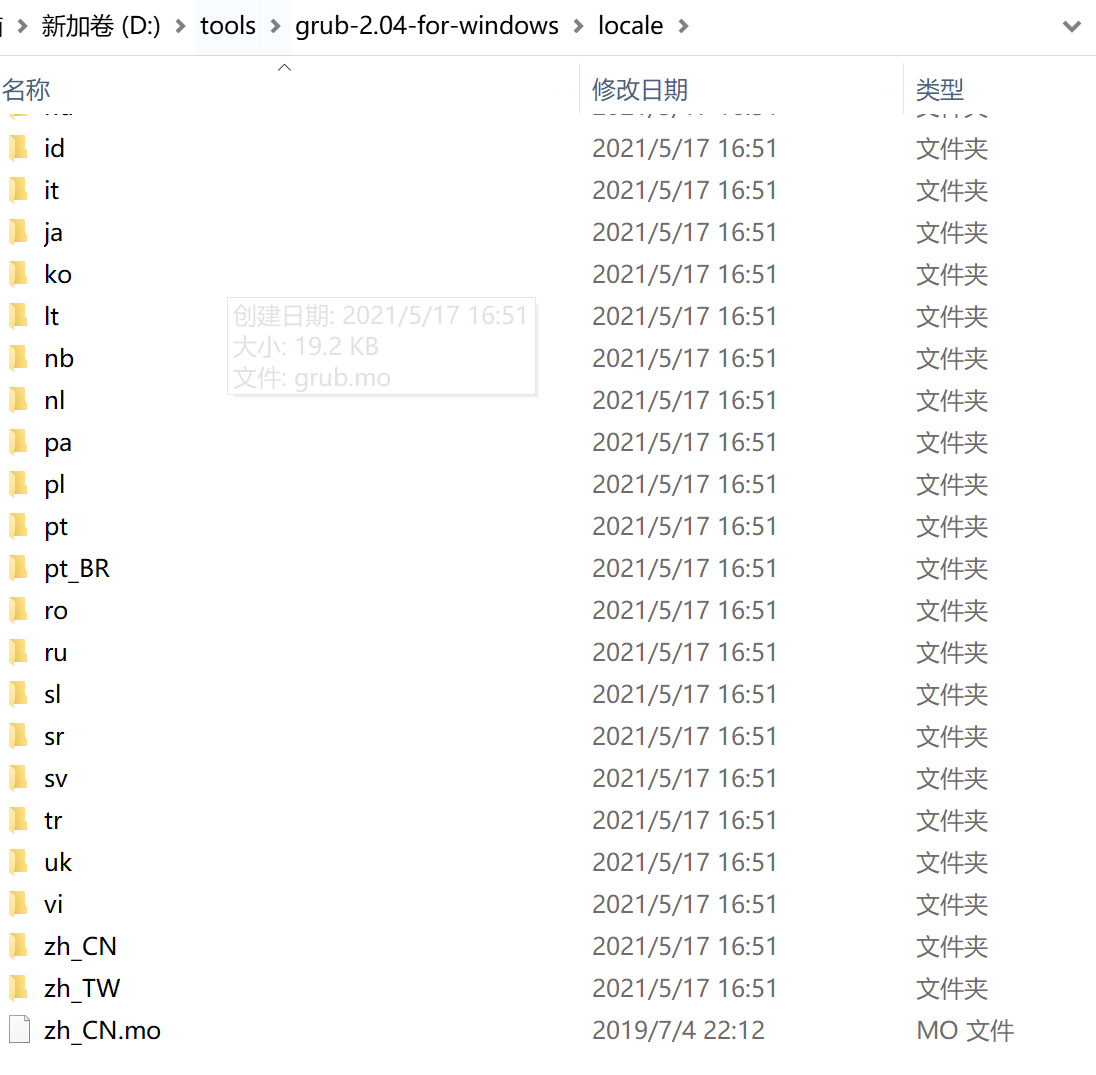
Before installing Grub2 to the u disk, open the locale folder of grub2-2.04-for-windows and put zh_ Grub.cn folder Copy Mo to
The locale folder of the superior and renamed zh_CN.mo.
grub2 is now ready to install.
Enter CD / D in the command prompt D: \ tools \ grub-2.04-for-windows. Press enter to enter the grub2 directory
The installation commands that support traditional bios boot are as follows. e refers to the drive letter e, / // PHYSICALDRIVE1 refers to disk 1. This must correspond to the disk management above.
grub-install.exe --force --no-floppy --target=i386-pc --themes=starfield --boot-directory=e:\boot //./ PHYSICALDRIVE1 (please change the actual parameters of your computer)

The installation commands that support i386 EFI boot are as follows. e refers to the letter e of u disk.
grub-install. Exe -- force -- removable -- no floppy -- target = i386 EFI -- themes = starfield -- boot directory = e: \ boot -- EFI directory = e: \ (please change the actual parameters of your computer)

Support x86_ The installation command of 64 EFI boot is as follows. e refers to the letter e of u disk.
grub-install. exe --force --removable --no-floppy --target=x86_ 64 EFI -- themes = starfield -- boot directory = e: \ boot -- EFI directory = e: \ (please change the actual parameters of your computer)

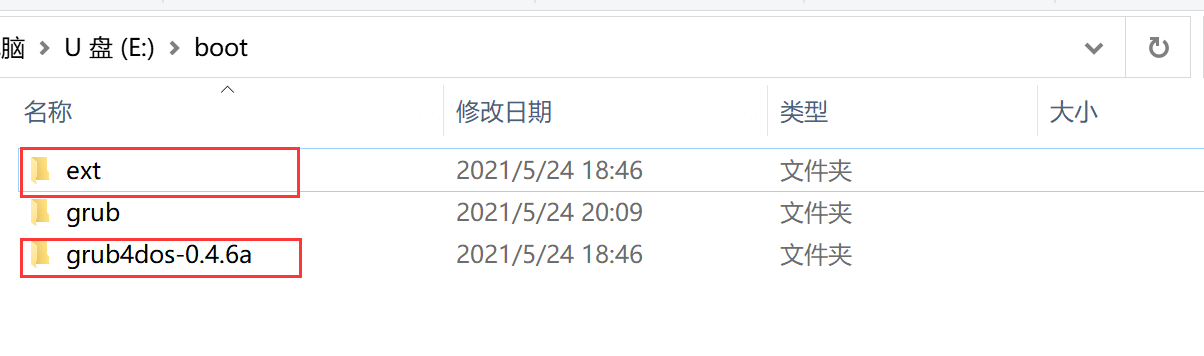
In order to better boot the windows pe system, we will also grub4dos Unzip it to the boot folder of the u disk. grub2 transfers control to grub4dos, which guides windows pe. Improve the success rate.
3. Place some files on the u disk and configure grub cfg
vmlinuz and initrd. In the root directory of disk u GZ is the kernel file required to install Debian 10
Create a new iso folder on the u disk and place some CD image files.
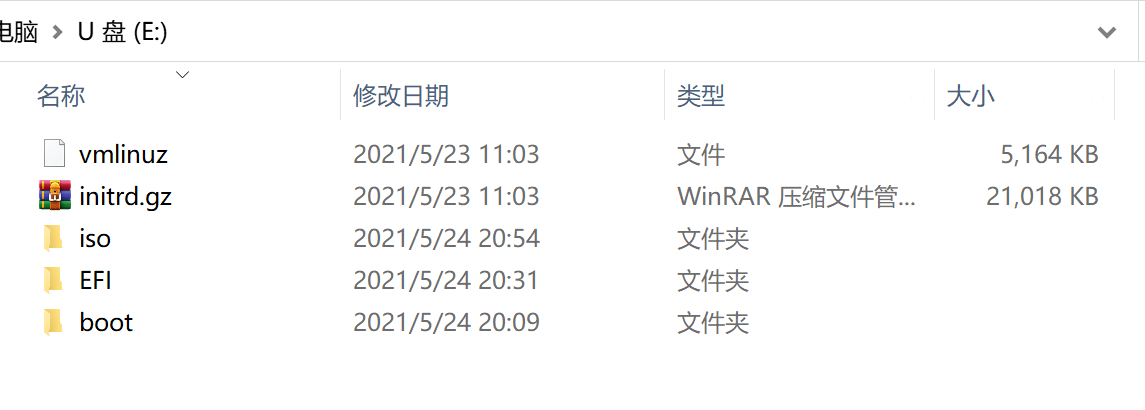

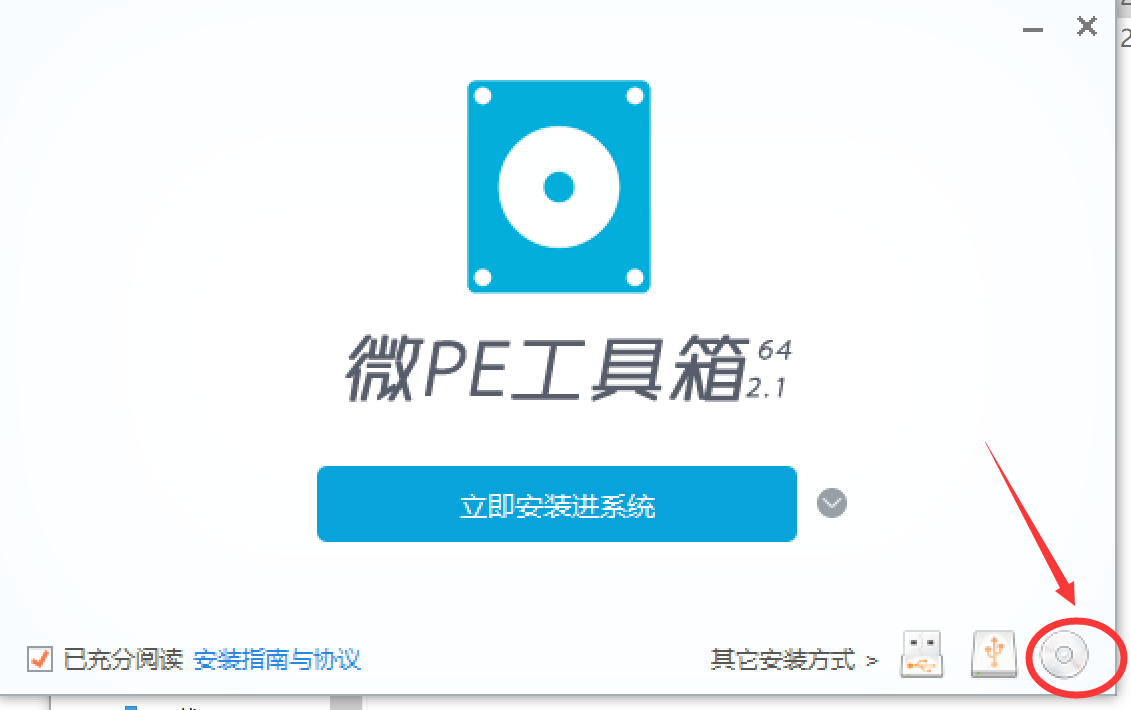
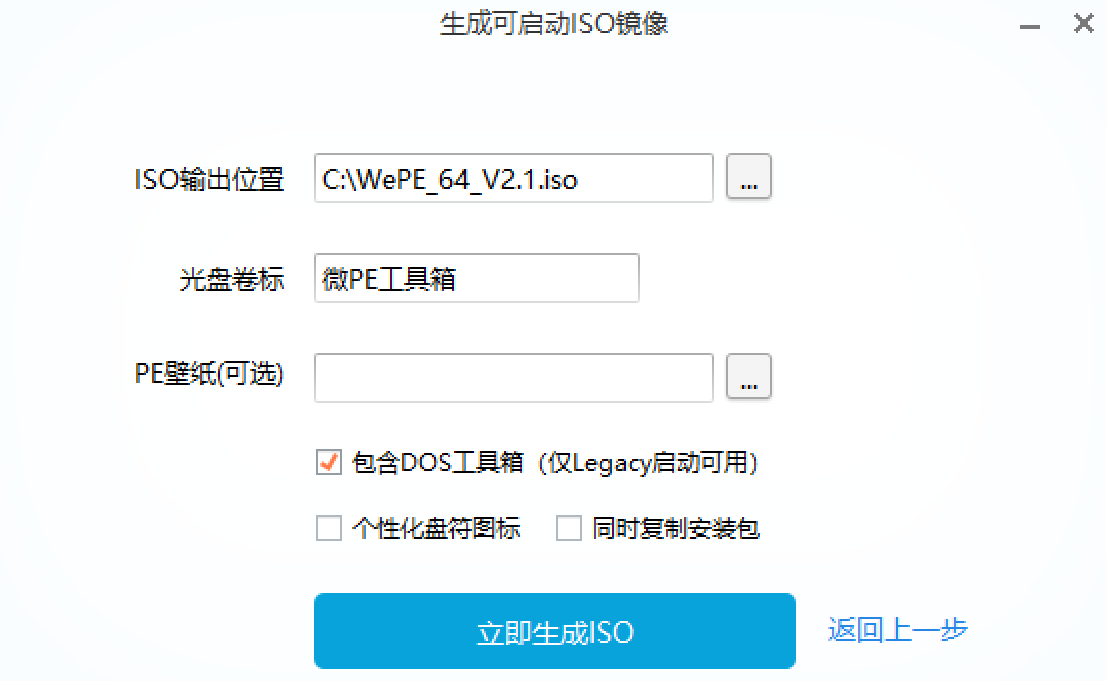
WePE_64_V2.1.iso is the ISO file in the root directory of Disk C generated by clicking the "CD" icon in "other installation methods" after the micro PE toolbox is running.
Use emeditor editor to create a new grub in the boot\grub folder of USB flash drive Cfg file.
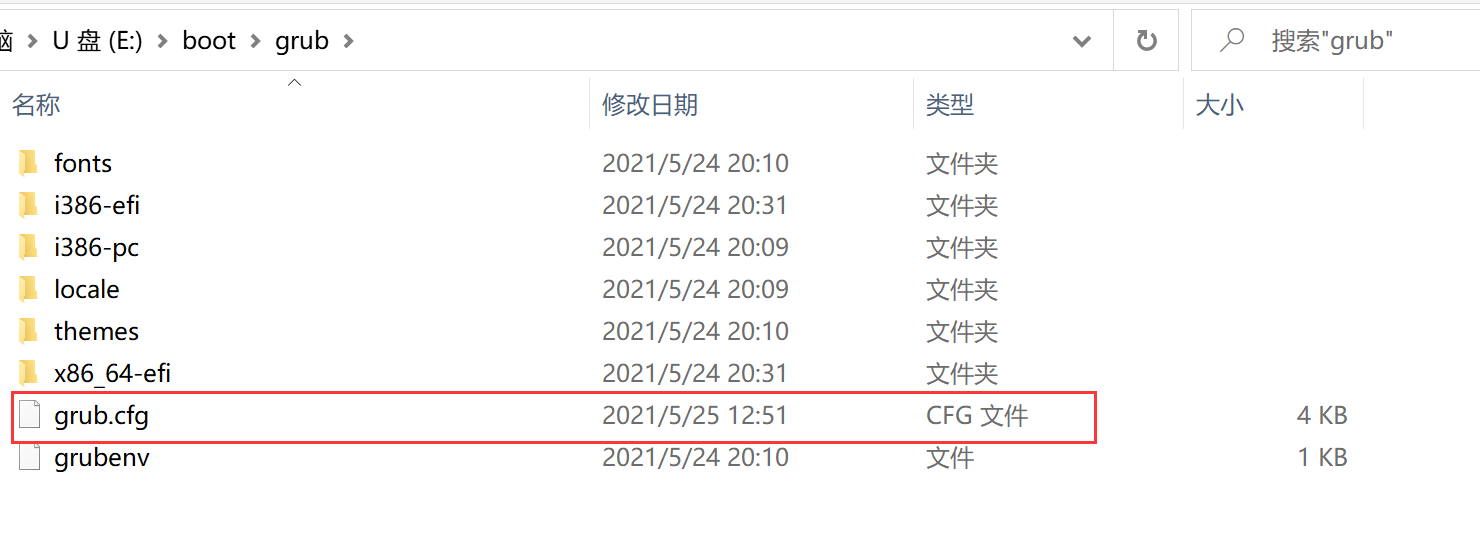
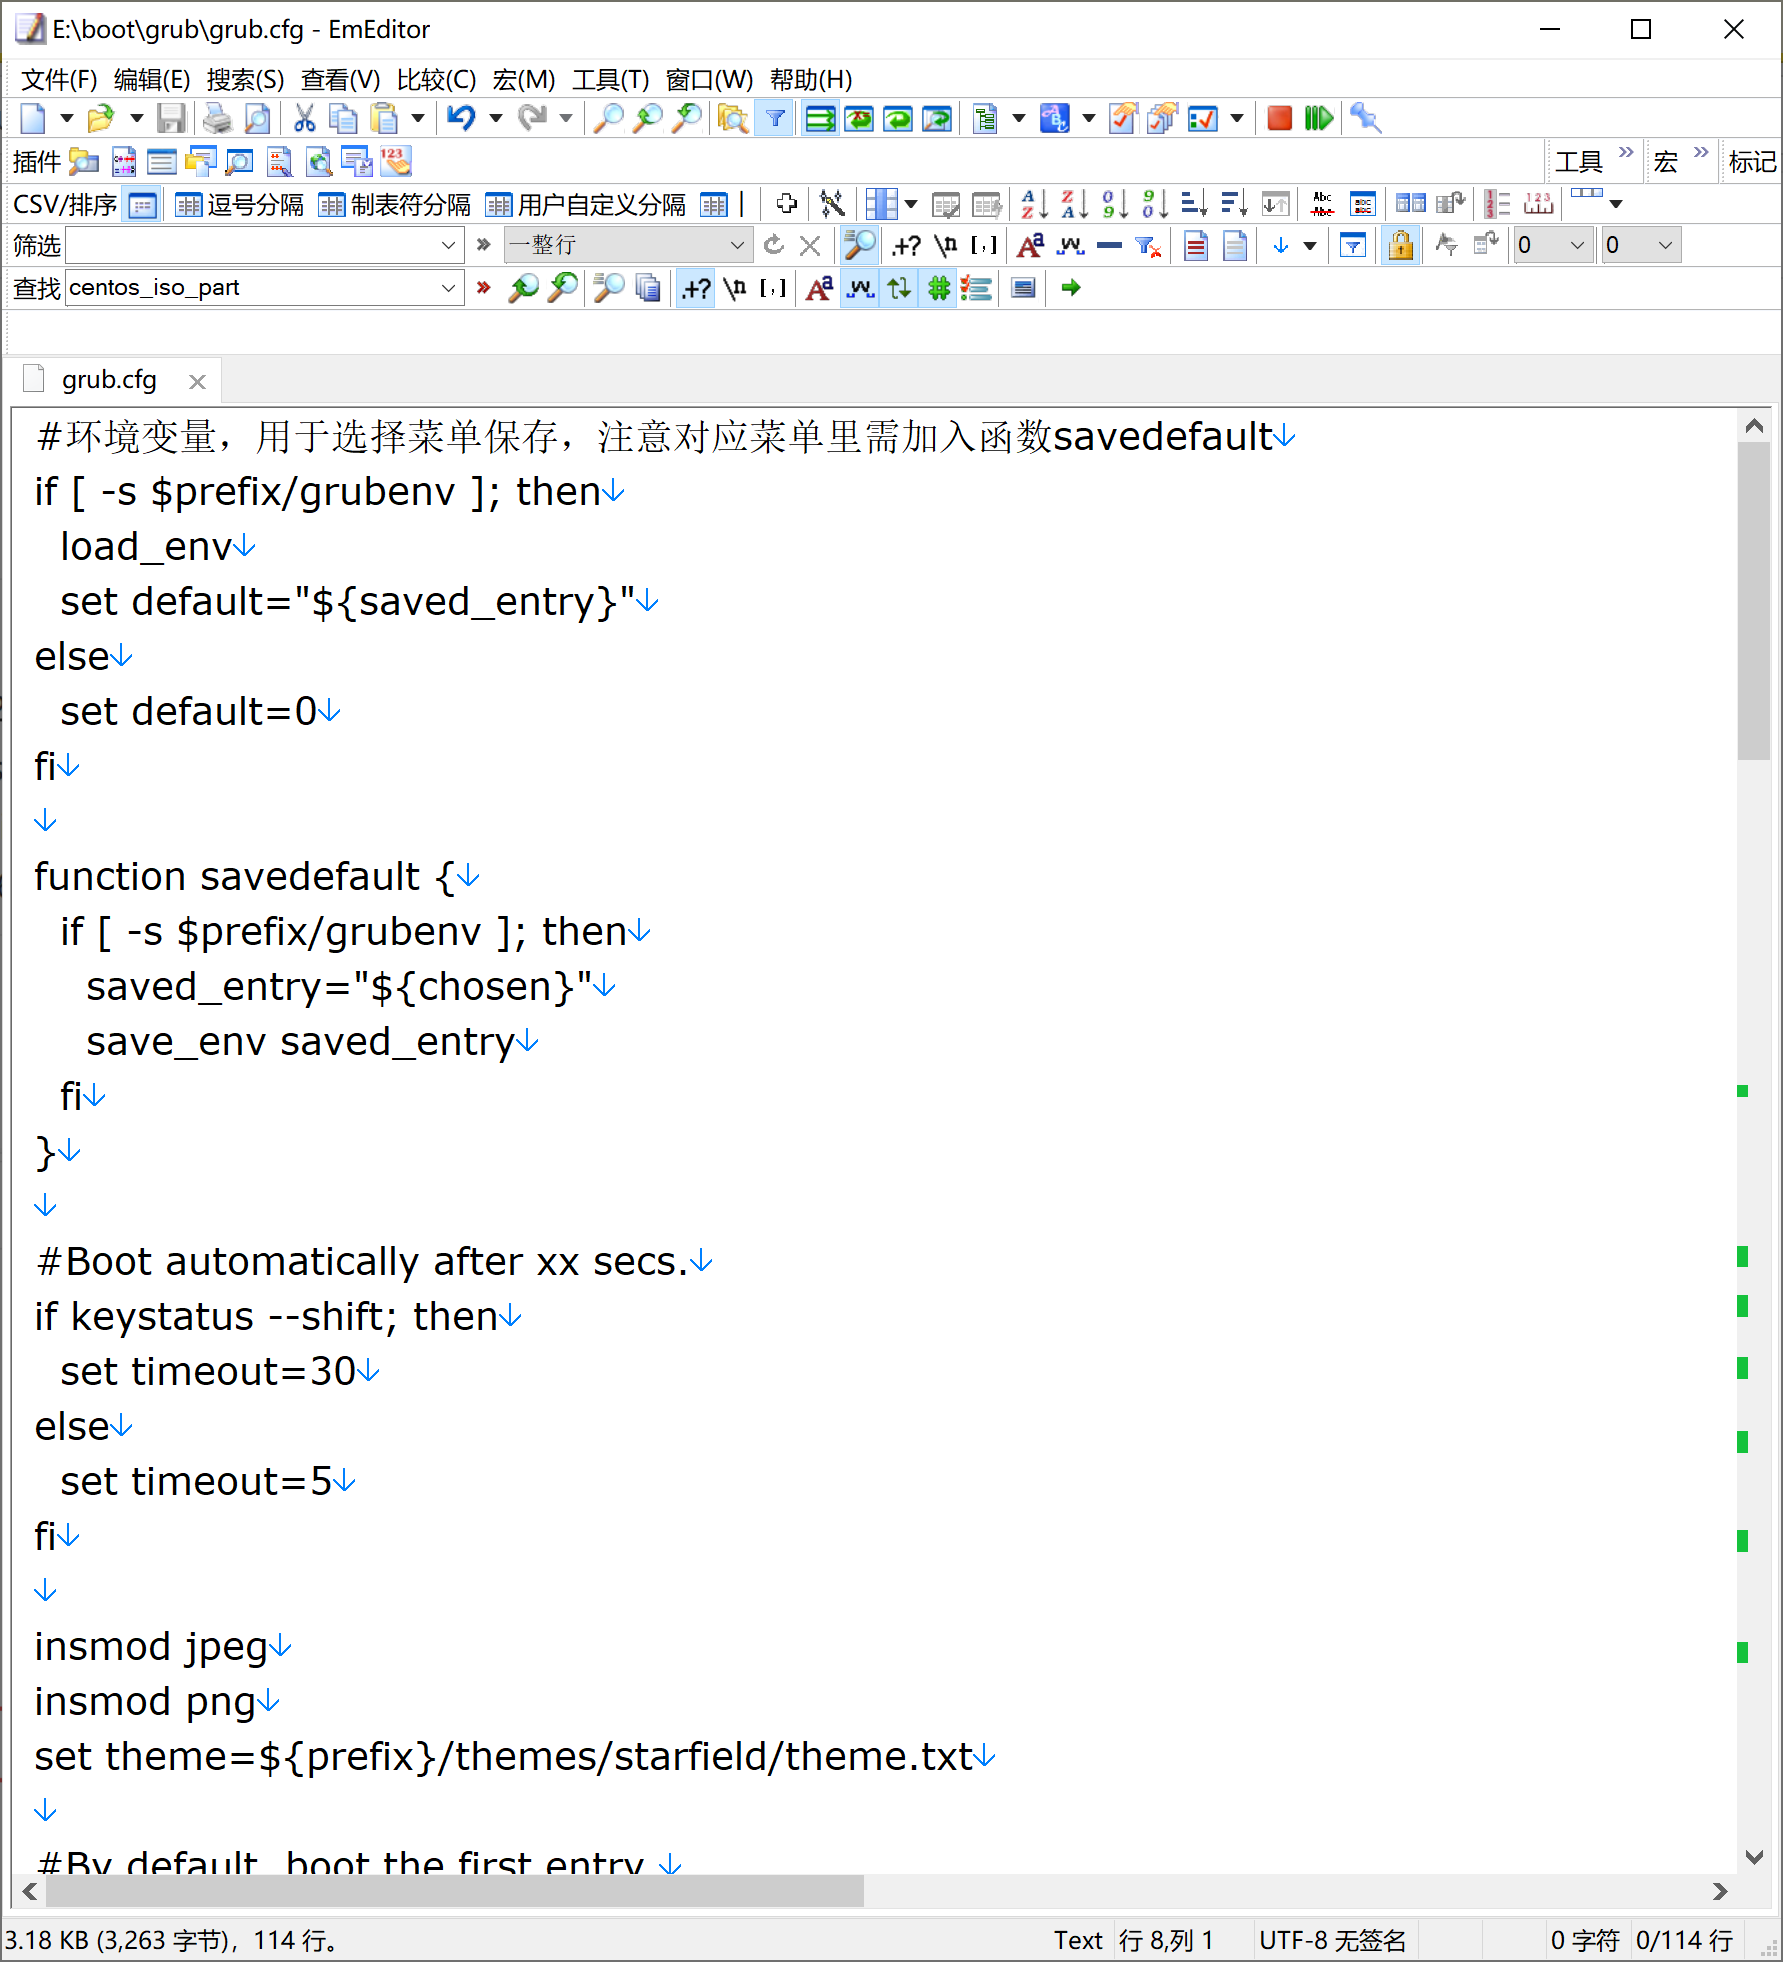
The contents are as follows. Note the uuid of the USB flash disk partition.
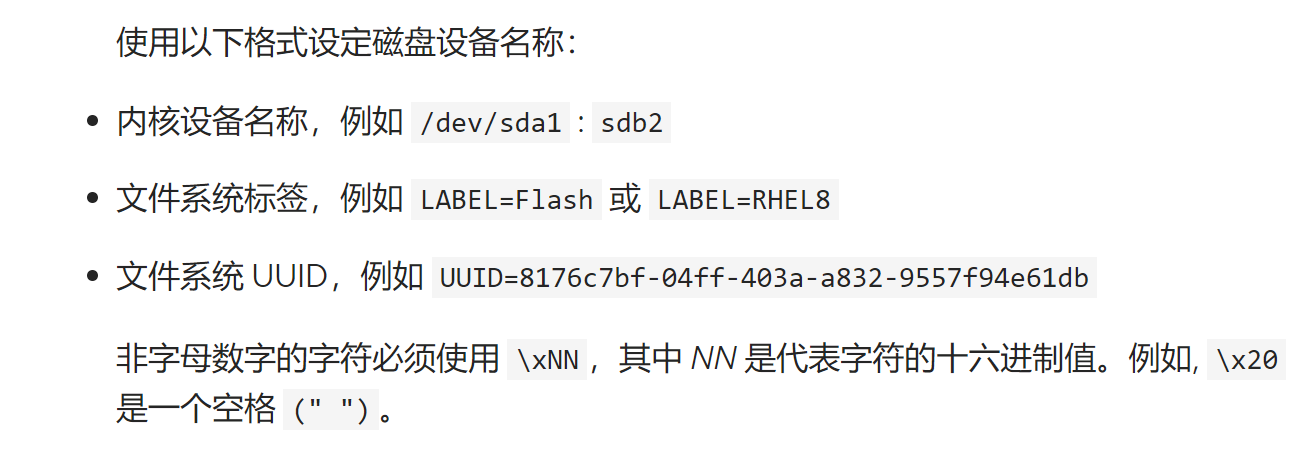
#Use the lsblk command to get the UUID of the fat32 partition of the USB flash disk. Here is B267-7191. Please change it to the UUID of the partition where the actual USB flash disk stores grub2.
set fat32_data_uuid="B267-7191"
Reference articles
Install the windows version of virtualbox and use the CD image to install debian10 https://blog.csdn.net/shile/article/details/117201109
Using Debian 10 virtual machine of virtualbox under windows, run lsblk command to check uuid of u disk https://blog.csdn.net/shile/article/details/117212778
#The environment variable is used to select the menu to save. Note that the function savedefault needs to be added to the corresponding menu
if [ -s $prefix/grubenv ]; then
load_env
set default="${saved_entry}"
else
set default=0
fi
function savedefault {
if [ -s $prefix/grubenv ]; then
saved_entry="${chosen}"
save_env saved_entry
fi
}
#Boot automatically after xx secs.
if keystatus --shift; then
set timeout=30
else
set timeout=5
fi
insmod jpeg
insmod png
set theme=${prefix}/themes/starfield/theme.txt
#By default, boot the first entry.
set default=0
#Fallback to the second entry.
set fallback=1
# load_video
insmod gfxterm
insmod all_video
insmod font
if loadfont ${prefix}/fonts/unicode.pf2; then
set gfxmode=auto
set gfxpayload=keep
set gfxterm_font=unicode
set locale_dir=${prefix}/locale
set lang=zh_CN
terminal_output gfxterm
fi
#user and password
insmod password
#set superusers="grub"
#password grub grub
menuentry 'Enter micro PE hold-all WePE_64_V2.1' --unrestricted {
savedefault
set g4d_dir="/boot/grub4dos-0.4.6a"
set cfgfile="find --set-root /iso/WePE_64_V2.1.iso;map --mem /iso/WePE_64_V2.1.iso (hd32);map --hook;chainloader (hd32); rootnoverify (hd32)"
linux16 $g4d_dir/grub.exe --config-file=$cfgfile
initrd16 /iso/WePE_64_V2.1.iso
}
#Use the lsblk command to get the UUID of fat32 partition of USB flash disk. Here is B267-7191. Please change it to the UUID of the actual USB flash disk
set fat32_data_uuid="B267-7191"
search --no-floppy --set=usb_iso_part --fs-uuid $fat32_data_uuid
menuentry 'install CentOS 7' --class gnu-linux --class gnu --class os {
savedefault
set isofile=/iso/CentOS-7-x86_64-Minimal-2009.iso
loopback loop ($usb_iso_part)$isofile
probe -u (loop) --set=loopuuid
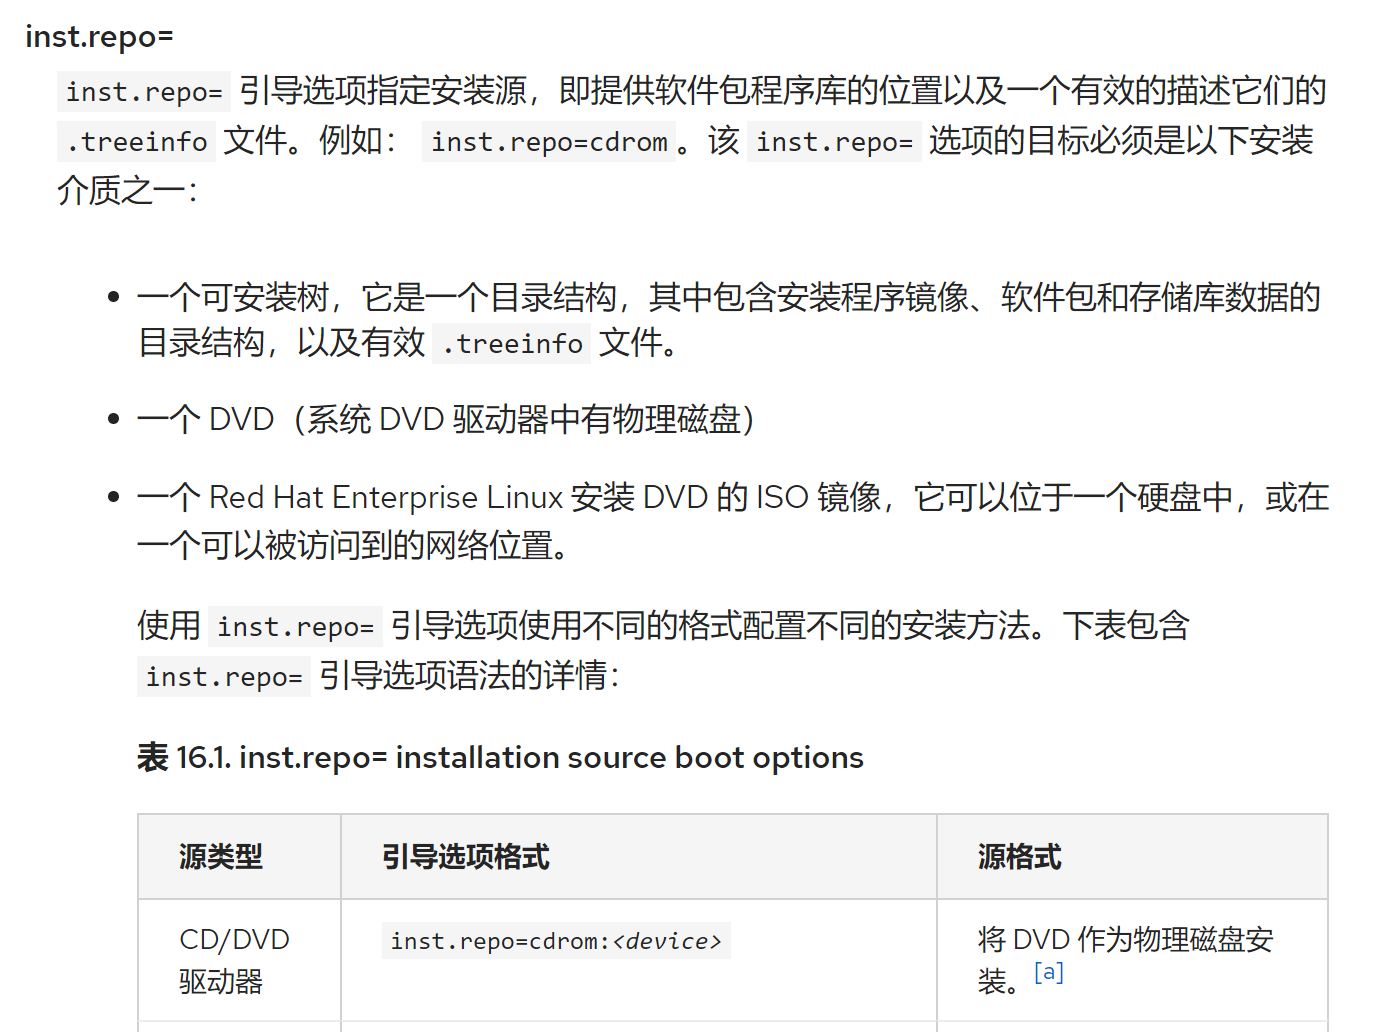
linux (loop)/isolinux/vmlinuz iso-scan/filename=$isofile inst.repo=cdrom:UUID=$loopuuid rw rhgb quiet
initrd (loop)/isolinux/initrd.img
}
menuentry 'install Debian 10' --class gnu-linux --class gnu --class os {
savedefault
linux ($usb_iso_part)/vmlinuz
initrd ($usb_iso_part)/initrd.gz
}
menuentry 'get into ubuntu 16.04 Desktop version' --class gnu-linux --class gnu --class os {
savedefault
set isofile=/iso/ubuntu-16.04-desktop-amd64.iso
loopback loop ($usb_iso_part)$isofile
linux (loop)/casper/vmlinuz.efi file=/cdrom/preseed/ubuntu.seed boot=casper iso-scan/filename=$isofile quiet splash ---
initrd (loop)/casper/initrd.lz
}
menuentry 'install ubuntu 16.04 Desktop version' --class gnu-linux --class gnu --class os {
savedefault
set isofile=/iso/ubuntu-16.04-desktop-amd64.iso
loopback loop ($usb_iso_part)$isofile
linux (loop)/casper/vmlinuz.efi file=/cdrom/preseed/ubuntu.seed boot=casper iso-scan/filename=$isofile only-ubiquity quiet splash ---
initrd (loop)/casper/initrd.lz
}
menuentry "GParted Live ISO" --class gnu-linux {
savedefault
set isofile="/iso/gparted-live-1.3.0-1-amd64.iso"
loopback loop ($usb_iso_part)$isofile
linux (loop)/live/vmlinuz boot=live config union=overlay username=user noswap noprompt ip=net.ifnames=0 toram=filesystem.squashfs nosplash findiso=${isofile}
initrd (loop)/live/initrd.img
}
menuentry "Reboot" --unrestricted {
reboot
}
menuentry "Shutdown" --unrestricted {
halt
}
Save grub After CFG, eject the U SB flash disk.
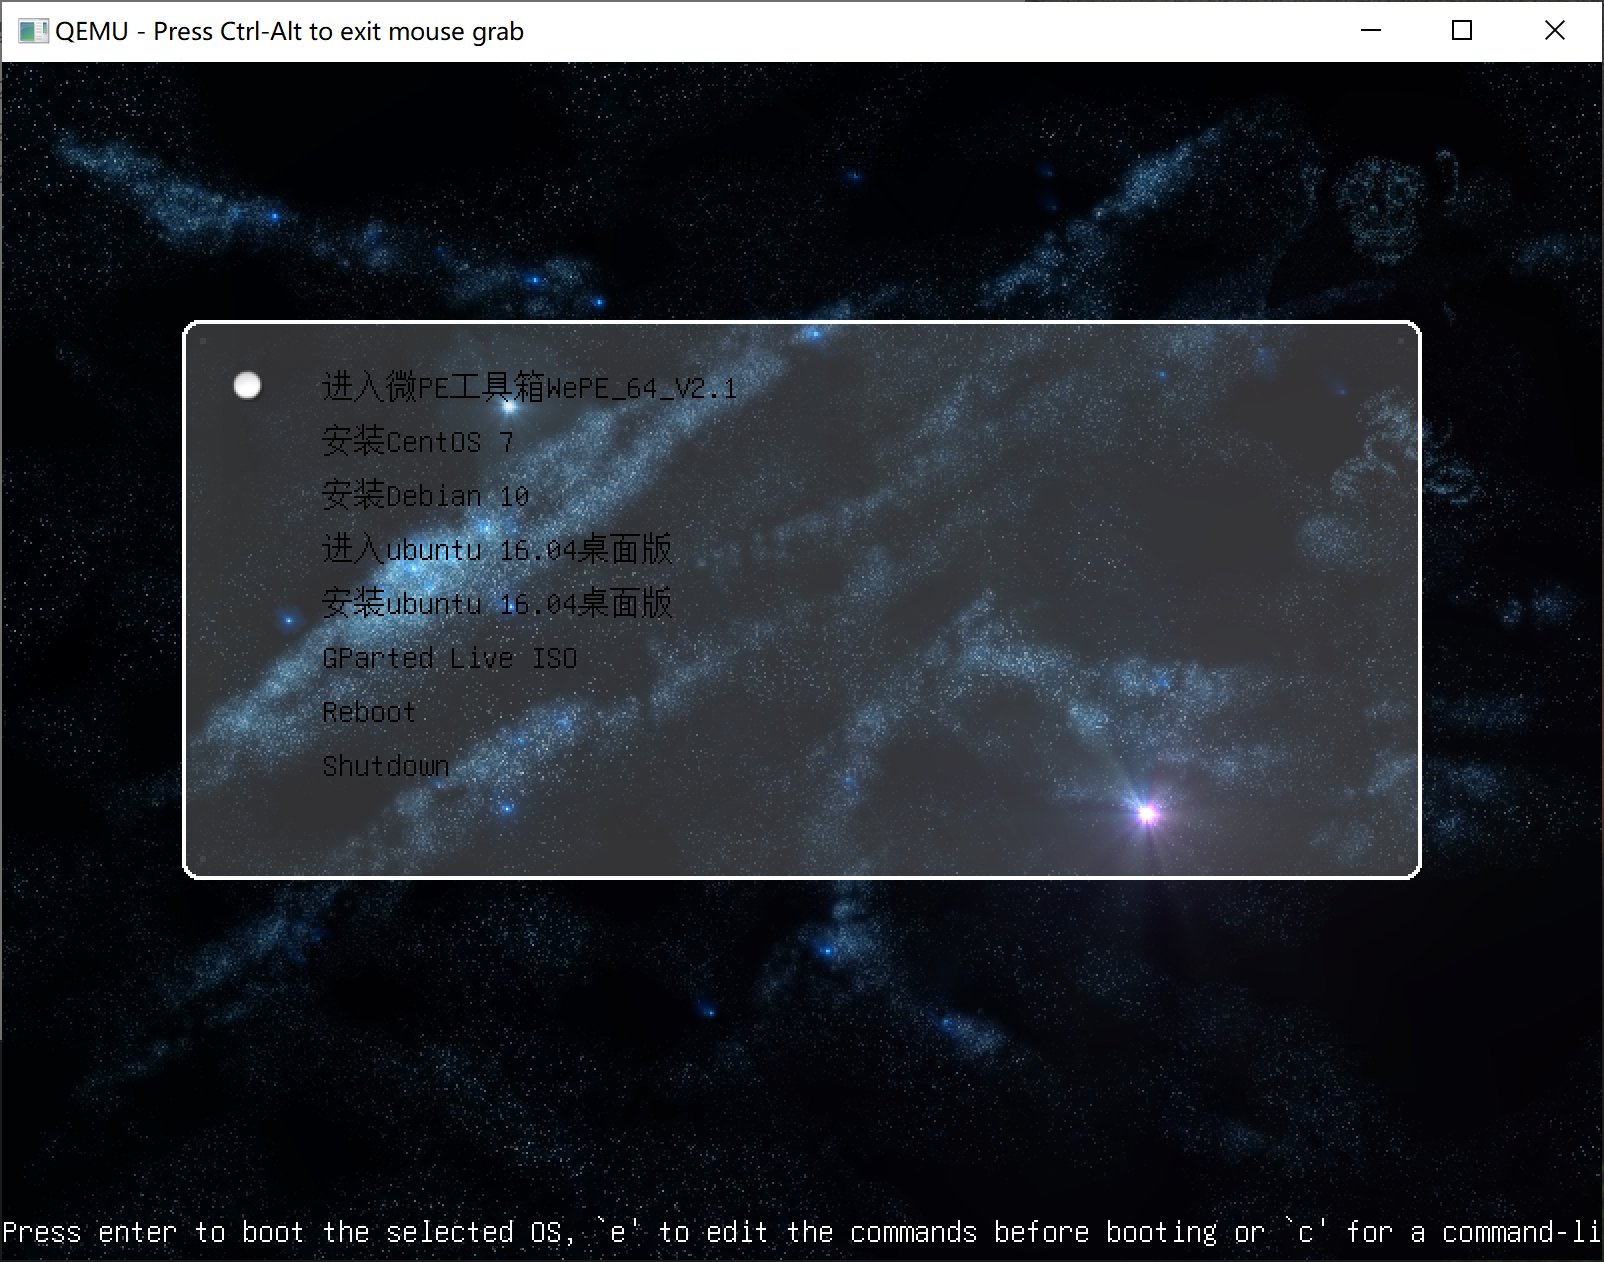
4. Test effect
Insert the USB flash disk into a comp u ter, boot it into the bios, set it to boot from the USB flash disk, and check the specific effect.
reference material

Reference articles
- https://man7.org/linux/man-pages/man7/dracut.cmdline.7.html
- https://access.redhat.com/documentation/zh-cn/red_hat_enterprise_linux/8/html/performing_an_advanced_rhel_installation/kickstart-and-advanced-boot-options_installing-rhel-as-an-experienced-user
- https://www.cnblogs.com/f-ck-need-u/p/709469html#auto_id_34