Express - based on node JS platform web application development framework - Express Chinese document | express Chinese network https://www.expressjs.com.cn/ Express is based on Node The web development framework developed by JS is a Node JS module; Since it is based on Node JS, the premise of using express is that the computer must have installed the Node environment. The installation of Node is very simple and will not be repeated here.
catalogue
3, Hosting static files via Express
1. Application level Middleware
4. Third party Middleware - body parser
1, Express installation
First create a folder study_ As a project file, express creates an entry file app js;
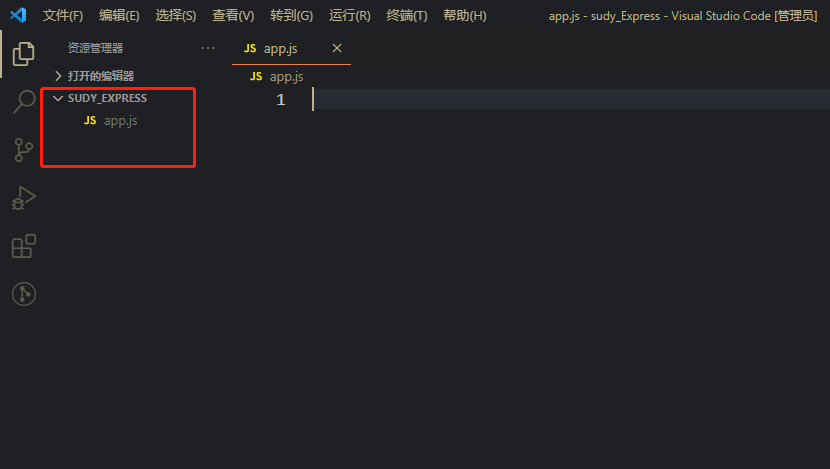
Use the command npm init -y in the integration terminal to initialize a package JSON file;

Use the command npm install express -- save to download Express; After successful installation:

2, Express use
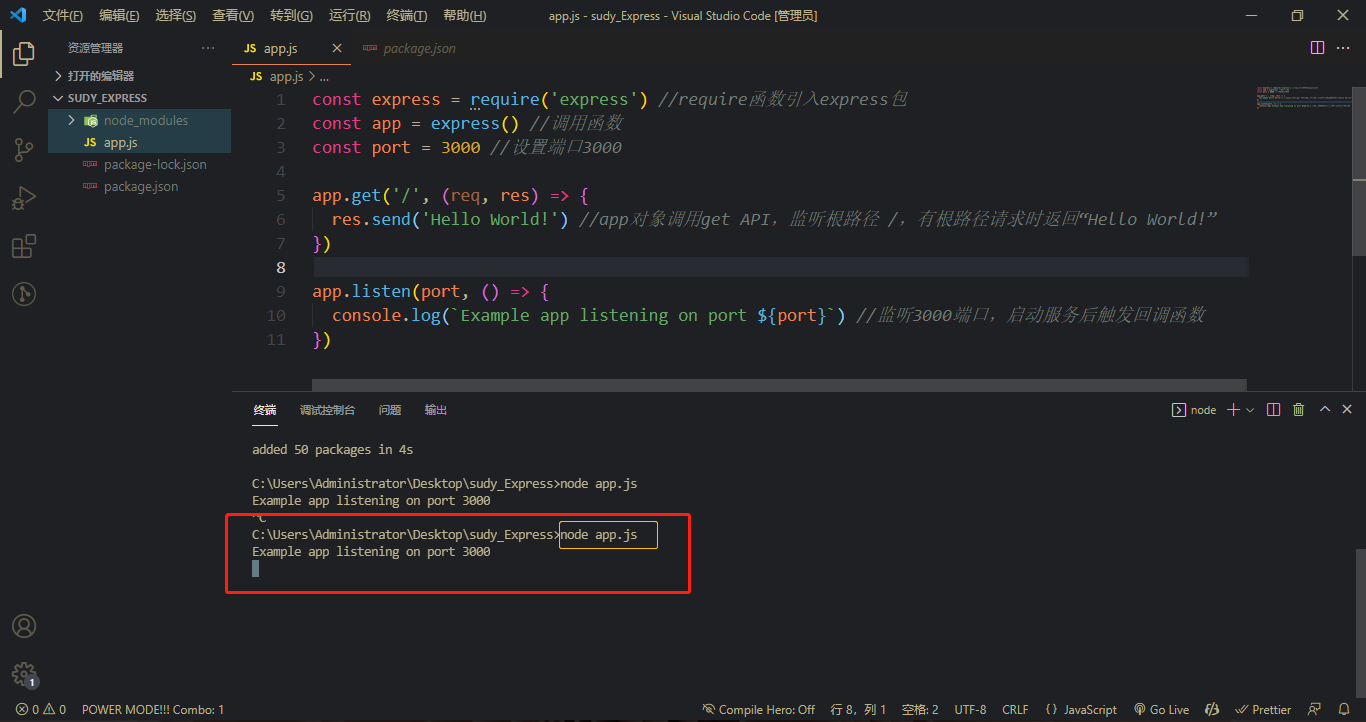
After downloading Express, you can use it normally. In app Create an application server example in JS;
// study_Express/app.js

const express = require('express') //The require function introduces the express package
const app = express() //Call function
const port = 3000 //Set port 3000

app.get('/', (req, res) => {
  res.send('Hello World!') //The app object calls the get API to listen to the root path /, and returns "Hello World!" when there is a root path request
})

app.listen(port, () => {
  console.log(`Example app listening on port ${port}`) //Listen to port 3000 and trigger the callback function after starting the service
})
Start the service after creation;
At this point, we can check the 3000 port of the local address and return to "Hello World!";
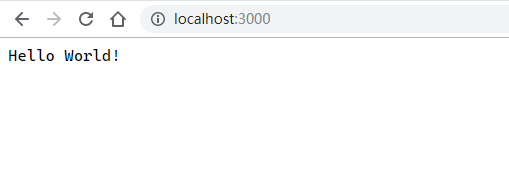
The above is the simplest application server.
3, Hosting static files via Express
The so-called managed static file means that images, documents, js/css/html files and so on can be accessed through the url address; We create a new file static JS to demonstrate the hosting of static files;
// study_Express/static.js

const express = require('express') //The require function introduces the express package
const app = express() //Call function

//Implement static resource service
let server = app.use(express.static('public')) //public is the root directory of static resources. Static resources are placed in this folder

server.listen(3000, () => { //Create listener
  console.log('The server started successfully...')
})
Tip: app The use statement can write multiple entries and set the root directories of multiple static resources without affecting each other.
In the above code, we set the root directory to public, so create this directory and add the sample file 1 HTML and 1 Jpg is used for static hosting;

Next, start the service;
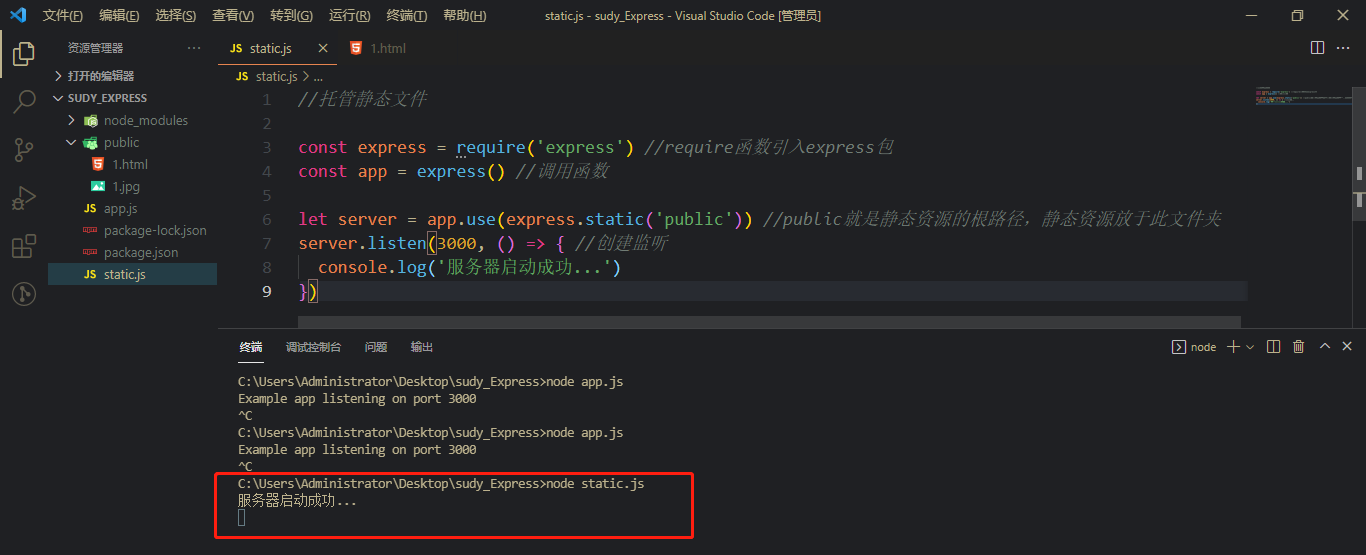
At this point, you can access the static resource we just added through the url in the browser.


In addition, we can also set a virtual directory for the access path. The specific method is in app Add a new parameter after use; As follows, set the virtual directory / express;
let server = app.use('/express',express.static('public')) //The first parameter of use specifies the virtual directory (path)Tip: no matter what changes are made to the application server file, the service needs to be restarted.
Next, you also need to add this virtual directory in the url of accessing static resources;


4, Routing processing
Routing is the process of path distribution according to the request path and request mode;
The common request methods of http include post, get, put and delete, which correspond to the addition, deletion and query operations respectively; We create a new file router JS to demonstrate routing processing:
// study_express/router.js

const express = require('express') //The require function introduces the express package
const app = express() //Call function

//Four basic routing processes (handling specific requests)
app.get('/', (req, res) => {
  res.send('get data')
})

app.post('/', (req, res) => {
  res.send('post data')
})

app.put('/', (req, res) => {
  res.send('put data')
})

app.delete('/', (req, res) => {
  res.send('delete data')
})

//Using use distribution directly can handle all routing requests (handle all requests)
// app.use((req,res) => {
//   res.send('ok!')
// })

app.listen(3000, () => { //Create listener
  console.log('router The server started successfully...')
})
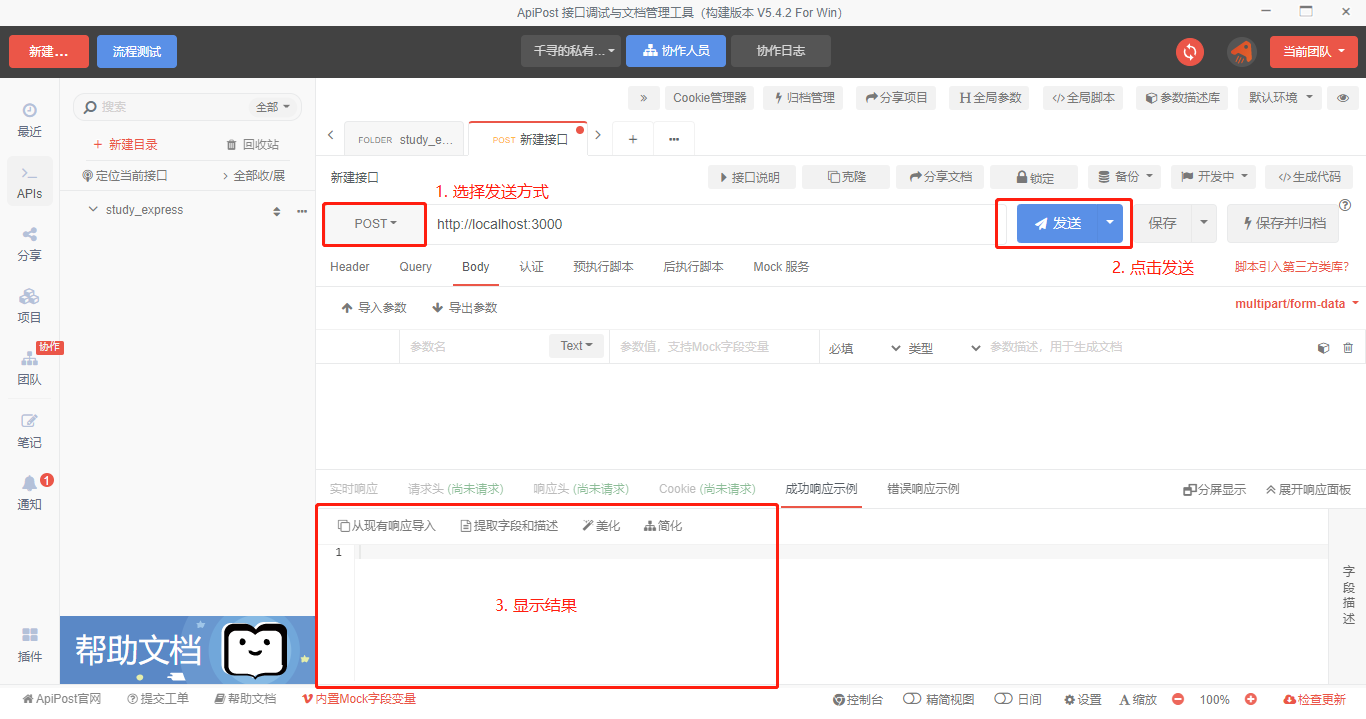
Next, I will test the interface. Because the browser is inconvenient, I use API post here;
Supplement: API post test interface method
First, log in to ApiPost normally;

Then create a new directory -- > right click -- > New -- > new interface;
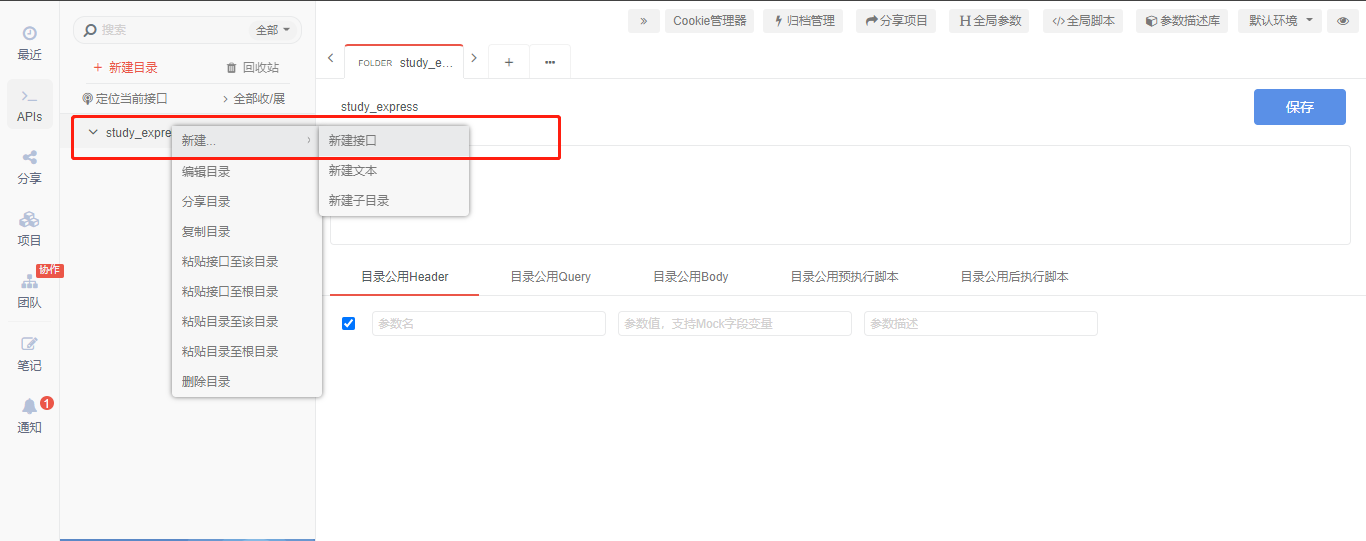
Input the interface address. We use the local address and 3000 port;
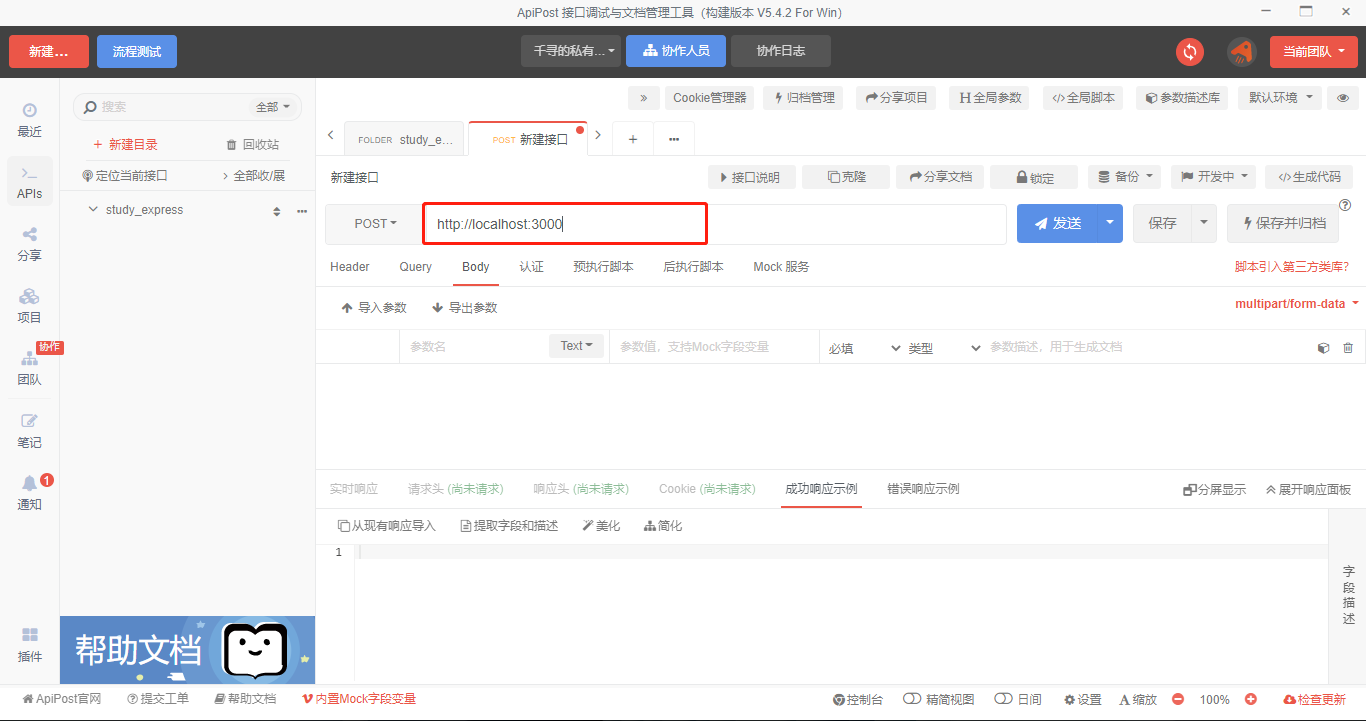
After starting the server, enter the address;
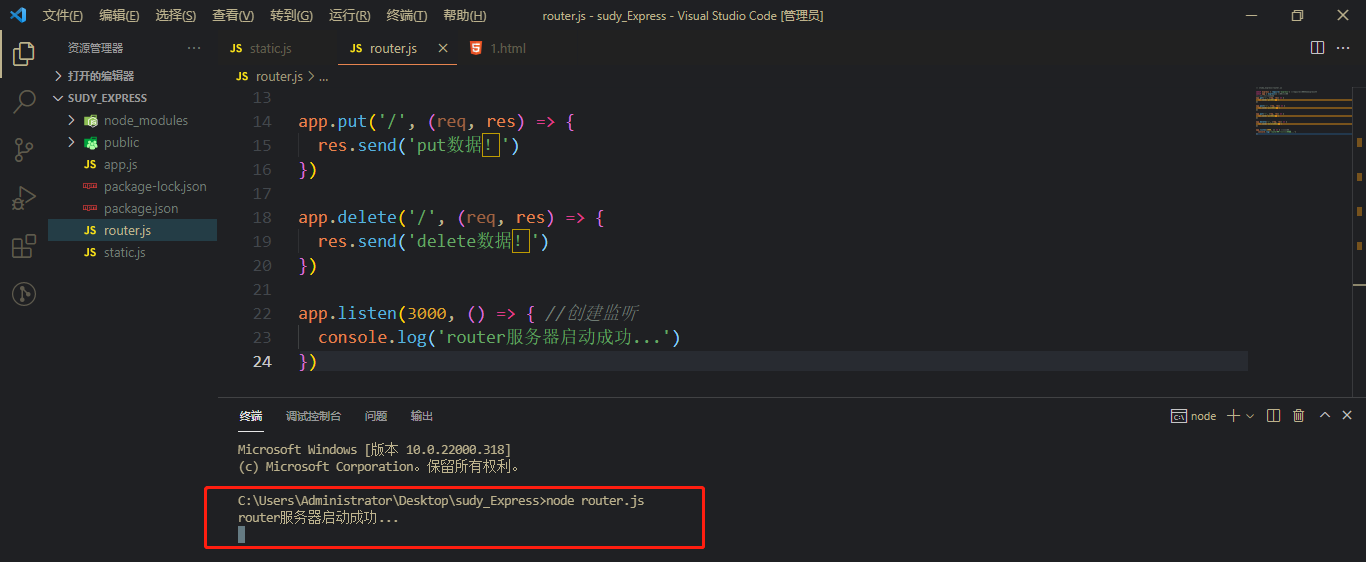
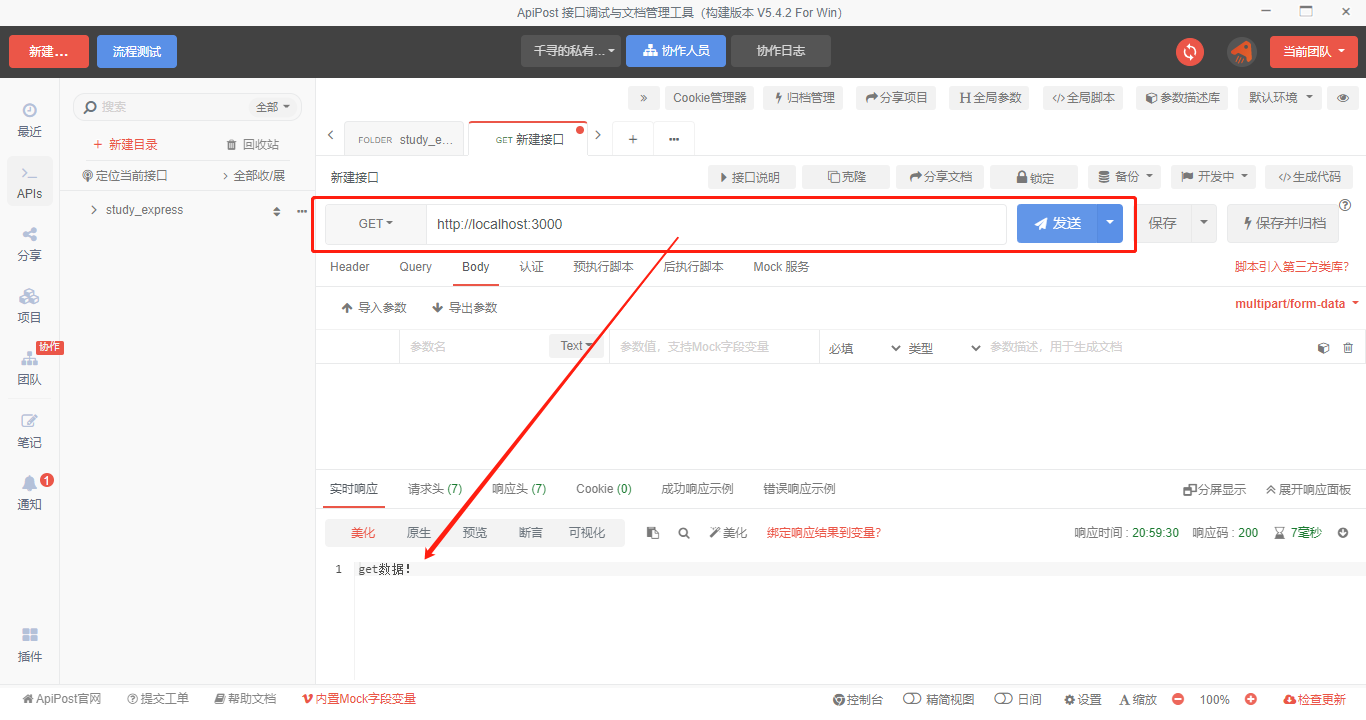
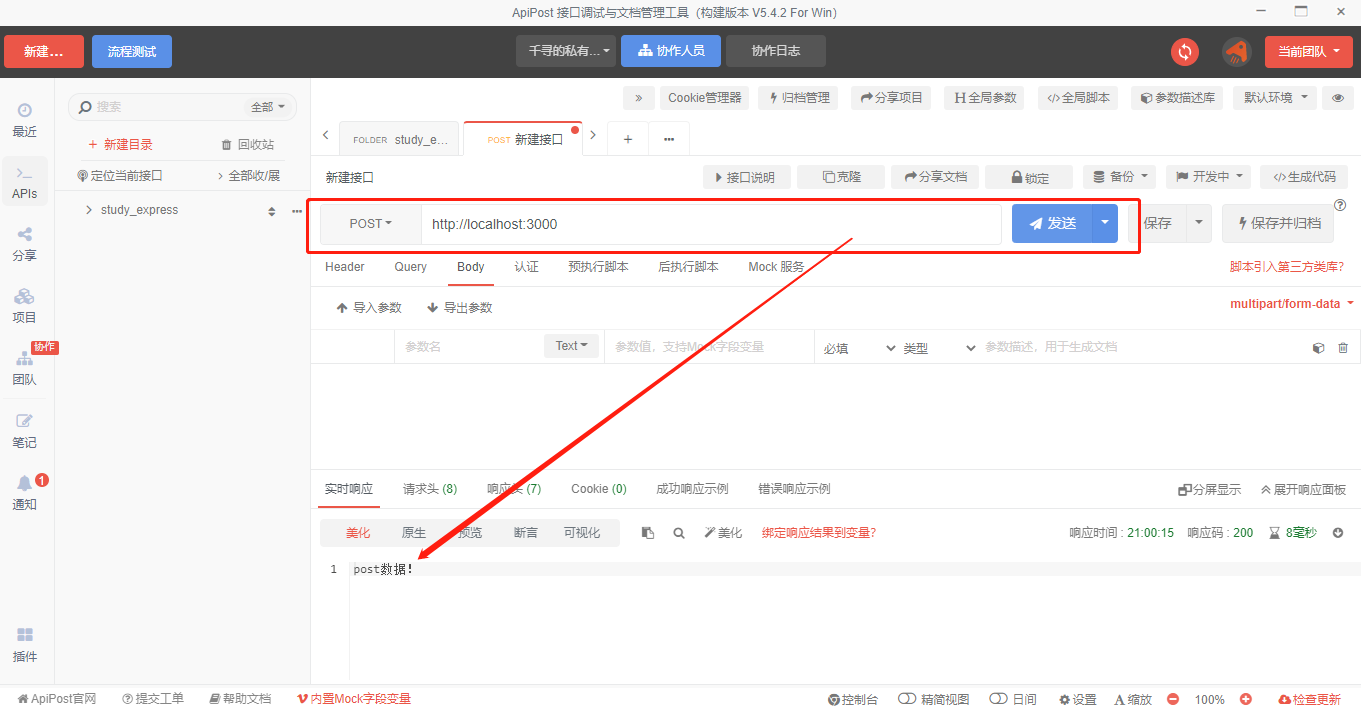
Next, select the sending method to test:
The test results are as follows:
5, Express Middleware
Middleware is a function that can access request object (req), response object (RES), and Middleware in the request response cycle process in Web applications;
The middleware also has a third parameter, {next, which is used to pass the request to the next link; In essence, an Express application is calling various middleware. Middleware is divided into the following types:
- Application level middleware (app.use)
- Routing level middleware (app.get/post...)
- Error handling Middleware
- Built in middleware (for example, the static resource hosting static we used before is built-in Middleware)
- Third party Middleware
1. Application level Middleware
The application level middleware is bound to the app object and uses app Use () and app METHOD();
New 1 The access times of middleware and / user are recorded through the middleware access path / JS.
// study_Express/1.js

const express = require('express') //The require function introduces the express package
const app = express() //Call function

let total = 0; //Visits

//Application level Middleware
app.use('/user', (req, res, next) => { //First Middleware
  console.log('Access time:' + Date.now()) //Record access time
  next() //Enter the next middleware. If you do not use next, the following middleware will not be executed
})

app.use('/user', (req, res, next) => { //Second Middleware
  console.log('journal:×××Visited/user') //Record access log
  next()
})

app.use('/user', (req, res) => { //The third Middleware
  total++; //Increased number of visits
  console.log('Current visits:' + total)
  res.send('Return results')
})

app.listen(3000, () => { //Create listener
  console.log('Middleware server started successfully...')
})
Access the / user path after starting the service;

At this time, relevant information will be printed in the background, and the number of times will be increased by one for each refresh;

2. Routing level Middleware
New file 2 JS for demonstration, and print out 1 and 2 using two middleware.
// study_Express/2.js

const express = require('express') //The require function introduces the express package
const app = express() //Call function

//Routing level Middleware
app.get('/luyou', (req, res, next) => {
  console.log(1)
  next()
})

app.get('/luyou', (req, res) => {
  console.log(2)
})

app.listen(3000, () => { //Create listener
  console.log('The routing level middleware server was started successfully...')
})
Access the / luyou path after starting the service;

Print the results in the background;

In addition, when calling next in the routing level middleware, you can add a route parameter next('route'), meaning to jump to the next route.
Pay attention to the distinction:
next(); Jump to the next middleware.
next('route'); Jump to the next route. The so-called next route is the route bound through get, post # or other methods.
As follows:
const express = require('express') //The require function introduces the express package
const app = express() //Call function

//Routing level Middleware
app.get('/luyou', (req, res, next) => { //The first middleware the first route
  console.log(1)
  next('route') //Jump to next route
}, (req, res) => { //Second Middleware
  console.log(2)
})

app.get('/luyou', (req, res) => { //The third middleware and the second routing
  console.log(3);
  res.send('Routing level middleware returns results')
})

app.listen(3000, () => { //Create listener
  console.log('The routing level middleware server was started successfully...')
})
The first middleware and the second middleware are nested, only one route is used, and the first middleware uses "next('route '); It directly jumps to the next route, so the result 2 of the second middleware will not be printed, as follows:


3. Error handling Middleware
Error handling middleware requires four parameters, which must be provided to identify it as an error handling middleware function. You must specify the next object even if it is not required. Otherwise, the next object will be interpreted as regular middleware and cannot handle errors. The format is as follows:
app.use(function (err, req, res, next) {
  console.error(err.stack)
  res.status(500).send('Something broke!')
})
4. Third party Middleware - body parser
There are many third-party middleware. Here we focus on parameter passing body parser, and the usage of other third-party middleware is the same;
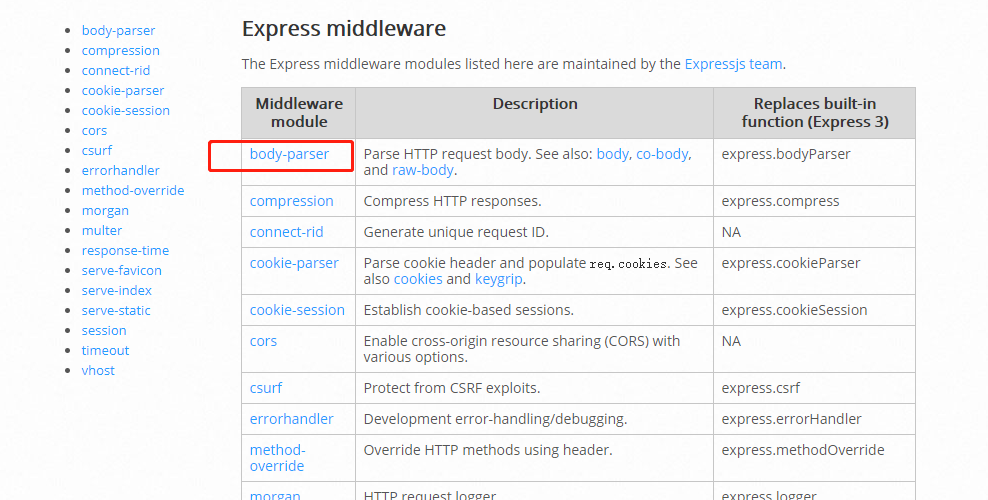
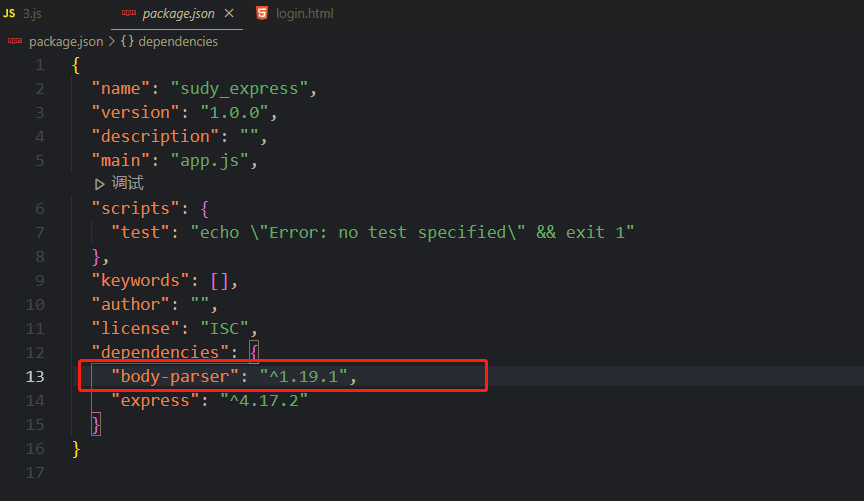
First, npm installs body parser. In the terminal, use the command {npm install body parser -- save;

After successful installation, it will be displayed in package JSON file;
New file 3 JS to realize the simple login form verification function;
// study_Express/3.js

const express = require('express') //The require function introduces the express package
const app = express() //Call function

const bodyParser = require('body-parser') //Introducing body parser

//Mount (enable) the built-in middleware static to host static resources
app.use(express.static('public'))

//Mount parameter processing middleware (here to parse the data submitted by post form)
app.use(bodyParser.urlencoded({
  extended: false
}))

//Processing data submitted by get
// app.get('/login', (req, res) => {
//   let data = req.query;
//   console.log(data);
//   res.send('get data submitted ')
// })

//Processing data submitted by post
app.post('/login', (req, res) => {
  let data = req.body;
  if (data.username == 'Front end pony' && data.password == '123456') {
    res.send('Login succeeded!')
  } else {
    res.send('Wrong user name or password!')
  }
})

app.listen(3000, () => {
  console.log('Third party middleware service startup...')
})
In order to show the effect, we create a new html file under the directory public to make the form and host it;
<!DOCTYPE html>
<html>

<head>
  <meta charset="UTF-8">
  <title>form </title>
  <style></style>
</head>

<body>
  <form action="http://localhost:3000/login" method="post">
    User:<input type="text" name="username"><br>
    password:<input type="password" name="password"><br>
    <input type="submit" value="Submit">
  </form>
</body>

</html>
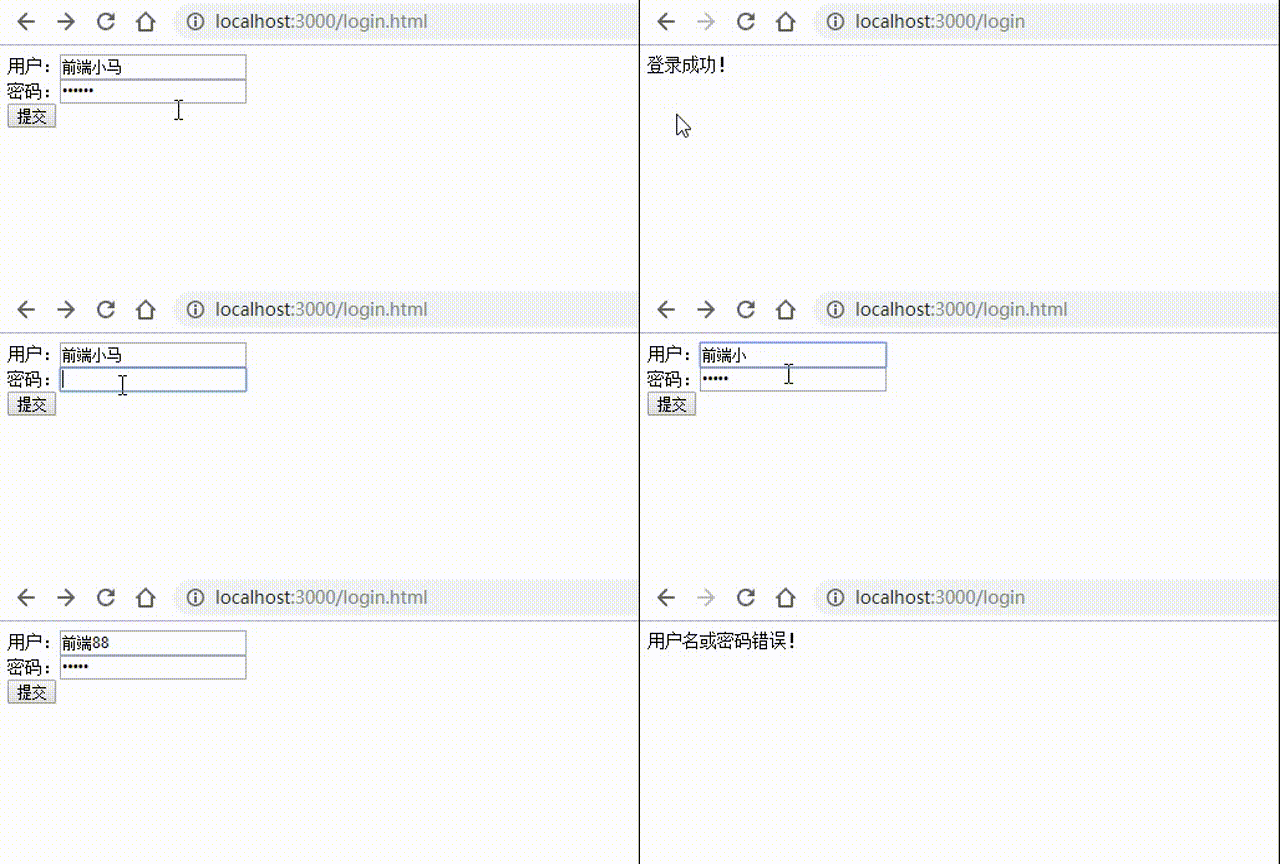
After starting the service, visit / login HTML, which can be verified normally:
