In this series, let's introduce ArcGIS Pro SDK for Microsoft Net is the second article in this series. We add a login page based on the demo created in the previous section.
Write in front
The previous article introduced ArcGIS Pro SDK for Microsoft Net development environment, and at the end of the article, we created a demo and let it run successfully. In this article, we will introduce how to add a login page based on the demo created earlier.
Operation steps
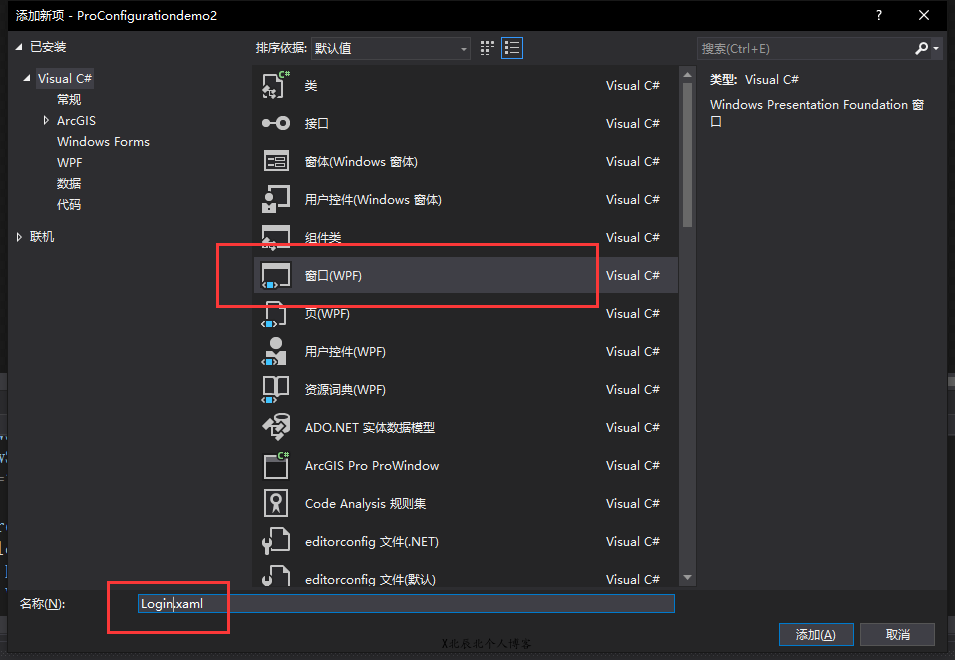
1. Open the demo code created in the previous section, right-click the "UI" folder, select [add | new item], select a new WPF window in the new item window, and name it "Login", as shown in the following figure:
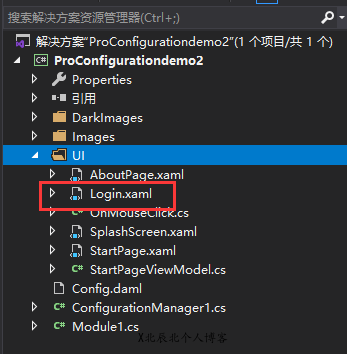
2. After creating a new Login window, the new Login window code file will appear in the project code UI directory on the right, as shown below:
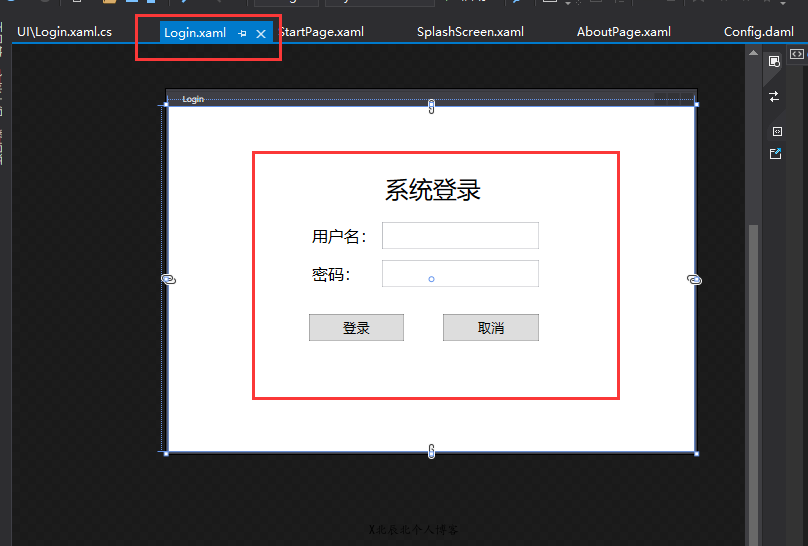
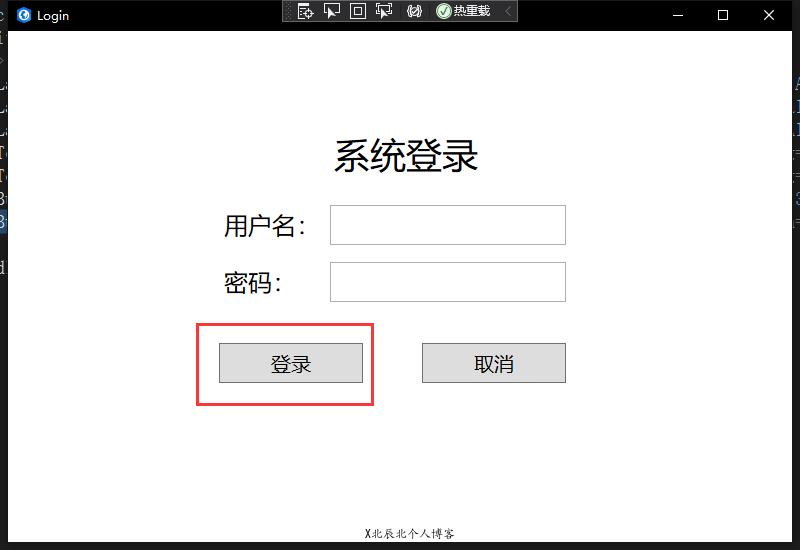
3. Double click the newly created Login window code file, and then drag the Label, Button and TextBox controls in the toolbar to the Login designer panel in the left design window to form a form as follows:
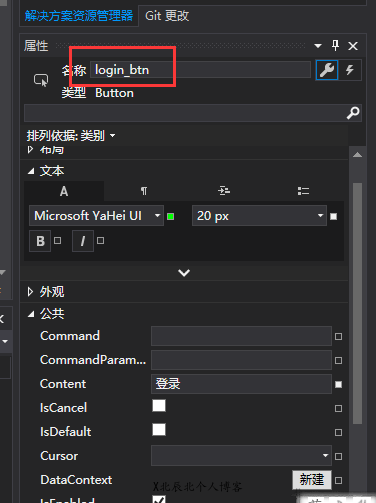
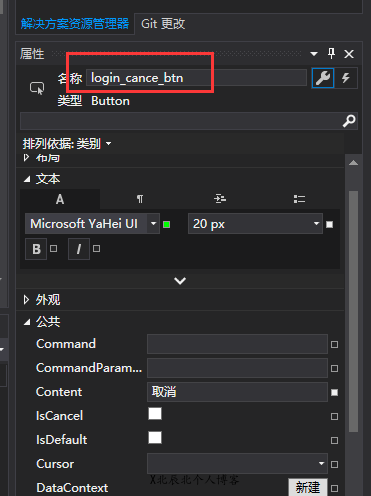
4. Then click the login and Cancel buttons in this page in turn, and set the names of these two buttons in the property panel at the lower right, as follows:
5. In the designer panel, double-click the login and Cancel buttons respectively, and bind the click events for these two buttons respectively. Here are some simple operations. When clicking the login button, the login verification is not performed. Just open the subsequent panel. When clicking the Cancel button, the system will exit. The code is as follows:

using System;
using System.Collections.Generic;
using System.Linq;
using System.Text;
using System.Threading.Tasks;
using System.Windows;
using System.Windows.Controls;
using System.Windows.Data;
using System.Windows.Documents;
using System.Windows.Input;
using System.Windows.Media;
using System.Windows.Media.Imaging;
using System.Windows.Shapes;
namespace ProConfigurationdemo2.UI
{
/// <summary>
/// Login. Interaction logic of Xaml
/// </summary>
public partial class Login : Window
{
public Login()
{
InitializeComponent();
}
private void login_btn_Click(object sender, RoutedEventArgs e)
{
//Implementation of login verification related code
this.DialogResult = true;
}
private void login_cance_btn_Click(object sender, RoutedEventArgs e)
{
//Cancel login
this.DialogResult = false;
}
}
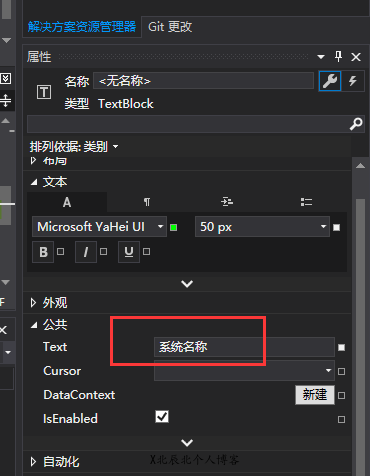
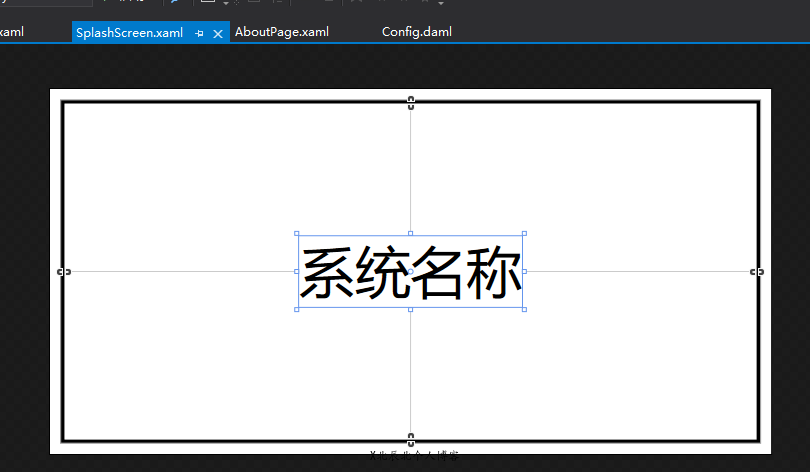
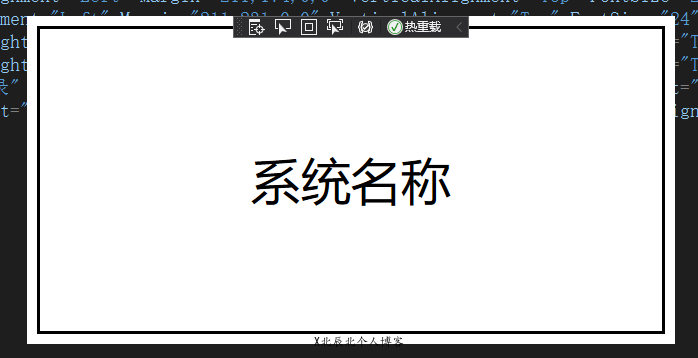
}6. Then double-click splashScreen. Under the UI directory in the code directory structure Xaml file, open the designer panel of this page, which will display our project name by default. Here, we will modify the displayed text to the name of our system, as follows:
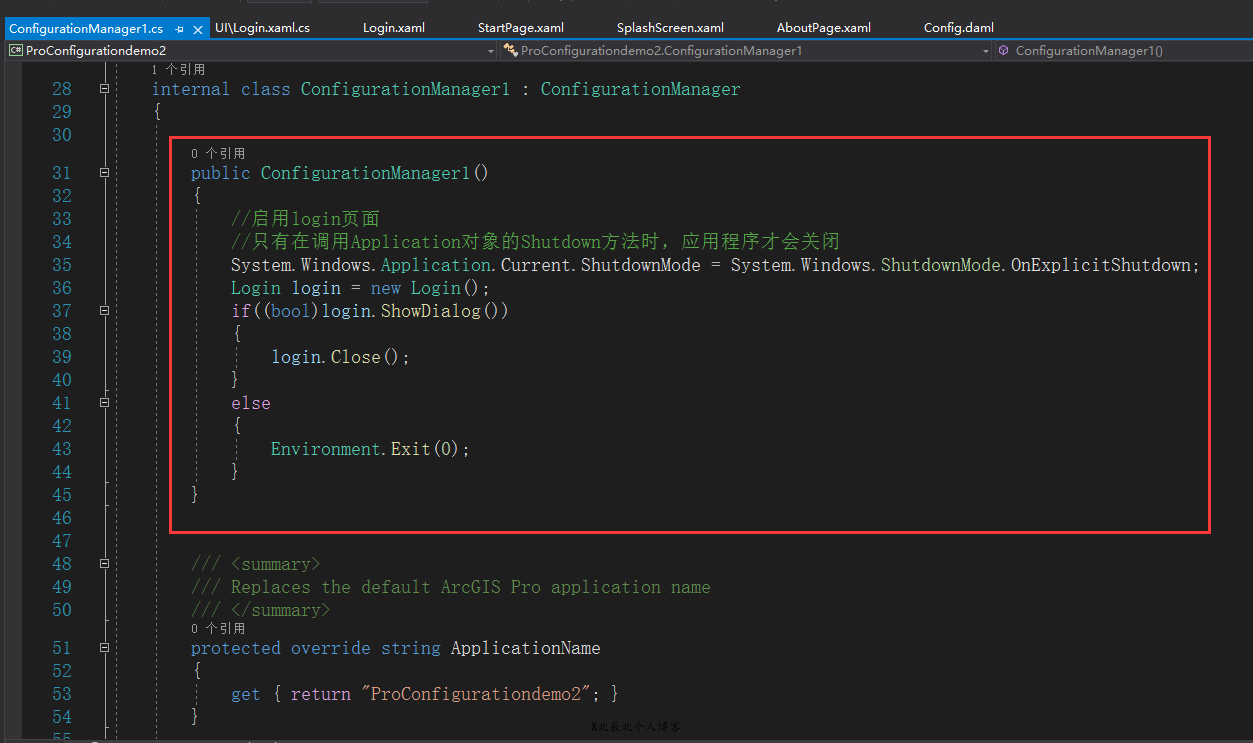
7. Double click ConfigurationManager1. In the code directory CS code file, and then create a new ConfigurationManager1 constructor in this code file, and instantiate the Login panel we created before in the constructor. In this way, when our project starts, we will first open the new Login panel, and then we will really enter the system only when we click Login, as shown below:
using ArcGIS.Core.CIM;
using ArcGIS.Core.Data;
using ArcGIS.Core.Geometry;
using ArcGIS.Desktop.Catalog;
using ArcGIS.Desktop.Core;
using ArcGIS.Desktop.Editing;
using ArcGIS.Desktop.Extensions;
using ArcGIS.Desktop.Framework;
using ArcGIS.Desktop.Framework.Contracts;
using ArcGIS.Desktop.Framework.Dialogs;
using ArcGIS.Desktop.Framework.Threading.Tasks;
using ArcGIS.Desktop.Mapping;
using ProConfigurationdemo2.UI;
using System;
using System.Collections.Generic;
using System.ComponentModel;
using System.Linq;
using System.Text;
using System.Threading.Tasks;
using System.Windows.Input;
using System.Windows.Media;
using System.Windows.Media.Imaging;
namespace ProConfigurationdemo2
{
    internal class ConfigurationManager1 : ConfigurationManager
    {
        public ConfigurationManager1()
        {
            //Enable login page
            //The Application closes only when the Shutdown method of the Application object is called
            System.Windows.Application.Current.ShutdownMode = System.Windows.ShutdownMode.OnExplicitShutdown;
            Login login = new Login();
            if((bool)login.ShowDialog())
            {
                login.Close();
            }
            else
            {
                Environment.Exit(0);
            }
        }
        /// <summary>
        /// Replaces the default ArcGIS Pro application name
        /// </summary>
        protected override string ApplicationName
        {
            get { return "ProConfigurationdemo2"; }
        }
        /// <summary>
        /// Replaces the ArcGIS Pro Main window icon.
        /// </summary>
        protected override ImageSource Icon
        {
            get
            {
                return new BitmapImage(new Uri(@"pack://application:,,,/ProConfigurationdemo2;component/Images/favicon.ico"));
            }
        }
        #region Override Startup Page
        private StartPageViewModel _vm;
        /// <summary>
        /// Called before ArcGIS Pro starts up. Replaces the default Pro start-up page (Optional)
        /// </summary>
        /// <returns> Implemented UserControl with start-up page functionality.
        /// Return null if a custom start-up page is not needed. Default ArcGIS Pro start-up page will be displayed.</returns>
        protected override System.Windows.FrameworkElement OnShowStartPage()
        {
            if (_vm == null)
            {
                _vm = new StartPageViewModel();
            }
            var page = new StartPage();
            page.DataContext = _vm;
            return page;
        }
        ///<summary>
        ///During the start up this method is called after it is safe to access Portal and use ArcGIS.Desktop.Core.
        ///ArcGIS Pro Theme has already been set.
        ///</summary>
        ///<param name="cancelEventArgs">
        ///To cancel initialization, set the cancelEventArgs.Cancel property to true.
        ///</param>
        protected override void OnApplicationInitializing(CancelEventArgs cancelEventArgs)
        {
        }
        ///<summary>
        ///During the start up this method is called after the Application Window Start page is ready. From here on calls to ArcGIS.Desktop.Framework.Threading.Tasks.QueuedTask are safe.
        ///ArcGIS Pro Extension modules can now be accessed.
        ///</summary>
        protected override void OnApplicationReady()
        {
        }
        #endregion
        #region Override Splash screen
        /// <summary>
        /// Called while ArcGIS Pro starts up. Replaces the default Pro splash screen. (Optional)
        /// </summary>
        /// <returns>Implemented Window with splash screen functionality.
        /// Return null if a custom splash screen is not needed. Default ArcGIS Pro splash screen will be displayed.</returns>
        protected override System.Windows.Window OnShowSplashScreen()
        {
            return new SplashScreen();
        }
        #endregion
        #region Override About page
        /// <summary>
        /// Customized UserControl is displayed in ArcGIS Pro About property page. Allows to add information about this specific managed configuration.
        /// </summary>
        /// <returns>Implemented UserControl with about box information.
        /// Return null if a custom about box is not needed. Default ArcGIS Pro About box will be displayed.</returns>
        protected override System.Windows.FrameworkElement OnShowAboutPage()
        {
            return new AboutPage();
        }
        #endregion
    }
}
8. At this time, we start the project and find that the system first enters the login panel, and then when we click the login button, the demo system interface we created before will appear, as shown below:
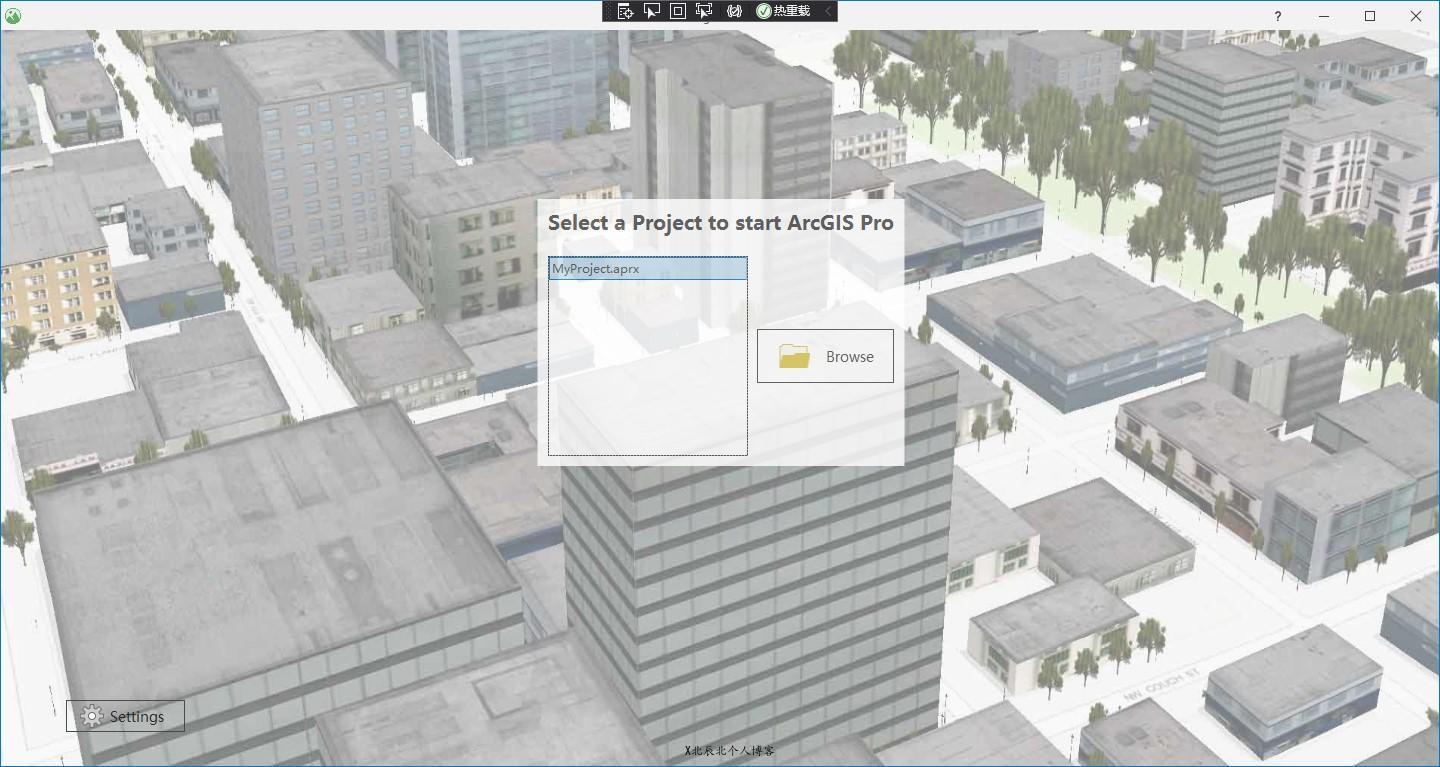
9. So far, the customized development of our login interface has been completed. Of course, here we just introduce how to create a new login page and register it as the system start page. The logic code in it is not written in detail. You can write the logic code of the login page yourself in the actual project.