Introduction: in this article, we will explain how to build an on-demand service through nginx + rtmp module.

For image download, domain name resolution and time synchronization, please click Alibaba open source mirror station
Author: Tang Qingsong
1, Operating environment
In order to deploy this service to the production environment in the later stage, we will use docker to build this service. Generally, in the production environment, we usually use Linux system as the server, so next we will take Ubuntu as an example. The construction process of other systems is basically similar.
1. docker container
The default port of rtmp service is 1935. In addition, after installing nginx, you need to verify and open an http port. In order to prevent conflict with the host, we use port 8081 here; We need to copy the video files into the container, so we also need to mount a directory. The running command of docker container is as follows:
docker run --name video -v /Users/tangqingsong/files:/root/videos -d -i -p 8081:8081 -p 1935:1935 ubuntu:18.04 && docker ps
After the command is executed, the result returned by docker is shown in the following figure:

In the figure above, we can see that a container is already running. Then we need to enter the container to install nginx and rtmp modules. The command to enter the container is as follows:
docker exec -it video bash
After the command is executed, the returned information is as follows:

In the above figure, you can see that the root account name has been displayed from the left side of the cursor position, indicating that it has entered the container successfully.
2. Domestic acceleration sources
We change the software source of apt to the address of Alibaba cloud source, and execute the following command:
echo 'deb http://mirrors.aliyun.com/ubuntu/ bionic main restricted universe multiverse
deb http://mirrors.aliyun.com/ubuntu/ bionic-security main restricted universe multiverse
deb http://mirrors.aliyun.com/ubuntu/ bionic-updates main restricted universe multiverse
deb http://mirrors.aliyun.com/ubuntu/ bionic-proposed main restricted universe multiverse
deb http://mirrors.aliyun.com/ubuntu/ bionic-backports main restricted universe multiverse
deb-src http://mirrors.aliyun.com/ubuntu/ bionic main restricted universe multiverse
deb-src http://mirrors.aliyun.com/ubuntu/ bionic-security main restricted universe multiverse
deb-src http://mirrors.aliyun.com/ubuntu/ bionic-updates main restricted universe multiverse
deb-src http://mirrors.aliyun.com/ubuntu/ bionic-proposed main restricted universe multiverse
deb-src http://mirrors.aliyun.com/ubuntu/ bionic-backports main restricted universe multiverse
' > /etc/apt/sources.list  && cat /etc/apt/sources.list
After the command is executed, the returned information is shown in the following figure:
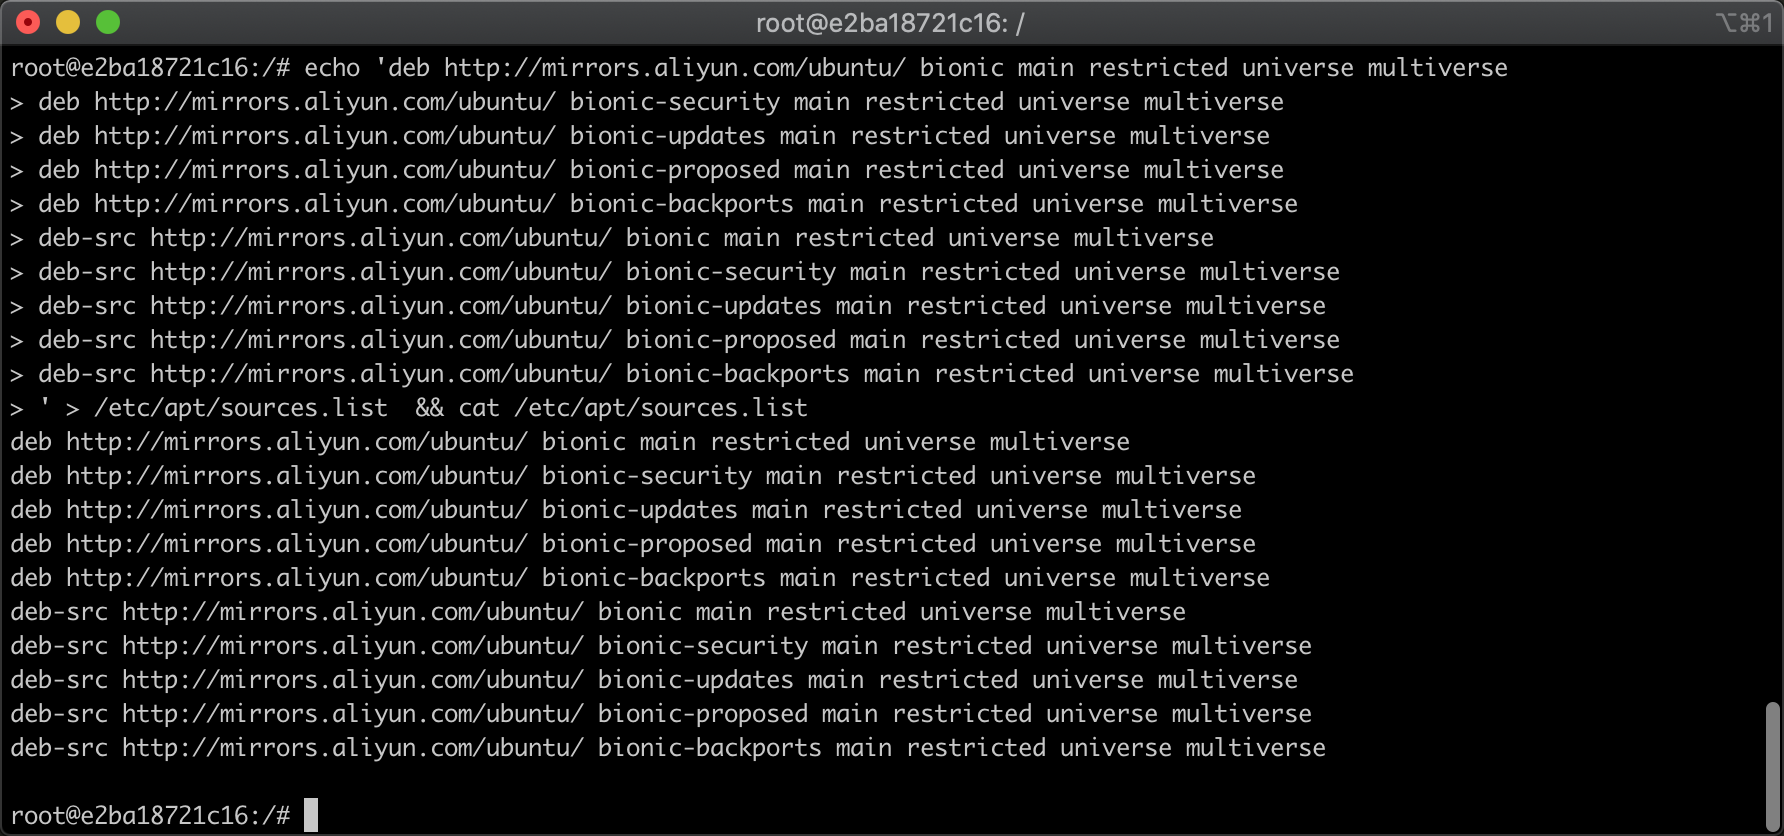
It can be seen from the above figure that the implementation has been successful. Alibaba cloud software source has been used instead of the default software source.
3. Update the software source list
Next, let's update the local software source information and execute the command as follows
apt update
After the command is executed, the returned information is shown in the following figure
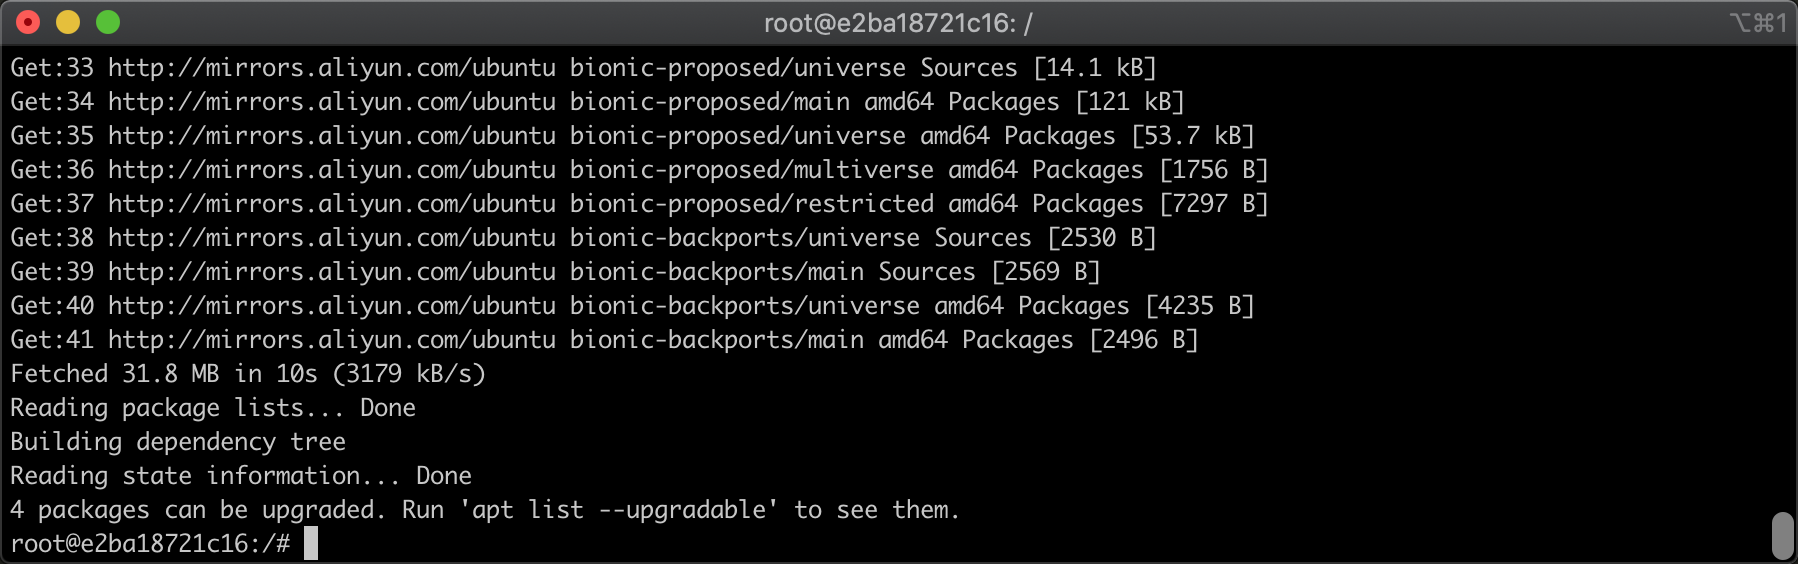
As can be seen from the above figure, the software source information has been updated from Alibaba cloud, and the update speed is very fast. Now we have completed the basic preparation of the operating environment.
2, Nginx installation
1. Install Nginx dependency
After we update the apt software source, we can install the dependent environment of some software such as Nginx, and execute the following commands:
apt-get install -y libpcre3 libpcre3-dev libssl-dev zlib1g-dev gcc wget unzip vim make curl
After the command is executed, the returned information is shown in the following figure:
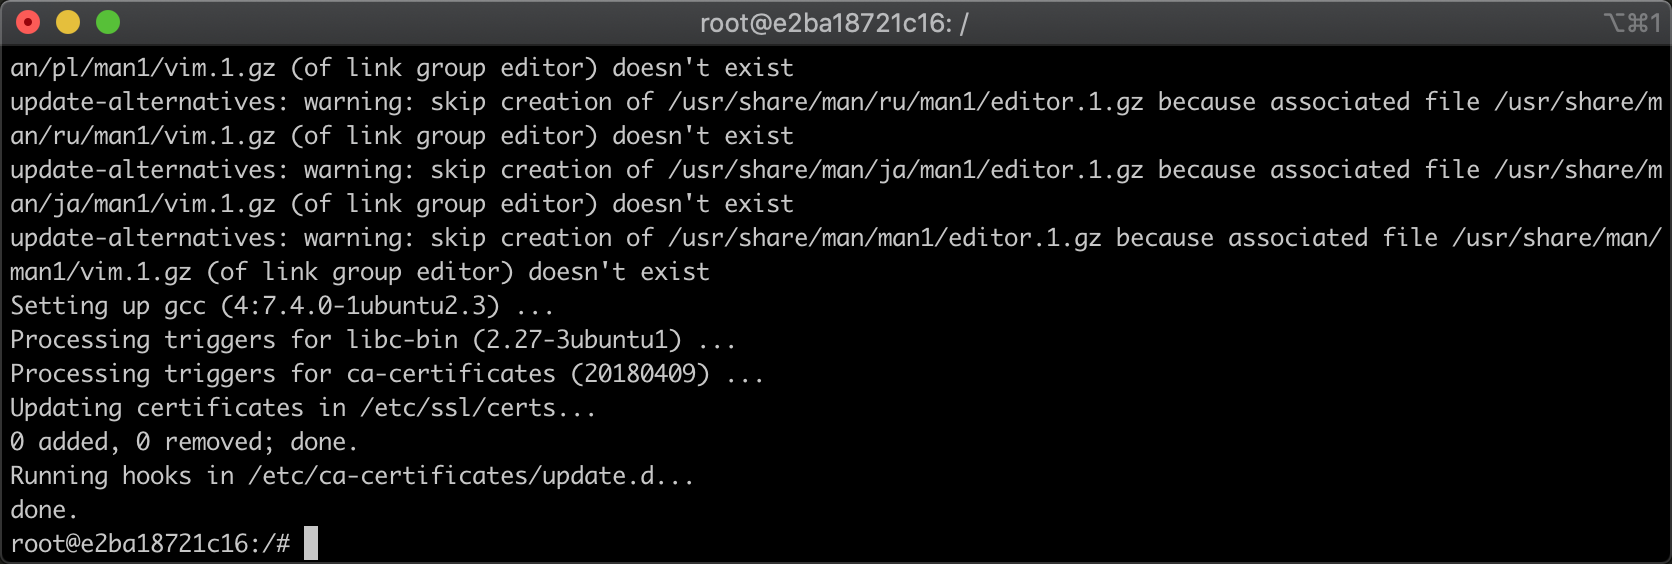
As can be seen from the above figure, the dependency has been installed. Next, we start to install nginx. Nginx cannot be installed using apt. it needs to compile and install the source code, because we need to compile a module.
2. Download the source code
We first download the required modules. I'm not going to use nginx RTMP module here, but use nginx HTTP flv module instead. Because the latter is developed based on the former, the former has all the functions of the latter, and the latter is developed in China and has Chinese files, so we use it. First, download it and unzip it, The commands executed are as follows:
wget https://github.com/winshining/nginx-http-flv-module/archive/master.zip ; unzip master.zip
After the command is executed, the returned information is shown in the following figure:
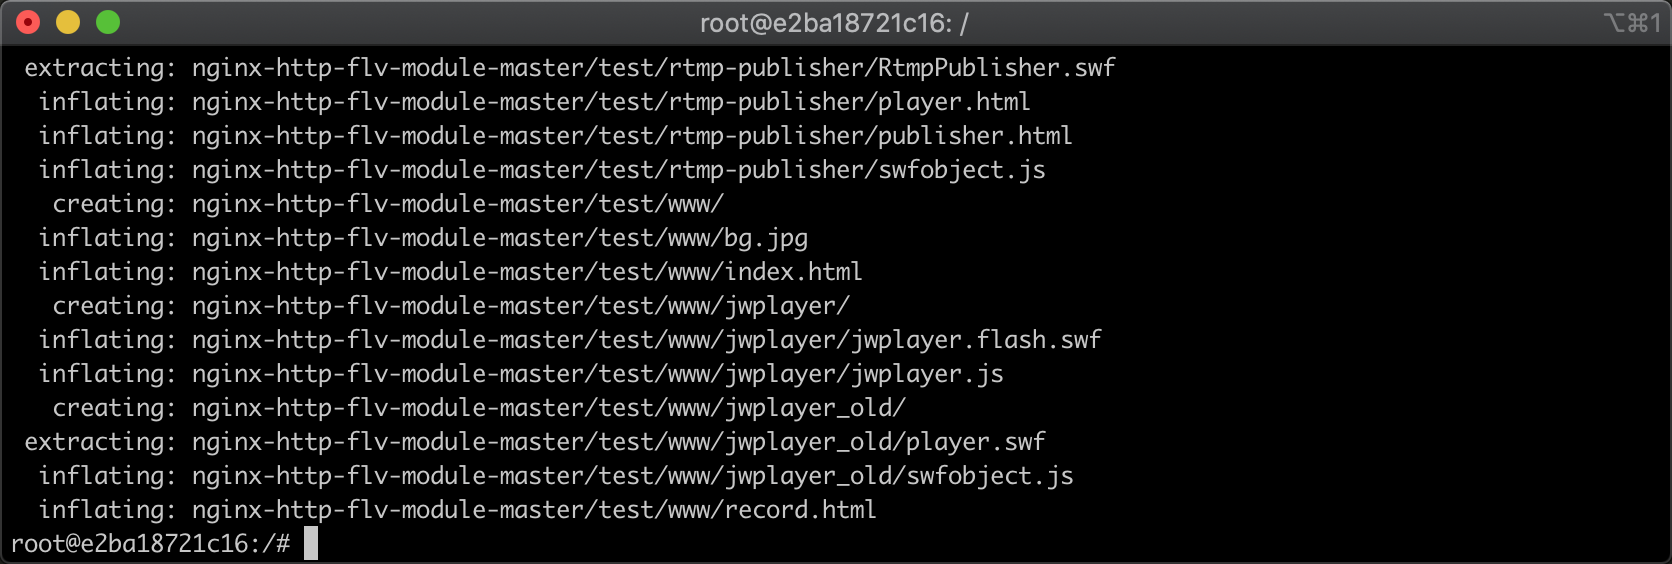
It can be seen from the above figure that the download and decompression have been completed. Then we need to download the source code of nginx itself. The command to download and unzip the source code of nginx is as follows:
wget http://nginx.org/download/nginx-1.17.6.tar.gz && tar -zxvf nginx-1.17.6.tar.gz
After the command is executed, the returned information is shown in the following figure:
After downloading and decompressing, we are ready to complete the source code we need
3. Compile and install
Next, we enter the compilation and installation phase. First, we enter the nginx directory that we just unzipped. The executed commands are as follows:
cd nginx-1.17.6 && ls
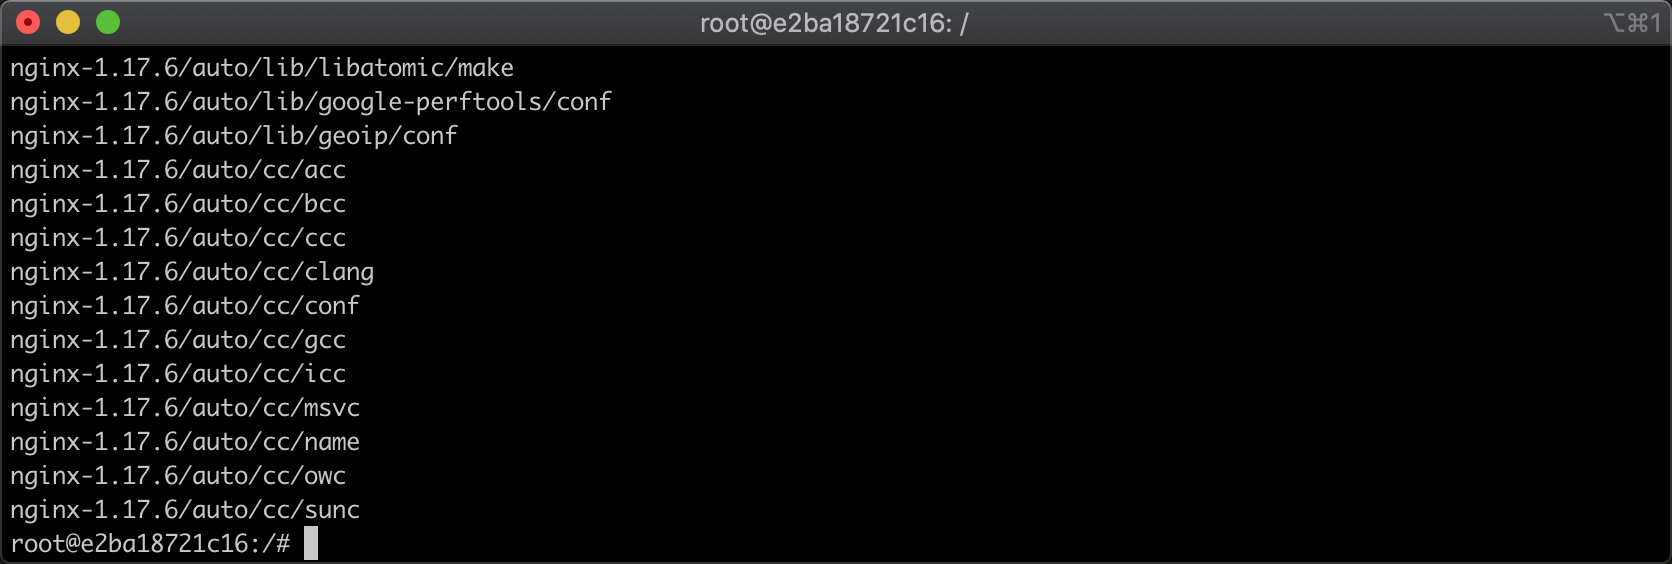
After the command is executed, the returned information is shown in the following figure:

From the above figure, we can see the extracted directory structure, which we execute/ Configure can configure the compilation parameters. In this place, we need to add the plug-in nginx HTTP flv module we just downloaded. The commands are as follows:
./configure --add-module=../nginx-http-flv-module-master
After the command is executed, the returned information is shown in the following figure:
It can be seen from the above figure that the preparation for compilation has been completed, but some unexpected factors may occur during the compilation process. nginx default compilation is very strict, and the compilation will be interrupted as long as there are some accidents. Therefore, we set some non fatal accidents to the warning mode, and execute the commands as follows:
vim objs/Makefile
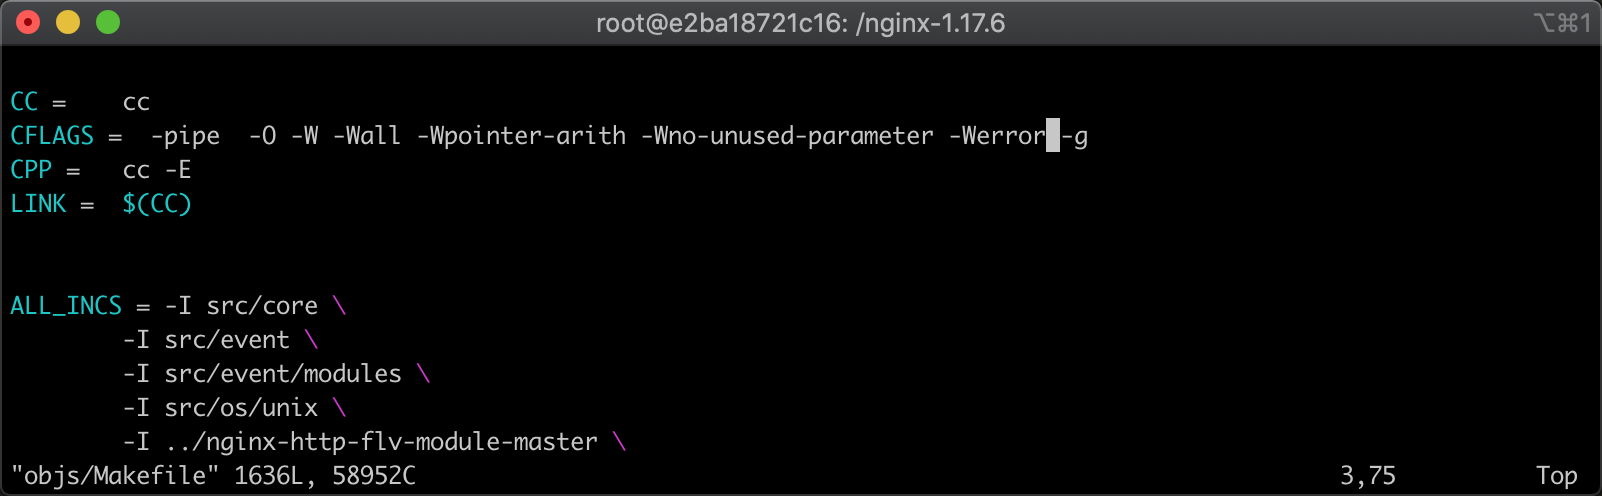
There is an objs/Makefile file in the current folder. We will delete - Werror in it. After opening the file with vim, it is shown as follows
After the command is executed, the returned information is shown in the following figure
After deletion, save and exit. Then you can compile Nginx. The compilation process is a little long. The executed commands are as follows
make
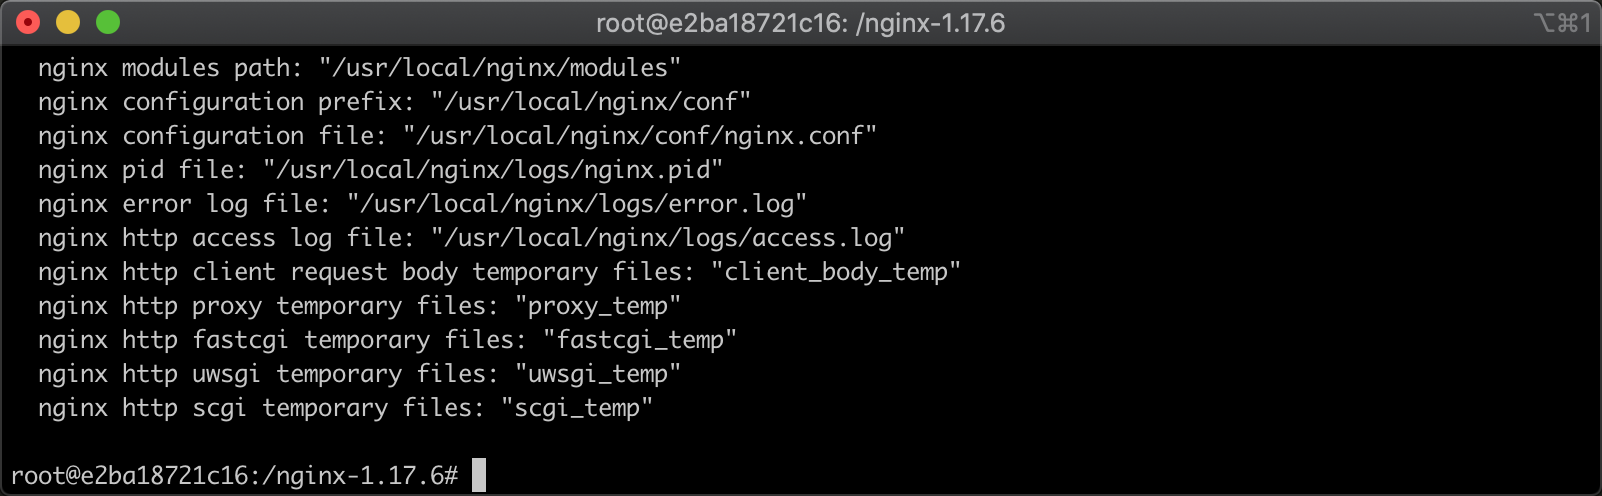
After the command is executed, the returned information is shown in the following figure
In the figure above, we can see some log storage path information of Nginx. When we execute the installation command, we will write corresponding information to these files. The execution of the installation command is as follows
make install
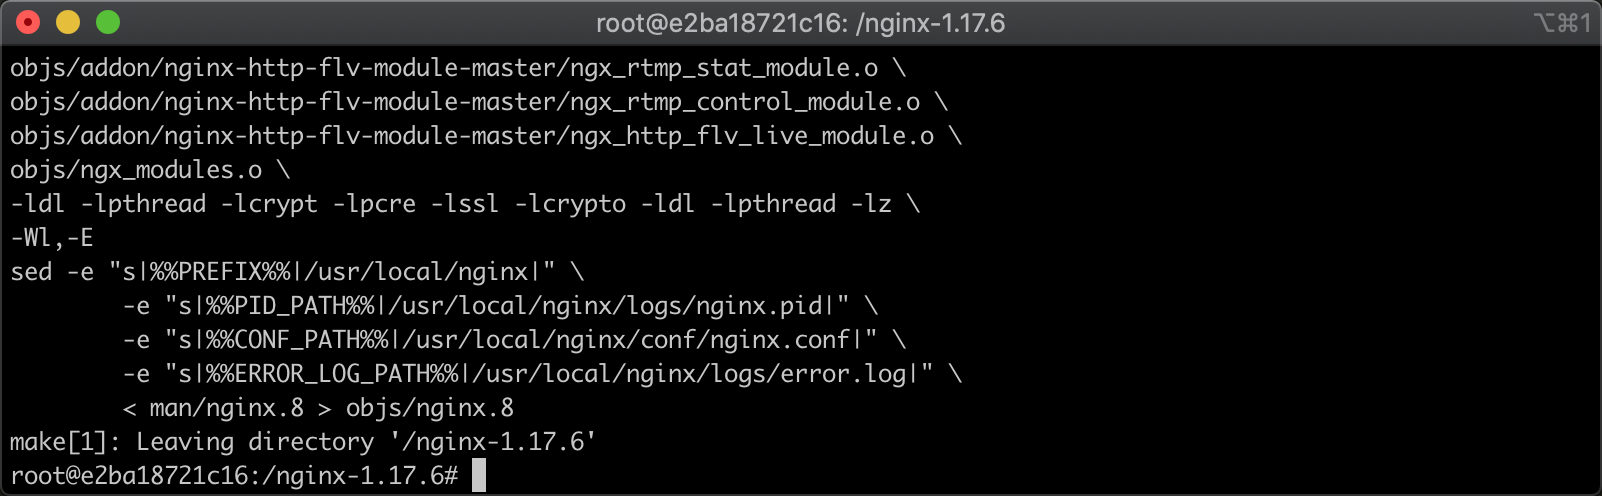
After the installation command is executed, the returned information is shown in the figure below
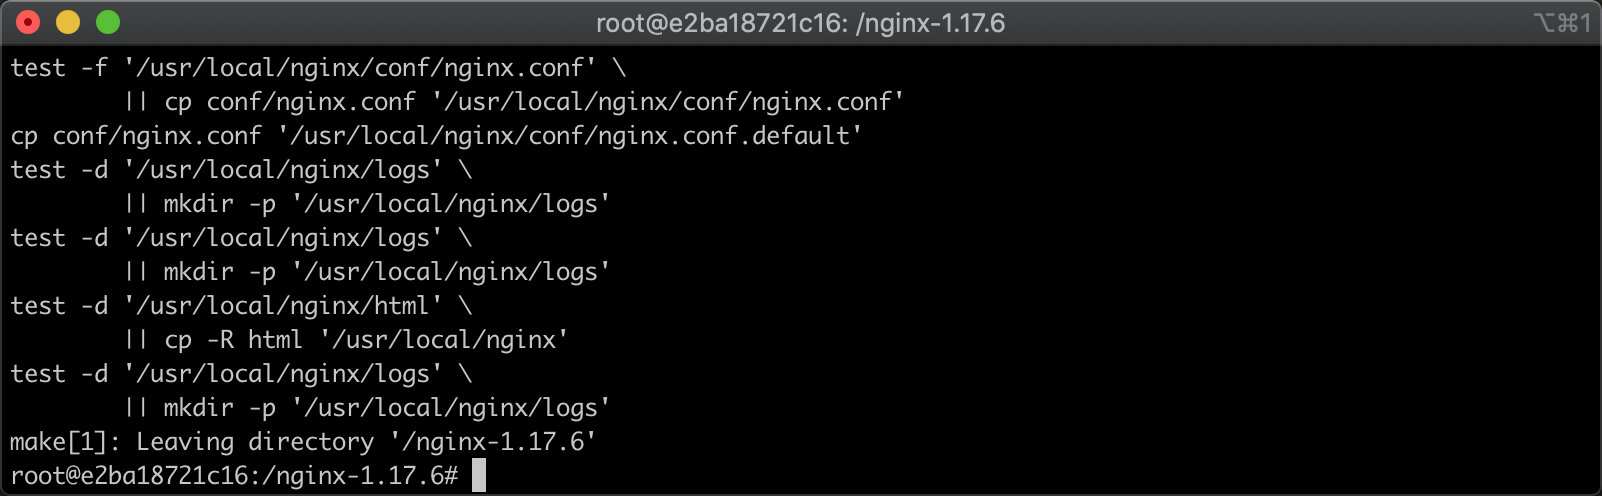
In the figure above, you can see what commands are executed during the installation process. After the installation, you need to make some simple configurations to use.
3, Configure rtmp service
1. Add rtmp service
We directly use the vim command to edit the configuration file of Nginx, and execute the command as follows
vim /usr/local/nginx/conf/nginx.conf
After the vim command is executed, the editing window opens as follows
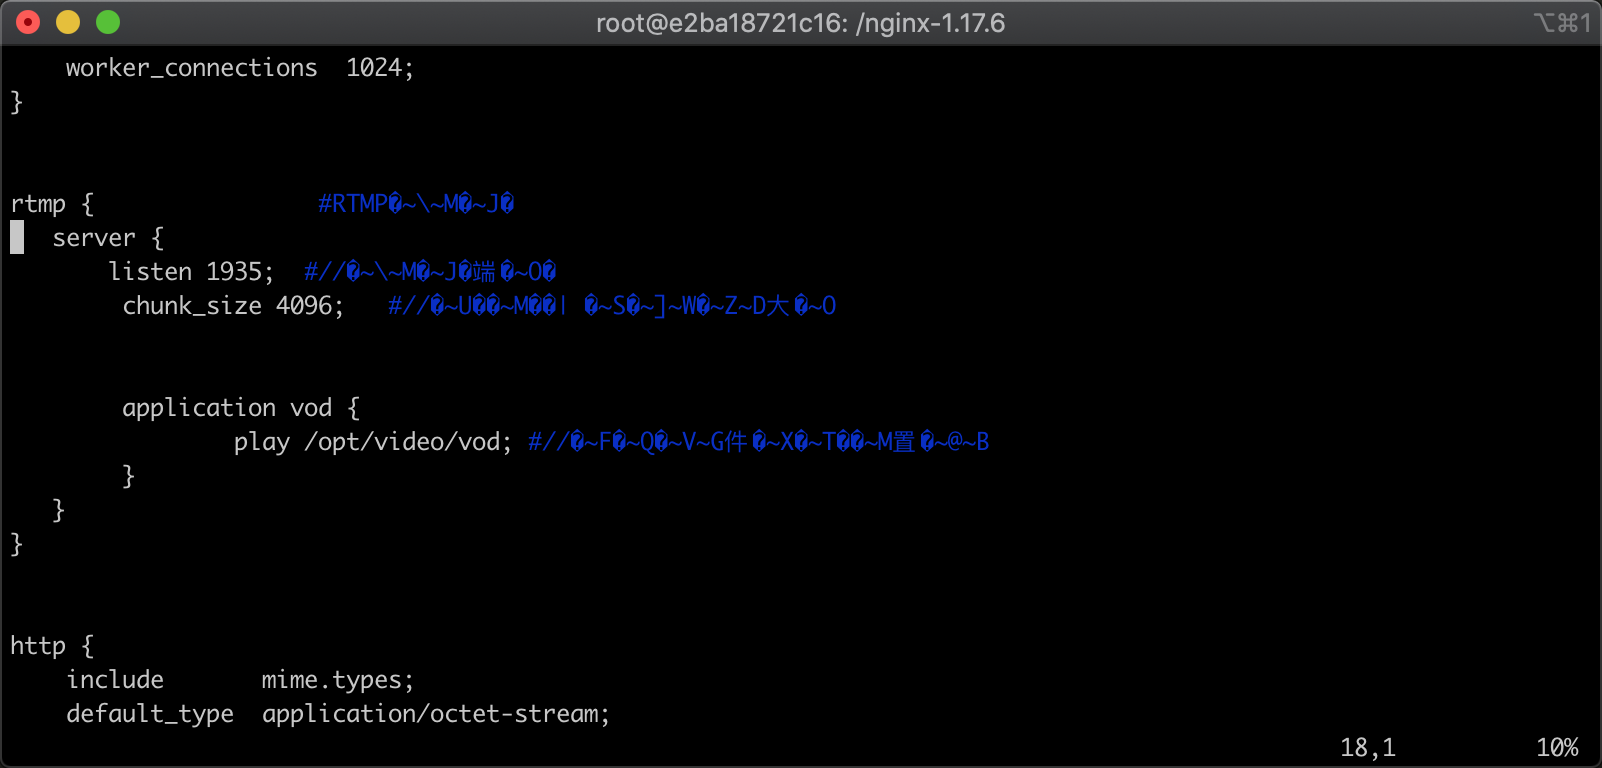
We copy and paste the following configuration information into the configuration file information and put it on the http configuration
rtmp {                #RTMP service
   server {
       listen 1935;  #//Service port
        chunk_size 4096;   #//Size of data transfer block
        application vod {
                play /opt/video/vod; #//Video file storage location.
        }
   }
}
2. Verify configuration
After pasting and saving, we execute nginx -t command on the terminal to test whether there are exceptions in the configuration file. The execution command is as follows
/usr/local/nginx/sbin/nginx -t
After the command is executed, the returned information is shown in the following figure

As can be seen from the above figure, Nginx prompts us that there is no exception in the configuration file, indicating that there is no syntax error in our configuration. We start Nginx and use curl command to test whether the startup is successful. The execution command is as follows
/usr/local/nginx/sbin/nginx && curl http://127.0.0.1
After the command is executed, the returned information is shown in the following figure
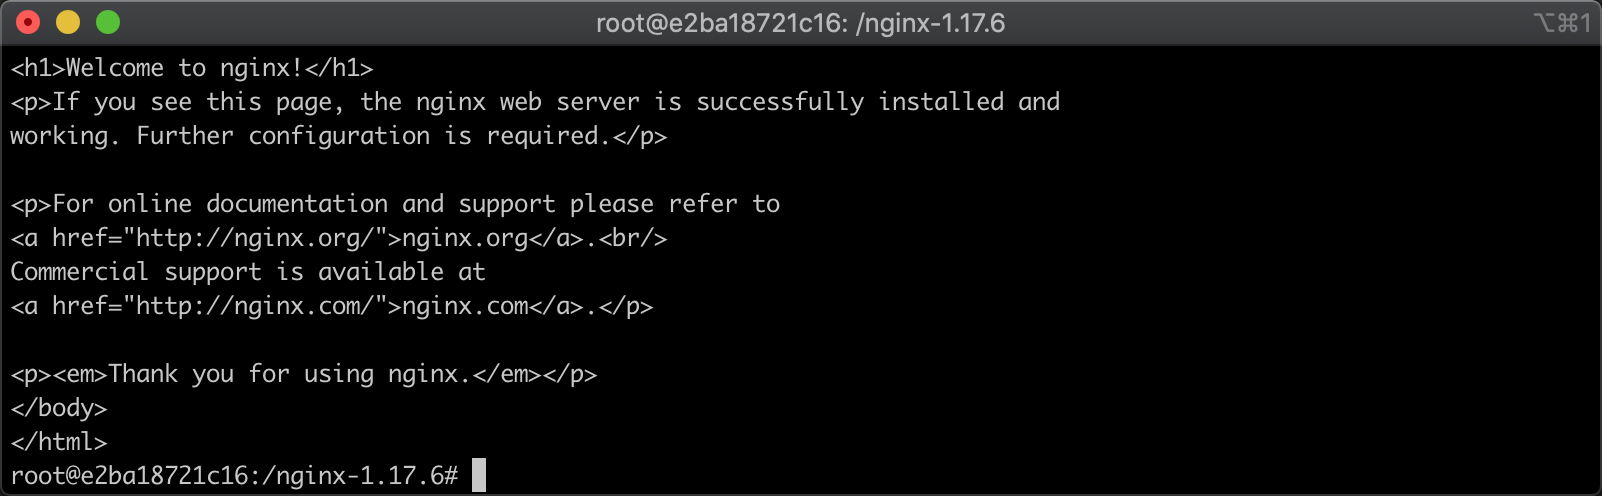
From the information returned by Nginx in the figure above, we can see that our Nginx service has been started successfully.
4, Video playback
1. Add video file
Then we create a folder for storing videos and set the permission setting to 777 to prevent it from being unable to play due to permission problems. Execute the command as follows
mkdir -p /opt/video/vod && chmod -R 777 /opt/video/vod
After the command is executed, the returned information is shown in the following figure

It can be seen from the above figure that the commands of creating folders and setting permissions have been executed. Then we need to copy the prepared video files to the directory specified in our previous configuration. The execution commands are as follows
cp /root/videos/out.mp4 /opt/video/vod && ls /opt/video/vod
After the command is executed, the returned information is shown in the following figure

As can be seen from the above figure, the video file has been out Copy the MP4 file to this directory, and then we can test the playback; However, we need to install a video player before testing playback, because the browser does not support rtmp protocol.
2. Install VLC player
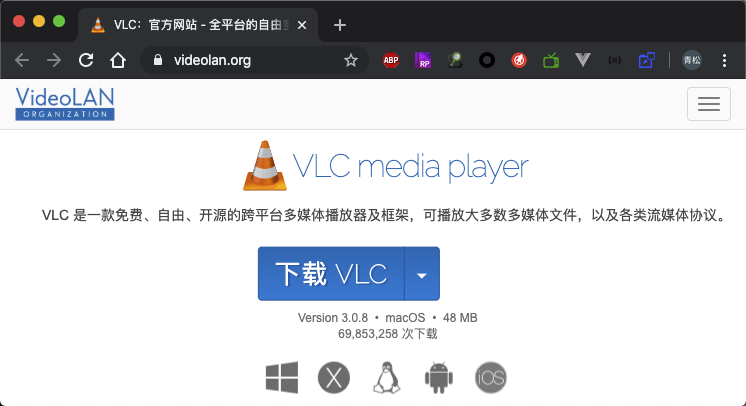
It is generally used to debug streaming media. We are used to using vlc player. We go to the official website to download it. The official website address is as follows
https://www.videolan.org/
After using the browser to open the official website, we can see the download button on the home page. At the same time, we can also see that it supports various platforms. The version of the current system is downloaded by default, as shown in the figure below
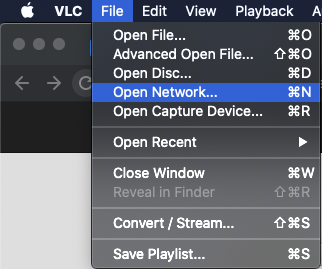
After downloading and installing the vlc player, we need to find file - > Open Network in the menu, as shown in the following figure
After clicking the Open Network option, a new window will open. In this window, we can enter our playback address. The corresponding video playback address I just copied is as follows
rtmp://localhost/vod/out.mp4
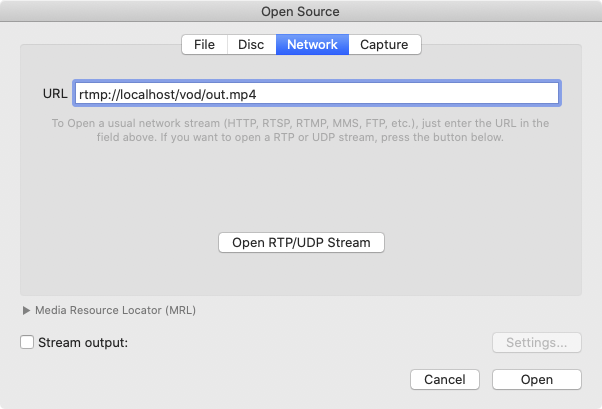
In the figure above, you can see that there is an input box in the window. After copying the playback address, click the open button at the bottom right to start playback. After clicking, the playback effect is shown in the figure below
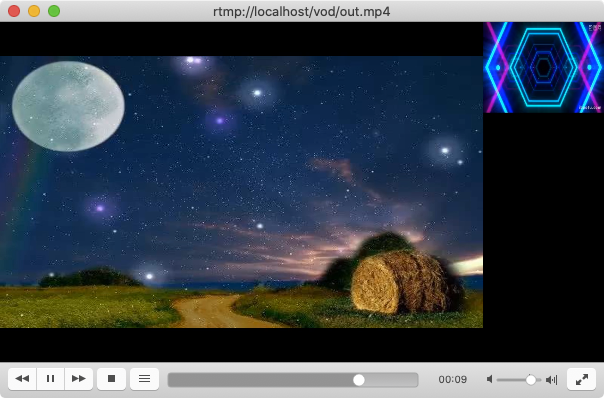
So far, the on-demand service has been successfully built through the Nginx+rtmp module.
This article is transferred from: Using Nginx+rtmp module to build streaming video on demand service in Ubuntu - Alibaba cloud developer community