preface
This article is based on KITTI data set training yolov5. Friends can divide the data set completely according to my steps (strictly follow the directory structure I listed, there will be no problem), so as to successfully train yolov5 in KITTI. If you strictly follow my directory structure, you don't need to modify any sentence in the code.
This chapter is based on Detailed explanation of yolov5 training KITTI data set and division of KITTI data set (Part I) content
The following is the main body of this article4, Training network
4.1 create your own yaml file
Under ~ / yolov5 master / data folder, use touch Kitti Yaml create a new file and copy the following
train: /home/djx/yolov5/datasets/kitti/images/train #train dataset path
val: /home/djx/yolov5/datasets/kitti/images/val  # val dataset path
test: /home/djx/yolov5/datasets/kitti/images/test  # test dataset path

# Classes
nc: 1  # number of classes I only detect Car here, so nc is 1. There are only Car classes in the name list, which can be modified according to your own needs
name: ['Car']
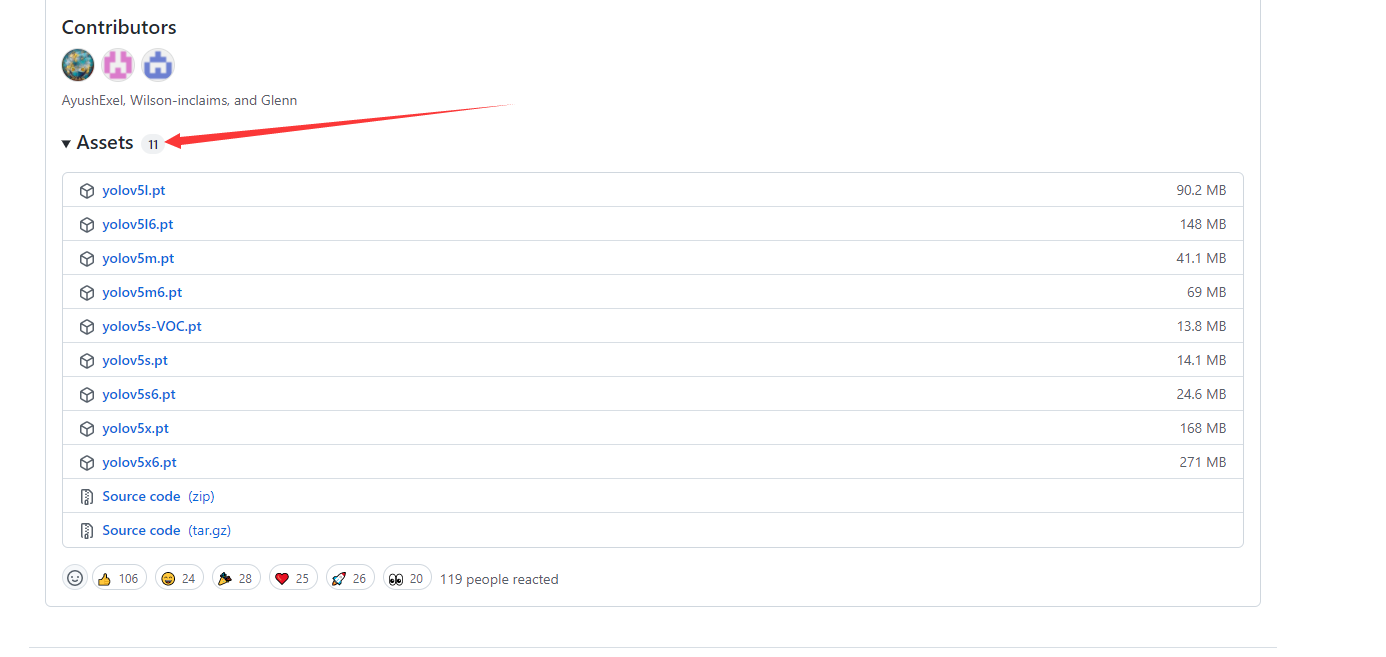
4.2 download the pre training weight model yolov5s pt
Weight model download address
Open the download address drop-down to the bottom and open the Assets drop-down box to download the corresponding model. S is a lightweight model. For demonstration, I choose to download s model and put the model in ~ / yolov5 master /.
4.3 training model
4.3.1 modification yolov5s yaml
Open ~ / yolov5 master / datasets / Models / yolov5s Yaml and modify it to the following code. I modified nc here. If you don't use s model and use L, open yolov5l Yaml can be modified.
# Parameters
nc: 1  # number of classes
depth_multiple: 0.33  # model depth multiple
width_multiple: 0.50  # layer channel multiple
anchors:
  - [10,13, 16,30, 33,23]  # P3/8
  - [30,61, 62,45, 59,119]  # P4/16
  - [116,90, 156,198, 373,326]  # P5/32

# YOLOv5 backbone
backbone:
  # [from, number, module, args]
  [[-1, 1, Focus, [64, 3]],  # 0-P1/2
   [-1, 1, Conv, [128, 3, 2]],  # 1-P2/4
   [-1, 3, C3, [128]],
   [-1, 1, Conv, [256, 3, 2]],  # 3-P3/8
   [-1, 9, C3, [256]],
   [-1, 1, Conv, [512, 3, 2]],  # 5-P4/16
   [-1, 9, C3, [512]],
   [-1, 1, Conv, [1024, 3, 2]],  # 7-P5/32
   [-1, 1, SPP, [1024, [5, 9, 13]]],
   [-1, 3, C3, [1024, False]],  # 9
  ]

# YOLOv5 head
head:
  [[-1, 1, Conv, [512, 1, 1]],
   [-1, 1, nn.Upsample, [None, 2, 'nearest']],
   [[-1, 6], 1, Concat, [1]],  # cat backbone P4
   [-1, 3, C3, [512, False]],  # 13

   [-1, 1, Conv, [256, 1, 1]],
   [-1, 1, nn.Upsample, [None, 2, 'nearest']],
   [[-1, 4], 1, Concat, [1]],  # cat backbone P3
   [-1, 3, C3, [256, False]],  # 17 (P3/8-small)

   [-1, 1, Conv, [256, 3, 2]],
   [[-1, 14], 1, Concat, [1]],  # cat head P4
   [-1, 3, C3, [512, False]],  # 20 (P4/16-medium)

   [-1, 1, Conv, [512, 3, 2]],
   [[-1, 10], 1, Concat, [1]],  # cat head P5
   [-1, 3, C3, [1024, False]],  # 23 (P5/32-large)

   [[17, 20, 23], 1, Detect, [nc, anchors]],  # Detect(P3, P4, P5)
  ]
4.3.2 operation
Enter the ~ / yolov5 master directory and run the python file. There is no need to enter in the middle, which is separated by spaces. Batch can be adjusted appropriately_ Size and the size of epochs.
python train.py --img 640 --batch-size 32 --epochs 80
				--data data/kitti.yaml --cfg models/yolov5s.yaml
				--weights yolov5s.pt
5, Result detection
At present, only train and val have been carried out, but no test has been carried out. However, it doesn't matter. The data set has been divided. In the later stage, it depends on whether you need to test. Here, run it directly after training and use the trained best detect the PT weight file and check the output after training at expX.
python train.py --img 640 --batch-size 32 --epochs 80
				--data data/kitti.yaml --cfg models/yolov5s.yaml
				--weights ~/yolov5-master/runs/train/expX/weights/best.pt
The pictures of detect are placed in ~ / yolov5 master / data / images, and the test results will be stored in
~/Yolov5 master / runs / detect. Since the server used here has no screen, the recognition effect will not be displayed.