Deep learning environment configuration under Ubuntu 20.04 system (subsystem) (pytoch + GPU)
🍀 Previous sequence (pit avoidance)
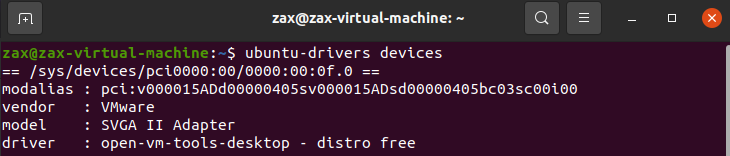
Last time I installed Ubuntu in the virtual machine and installed Nvidia driver , enter the command Ubuntu drivers devices, and you can see that there are no recommended drivers, as shown below:
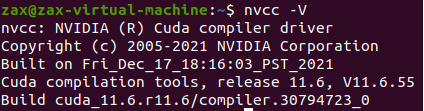
Finally, sudo apt install nvidia-driver-510 was used for installation. After cuda was installed, nvcc -V was used for inspection, which also proved that the installation was successful:
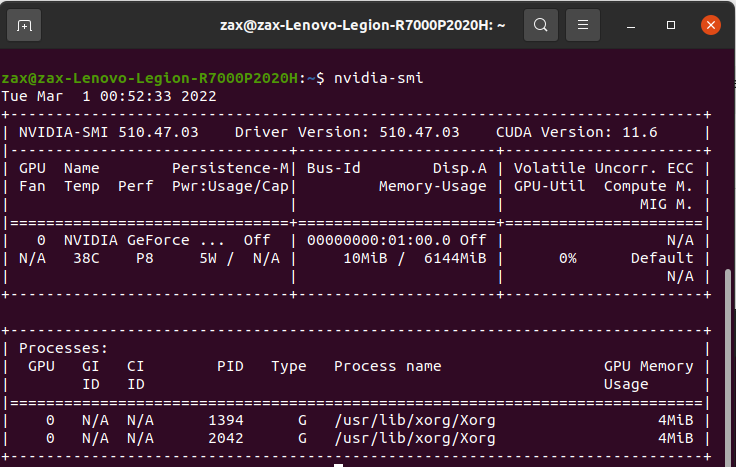
But it still can not solve this problem:
NVIDIA-SMI has failed because it couldn't communicate with the NVIDIA driver. Make sure that the latest NVIDIA driver is installed and running.
Later, various materials and facts proved that Nvidia driver is not supported in virtual machine, so I installed Ubuntu subsystem for experiment, and finally succeeded. I hope you can avoid the pit
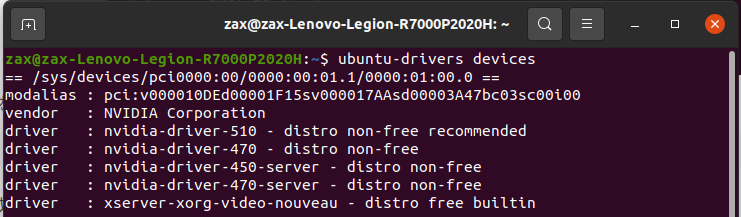
🍀 Install Nvidia driver
It can be seen that there are many recommended drivers, which is normal:
Agree to install the recommended Version (510). Enter the following command in the terminal to install it automatically
sudo ubuntu-drivers autoinstall
The installation is successful, as shown in the figure: NVIDIA-SMI 510.47.03
🍀 install CUDA 11.5
Installation lessons:
- cuda11 I installed before 6. It was not found that there was no corresponding version until cuDNN was installed, which also prompted us to check the cuda version corresponding to cuDNN before installing cuda. If you are installing for the first time, you can skip the following uninstall command
- Do not install cuDNN with the wrong version. I installed cuda11 for the first time Version 6, and cuDNN supports 11.5 at most. I installed it. The results verify that cuDNN can't be used, so don't take chances
sudo /usr/local/cuda-11.6/bin/cuda-uninstaller
sudo rm -rf /usr/local/cuda-11.6/
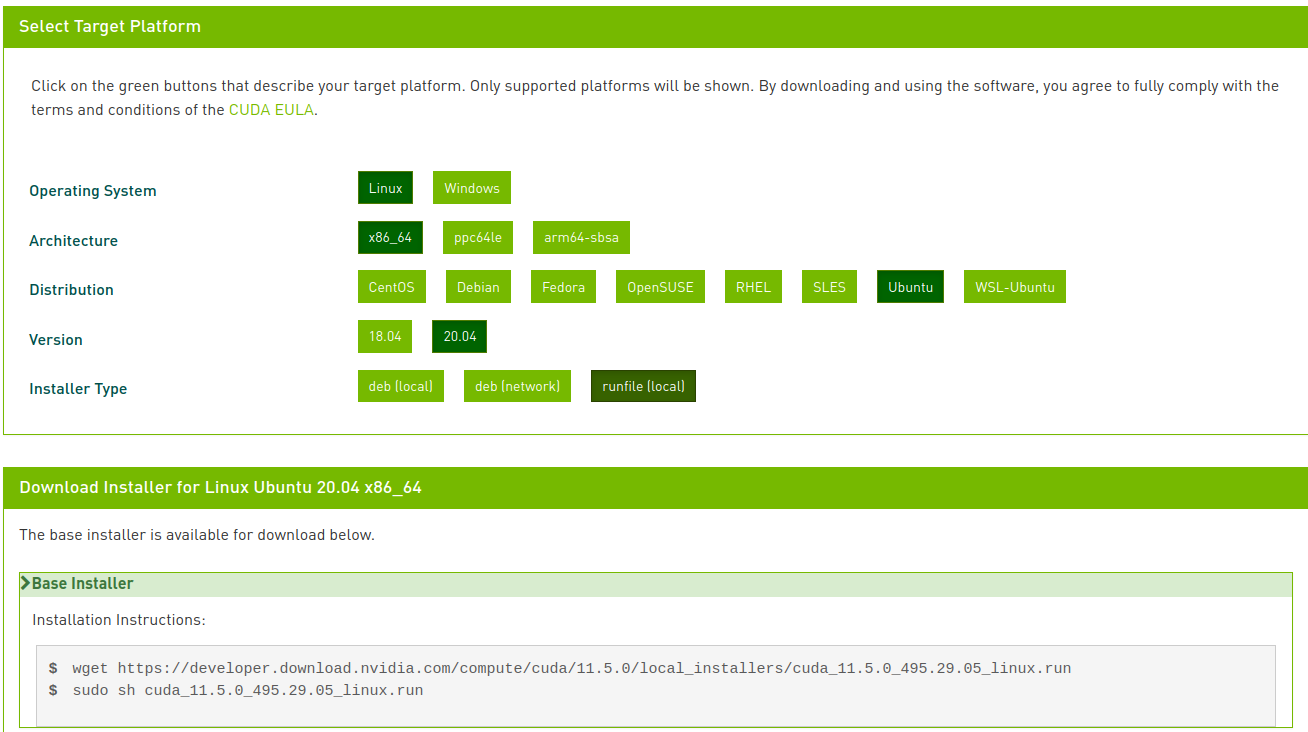
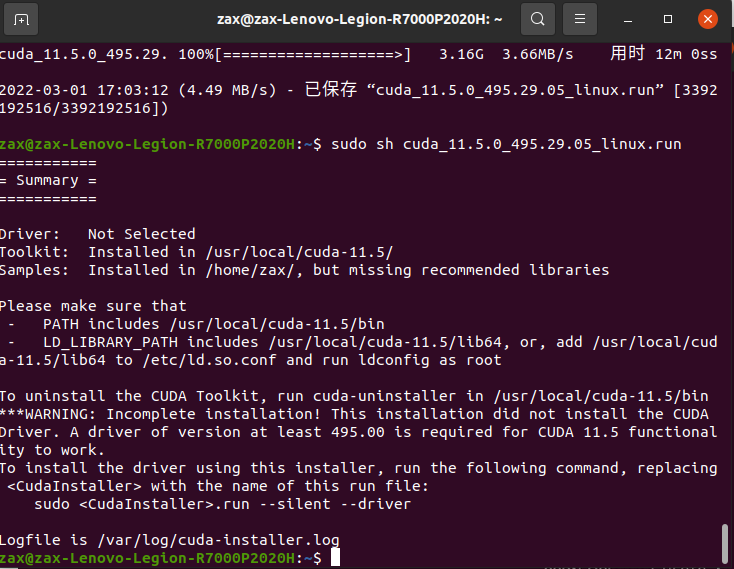
Enter the command to install:
wget https://developer.download.nvidia.com/compute/cuda/11.5.0/local_installers/cuda_11.5.0_495.29.05_linux.run
sudo sh cuda_11.5.0_495.29.05_linux.run

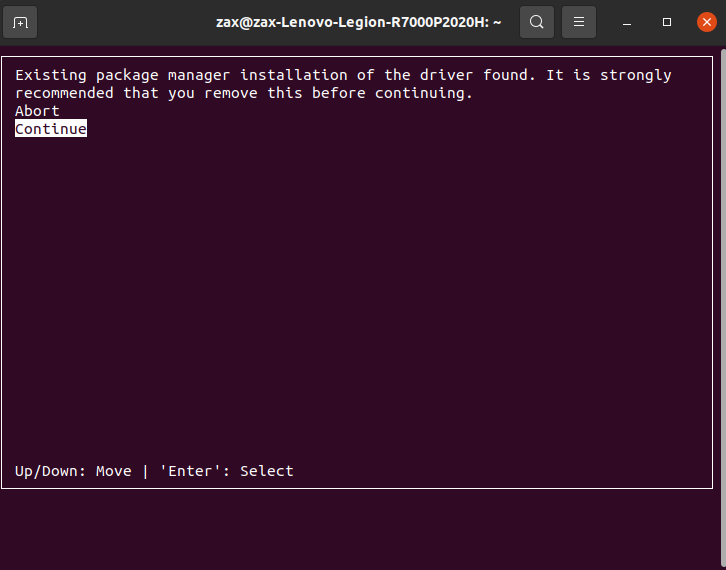
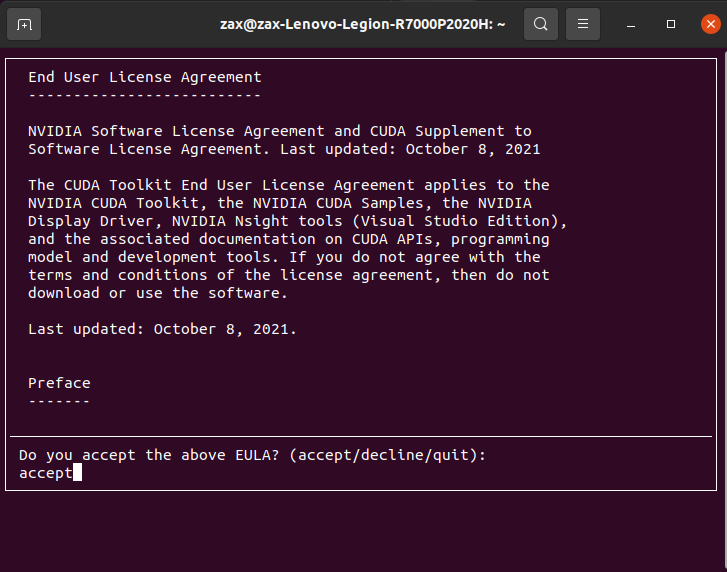
Specific installation process:
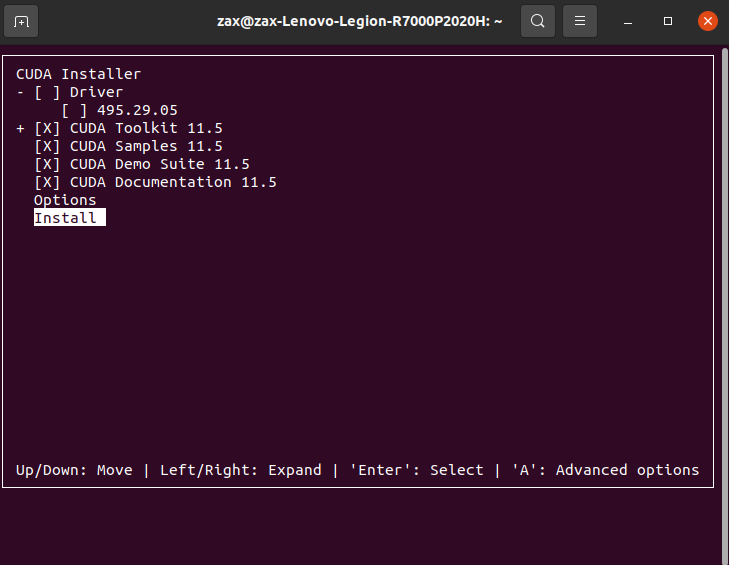
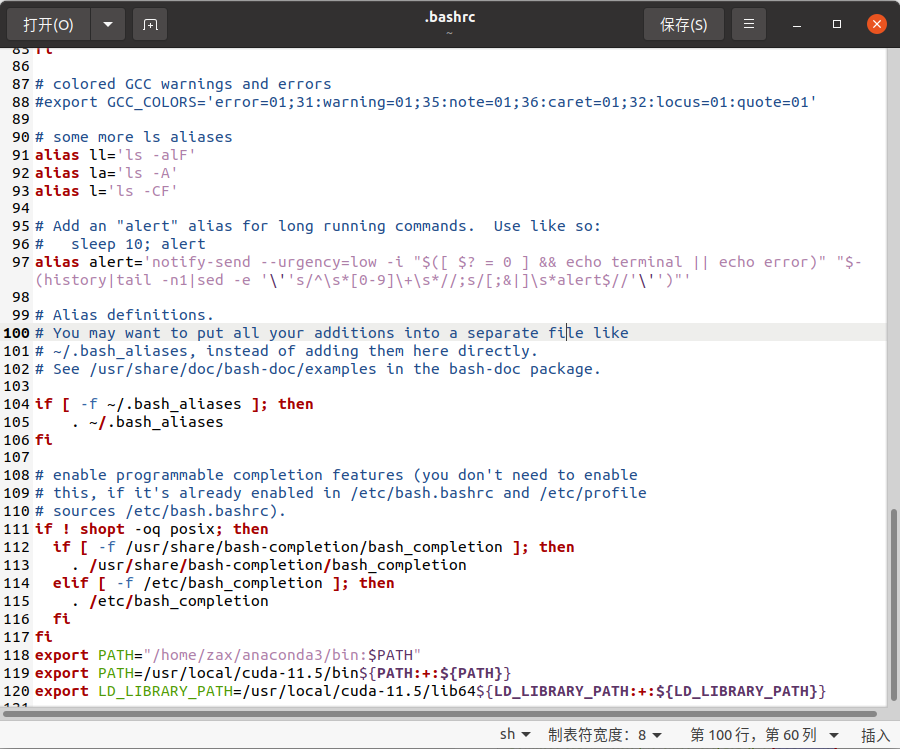
Environment variables:
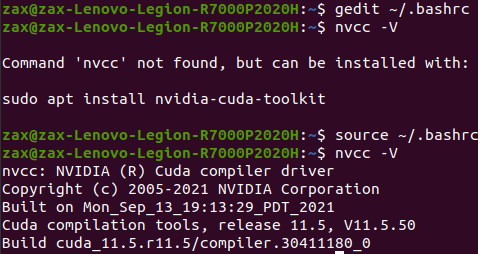
Open the file, configure the environment variables, and then use nvcc -V to view cuda information to prove that cuda is installed successfully
gedit ~/.bashrc
export PATH=/usr/local/cuda-11.5/bin${PATH:+:${PATH}}
export LD_LIBRARY_PATH=/usr/local/cuda-11.5/lib64${LD_LIBRARY_PATH:+:${LD_LIBRARY_PATH}}
source ~/.bashrc
🍀 install cuDNN for CUDA 11.5
cuDNN is a supplement to CUDA. You need Nvidia account and password. You can register and log in to download it. In this section, I found cuda11 5 install the corresponding version of cuDNN. Refer to a good blog: Install CUDA 11.0, cuDNN 8.0.5, PyTorch 1.7.0 for Ubuntu 20.04

Download successful
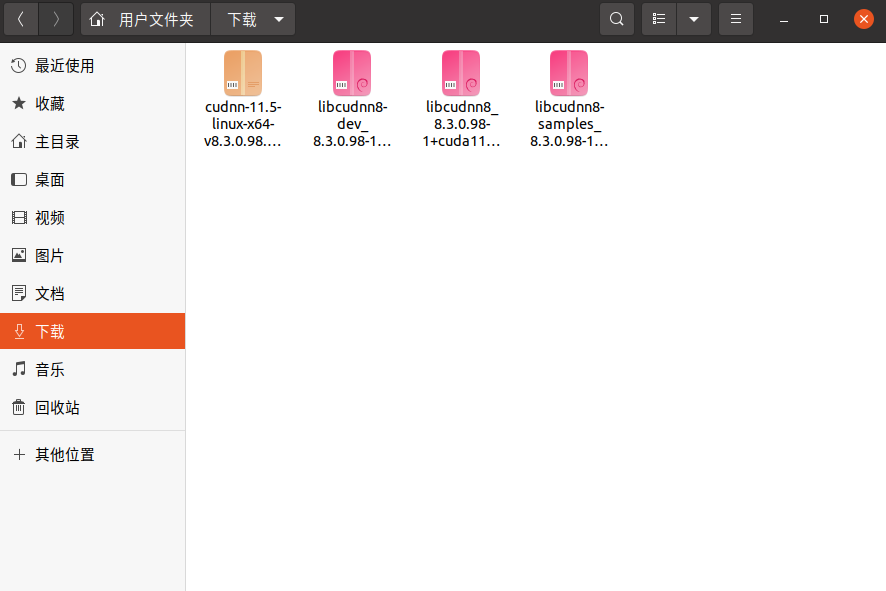
Unzip the Yellow package in the figure above to the current folder
tar zxvf cudnn-11.5-linux-x64-v8.3.0.98.tgz -C ./
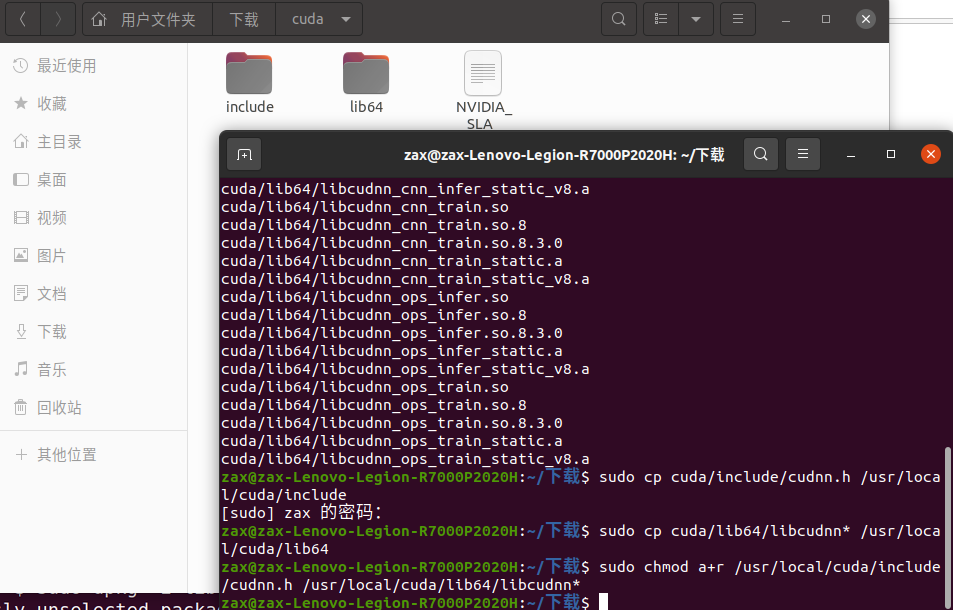
After decompression, a cuda directory is added

There are two subdirectories under cuda directory, include and lib64. Copy all files under these two directories to the directory corresponding to the installation path of CUDA 11.6 as a supplement to cuda
sudo cp cuda/include/cudnn.h /usr/local/cuda/include
sudo cp cuda/lib64/libcudnn* /usr/local/cuda/lib64
When finished, delete tgz files and cuda folders are useless
Change the permissions of include and lib64 folders under usr/local/cuda /, otherwise problems will occur
sudo chmod a+r /usr/local/cuda/include/cudnn.h /usr/local/cuda/lib64/libcudnn*
Attachment: common instructions for modifying permissions
sudo chmod 600 ××× ((only the owner has read and write permissions)
sudo chmod 644 ××× (The owner has read and write permission, while the group user has read permission only)
sudo chmod 700 ××× ((only the owner has read, write and execute permissions)
sudo chmod 666 ××× (Everyone has read and write permission)
sudo chmod 777 ××× (Everyone has read, write and execute permissions)
Install the remaining three Deb packages
Note: the installation sequence of these three packages should not be disordered
sudo dpkg -i libcudnn8_8.3.0.98-1+cuda11.5_amd64.deb
sudo dpkg -i libcudnn8-dev_8.3.0.98-1+cuda11.5_amd64.deb
sudo dpkg -i libcudnn8-samples_8.3.0.98-1+cuda11.5_amd64.deb
When installing the first Deb package, the root directory space remaining 0 pops up. I remember that 25.5G was set at that time, which is really too small, so I Expanded root directory After, reinstall the three packages:

Verify that the installation was successful
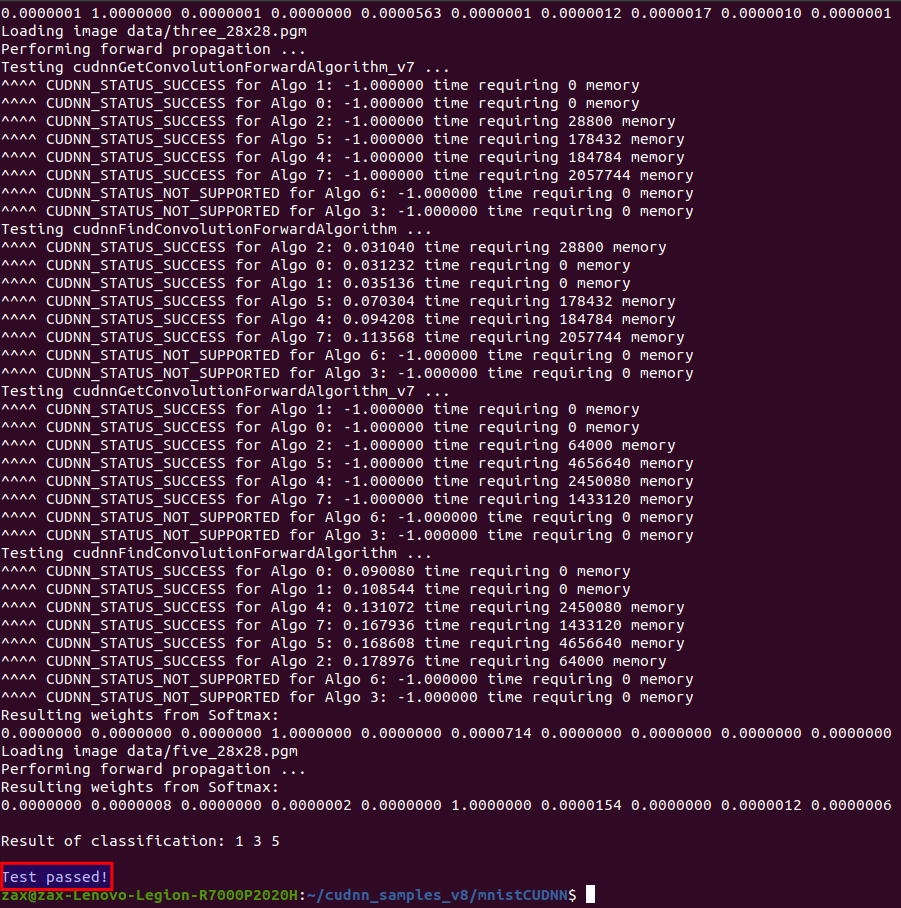
cp -r /usr/src/cudnn_samples_v8/ ~
cd ~/cudnn_samples_v8/mnistCUDNN/
make clean && make
./mnistCUDNN
The following compilation error is reported: FreeImage h
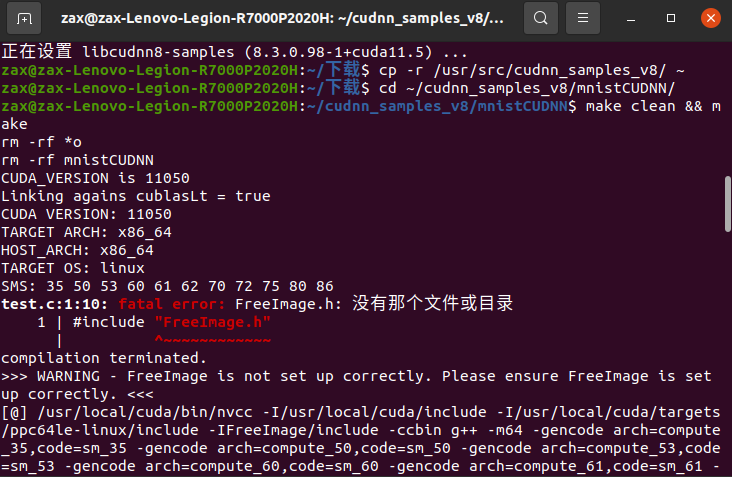
Try to solve
sudo apt-get install libfreeimage3 libfreeimage-dev
Useless, even if sudo apt get update and try this command again:
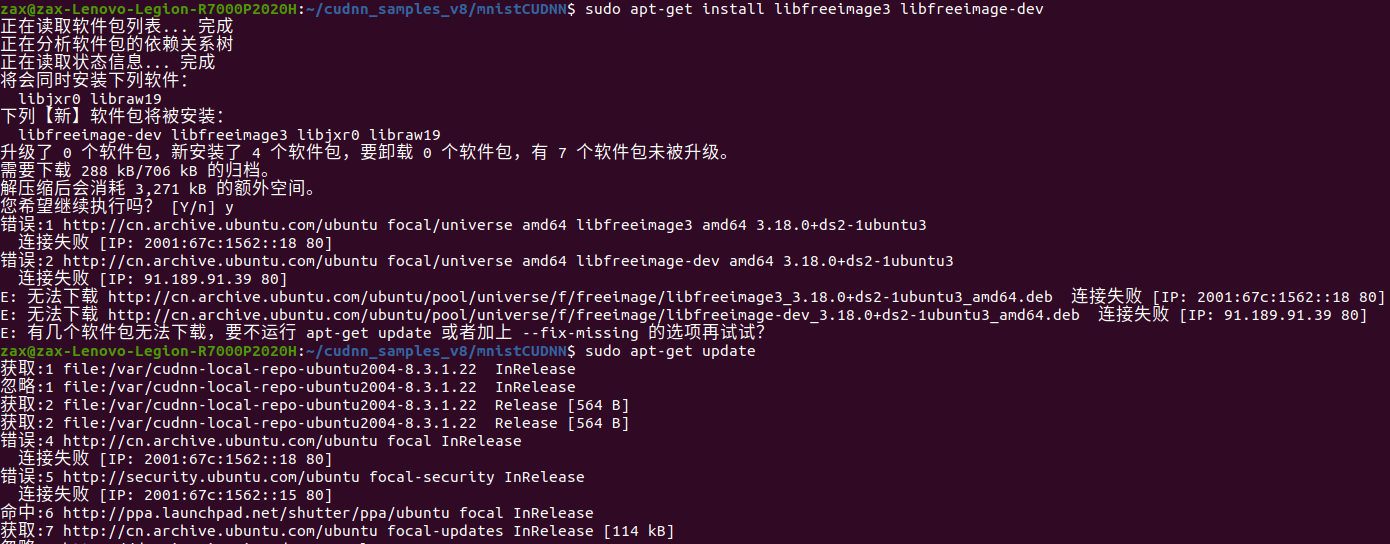
After looking for it for a long time, I finally got an article Blog Save me
- Failure reason: the installation packages of various system resources and their attached servers may be foreign, or too many people visit at this time, resulting in the server connection failure after the connection timeout, resulting in the failure of resource download
- Solution: you can put the original CN archive. ubuntu. Replacing the COM server address with the server source of Netease 163 can effectively improve the download speed and installation speed of various resources
The operation is as follows
1. Find sources List file, open with a text editor
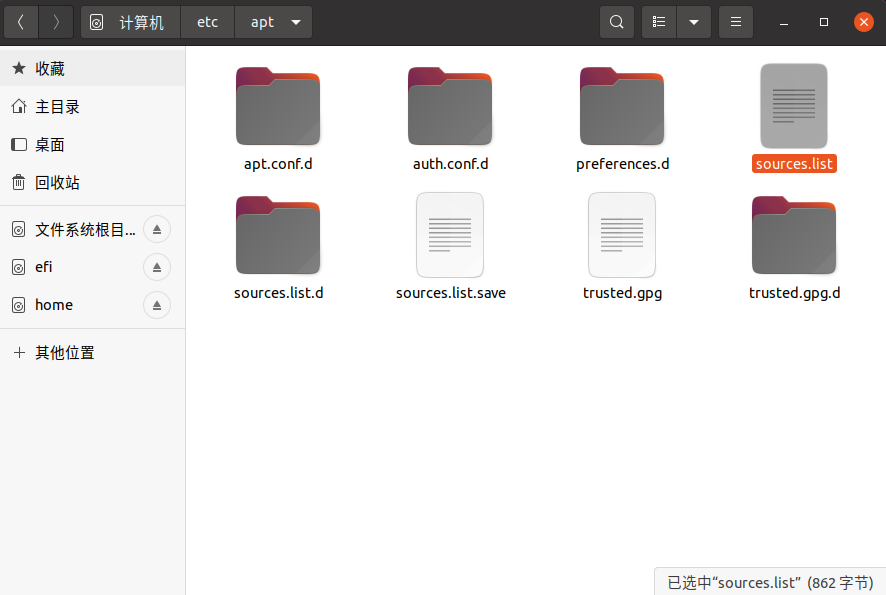
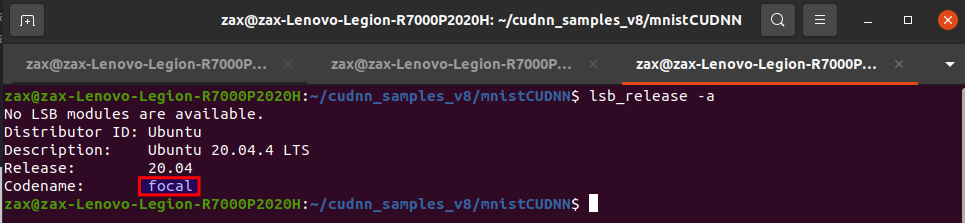
2. Select all files and replace them with the following codes (my system is ubuntu 20.04, so use focus. You can use lsb_release -a to view and replace all focus in the code accordingly, and then replace sources.list as a whole)
deb http://mirrors.163.com/ubuntu/ focal main restricted universe multiverse
deb http://mirrors.163.com/ubuntu/ focal-security main restricted universe multiverse
deb http://mirrors.163.com/ubuntu/ focal-updates main restricted universe multiverse
deb http://mirrors.163.com/ubuntu/ focal-proposed main restricted universe multiverse
deb http://mirrors.163.com/ubuntu/ focal-backports main restricted universe multiverse
deb-src http://mirrors.163.com/ubuntu/ focal main restricted universe multiverse
deb-src http://mirrors.163.com/ubuntu/ focal-security main restricted universe multiverse
deb-src http://mirrors.163.com/ubuntu/ focal-updates main restricted universe multiverse
deb-src http://mirrors.163.com/ubuntu/ focal-proposed main restricted universe multiverse
deb-src http://mirrors.163.com/ubuntu/ focal-backports main restricted universe multiverse
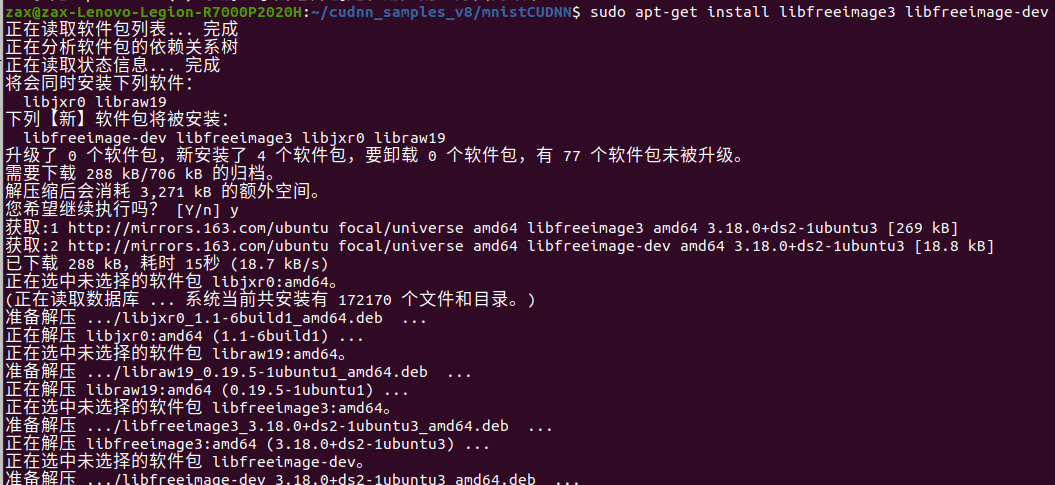
3. After sudo apt get update, execute sudo apt get install libfreeimage 3 libfreeimage dev without any error. So far, we will verify whether cuDNN is successfully installed
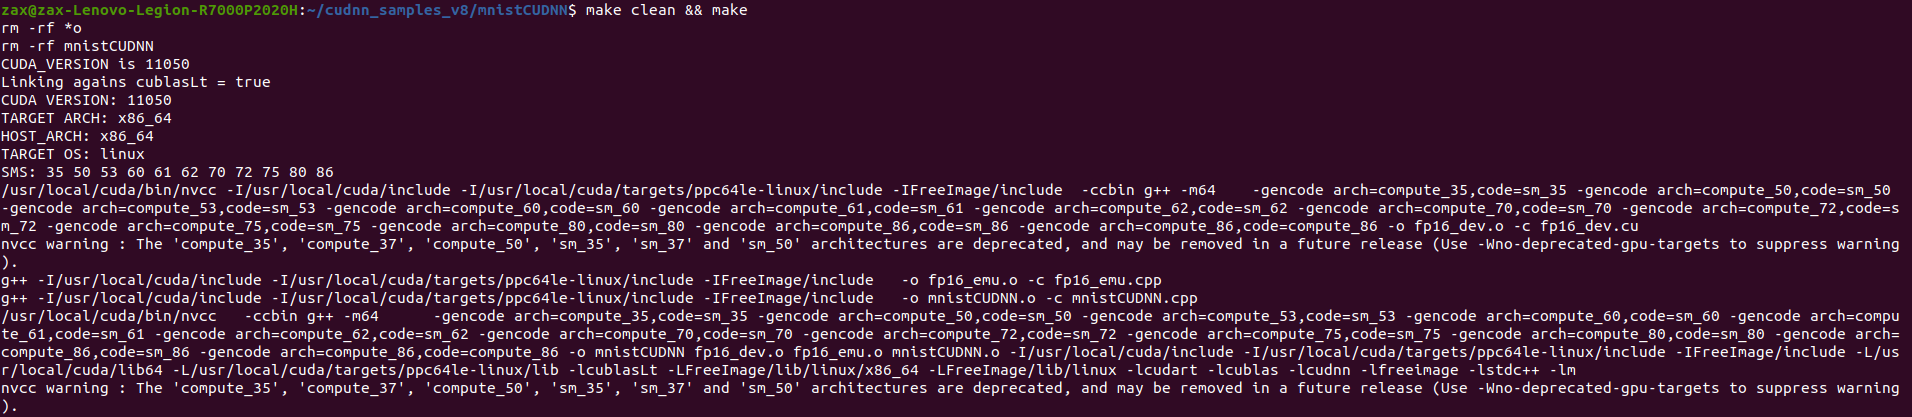
4. Execute make clean & & make without error, and verify the compilation error again. Fatal error: FreeImage H resolved
5. Implementation/ mnistCUDNN, Test Passed!, Excited to cry
🍀 install Pytorch
To change the source, first open the file:
gedit ~/.condarc
Replace the following code:
channels:
  - http://mirrors.tuna.tsinghua.edu.cn/anaconda/pkgs/free/
  - http://mirrors.tuna.tsinghua.edu.cn/anaconda/pkgs/main/
show_channel_urls: true

Refresh path:
source ~/.bashrc
Open the official website:
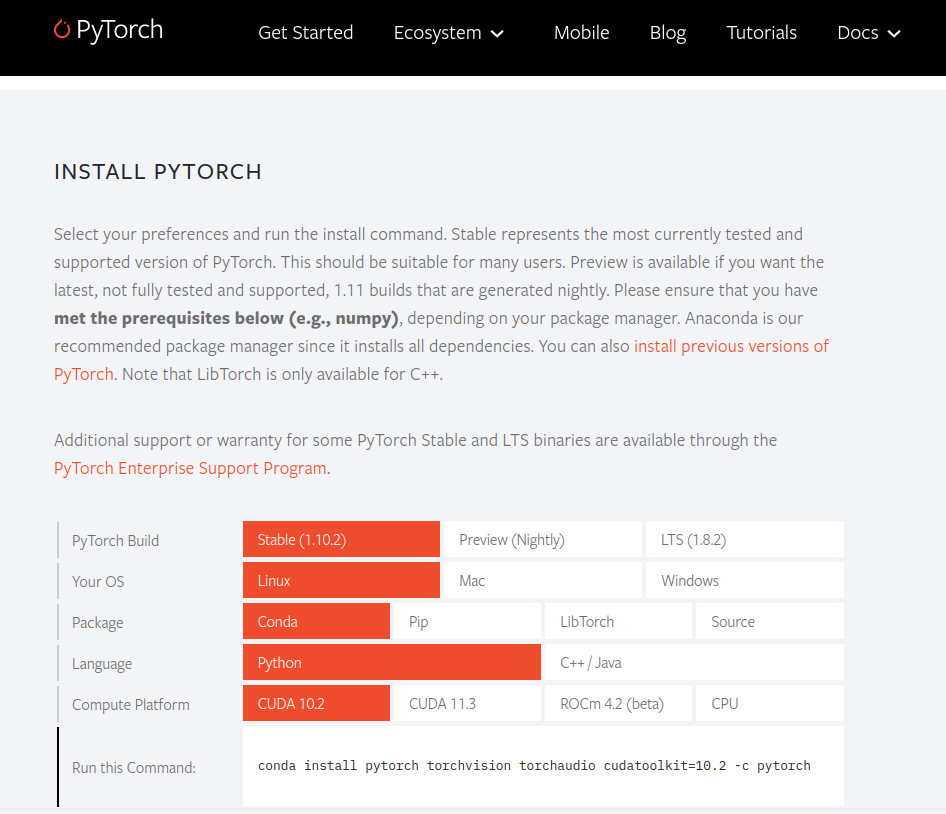
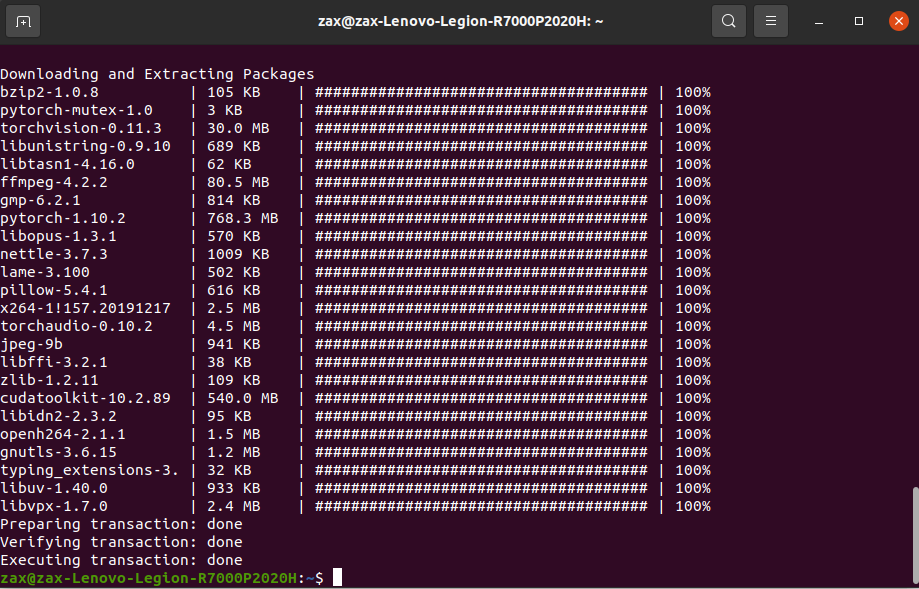
Execute the command: conda install pytorch torchvision torchaudio cudatoolkit=10.2 -c pytorch * * * *, enter yes and wait for the installation to complete
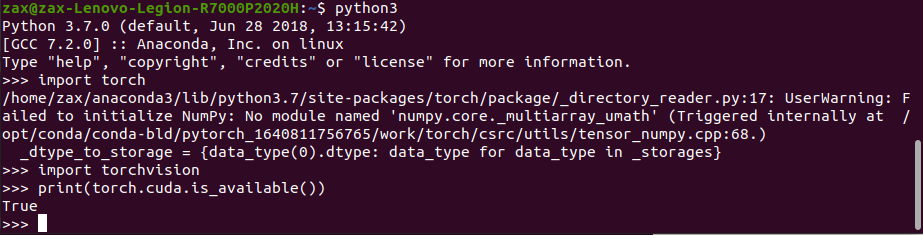
🍀 Verify whether the pytoch + GPU environment is set up successfully
python3
import torch
import torchvision
print(torch.cuda.is_available())
Output True, indicating success