Message push configuration
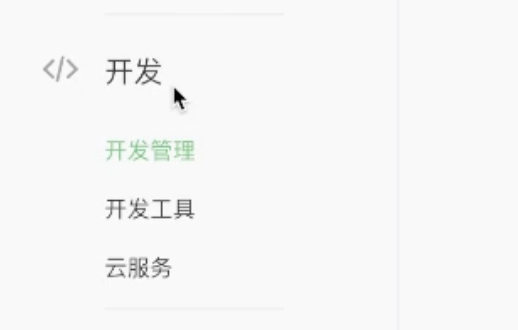
First, open the management background of wechat applet and find the development and management in the sidebar.
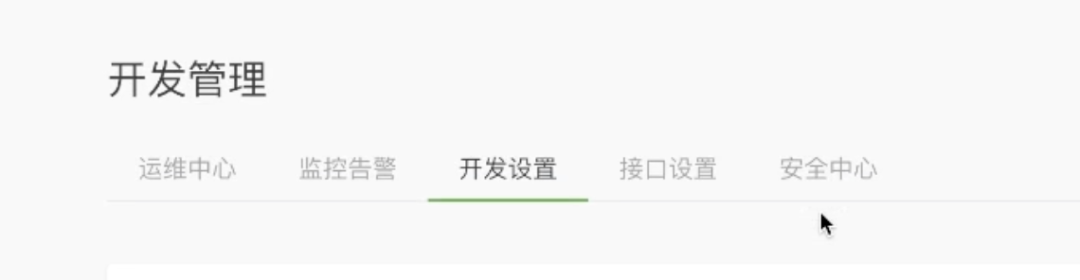
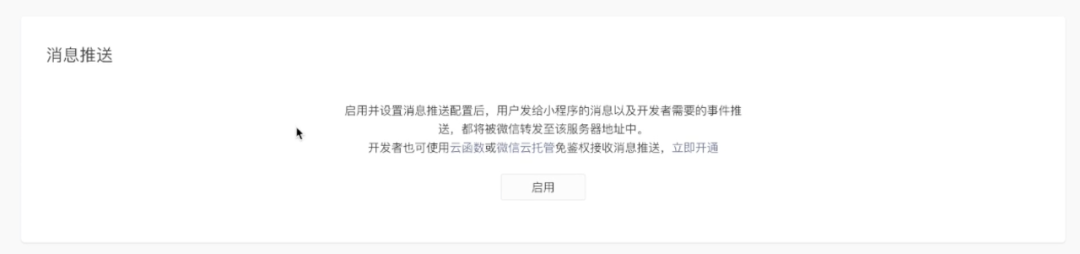
Find the message push in the development settings tab of development management and start it
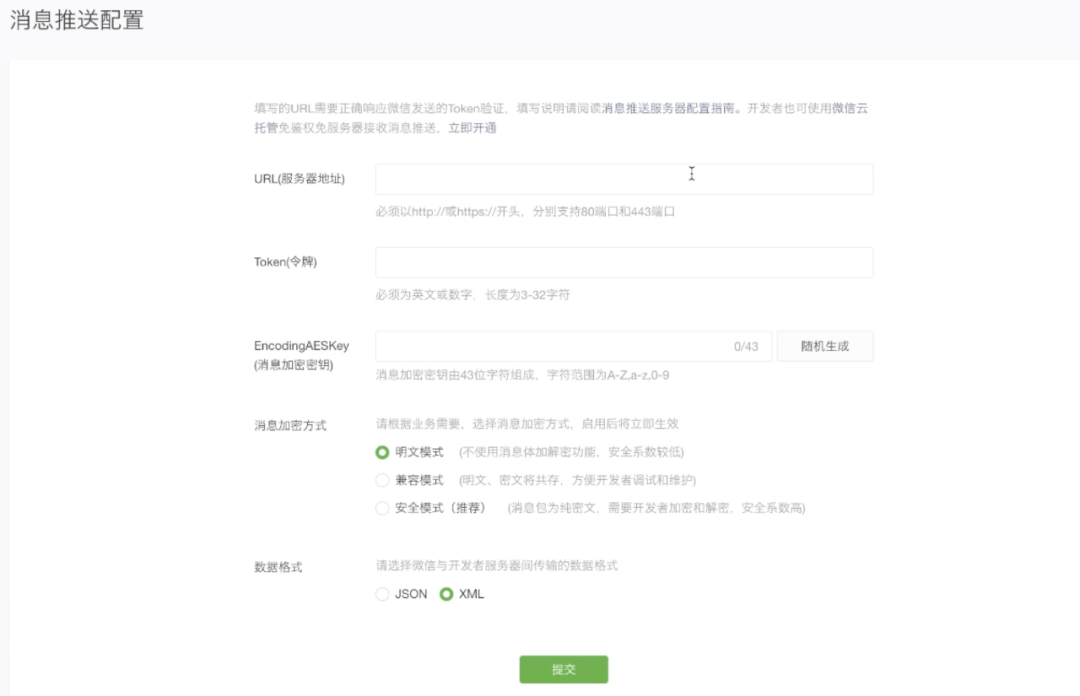
After opening, we can see the configuration interface of message push
Let's go back to our uniCloud project and create a new cloud function named xcxcontact (the name can be determined by ourselves)
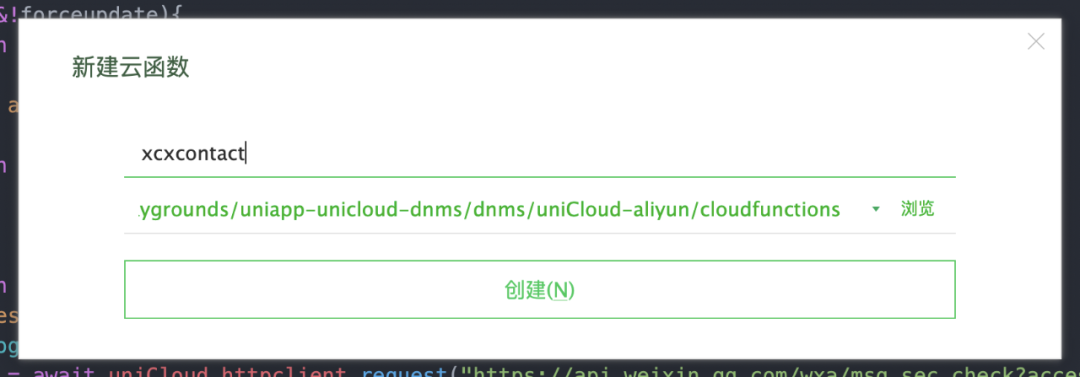
After the cloud function is created, the default code is as follows. For the time being, we will not write anything and directly upload and deploy
'use strict';
exports.main = async (event, context) => {
  //event is the parameter uploaded by the client
  console.log('event : ', event)

  //Return data to client
  return event
};
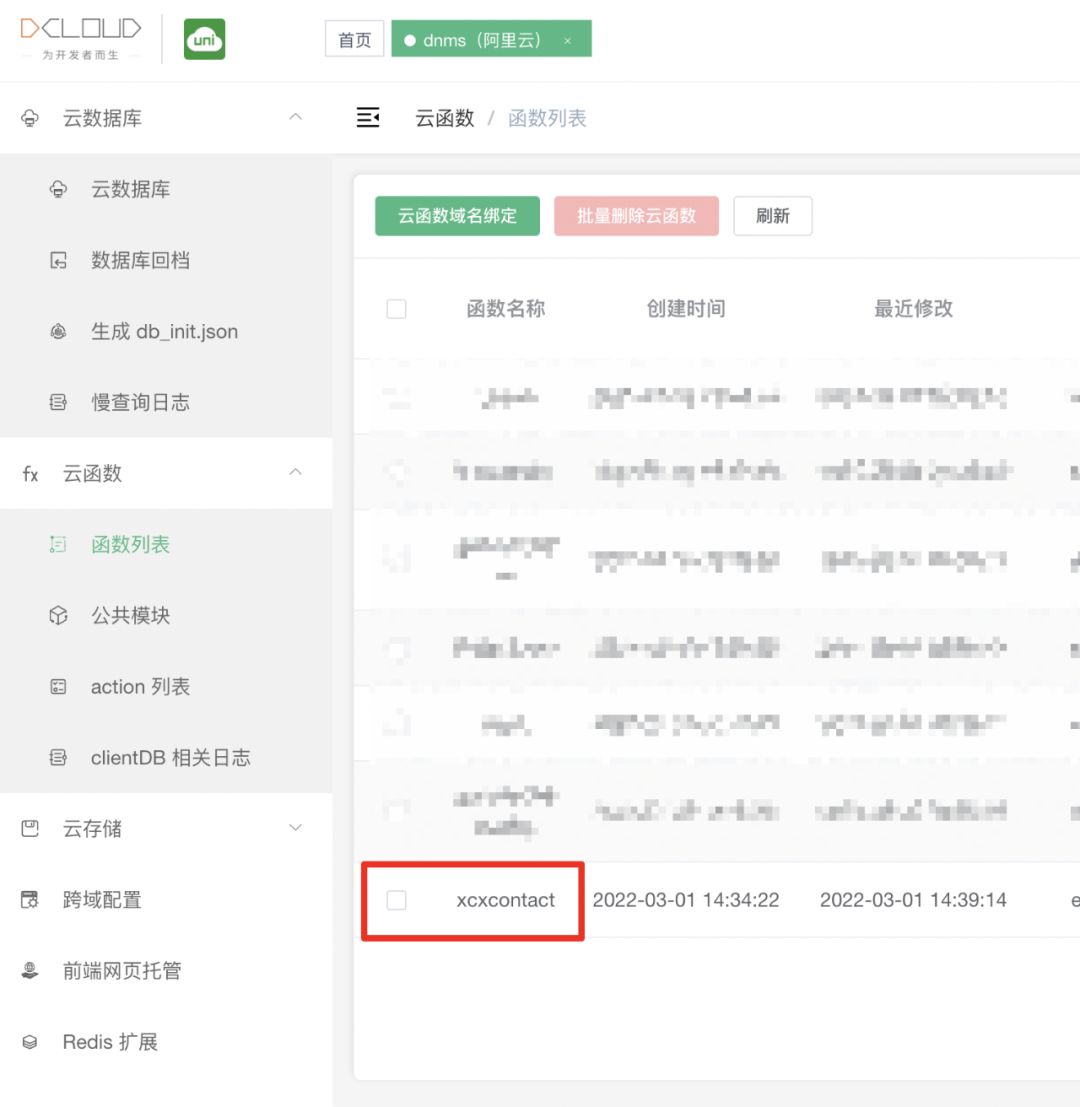
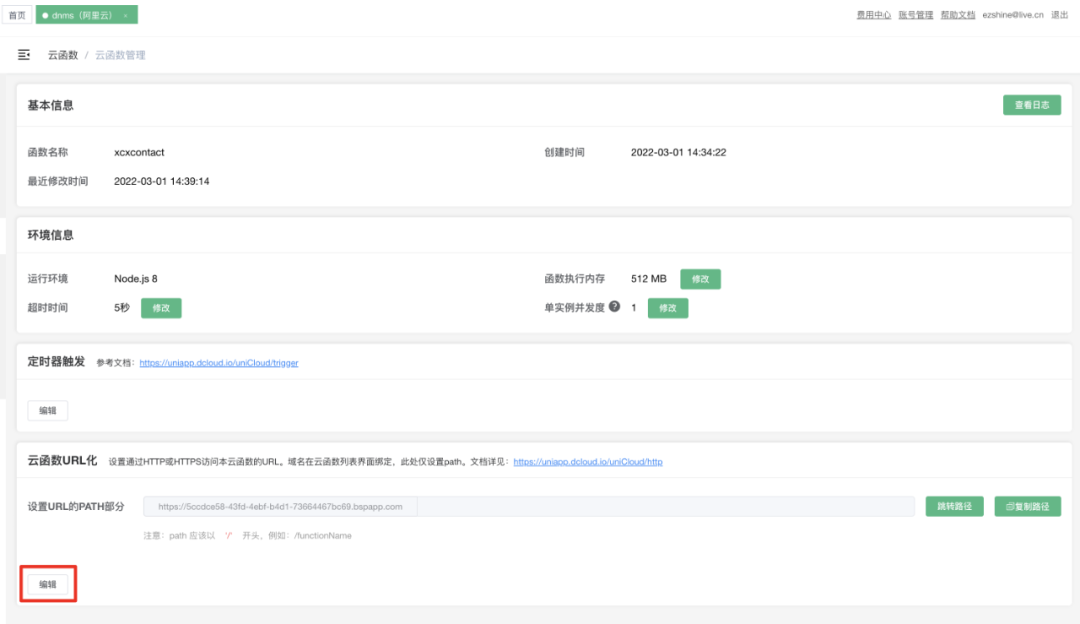
After uploading successfully, find the cloud function in the management background of uniCloud cloud function and click Details
Click the Edit button in the cloud function URL and enter / xc xcxcontact in the input box of Path. Note that it must start with a slash
Click save, then copy the path of the URL cloud function and paste it into the URL (server address) of the customer service message push configuration
https://5ccdce58-43fd-4ebf-b4d1-73664467bc69.bspapp.com/xcxcontact
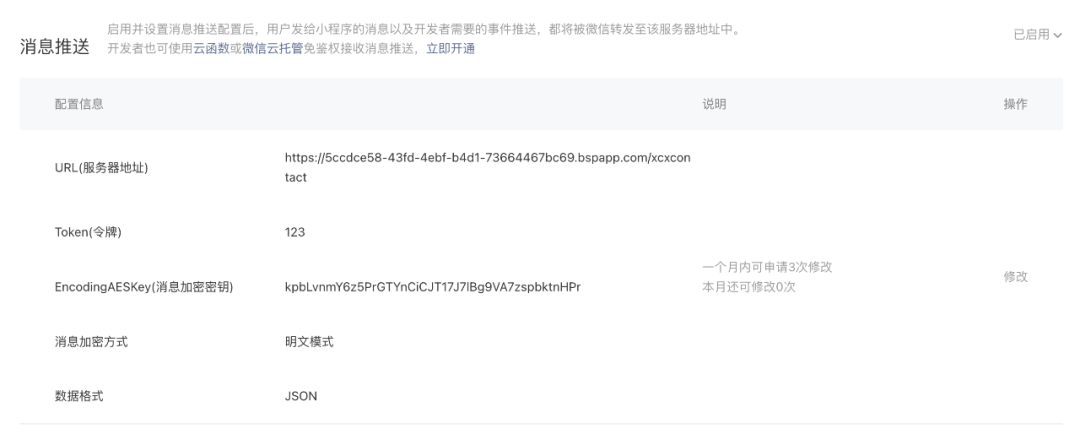
Set the push configuration as follows
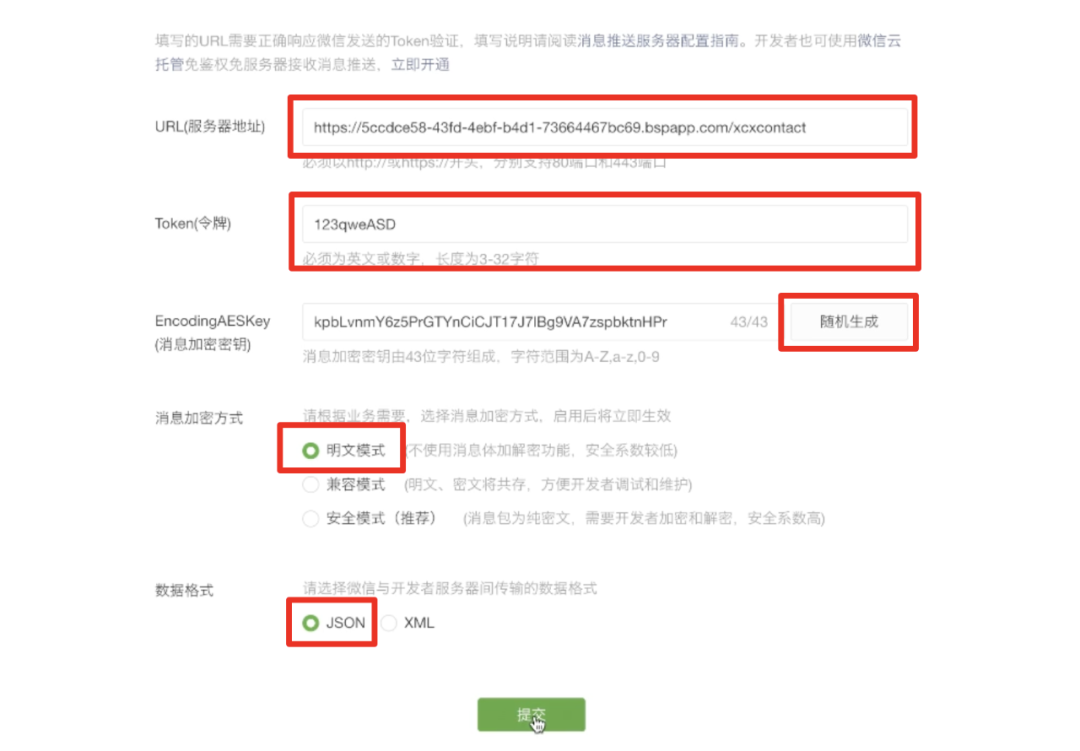
- URL The interface URL used by developers to receive wechat messages and events. The URL filled in by the developer must start with http: / / or https: / /, and support port 80 and port 443 respectively.
- Token It can be filled in by the developer at will and used to generate a signature (the Token will be compared with the Token contained in the interface URL to verify the security).
- EncodingAESKey It is filled in manually or randomly generated by the developer and will be used as the encryption and decryption key of the message body. It is only required if the message encryption mode is security mode.
After setting, click Submit and you will find that the submission failed because we did not return the verification message as required. But at this time, we can check the log of the cloud function and find that we have received a request.
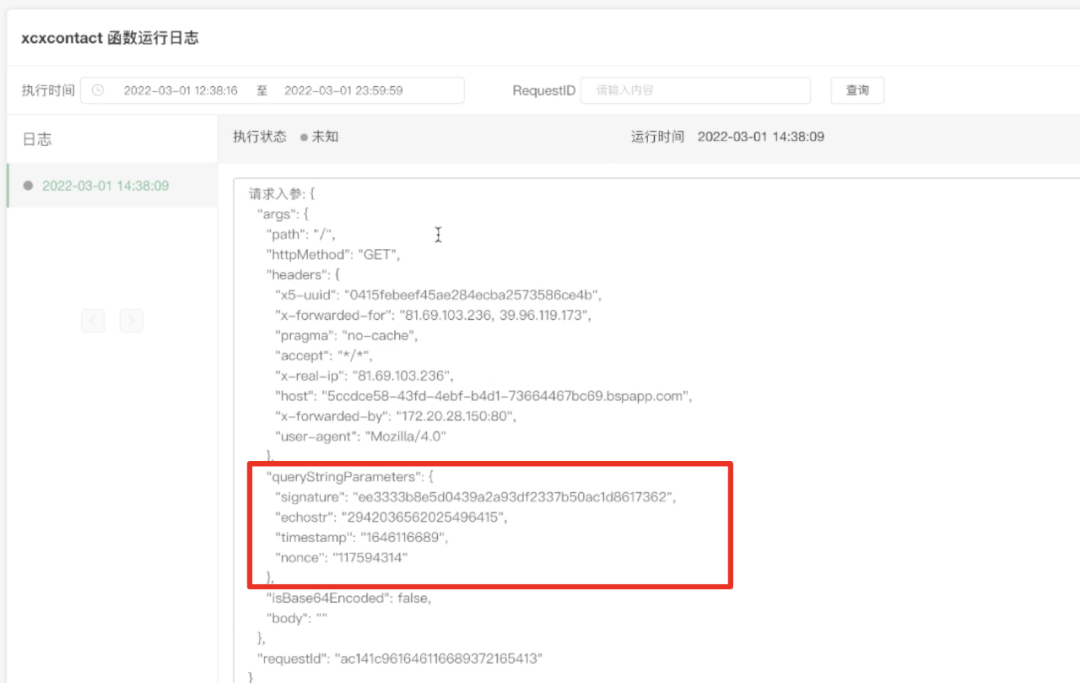
queryStringParameters of event is the information sent by wechat server for verification.
Pass verification
To submit, you must first pass the verification.
If you don't care about the security of the source, you can directly return event in the cloud function queryStringParameters. Echostr can pass the verification
'use strict';
exports.main = async (event, context) => {
  //event is the parameter uploaded by the client
  console.log('event : ', event)

  //Return data to client
  return event.queryStringParameters.echostr;
};
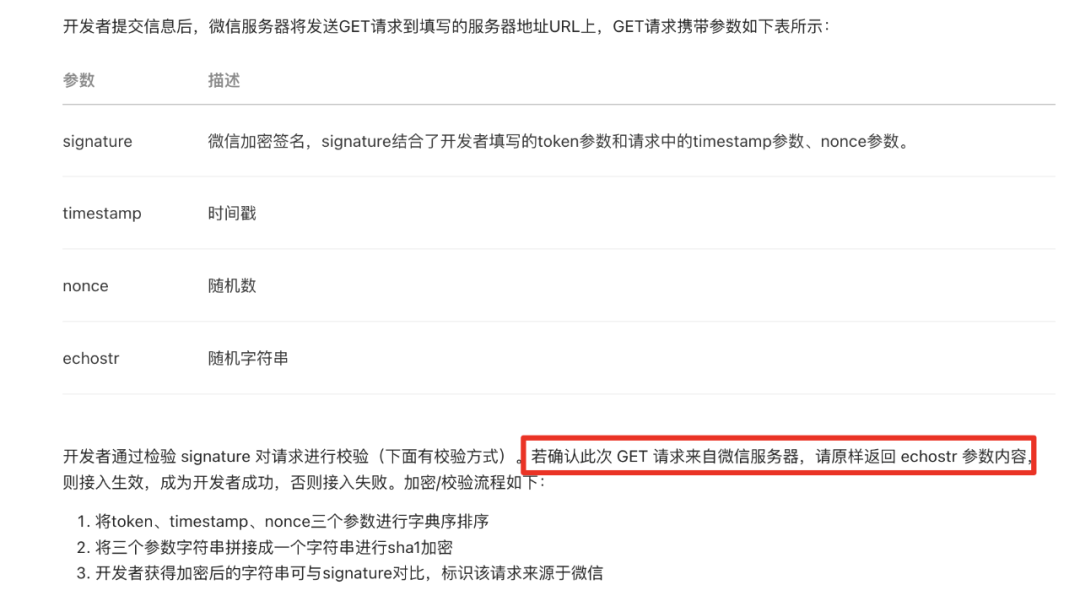
If you want to verify this information, it is also very simple
- Sort the token, timestamp and nonce parameters in dictionary order
- Splice three parameter strings into one string for sha1 encryption
- The encrypted string obtained by the developer can be compared with signature to identify that the request comes from wechat
The code is as follows
'use strict';
//npm install sha1
const sha1 = require("sha1");
const token = "123";

function verifyMSGSender(params){
  const mysignature = sha1([token,params.timestamp,params.nonce].sort().join(""));

  console.log(mysignature===params.signature?"Verification passed":"Verification failed");

  if(mysignature===params.signature)return true;
  else return false;
}

exports.main = async (event, context) => {
  //event is the parameter uploaded by the client
  if(!verifyMSGSender(event.queryStringParameters))return "Source verification failed";
  //After the verification is passed, the following line returns the code of echostr and comments it out
  else return event.queryStringParameters.echostr;

  //Return data to client
  return;
};
After the verification is passed, the message push set by the development will become like this (it can only be changed three times a month, which is a little pit)
Note: after the verification is passed, there is no need to return echostr.
//After the verification is passed, the following line returns the code of echostr and comments it out
else return event.queryStringParameters.echostr;
Handling different types of messages
Wechat official document address: https://developers.weixin.qq.com/miniprogram/dev/framework/open-ability/customer-message/receive.html
When the user initiates a customer service message in the applet, the log of the cloud function is shown as follows
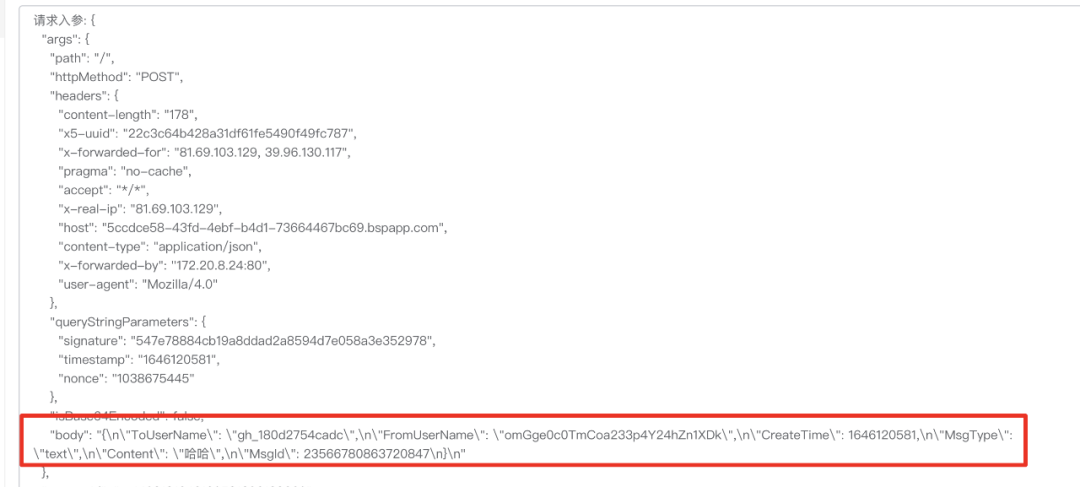
The content of the message is converted into a json format string and stuffed into the body of the POST request. We can get it directly after parsing
const receiveMsg = JSON.parse(event.body);
According to the user's behavior, there will be the following different message types. Only JSON format is shown below, and key parameters are annotated
Text message
When the user sends a text message in the customer service session, the following data packets will be generated:
{

  "ToUserName": "toUser",

  "FromUserName": "fromUser",//openid of the customer service message initiator

  "CreateTime": 1482048670,

  "MsgType": "text",//The message type

  "Content": "this is a test",

  "MsgId": 1234567890123456

}
Picture message
When the user sends a picture message in the customer service session, the following data packets will be generated:
{

  "ToUserName": "toUser",

  "FromUserName": "fromUser",//openid of the customer service message initiator

  "CreateTime": 1482048670,

  "MsgType": "image",//The message type

  "PicUrl": "this is a url",

  "MediaId": "media_id",//Wechat media resource id

  "MsgId": 1234567890123456

}
Applet card message
Applet side button parameters
<button
  size="mini"
  type="primary"
  :plain="true"
  open-type="contact"
  :session-from=""
  :show-message-card="true"
  :send-message-title="title">
  see
 </button>
When the user sends the applet card message in the customer service session, the following data packets will be generated:
{

  "ToUserName": "toUser",

  "FromUserName": "fromUser",//openid of the customer service message initiator

  "CreateTime": 1482048670,

  "MsgType": "miniprogrampage",//The message type

  "MsgId": 1234567890123456,

  "Title":"title",//Applet card title

  "AppId":"appid",//Applet appid

  "PagePath":"path",//Applet card jump page

  "ThumbUrl":"",//Applet card thumbnail

  "ThumbMediaId":""

}
Enter session event
When the user enters the customer service session with the applet "customer service session button", the following data packets will be generated:
{

  "ToUserName": "toUser",

  "FromUserName": "fromUser",//openid of the customer service message initiator

  "CreateTime": 1482048670,

  "MsgType": "event",//The message type

  "Event": "user_enter_tempsession",

  "SessionFrom": "sessionFrom"//The session from attribute set by the developer in the customer service session button

}
Reply to customer service message
Wechat official documents: https://developers.weixin.qq.com/miniprogram/dev/api-backend/open-api/customer-message/customerServiceMessage.send.html#method-http
POST https://api.weixin.qq.com/cgi-bin/message/custom/send?access_token=ACCESS_TOKEN
So first we need to get access_token
const res1 = await uniCloud.httpclient.request("https://api.weixin.qq.com/cgi-bin/token?grant_type=client_credential&appid="+appId+"&secret="+appSecret,{dataType:"json"});
//res.data.access_token
Then request the interface to send the customer service message
const access_token = res1.data.access_token
const res2 = await uniCloud.httpclient.request("https://api.weixin.qq.com/cgi-bin/message/custom/send?access_token="+access_token,{
    method:"POST",
    headers:{
      "Content-Type":"application/json"
    },
    dataType:"json",
    data:{
      touser:touser,//openid of the user who received this message
      msgtype:"text",//The type of this message
      text:{
        content:"Text content of reply",
      }
    }
});
The message types of reply can be the following
- text
- image
msgtype:"image",//Picture message
image:{
  media_id:"Of media resources id",//This id needs to be obtained through the media resource list or when uploading media resources through the interface
}
- link
msgtype:"link",//Graphic message, web card message
link:{
  title:"",
  description:"",
  url:"",
  thumb_url:""
}
- miniprogrampage
msgtype:"miniprogrampage",//Applet card message
miniprogrampage:{
  title:"",
  pagepath:"",//Applet card page path
  thumb_media_id:""//This id needs to be obtained through the media resource list or when uploading media resources through the interface
}
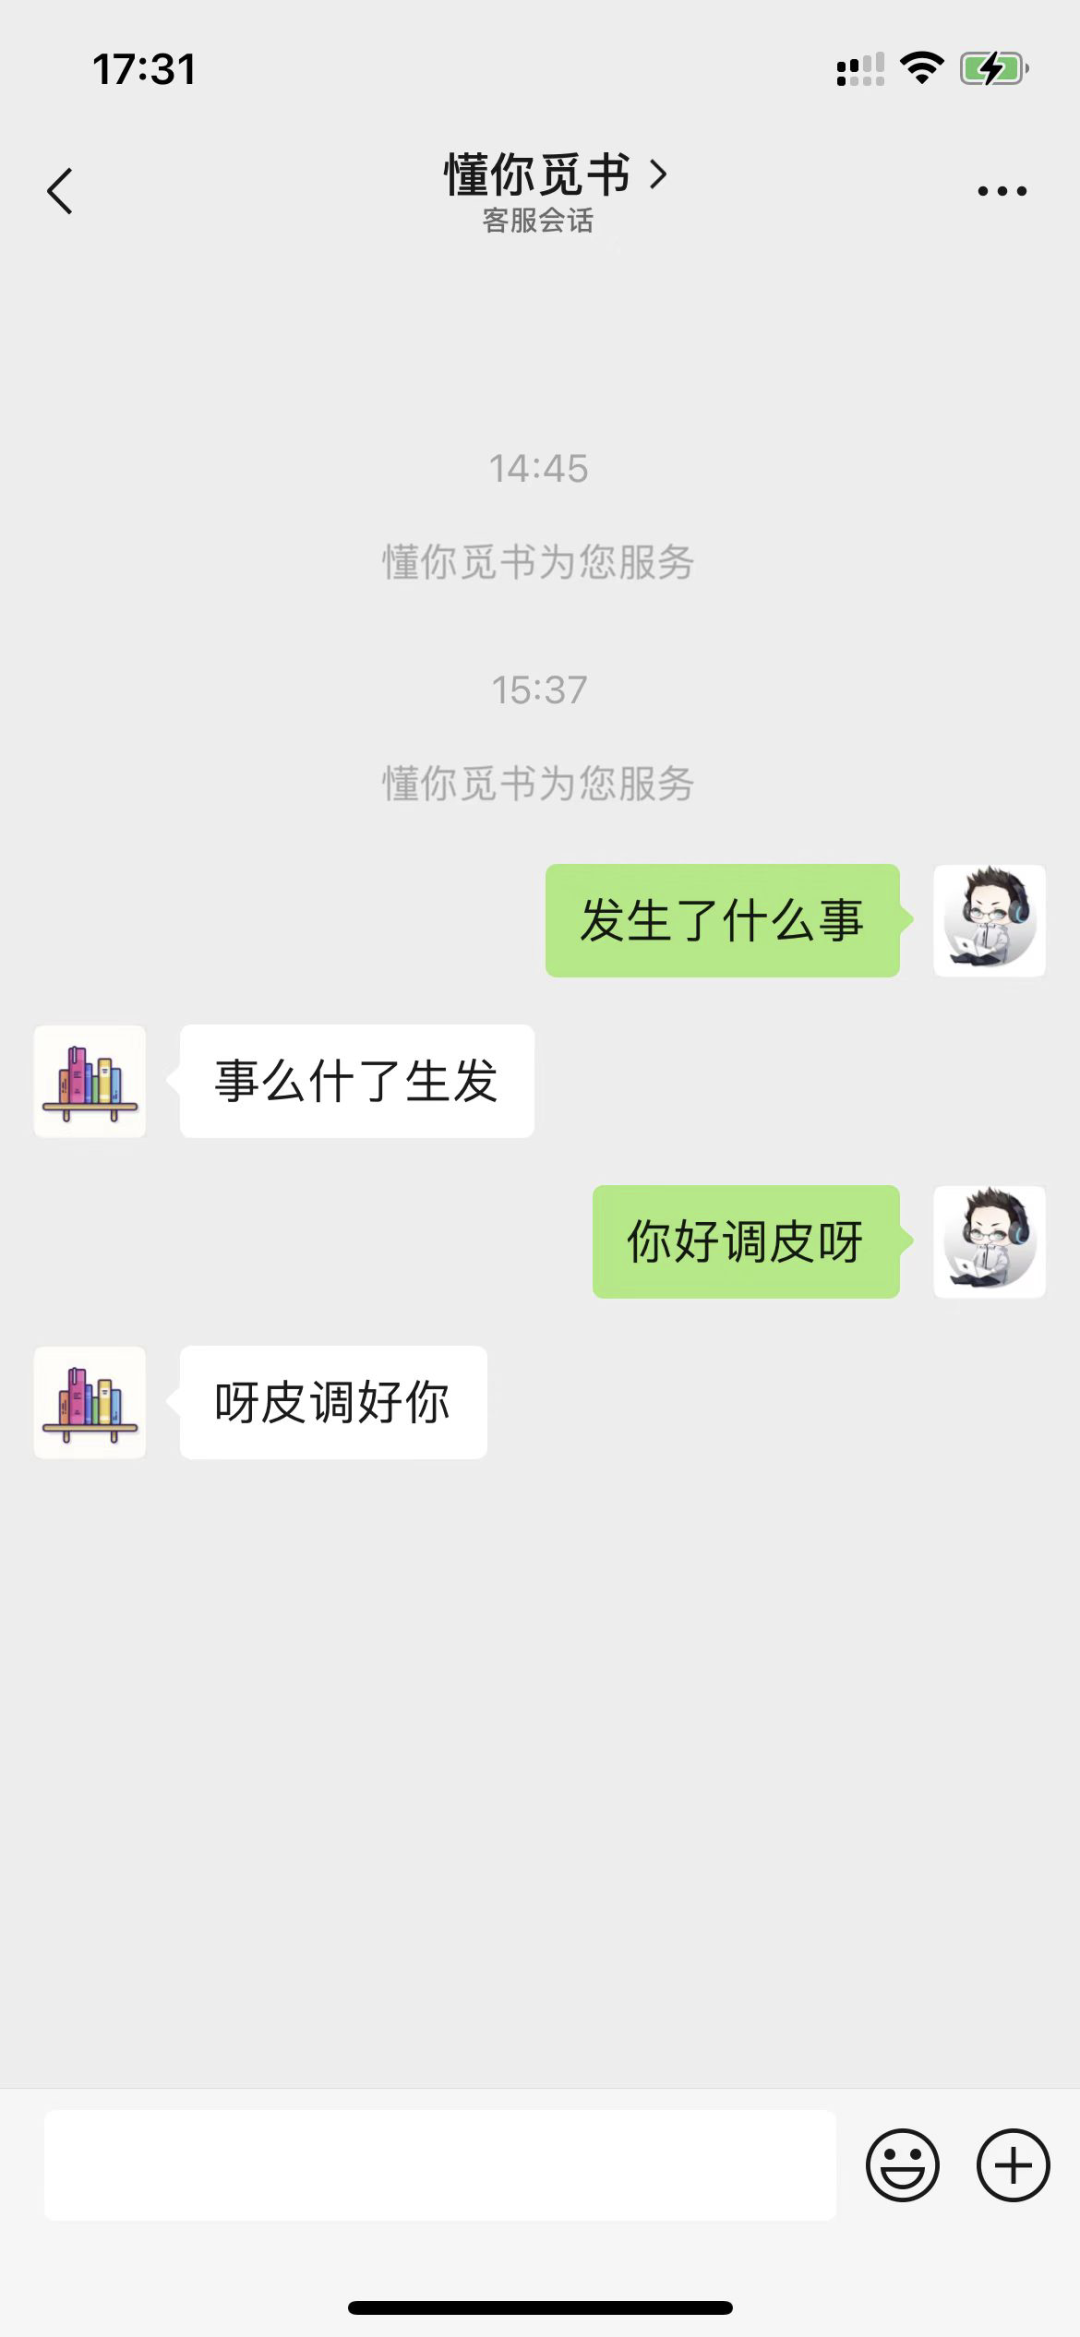
A naughty robot
Now we have a simple message for the robot to complete the docking.
This is a naughty robot. It will reverse the messages sent by all users and then send them back to users
The following is the complete code of this cloud function
'use strict';

const sha1 = require("sha1");
const token = "123";

const appId = '';
const appSecret = '';

function verifyMSGSender(params){
  const mysignature = sha1([token,params.timestamp,params.nonce].sort().join(""));

  console.log(mysignature===params.signature?"Verification passed":"Verification failed");

  if(mysignature===params.signature)return true;
  else return false;
}

exports.main = async (event, context) => {
  //event is the parameter uploaded by the client
  if(!verifyMSGSender(event.queryStringParameters))return "Source verification failed";
  //After the verification is passed, the following line returns the code of echostr and comments it out
  // else return event.queryStringParameters.echostr;

  const receiveMsg = JSON.parse(event.body);

  if(receiveMsg.MsgType==='text'){
    //One line of code reverses the text
    var reply = receiveMsg.Content.split('').reverse().join('');

    const res1 = await uniCloud.httpclient.request("https://api.weixin.qq.com/cgi-bin/token?grant_type=client_credential&appid="+appId+"&secret="+appSecret,{dataType:"json"});
    //res.data.access_token
    const access_token = res1.data.access_token
    const res2 = await uniCloud.httpclient.request("https://api.weixin.qq.com/cgi-bin/message/custom/send?access_token="+access_token,{
        method:"POST",
        headers:{
          "Content-Type":"application/json"
        },
        dataType:"json",
        data:{
          touser:receiveMsg.FromUserName,
          msgtype:"text",
          text:{
            content:reply,
          }
        }
    });
  }

  //Return data to client
  return "success";
};
OK, this is the practical tutorial of developing customer service message robot with uniCloud cloud function. You can connect on this basis, such as weather forecast query interface, constellation luck query and so on.