Refer to Niuke advanced project tutorial
1. Write Kaptcha configuration class
Environmental preparation
- Import kaptcha package. Since there is no package related to spring, you need to configure it into spring
<!--	Registration code configuration-->
		<dependency>
			<groupId>com.github.penggle</groupId>
			<artifactId>kaptcha</artifactId>
			<version>2.3.2</version>
		</dependency>
Configure class settings
@Configuration
- Declarations are configuration classes that can be recognized by Spring
- It is used to specify that the current class is a spring configuration class from which annotations will be loaded when creating a container. Required when getting containers
@Bean
effect:
- This annotation can only be written on the method, indicating that an object is created using this method and put into the spring container.
- With this method = = classes in other jar packages can be injected into the IOC container==
- Equivalent to a registered bean,
Properties:
- Name: assign a name to the object created by the current @ bean annotation method (that is, the id of the bean).
- If not specified, the return value here depends on the bean type, and the method name is the default bean id!
Details:
- When we use annotation to configure a method, if the method has parameters, the spring framework will look for available bean objects in the container.
- The search method is the same as that of Autowired annotation
Producer interface
- It mainly implements this interface and two methods
- Create verification code text string createText()
- Create a verification code image based on the string createImage(String var1)
package com.google.code.kaptcha;

import java.awt.image.BufferedImage;

public interface Producer {
    // Create verification code image based on string
    BufferedImage createImage(String var1);
	// Create verification code string
    String createText();
}
DefaultKaptcha
- The implementation class of Producer is used to instantiate this implementation class
- The Configurable interface is also implemented, that is, the implementation class can be set by reading the configuration
Config
- Kaptcha is a tool class used to read the contents of the configuration file
Properties
- Configuration class. You can define key and value in the configuration file
- You can also directly instantiate the configuration class and set key and value in the configuration class. For convenience, this method is adopted in this example
@Configuration
public class KaptchaConfig {
    @Bean
    public Producer kaptchaProducer() {
        // Configuration class, which is equivalent to the function of configuration file
        Properties properties = new Properties();
        properties.setProperty("kaptcha.image.width", "100");
        properties.setProperty("kaptcha.image.height", "40");
        properties.setProperty("kaptcha.textproducer.font.size", "32");
        properties.setProperty("kaptcha.textproducer.char.string", "0123456789ABCDEFGHIJKLMNOPQRSTUVWXYZ"); // Verification code string all character sets
        properties.setProperty("kaptcha.textproducer.char.length", "4"); // Number of strings
        properties.setProperty("kaptcha.noise.impl", "com.google.code.kaptcha.impl.NoNoise"); // Interference mode of verification code: None

        // Instantiate the implementation class of Producer
        DefaultKaptcha kaptcha = new DefaultKaptcha();
        Config config = new Config(properties); // Read configuration file contents
        kaptcha.setConfig(config); // Use the configuration class to set the implementation class
        return kaptcha; // Returns the implementation class that generates the verification code
    }
}
2. Request to generate verification code
Design ideas
-
In order to design dynamic refresh verification code, a request is designed to generate random strings and pictures
- That is, every time you access this request, the server will generate a new verification code for the browser to realize the dynamic refresh effect
- Write strings and pictures directly to the browser
-
This request is then applied to the login form page
- Every time you click login, the verification code will be refreshed again
- Or on the login page, click the refresh button to dynamically refresh the verification code. You need to use jQuery to realize the dynamic JSP page
Request design for generating dynamic verification code
Incoming parameters
- Response: write the verification code to the browser with response
- Session, because the verification code needs to be entered on the login page for verification, and the verification code information is sensitive, it is stored in the session
Main logic
-
Inject the interface generating verification code into
@Autowired
Producer kaptchaProducer;
-
Generate verification code
-
Store the verification code into the session
-
Output the pictures generated in the server directly to the browser
response.setContentType("image/png")
- Set the response format before writing
ImageIO.write
-
A tool class that writes pictures directly to the browser, imageio write(image, “png”, os);
-
OutputStream, it is better to write pictures with byte stream
/** Generate verification code image web page*/
@RequestMapping(path = "/kaptcha", method = RequestMethod.GET)
public void getKaptcha(HttpServletResponse response, HttpSession session) {
    // Generate verification code
    String text = kaptchaProducer.createText();
    BufferedImage image = kaptchaProducer.createImage(text);

    // Store the verification code into the session
    session.setAttribute("kaptcha", text);

    // Output the pictures generated in the server directly to the browser
    response.setContentType("image/png");
    try {
        OutputStream os = response.getOutputStream();
        ImageIO.write(image, "png", os);
    } catch (IOException e) {
        logger.error("Response verification code failed:" + e.getMessage());
    }
}
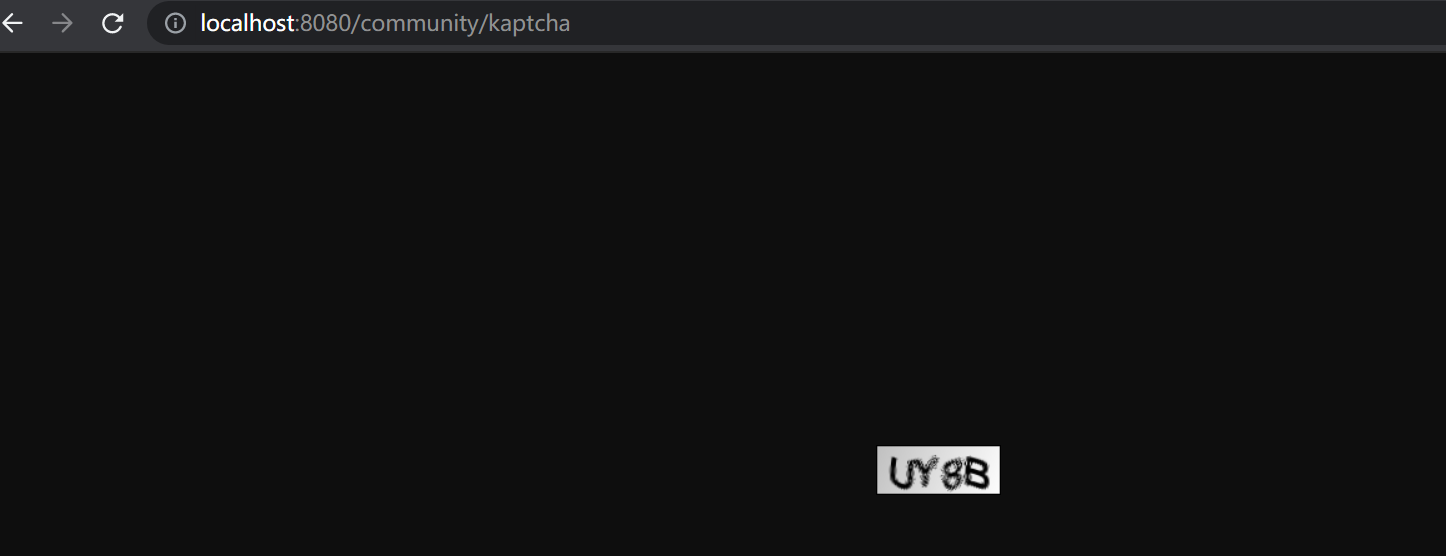
test result
3. jQuery realizes jsp dynamic refresh
JavaScript and Query
jQuery function declaration
avascript:refresh_kaptcha()
- Just click refresh verification code, and the function defined by jQuery will be followed
<div class="col-sm-4">
   <img th:src="@{/kaptcha}" style="width:100px;height:40px;" class="mr-2"/>
   <a href="javascript:refresh_kaptcha();" class="font-size-12 align-bottom">Refresh verification code</a>
</div>
jQuery function definition
var path
- JavaScript syntax, defining variables, path splicing
- Set the project pathname to global JS file is defined as a global variable to facilitate future maintenance
- var CONTEXT_PATH = "/community";
- Because the url address of the path to be changed is the same as the original address and is a static picture, the browser will mistakenly think that there is no need to reload the access
- In order to solve this problem, the browser is guided in good faith, and random parameters are added after the pathname, which does not affect the access and is different from the original url
- Set the project pathname to global JS file is defined as a global variable to facilitate future maintenance
$("#kaptcha")
-
id attribute selector, which queries the label object according to the id attribute
- Extensions: common selectors:
- $("#id attribute value"); ID selector, which queries the label object according to the ID
- $("tag name"); The tag name selector queries the tag object according to the specified tag name
- $(". Class attribute value"); Type selector, you can query label objects according to the class attribute
- *Selector: represents any and all elements
- Selector1, selector2 combine selectors: merge the results of selector1 and selector2 and return them
<div class="col-sm-4"> <img th:src="@{/kaptcha}" id="kaptcha" style="width:100px;height:40px;" class="mr-2"/> <a href="javascript:refresh_kaptcha();" class="font-size-12 align-bottom">Refresh verification code</a> </div> - Extensions: common selectors:
attr("src", path)
-
attr(a, b) method, set the value of the attribute, and set the value of a to B
-
So as to realize the operation of updating the access path every time you click
- Extension:
- attr() can set and obtain the value of attributes. Operations such as checked, readOnly, selected and disabled are not recommended
- The attr method can also manipulate non-standard attributes. For example, custom attributes: abc,bbj
- prop() can set and obtain the value of the attribute. It only recommends operations such as checked, readOnly, selected, disabled, etc
- attr() can set and obtain the value of attributes. Operations such as checked, readOnly, selected and disabled are not recommended
<script> function refresh_kaptcha() { var path = CONTEXT_PATH + "/kaptcha?p=" + Math.random(); $("#kaptcha").attr("src", path); } </script> - Extension:
test result