preface
Before the launch of nacos, eureka was basically the first choice for the registration center of the whole family bucket system of spring cloud. With the emergence of nacos, more and more micro service projects based on spring cloud use nacos as the registration center, but does this mean that eureka has no place to use force? In fact, it is not. Judging from the latest version 2020.0.2 of spring cloud, This version discards netflix components such as hytrix, ribbon and zuul, while eureka is still strong, which shows that eureka, as a registry, still plays an important role in the spring cloud system. Today, let's talk about how to customize the eureka management interface
Custom landing page
eureka does not have login authentication by default. We can introduce spring security to add login authentication function to eureka
1. pom introduces spring security
  <dependency>
            <groupId>org.springframework.boot</groupId>
            <artifactId>spring-boot-starter-security</artifactId>
        </dependency>
2. In application YML configure authentication user name and password
spring:
  security:
    user:
      # Authenticated user name
      name: lybgeek
      # Password for authentication
      password: lybgeek
Only these two steps can realize a eureka management interface with login interface. However, the login interface of spring security is referenced by css
https://maxcdn.bootstrapcdn.com/bootstrap/4.0.0-beta/css/bootstrap.min.css
In the case of poor network, eureka login page style will not be loaded, which will affect the user experience. So we need to customize the landing page
ps: the page of spring security is generated. If you are interested, you can view the following classes
org.springframework.security.web.server.ui.LoginPageGeneratingWebFilter
Its landing page is generated by rendering through this filter.
3. Custom landing page
Because it is not a professional front-end, we will simply modify the default page of spring security.
<html lang="en" xmlns:th="http://www.thymeleaf.org">
<head>
    <meta charset="utf-8">
    <meta name="viewport" content="width=device-width, initial-scale=1, shrink-to-fit=no">
    <meta name="description" content="">
    <meta name="author" content="">
    <title>Please login</title>
    <link href="../css/bootstrap.min.css" rel="stylesheet">
    <link href="../css/signin.css" rel="stylesheet">
</head>
<body>
<div class="container">
    <form class="form-signin" method="post" action="/login">
        <!--<h2 class="form-signin-heading">Please login</h2>-->
        <div class="alert alert-danger" role="alert" id="errorMsgAlert" style="display:none" ></div>
        <p>
            <label for="username" class="sr-only">user name</label>
            <input type="text" id="username" name="username" class="form-control" placeholder="Username" required=""
                   autofocus="">
        </p>
        <p>
            <label for="password" class="sr-only">password</label>
            <input type="password" id="password" name="password" class="form-control" placeholder="Password"
                   required="">
        </p>
        <button class="btn btn-lg btn-primary btn-block" type="submit">Sign in</button>
    </form>
</div>
</body>
<script src="../js/jquery-3.5.1.min.js"></script>
4. Write jump landing page controller
@Controller
@Slf4j
public class LoginController {

    @GetMapping("/toLogin")
    public String login(HttpServletRequest request) {
        return "login";
    }

}
5. Configure WebSecurity
@EnableWebSecurity
@Configuration
public class WebSecurityConfig extends WebSecurityConfigurerAdapter {
    @Override
    protected void configure(HttpSecurity http) throws Exception {
        http.csrf().disable()
                .authorizeRequests()
                .antMatchers("/toLogin*","/login*","/css/*","/js/*","/actuator/**").permitAll()
                .and()
                .formLogin()
                .loginPage("/toLogin")
                .permitAll();
        super.configure(http);
    }
Note: toLogin in loginPage("/toLogin") corresponds to the LoginController route we wrote.
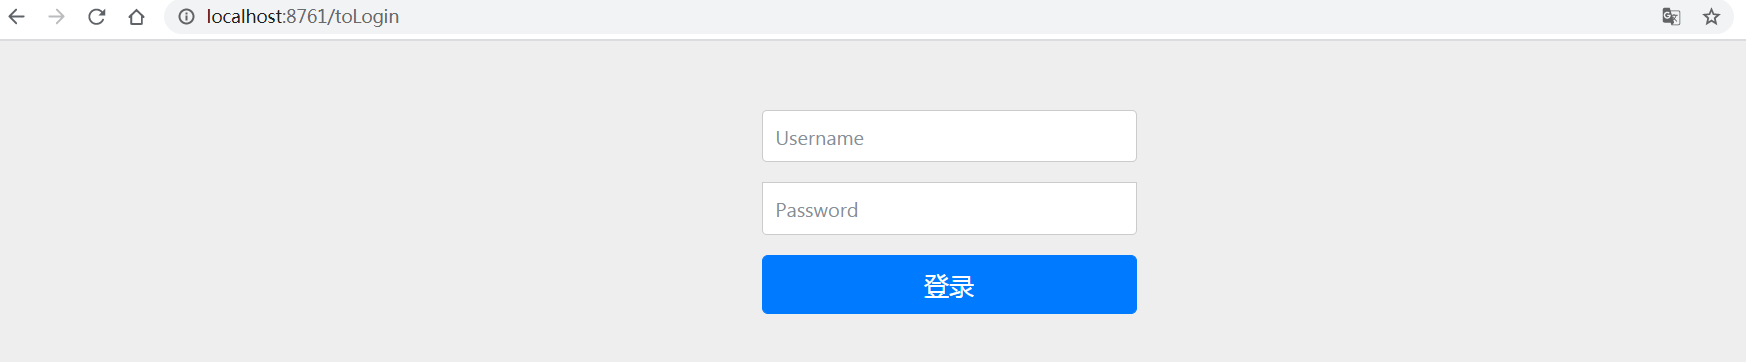
At this point, visit eureka and you can see the following page
6. Configure login logic and login failure configuration
Note: the login logic directly adopts the default login logic of spring security. The user name of the customized page should be named username and the password should be named password. It cannot be customized. For example, if the password is changed to pwd, the default login logic cannot be used. Secondly, because we use the custom login page, the native page rendering logic with failed verification will fail. Therefore, we need to customize the rendering logic with failed verification
Add login logic configuration and login failure configuration to the original WebSecurityConfig
@EnableWebSecurity
@Configuration
public class WebSecurityConfig extends WebSecurityConfigurerAdapter {
    @Override
    protected void configure(HttpSecurity http) throws Exception {
        http.csrf().disable()
                .authorizeRequests()
                .antMatchers("/toLogin*","/login*","/css/*","/js/*","/actuator/**").permitAll()
                .and()
                .formLogin()
                .loginPage("/toLogin")
                .loginProcessingUrl("/login").failureUrl("/login/error").permitAll();
        super.configure(http);
    }

}
7. Custom login failed, jump to logic controller
@Controller
@Slf4j
public class LoginController {

    @GetMapping("/login/error")
    public String loginError(HttpServletRequest request) {
        AuthenticationException authenticationException = (AuthenticationException) request.getSession().getAttribute(WebAttributes.AUTHENTICATION_EXCEPTION);
        log.info("authenticationException={}", authenticationException);
        String errorMsg;

        if (authenticationException instanceof UsernameNotFoundException || authenticationException instanceof BadCredentialsException) {
            errorMsg = "Wrong user name or password";
        } else if (authenticationException instanceof DisabledException) {
            errorMsg = "The user has been disabled";
        } else if (authenticationException instanceof LockedException) {
            errorMsg = "Account locked";
        } else if (authenticationException instanceof AccountExpiredException) {
            errorMsg = "Account expiration";
        } else if (authenticationException instanceof CredentialsExpiredException) {
            errorMsg = "Certificate expired";
        } else {
            errorMsg = "Login failed";
        }
        request.setAttribute("errorMsg",errorMsg);
        return "login";
    }
    }
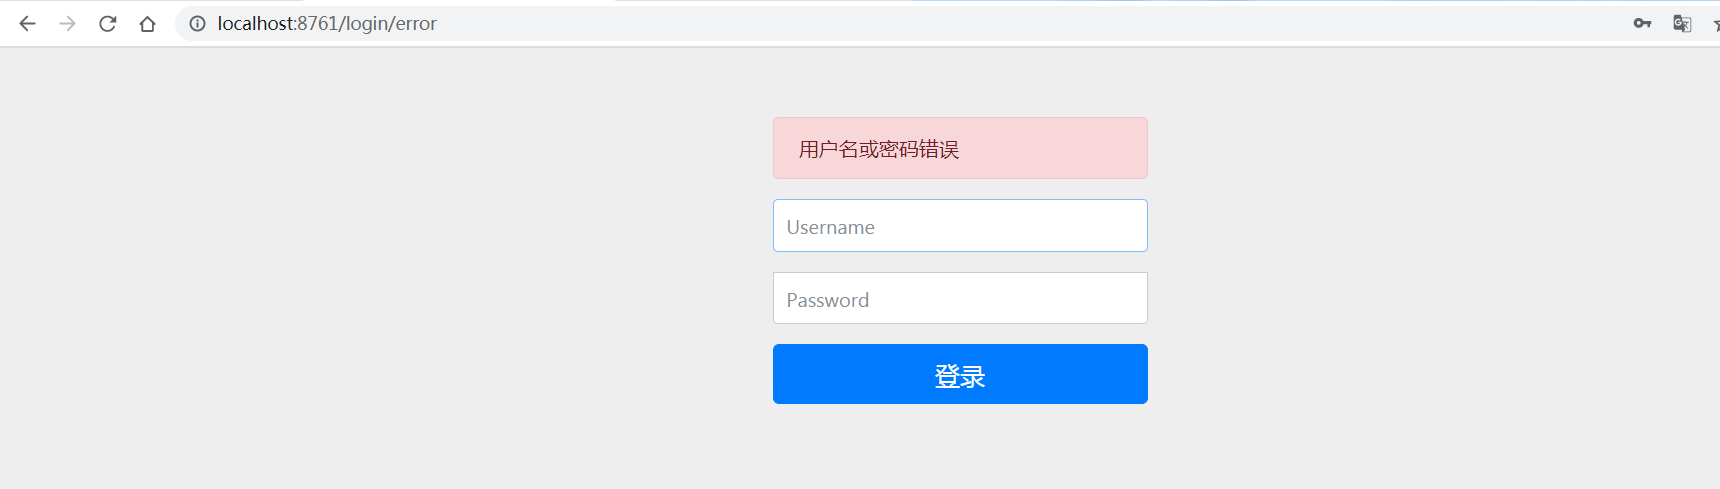
When the user name or password is wrong, the following prompt will appear on the page
Specify environment information in eureka management interface
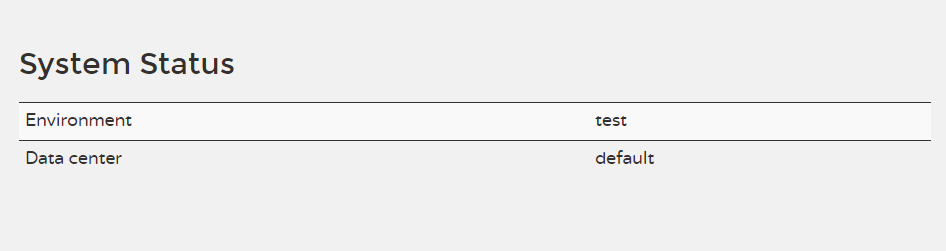
The above figure shows the environmental information of eureka. However, in our daily development, we sometimes distinguish between dev, sit, uat and prod environments. Obviously, the above figure can not meet our requirements. So we can The YML configuration is as follows
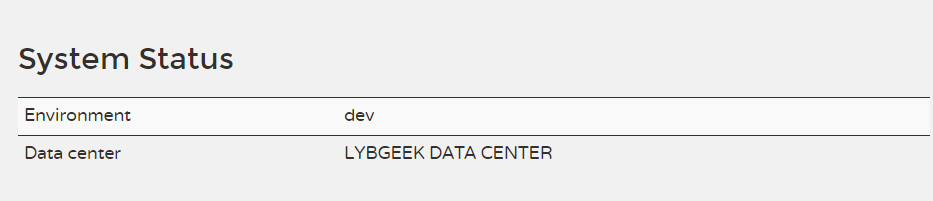
eureka:
  #Setting here will change the display of eureka console
  datacenter: ${DATA_CENTER:LYBGEEK DATA CENTER}
  #Setting here will change the display of eureka console
  environment: ${ENV:dev}
View the page again
Custom management page
eureka's management interface uses freemaker for template rendering by default, and its template page is displayed in
spring-cloud-netflix-eureka-server-Specific version.jar
As shown in the figure
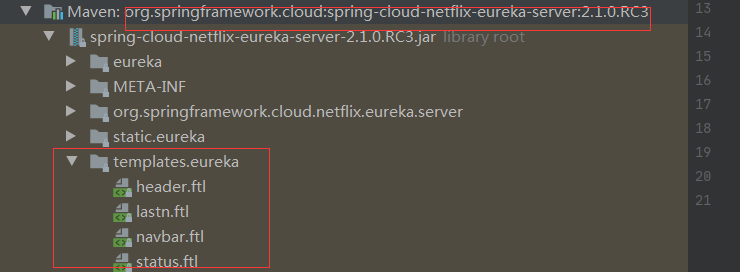
Therefore, if we want to customize, we only need to move the template configuration of eureka to the templates of our code, as shown in the figure
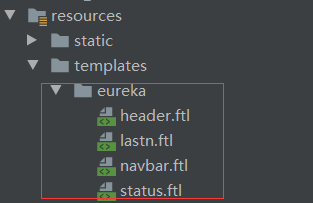
Then modify it according to our needs. For example, in this example, I added a login button and a list of copyright information, as shown in the following figure


Possible pits to step on during customization
When customizing the login page, the following exceptions appear
org.thymeleaf.exceptions.TemplateInputException: Error resolving template [eureka/status], template might not exist or might not be accessible by any of the configured Template Resolvers
There are two solutions. One is to configure the following contents in the yml file
spring:
  freemarker:
    prefer-file-system-access: false
One is to place eureka's template pages in the following figure

summary
Recently, I chatted with a friend. When he knew that my company's registration center still used eureka, he was surprised to say how to use nacos. Then I asked him why to use nacos. The answer he gave me was that eureka has closed its source. nacos is now very popular. It can be used as a configuration center or a registration center. Basically, no one will use it behind erueka.
In fact, the so-called closed source of eureka refers to the closed source of eureka version 2. At present, most of eureka used is version 1. We can see the recent update of eureka by netflix
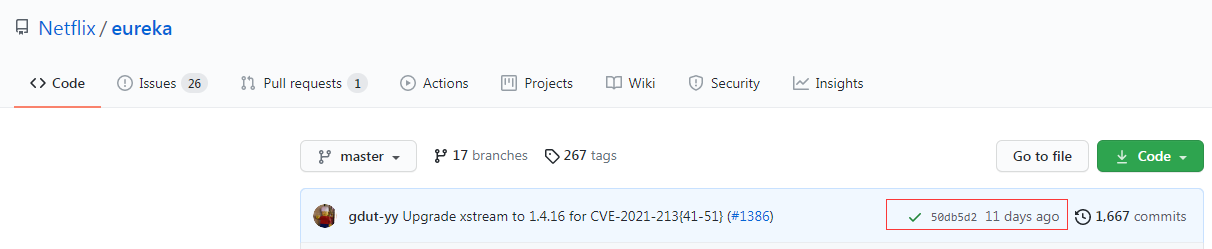
Up to now, his update time is 11 days ago. Let's take a look at the latest update of spring cloud Netflix Eureka

For technology selection, sometimes it's not to use whichever fire, but to meet the current business needs. For example, if your formal environment has been running the project stably, will you replace the current project technology stack because of the emergence of more popular technologies? In my project team, eureka is used as the registration center, because there are so many registered business projects, and eureka can fully meet the needs.
I don't mean to exclude Nacos. After all, Nacos also has some features that other registries don't have, such as dynamic DNS service, supporting AP and CP at the same time, and the high performance of nacos2, which are worthy of attention
demo link
https://github.com/lyb-geek/springboot-learning/tree/master/springboot-custom-eureka