introduction
At present, the support of flash in the browser is getting worse and worse. The new version of Google has abandoned Flash support, and the conventional rtmp video streaming basically can not meet the technical requirements. At present, the solution is to convert rtmp to hls for playback. Under normal circumstances, the hls playback delay is relatively large, with an average delay of about 5-6s. This chapter uses flv for video playback. Google browser and IE are not tested. The test delay is basically less than about 5s. In case of large delay, check the frame skipping at the front end to ensure the delay.
text
Required tools include
ffmpeg
ffmpeg: https://download.csdn.net/download/mokeily99/16629192
Compiled by nginx RTMP module: https://download.csdn.net/download/mokeily99/16629289
flv.min.js: https://download.csdn.net/download/mokeily99/16629251
vlc player: https://download.csdn.net/download/mokeily99/1662901
If you need to download the full package directly, including the front-end test page:
Steps:
1. Download the compiled nginx RTMP module file and configure nginx Conf is as follows
worker_processes  1;

#error_log  logs/error.log;
#error_log  logs/error.log  notice;
#error_log  logs/error.log  info;
#error_log  logs/error.log  debug;

#pid        logs/nginx.pid;

events {
    worker_connections  1024;
}

# Add RTMP service
rtmp {
    server {
        listen 1935; # Listening port

        chunk_size 4000;
        application live {
            live on;
            gop_cache on;
        }
    }
}

# HTTP service
http {
    include       mime.types;
    default_type  application/octet-stream;

    #access_log  logs/access.log  main;

    server {
        listen       8088; # Listening port

        location /stat.xsl {
            root html;
        }
        location /stat {
            rtmp_stat all;
            rtmp_stat_stylesheet stat.xsl;
        }
        location / {
            root html;
        }
        location /rtmpLive {
            flv_live on;
            chunked_transfer_encoding  on; #open 'Transfer-Encoding: chunked' response
            add_header 'Access-Control-Allow-Credentials' 'true'; #add additional HTTP header
            add_header 'Access-Control-Allow-Origin' '*'; #add additional HTTP header
            add_header Access-Control-Allow-Headers X-Requested-With;
            add_header Access-Control-Allow-Methods GET,POST,OPTIONS;
            add_header 'Cache-Control' 'no-cache';
        }
    }
}
If the configuration file downloaded from the above address has been modified, it does not need to be moved. Pay attention to several listening ports in the configuration file to avoid conflicts with other programs. 1935 is the port used in ffmpeg transcoding, which needs to correspond to here. 8088 is the front-end display port of flv, which will be explained later.
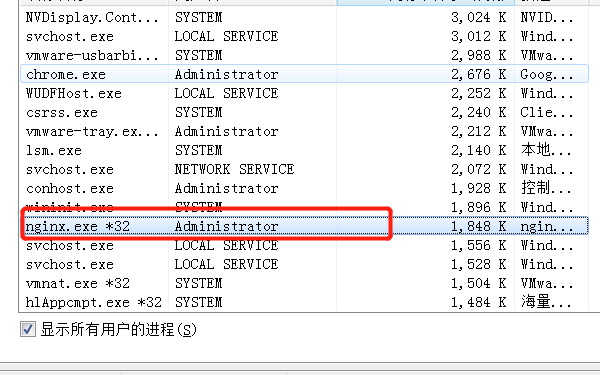
Start nginx and double-click nginx Exe program, the cmd window flashes, start the task manager, check whether nginx is started, and nginx appears Exe indicates that it has been started.
2. Start ffmpeg
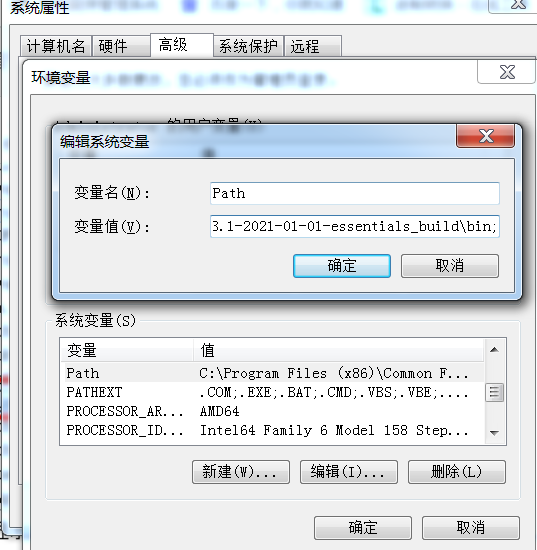
Download ffmpeg from the above address, configure the environment variables, and add the bin directory address of ffmpeg to the path. My name is D:\workSpace\live\ffmpeg\ffmpeg-4.3.1-2021-01-01-essentials_build\bin
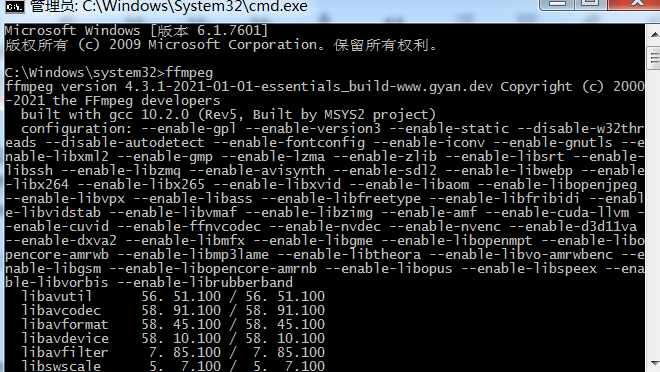
Then run cmd as an administrator, enter ffmpeg, and press enter. A pile of things will appear, indicating that the configuration is complete
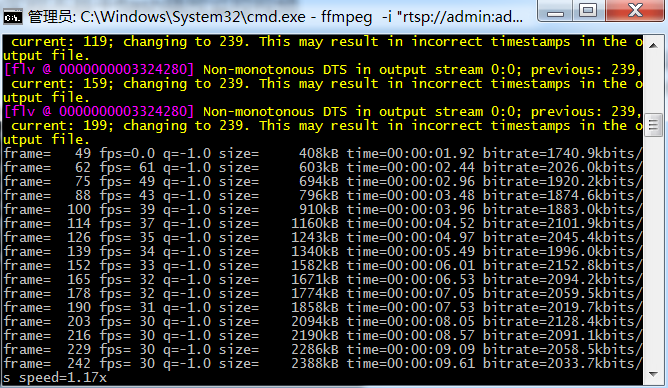
Then test the ffmpeg pull stream decoding. This time, Dahua monitoring is used to test the main code stream. The commands are as follows
ffmpeg -i "rtsp://admin:admin123@192.168.110.108:554/cam/realmonitor?channel=1&subtype=0" -vcodec copy -f flv -an rtmp://localhost:1935/live/1000000001
notes:
admin is the account that monitors the login page
admin123 is the password of the monitoring login page
192.168.110.108:554 refers to the monitoring address and port. If the monitoring port is not modified, it is basically 554 in Dahua
subtype is the code stream type, 0 is the main code stream, and 1 is the sub code stream. If the sub code stream is used, you need to start the sub code stream on the monitoring management page
Channel is the channel number, which is the default configuration. Write 1 without modification
-vcodec copy -f flv -an: video decoding parameter - vcodec copy is to copy the original video. It is recommended not to change it. I have tried other parameters and tried to modify the video size without success. It is either special card or not displayed. The video size can only be realized by modifying the resolution of the code stream through the monitoring page. Flv decoding format, corresponding to the flv of the front end
rtmp://localhost:1935/live/1000000001 : RTMP output address, localhost can be used for local test, or replace the local IP
After running, the streaming transcoding log will be output continuously, as shown in the following figure
3. Test rtmp video stream
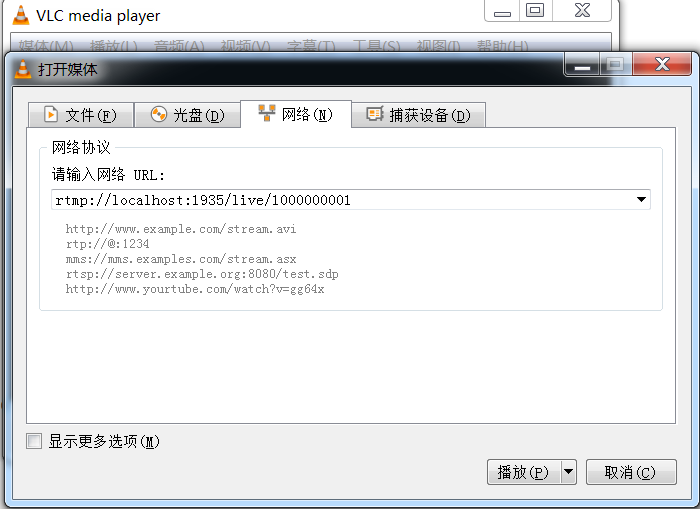
Open vlc player, media - open network streaming, and enter the rtmp://localhost:1935/live/1000000001 Address, play and test whether there is an image. If there is an image, it indicates that the streaming transcoding is successful.

4. Front end flv display monitoring video
<html>
    <head>
        <meta http-equiv="Content-Type" content="text/html; charset=utf-8" />
        <title>Play page</title>
    </head>
    <body>
        <script src="https://cdn.bootcdn.net/ajax/libs/flv.js/1.5.0/flv.min.js"></script>
        <video style="height: 400px;width: 600px;" id="videoElement" muted autoplay controls></video>
        <script>
            var flvPlayer = null;
            if (flvjs.isSupported()) {
                var videoElement = document.getElementById('videoElement');
                flvPlayer = flvjs.createPlayer({
                    type: 'flv',
                    // 8080 corresponds to the port monitored by Nginx
                    // rtmpLive corresponds to the path of Nginx
                    url: 'http://localhost:8088/rtmpLive?app=live&stream=1000000001',
                    enableWorker: true,     //Open flv on the browser side JS worker, multi process running flv js
                    isLive: true,           //Live mode
                    hasAudio: false,        //Turn off audio
                    hasVideo: true,
                    stashInitialSize: 128,
                    enableStashBuffer: false
                });
                flvPlayer.attachMediaElement(videoElement);
                flvPlayer.load();
            }
        </script>
    </body>
</html>
Note the url address, http://localhost:8088/rtmpLive?app=live&stream=1000000001 , 8088 corresponds to the listening port in the nginx configuration file. The above configuration is 8088. rtmpLive is also the configuration identifier at the end of the nginx configuration file. App = live & stream = 1000000001 is the identifier after ffmpeg streaming transcoding. If the above is written according to the stable content, there is no need to modify the address
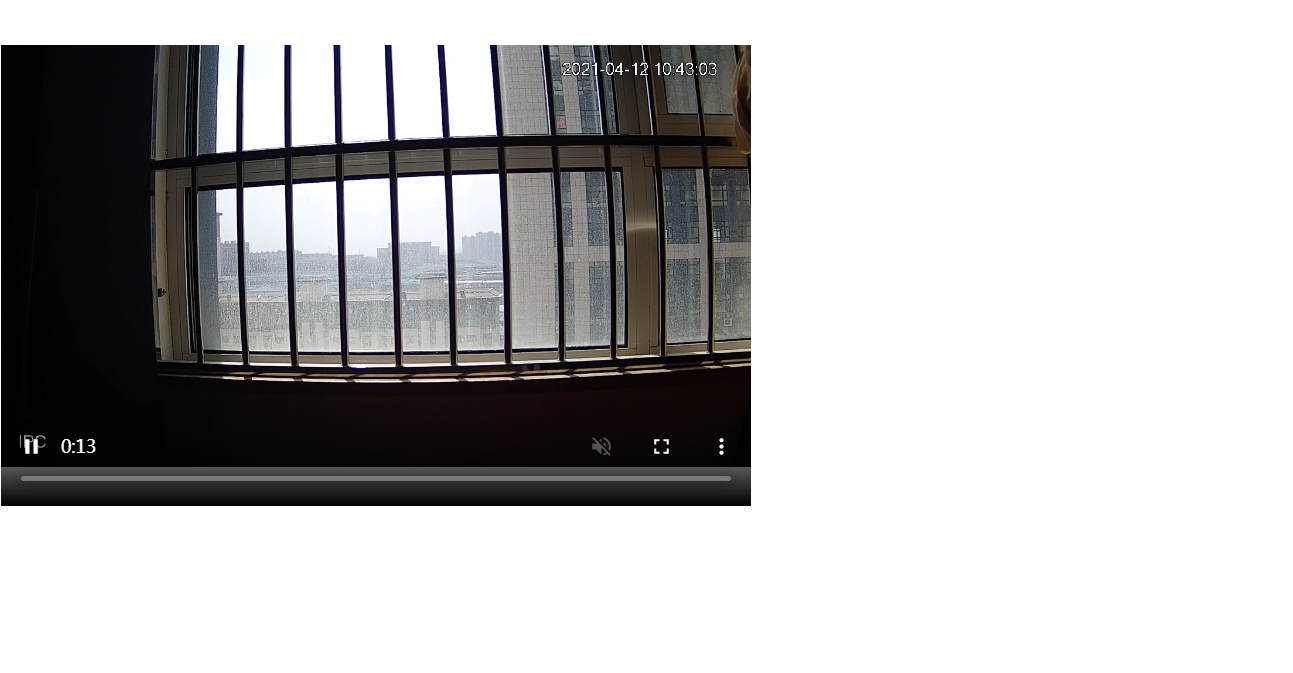
The front-end playback is successful, and the delay is basically within 5s. If you want to modify the delay, you can correct the front-end time, and add the code to the front-end js
setInterval(function() {
            console.log("Delay correction judgment");

            if (!videoElement.buffered.length) {
                return;
            }
            var end = videoElement.buffered.end(0);
            var diff = end - videoElement.currentTime;
            console.log(diff);
            if (diff >= 2) {
                console.log("Time delay correction");
                videoElement.currentTime = (end - 1);
            }
        }, 3000);
If the delay is more than 2s, the time will be corrected automatically and jump to the current time, but the video loading phenomenon will occur during the jump, which is not beautiful. It is recommended to judge that the time is about 4s, diff > = 4
extend
java integrates ffmpeg streaming transcoding, and web startup automatically carries out streaming transcoding: springboot project
PubListener.java, start and execute the task
package com.hs.job;

import org.springframework.boot.CommandLineRunner;
import org.springframework.stereotype.Component;

import com.hs.Rtsp.RtspFactory;

@Component
public class PubListener implements CommandLineRunner {

    public void run(String... strings) throws Exception {
    	RtspFactory rtspFy = new RtspFactory();
    	rtspFy.initRtspInfo();
    }
}
RtspFactory.java
package com.hs.Rtsp;

import java.io.BufferedReader;
import java.io.InputStreamReader;
import java.io.UnsupportedEncodingException;
import java.util.HashMap;
import java.util.List;
import java.util.Map;


import com.hs.trans.bean.CameraInfo;
import com.hs.trans.service.CameraService;
import com.hs.util.FFmpegConfig;
import com.hs.util.PropertiesUtil;
import com.hs.util.SpringUtils;

public class RtspFactory {

    private CameraService cameraService;

    private static FFmpegConfig config = (FFmpegConfig) PropertiesUtil.load("defaultFFmpegConfig.properties",  FFmpegConfig.class);//ffmpeg transcoding configuration file is configured with various monitoring transcoding methods. At present, Dahua, Haikang and other equipment are configured


    public void initRtspInfo(){
        List<CameraInfo> cameraList = getCameraList();//getCameraList is a method to obtain the monitoring list. It needs to be implemented by itself. The test can be written to death
        for(CameraInfo camera : cameraList){
            //String rtspUrl = "rtsp://admin:admin123@192.168.110.108:554/cam/realmonitor?channel=1&subtype=1";
            //rtsp://[username]:[password]@[ip]:554/cam/realmonitor?channel=1&subtype=1
            String rtspUrl = loadRtspUrl(camera);
            // Nginx rtmp address
            // 1935 corresponds to the port monitored by rtmp in the Nginx configuration file
            // live corresponds to the value of application under rtmp in the Nginx configuration file
            // rtmpStream corresponds to the value of the 16 line parameter stream in the playback page
            if(rtspUrl != null){
                String nginxRtmpUrl = "rtmp://localhost:1935/live/" + camera.getMaxaccept();
                RtspThread rtsp;
                try {
                    rtsp = new RtspThread(rtspUrl, nginxRtmpUrl);
                    rtsp.start();
                } catch (UnsupportedEncodingException e) {
                    e.printStackTrace();
                }
            }
        }
    }

    public String loadRtspUrl(CameraInfo camera){
        String rtspUrl = null;

        String comTypeLists = config.getCameraComType();
        String[] comTypeArr = comTypeLists.split(",");

        for(String comTypes : comTypeArr){
            String[] comArr = comTypes.split("-");
            if(comArr[0].equals(camera.getComType())){
                rtspUrl = comArr[1];
                break;
            }
        }

        if(rtspUrl != null){
            rtspUrl = rtspUrl.replace("[username]", camera.getUserName()).replace("[password]", camera.getPassWord()).replace("[ip]", camera.getIp());
        }
        return rtspUrl;
    }

    public List<CameraInfo> getCameraList(){
        cameraService = SpringUtils.getBean(CameraService.class);
        Map<String, Object> param = new HashMap<String, Object>();
        param.put("deleteFlag", 0);
        return cameraService.getCameraList(param);
    }
}
RtspThread.java
package com.hs.Rtsp;

import java.io.BufferedReader;
import java.io.IOException;
import java.io.InputStreamReader;
import java.io.OutputStream;
import java.io.UnsupportedEncodingException;

import com.hs.util.FFmpegConfig;
import com.hs.util.PropertiesUtil;


public class RtspThread extends Thread {

	private static FFmpegConfig config = (FFmpegConfig) PropertiesUtil.load("defaultFFmpegConfig.properties",  FFmpegConfig.class);

	private String rtspUrl;

	private String nginxRtmpUrl;

	public RtspThread(String rtspUrl, String nginxRtmpUrl) throws UnsupportedEncodingException {
		this.rtspUrl = rtspUrl;
		this.nginxRtmpUrl = nginxRtmpUrl;
	}

	@Override
	public void run() {
		super.run();
		try {
			// ffmpeg has been configured in the system environment variable
			String command = config.getFfpmegPath() + "ffmpeg.exe";
			command += " -i \"" + rtspUrl + "\"";
			command += " -vcodec copy -f flv -s 100x50 -an " + nginxRtmpUrl;
			System.out.println("ffmpeg Streaming command:" + command);

			Process process = Runtime.getRuntime().exec(command);
			BufferedReader br = new BufferedReader(new InputStreamReader(process.getErrorStream()));
			String line = "";
			while ((line = br.readLine()) != null) {

			}
		} catch (Exception e) {
			e.printStackTrace();
		} finally {// If the connection fails to be established, socket will not be executed close();

		}
	}
}
defaultFFmpegConfig.properties, put it in the resources directory, 10900 corresponds to Dahua, 10901 corresponds to Haikang, and is divided into ",". ffpmegPath corresponds to ffmpeg directory and bin directory
#Equipment manufacturer mapping
cameraComType=10900-rtsp\://[username]\:[password]@[ip]\:554/cam/realmonitor?channel\=1&subtype\=0,10901-rtsp\://[username]\:[password]@[ip]\:554/h264/ch1/main/av_stream,10902-rtsp\://[ip]\:3000

#ffpmeg path
ffpmegPath=D\:\\workSpace\\live\\ffmpeg\\ffmpeg-4.3.1-2021-01-01-essentials_build\\bin\\
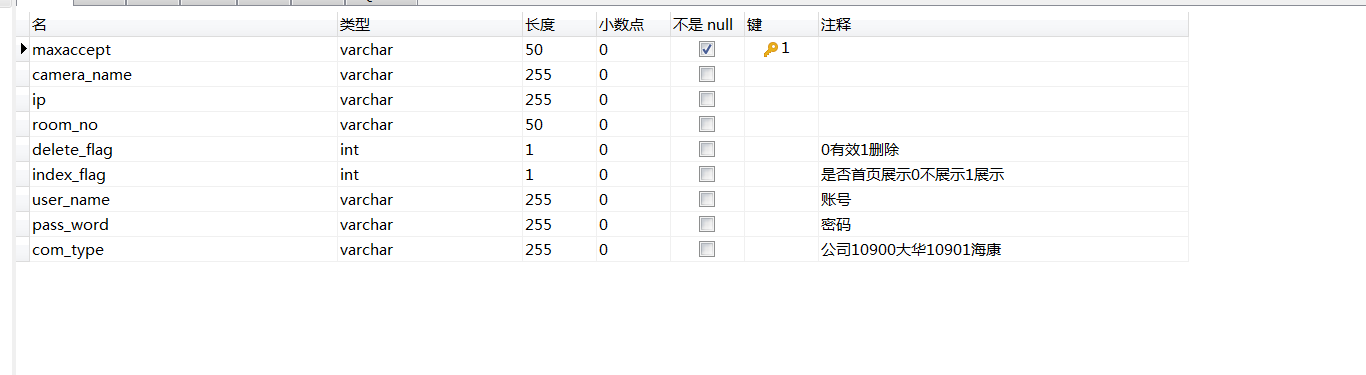
Table structure
After starting nginx, start the springboot project to automatically push and pull the stream. The integration is written roughly. If there is a problem, please contact the email mokeily99@126.com,vx:18686530251