Tip: all notes in this series exist in Github , you can directly Github View all notes
Drone pipeline mechanism
The Pipeline mechanism is introduced into Drone. A Pipeline is equivalent to a process in which multiple step s can be performed.
A step is an operation configured using a plug-in.
Like the Runner, the Pipeline also supports multiple types to adapt to different operating environments. Of course, some types can use containerization instead of unified management.

Drone also uses YAML syntax as the configuration file. Multiple pipelines can be configured in the configuration file at the same time.
By default, multiple pipelines are executed in parallel, which is also one of the powerful functions of Drone: distributed Pipeline system
kind: pipeline # Define a pipe
type: docker # Defines the type of pipe
name: test # Defines the name of the pipe
steps: # To define a pipe
  - name: test # Step name
    image: node:latest # Image used by the current Docker step
    commands: # Commands executed in the current step
      - echo test drone Execution 2
The test Pipeline configured in the previous article. This Pipeline uses the docker type.
A step is defined in the Pipeline, which uses the Node image. Print command executed in container
The whole automatic deployment is the execution of configuration step s.
It can be simply understood as Drone. The YML configuration file is equivalent to a sh file. The deployment operation is configured in this file and handed over to the Drone engine for execution.
Next, write and deploy the Web project step by step.
Deploy Web project
Build phase
According to the brief introduction in the previous article, the whole deployment process can be divided into two stages:
- Pull code -- > compile project -- > package image -- > push image warehouse
- Use SSH to connect to the server -- > pull the latest image -- > stop and remove the old container -- > start the new container.
Pipelines can be built in this way. One stage is a Pipeline
The first stage is called build
kind: pipeline # Define a pipe
type: docker # Defines the type of pipe
name: build # Defines the name of the pipe
clone code
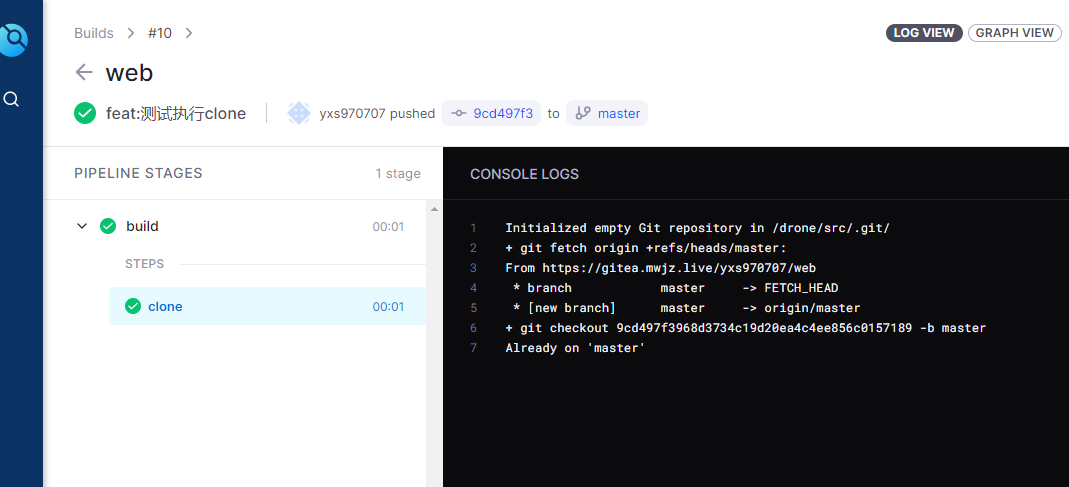
By default, the first step performed by the Pipeline is to pull the code (clone).
This is a default step provided by Drone.
.drone. The YML file can be set to this step using the clone attribute.
The default clone step only supports setting disable, and depth.
If you need to use other parameters, you can disable the default clone step and customize the pull code step
kind: pipeline # Define a pipe
type: docker # Define pipe type
name: build # Define pipe name

clone:
  disable: false # Enable code pull
By default, the drop code uses the drone/git image.
When deploying Drone, you can use the environment attribute to replace the default image. You can refer to Official documents

Compile code
After the clone step is executed, the code can be compiled.
Code compilation can directly use the Node image to execute package JSON command.
Define the build project step and compile the code.
Dependencies are used in this step_ On attribute, which indicates that the current step needs to be executed by relying on the specified step, that is, the step needs to be executed after the specified step is executed.
PS: step s can be executed concurrently.
kind: pipeline # Define a pipe
type: docker # Define pipe type
name: build # Define pipe name

clone:
  disable: false # Enable code pull

steps:
  - name: build-project # Step name
    image: node:16.13.2 # Use mirror
    depends_on: [clone] # Dependent steps,
    commands: #Execute command
      - npm config set registry https://registry.npm.taobao.org # switch Taobao image
      - npm install # Install node_modules package
      - npm run build # Execute compilation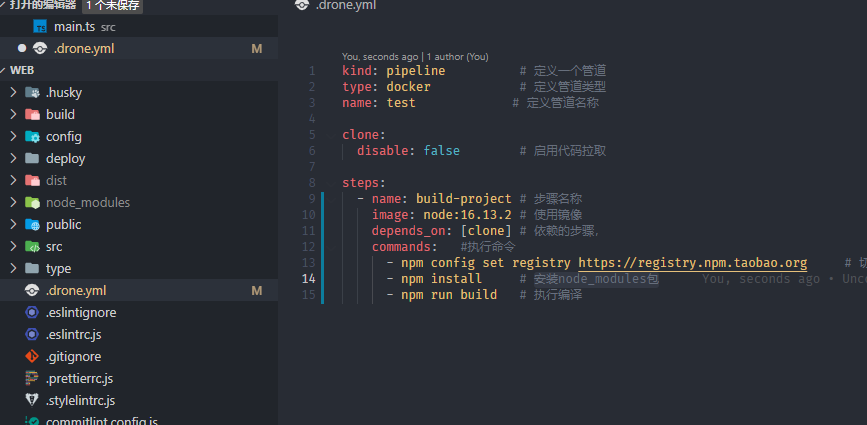
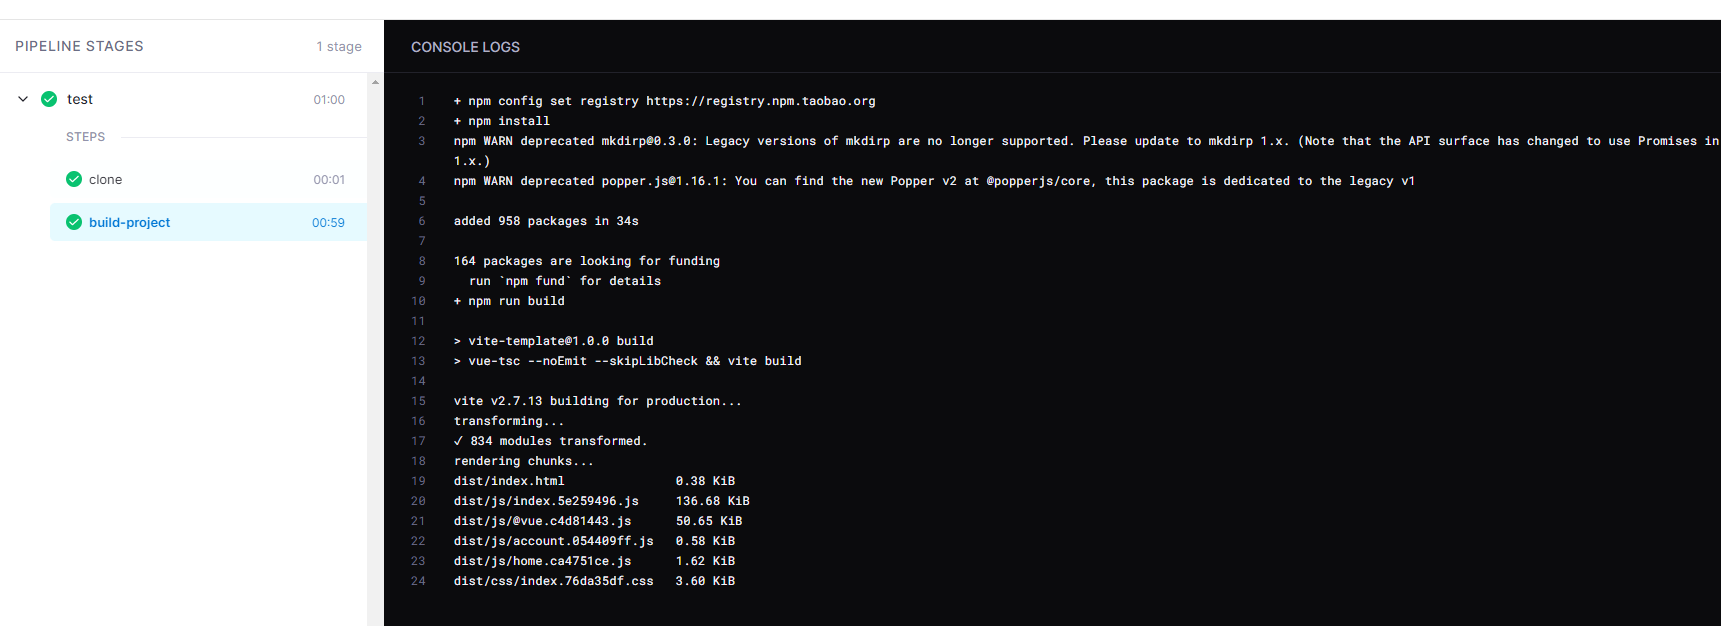
PS: if there is no node:16.13.2 image in the server, the image will be pulled first, and the time will be slower.
Cache node_modules
If you test the code compilation steps several times, you will find a problem: the execution time of each code compilation is relatively long, and the execution time on my server is about 1 minute.
You can use Gitea test to push Webhook for repeated testing.


When you query the specific execution information, you will find that most of the time is wasted in the npm install command.

This is because each step is executed in a process, and each execution is a new process,
However, there is often the case of attaching data. For this demand, Drone also provides a Volume mechanism. Allow files in the container to be mounted to the host.
PS: the code directory in Drone is shared in all step s,
There are two volumes available in Drone
- Host Volume: the data is mounted on the host, and the data exists permanently
- Temporary Volume: data is mounted on a Temporary Volume for sharing between step s. The data volume will be cleared after the Pipeline is executed
For details, please refer to Official documents.
Mounting data volumes is a two-step process
- Declare data volume
- Using data volumes
kind: pipeline # Define a pipe
type: docker # Define pipe type
name: test # Define pipe name

volumes: # Declare data volume
  - name: node_modules # Data volume name
    host: # Host Volume
      path: /volumes/drone/volumes/web/node_modules # Host Directory    #Absolute path

clone:
  disable: false # Enable code pull

steps:
  - name: build-project # Step name
    image: node:16.13.2 # Use mirror
    depends_on: [clone] # Dependent steps,
    volumes: # Mount data volume
      - name: node_modules # Data volume name
        path: /drone/src/node_modules # Absolute path of directory in container
    commands: # Execute command
      - pwd # View current directory
      - npm config set registry https://registry.npm.taobao.org # switch Taobao image
      - npm install # Install node_modules package
      - npm run build # Execute compilation
be careful:
- The path in the data volume must be absolute, and relative path cannot be used. I used the pwd command to query that the current directory is / drone/src, That is, node_ The directory of modules is / drone/src/node_modules


- The trusted permission must be enabled to use the data volume. Trusted permissions need to be set by the administrator user

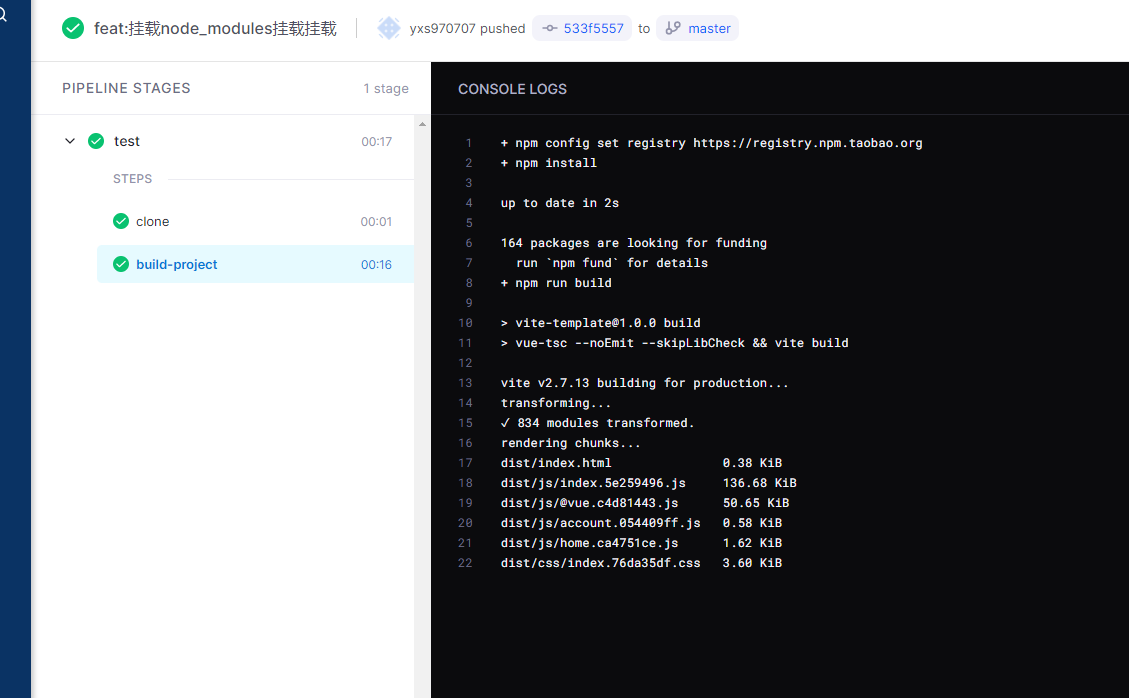
The first build will mount the node in the host_ Modules data can be built later, which saves the execution time of npm install and greatly improves the construction speed

Build image
After the code is compiled, the next operation is to create an image and push it to the warehouse.
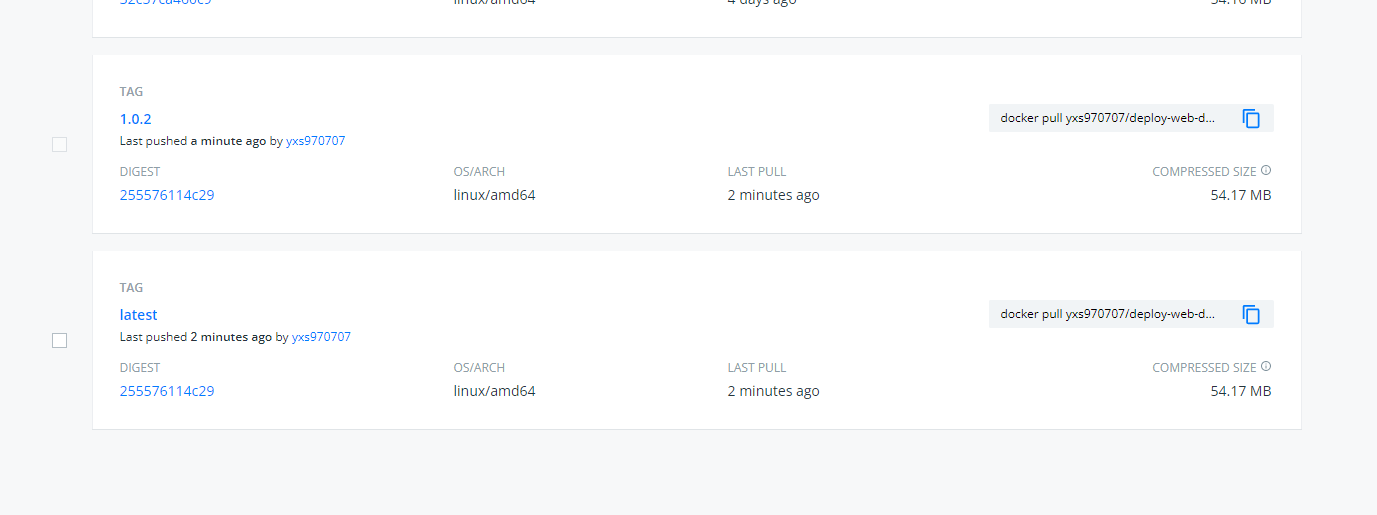
In the Drone community, plugins/docker image plug-ins are provided to build images and push them directly to the image warehouse.
kind: pipeline          # Define a pipe
type: docker            # Define pipe type
name: build              # Define pipe name

  - name: build-image     # Step name
    image: plugins/docker # Use mirror
    depends_on: [build-project] # Dependent steps
    settings:             # Current settings
      username: XXXXXX # Account name
      password: XXXXXX # Account password
      dockerfile: deploy/Dockerfile # Dockerfile address. Note that it is a relative address
      repo: yxs970707/deploy-web-demo # Image name
      tags:             # Mirror label
        - latest
        - 1.0.2
The settings attribute is the attribute for configuring operations such as account, password and image name, which is provided by Drone. The settings property is passed to the container environment property.
plugins/docker other settings can be queried Official documents
In the above configuration, two tags are used, and the default Tag of latest is added.
PS: note that the Dockerfile address uses a relative path
PS: Docker Hub access will be slow.

Secret configure account password
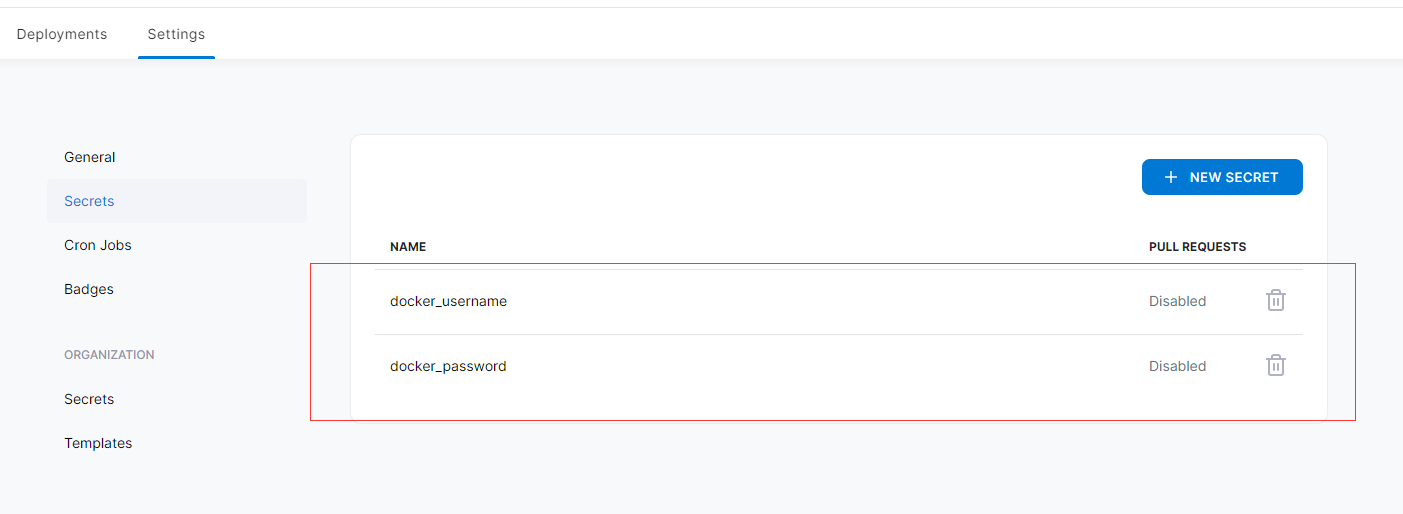
When the image was just built, it was in drone.yml file uses clear text account password, which is definitely not allowed. You can use Secret to configure such sensitive data.
kind: pipeline          # Define a pipe
type: docker            # Define pipe type
name: build              # Define pipe name

  - name: build-image     # Step name
    image: plugins/docker # Use mirror
    depends_on: [build-project] # Dependent steps
    settings:             # Current settings
      username:           # Account name
        from_secret: docker_username
      password:           # Account password
        from_secret: docker_password
      dockerfile: deploy/Dockerfile # Dockerfile address. Note that it is a relative address
      repo: yxs970707/deploy-web-demo # Image name
      tags:             # Mirror label
        - latest
        - 1.0.2
When using Secret, you need to use from_ Set the Secret property.
According to package JSON generate Tags
The image version number set when packaging an image is a fixed value set directly. In this way, the new version number must be reset every time it is updated, which is also a cumbersome operation.
Variable settings can be used in Drone, and many variables are built-in, such as DRONE_TAG. But I personally feel that these variables are not very easy to use.
The effect I want is based on package The version attribute of the JSON file sets the image version. This is more convenient to manage.
After querying the document, it is found that the plugins/docker image supports reading under the project root directory tags file to set the version number
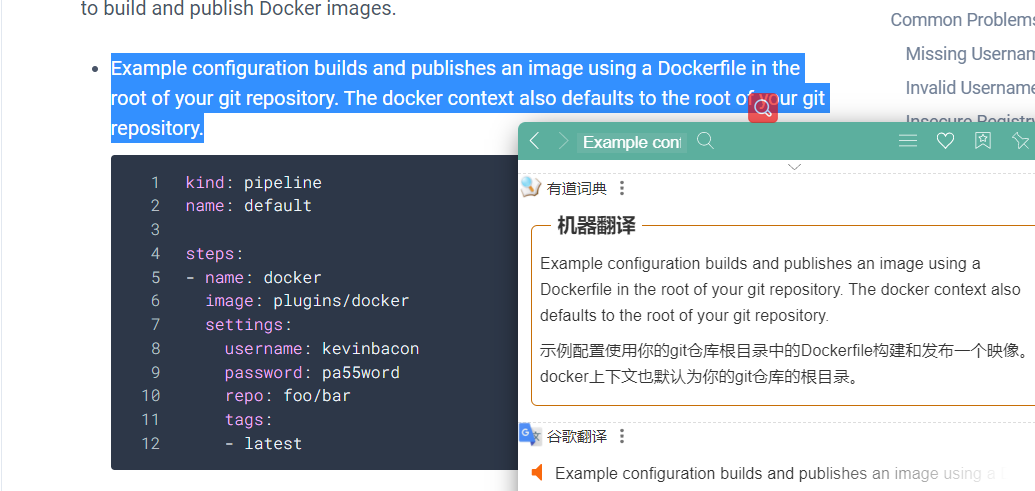
There is a solution that will package The version attribute of the JSON file is written to tags file.
https://discourse.drone.io/t/using-custom-generated-tags-for-docker-images/1918/2
Although I feel that there will be such a functional mirror plug-in in the community,
But it's a waste of time to find it, so I wrote a simple plug-in: https://github.com/yanzhangshuai/drone-web-tags
It is also very simple to use, and supports setting other Tags at the same time.
steps:
  - name: build-project # Step name
    image: node:16.13.2 # Use mirror
    depends_on: [clone] # Dependent steps,
    volumes: # Mount data volume
      - name: node_modules # Data volume name
        path: /drone/src/node_modules # In container directory
    commands: # Execute command
      - npm config set registry https://registry.npm.taobao.org # switch Taobao image
      - npm install # Install node_modules package
      - npm run build # Execute compilation

  - name: build-tags
    image: yxs970707/drone-web-tags # Use mirror
    depends_on: [clone] # Dependent steps,
    settings:
      tags:
        - latest # Set other tags, latest

  - name: build-image # Step name
    image: plugins/docker # Use mirror
    depends_on: [build-tags, build-project] # Dependent steps
    settings: # Current settings
      username: # Account name
        from_secret: docker_username
      password: # Account password
        from_secret: docker_password
      dockerfile: deploy/Dockerfile # Dockerfile address. Note that it is a relative address
      repo: yxs970707/deploy-web-demo # Image name

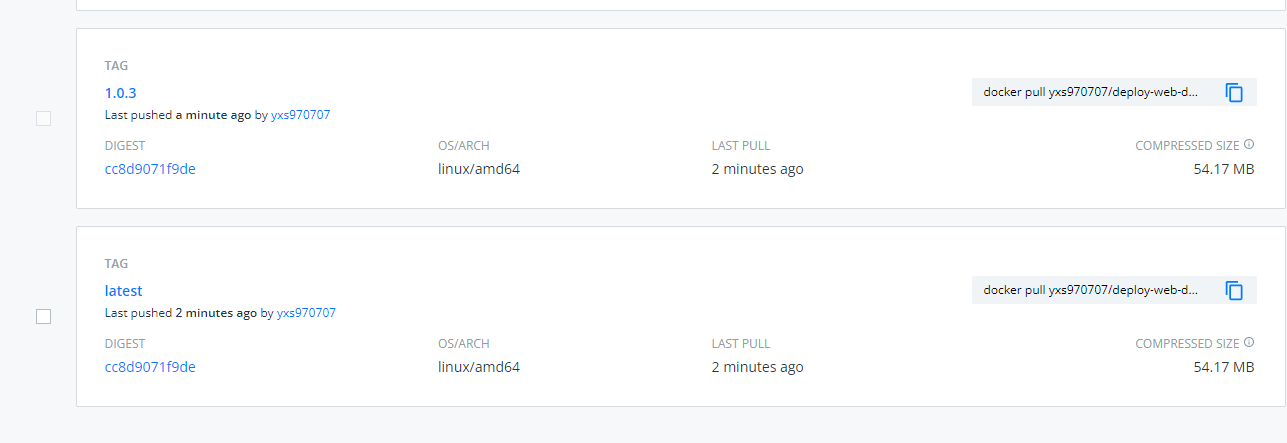
deploy phase
After the image is pushed to the image warehouse, the second stage of continuous deployment is to update the deployment on the server.
Although the second stage subdivides many operations, the key is to connect to the server remotely. Therefore, for simplicity, these operations are directly configured into one step
The name of the Pipeline in the second stage is deploy
Note: pipes need to be separated from each other

The deploy Pipeline needs to be executed after the build Pipeline is executed.
And the deploy Pipeline can disable code pulling
kind: pipeline
type: docker
name: deploy

depends_on: # Dependent build pipeline
  - build

clone:
  disable: true # Disable pull
SSH connection and deployment
As mentioned earlier, Drone provides a variety of Runner and Pipeline types, but some types can be managed in a container.
The Drone community provides an SSH connection image plug-in, appleboy/drone-ssh.
Before configuring this step, you need to change the Docker Compose file of the previous web project
- Specific Tag images are used in the configuration. It is not clear what the latest version of the server is when deploying it directly.
- Unmount the html directory. It is not recommended to mount html data to the host, which will cause confusion in version management

kind: pipeline
type: docker
name: deploy

depends_on: # Dependent build pipeline
  - build

clone:
  disable: true # Disable pulling

steps:
   - name: deploy-project
    image: appleboy/drone-ssh
    settings:
      host:
        from_secret: server_host
      user:
        from_secret: server_username
      password:
        from_secret: server_password
      port: 22
      command_timeout: 2m
      script:
        - echo ====Start deployment=======
        - docker pull yxs970707/deploy-web-demo:latest
        - docker-compose -p web down
        - docker volume rm web-nginx
        - docker-compose -f /yml/docker-compose/web.yml -p web up -d
        - docker rmi $(docker images | grep deploy-web-demo | grep none | awk  '{print $3}')
        - echo ====Deployment successful=======
There are 5 commands in the server deployment step
- Pull new image
- Unload old container
- Delete Volume
- Start a new container
- Delete old mirror
The third command can use external volumes in Docker Compose, so there is no need to delete volumes.
The last command is to delete the old image. When the new latest image is successfully pulled, the old image Tag will become none, so delete the image labeled none
