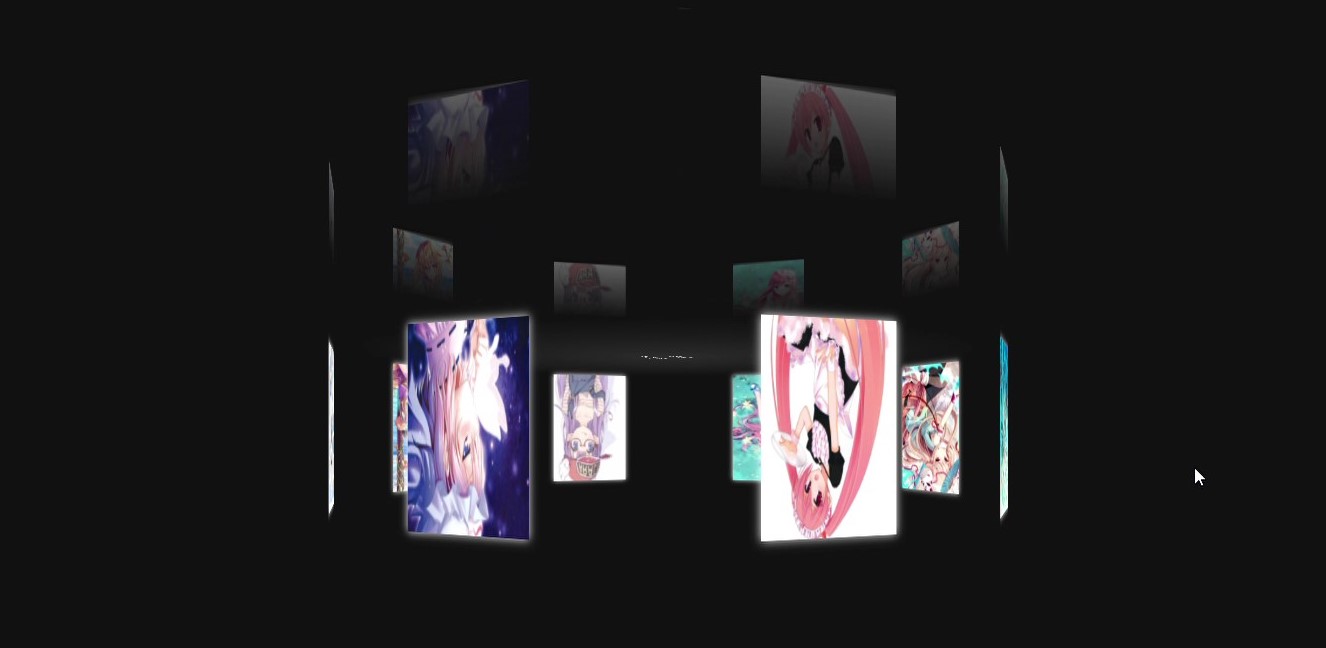
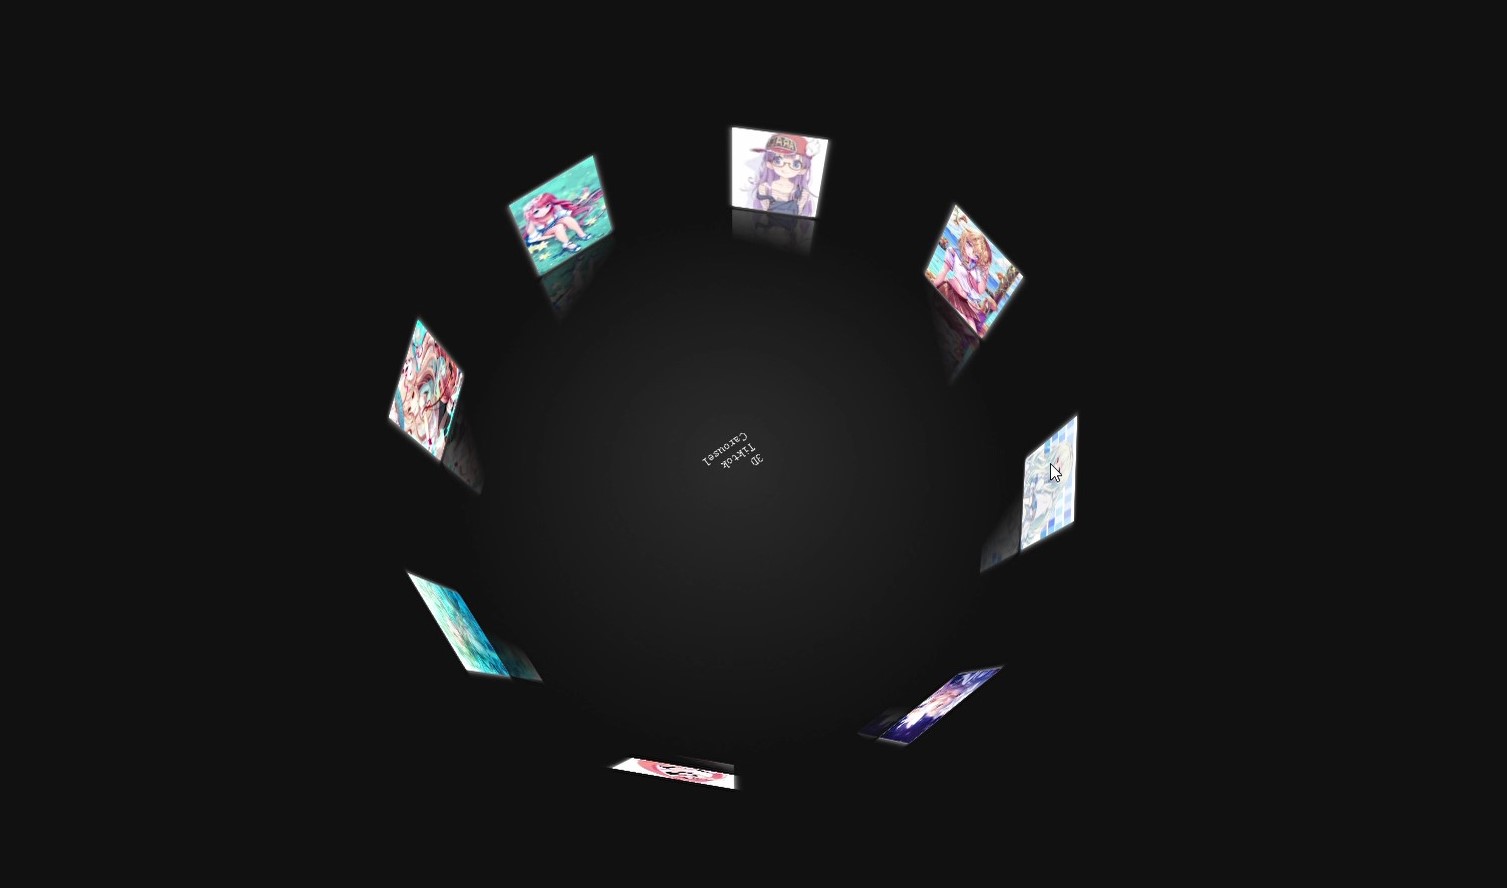
A simple cool special effects page (html+css+js with source code) - a 3D picture demonstration
Preface
For your front-end buddies, the pages that draw you into the pit are all cool. But often the source code of those pages is not very friendly to beginners. Today, I want to share with you a special effect page with simple code, which is suitable for beginners, and an advanced, cool, pop-up shelter (doubling the pleasure of npy!).
1. Display of page effects


Note: The above effects are only part of the effect, forgive me for not learning to make gif maps yet!
2. Functional Description
1. Open the page and all pictures will rotate automatically
2. The size and interval of the picture can change with the roll of the mouse wheel
3. Hold down the mouse anywhere on the page and drag the cursor so that the page can rotate accordingly
3. Functional Realization
1. Create a parent container to stack all photos together
The code is as follows (html):
 <div id="darg-container" class="darg">
      <!-- Parent container, equivalent to keeping all pictures together -->
    <div id="spin-container">
      <img src="1.jpg" alt="">
      <img src="2.jpg" alt="">
      <img src="3.jpg" alt="">
      <img src="4.jpg" alt="">
      <img src="5.jpg" alt="">
      <img src="6.jpg" alt="">
      <img src="8.jpg" alt="">


      <a target="_blank" href="7.jpg">
        <img src="7.jpg" alt="">
      </a>


      <!-- <video controls autoplay="autoplay" loop>
        <source src="8.jpg" type="video/mp4">
      </video> -->

      <p>3D Tiktok Carousel</p>
    </div>
    <div id="ground"></div>
  </div>
2. Add a rotation animation to all photos
The code is as follows (js):
function init(delayTime) {
  // Animate all pictures
  for (var i = 0; i < aEle.length; i++) {
    aEle[i].style.transform = "rotateY(" + (i * (360 / aEle.length)) + "deg) translateZ(" + radius + "px)"
    aEle[i].style.transition = "transform 1s"
    aEle[i].style.transitionDelay = delayTime || (aEle.length - i) / 4 + 's'
  }
}
setTimeout(init, 1000)
3. Listen for mouse events
The code is as follows (js):
// Rolling wheel
// Listens for mouse wheel events, this function takes effect directly without calling
document.onmousewheel = function(e){
    // console.log(e)
    e = e || window.event
    var d  = e.wheelDelta / 10 || -e.detail
    radius += d
    init(1)

}
var sX,sY,nX,nY,desX = 0 , desY = 0, tX = 0,tY = 0;
// Mouse Drag Page
document.onpointerdown = function(e){
    // console.log(e);
    e = e || window.event//Prevent errors and let window if e does not exist. Evet is e
    var sX = e.clientX,
    sY = e.clientY
    //Listen for Mouse Move Function
    this.onpointermove = function(e){
        console.log(e);
        e = e || window.event//Prevent errors and let window if e does not exist. Evet is e
        var nX = e.clientX,
            nY = e.clientY;
        desX = nX - sX;//The distance to slide on the x-axis
        desY = nY - sY;
        tX += desX * 0.1
        tY += desY * 0.1
        // Let the page follow the mouse
        applyTransform(oDarg)
    }
    this.onpointerup = function(e){
        //How often to implement setInterval
        oDarg.timer = setInterval(function(){
            desX *= 0.95
            desY *= 0.95
            tX += desX * 0.1
            tY += desY * 0.1
            applyTransform(oDarg)
            playSpin(false)
            if(Math.abs(desX) < 0.5 && Math.abs(desY) < 0.5){
                clearInterval(oDarg.timer)
                playSpin(true)
            }
        },17)
        this.onpointermove = this.onpointerup = null
    }
    return false
}
function applyTransform(obj){
    if(tY > 180)tY = 180
    if(tY < 0)tY = 0
    obj.style.transform = `rotateX(${-tY}deg) rotateY(${tX}deg)`
}

function playSpin(yes){
    oSpin.style.animationPlayState = (yes ? 'running' : 'paused')
}
summary
That's what we're going to share with you today. This article only briefly introduces the function and implementation of this special effect page, and attaches some code for your little buddies to learn. The code is not very mature, and you want to get people's advice.
(Note: Small partners who need all the source code can comment on the message!!)