Catalog
1. What is brightness and contrast
2. Brightness and Contrast Adjustment Principle
3. Brightness and Contrast Adjustment Code Implementation
1. Introduction of Gamma Correction
3. Gamma Correction Code Implementation
Preface
When we take pictures, we often need to adjust the beauty of the image by adjusting the brightness and contrast of the image to make our pictures more interesting.Especially girls, like to take some nice soap slices!
But if your boyfriend doesn't have the right angle, brightness and contrast, it's probably the scene of a big photo rollover.
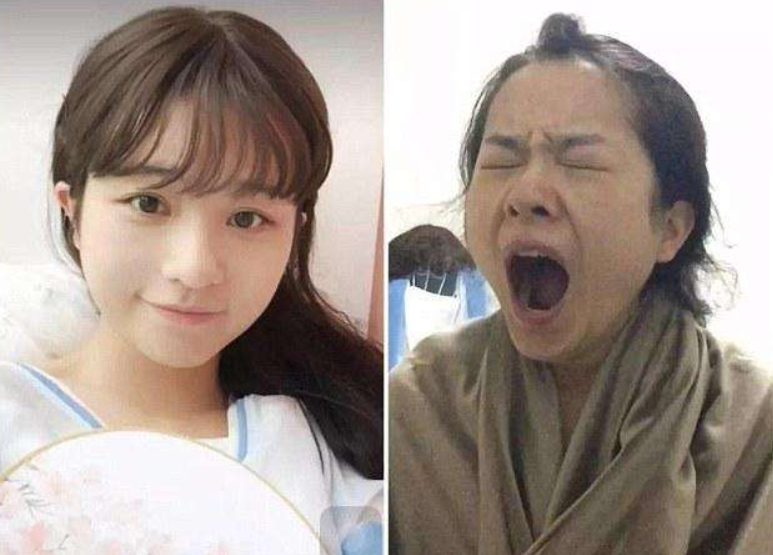 You in your eyes and in your boyfriend's eyes
Well, to get back to the point, if we don't consider the ugliness of the picture, we just want to adjust the brightness and contrast of the picture, or we can do it!Let's walk into today's content!
1. Brightness and Contrast
1. What is brightness and contrast
Brightness and contrast are actually concepts in image processing.We can adjust brightness and contrast by adjusting the display interface of the desktop computer.
Brightness refers to the brightness of the picture;
Contrast refers to the measurement of different levels of brightness between the brightest white and darkest black in the dark and light areas of an image, that is, the size of the gray contrast of an image.The larger the difference range represents the larger the contrast, the smaller the difference range represents the smaller the contrast. A good contrast ratio of 120:1 makes it easy to display vivid and rich colors. When the contrast ratio reaches 300:1, colors of all levels can be supported.
This is the definition of encyclopedia. How do we understand it?
Brightness is easy to understand, pictures in the sun are generally bright, and pictures at night are generally dark.We also often adjust the brightness of mobile phone screens and computer screens.
Contrast We often hear, from the comparison of two words, we can understand that the difference between two pixels is not big, the difference is not obvious.The higher the contrast, the wider the gap between the two pixels.In fact, it is the range that can be represented in color space. The wider the range, the stronger the contrast and the larger the contrast, the better the image will be displayed.If we take pictures of scenes, in a dark night when we can't reach out our fingers, without switching on the flash, we get a nearly pure black view, but if it's daytime, clear sky and bright sunshine, we'll take pictures again. The scenes are clear and very attractive.This is the difference between low contrast and high contrast.
2. Brightness and Contrast Adjustment Principle
So if we want to adjust the brightness and contrast, we are actually adjusting the pixel values.
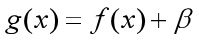
The brightness is actually adjusted by the size of each pixel. The larger the pixel value, the closer it is to white, the brighter it will be, the smaller the pixel value, and the closer it is to a black image, the darker it will be.So adjusting brightness actually adds a variable value to the pixel value. A positive variable value means brightening, a negative variable value means dimming.The formula is expressed as follows:
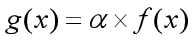
Contrast is adjusted by pixel differences. Generally speaking, the pixel differences between adjacent locations in the image are small. To enhance the contrast, we need to enlarge the difference by multiple. To reduce the contrast, we need to scale down.Therefore, to adjust the contrast is to add a multiple to the pixel value, a multiple greater than 1 means to enhance the contrast, and a multiple less than 1 means to reduce the contrast.The formula is expressed as follows:
We can adjust both brightness and contrast by using a uniform formula as follows:

3. Brightness and Contrast Adjustment Code Implementation
Understanding the principle, let's use code to implement it!f(x) in the formula above represents the original pixel, and g(x) represents the adjusted pixel.So we also need to use the image pixel pointer we talked about earlier to modify the pixel value. We need to consider whether we are modifying a three-channel color image or a gray image.
If it is a grayscale image, we modify it as follows:
	float f = src.at<uchar>(row, col);
	dst.at<uchar>(row, col) = saturate_cast<uchar>(f*alpha + beta);
If it is a color image, we need to modify the value of each channel:
	float b = m1.at<Vec3f>(row, col)[0];// blue
	float g = m1.at<Vec3f>(row, col)[1]; // green
	float r = m1.at<Vec3f>(row, col)[2]; // red

	dst.at<Vec3b>(row, col)[0] = saturate_cast<uchar>(b*alpha + beta);
	dst.at<Vec3b>(row, col)[1] = saturate_cast<uchar>(g*alpha + beta);
	dst.at<Vec3b>(row, col)[2] = saturate_cast<uchar>(r*alpha + beta);
For an image, we need to choose different ways according to its type, so we need to judge the number of channels in the image:
if (src.channels() == 3) {
	float b = m1.at<Vec3f>(row, col)[0];// blue
	float g = m1.at<Vec3f>(row, col)[1]; // green
	float r = m1.at<Vec3f>(row, col)[2]; // red

	dst.at<Vec3b>(row, col)[0] = saturate_cast<uchar>(b*alpha + beta);
	dst.at<Vec3b>(row, col)[1] = saturate_cast<uchar>(g*alpha + beta);
	dst.at<Vec3b>(row, col)[2] = saturate_cast<uchar>(r*alpha + beta);
}
else if (src.channels() == 1) {
	float f = src.at<uchar>(row, col);
	dst.at<uchar>(row, col) = saturate_cast<uchar>(f*alpha + beta);
}
With the core code for these implementations, we can iterate through all the pixel points to adjust the image.The code is as follows:
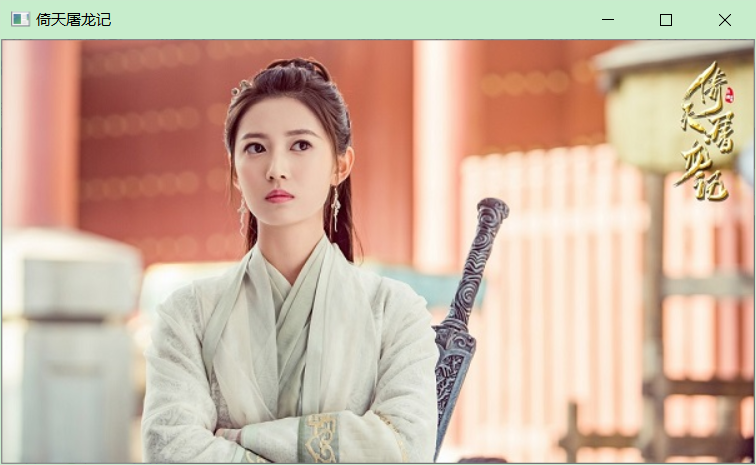
	Mat YT = imread("./image/YiTian1.jpg");
	if (!YT.data)
	{
		cout << "ERROR : could not load image.\n";
		return -1;
	}
	imshow("Slaughter Dragon by Heaven", YT);

	Mat new_YT = YT.clone();
	float alpha = 1.0; // Adjust Contrast
	float beta = -50;   // adjust brightness
	YT.convertTo(YT, CV_32F);
	for (int row = 0; row < YT.rows; row++) {
		for (int col = 0; col < YT.cols; col++) {
			if (YT.channels() == 3) {
				float b = YT.at<Vec3f>(row, col)[0];// blue
				float g = YT.at<Vec3f>(row, col)[1]; // green
				float r = YT.at<Vec3f>(row, col)[2]; // red

				new_YT.at<Vec3b>(row, col)[0] = saturate_cast<uchar>(b*alpha + beta);
				new_YT.at<Vec3b>(row, col)[1] = saturate_cast<uchar>(g*alpha + beta);
				new_YT.at<Vec3b>(row, col)[2] = saturate_cast<uchar>(r*alpha + beta);
			}
			else if (YT.channels() == 1) {
				float f = YT.at<uchar>(row, col);
				new_YT.at<uchar>(row, col) = saturate_cast<uchar>(f*alpha + beta);
			}
		}
	}
	imshow("be backed up by Heaven-adjust brightness", new_YT);
The results are as follows:
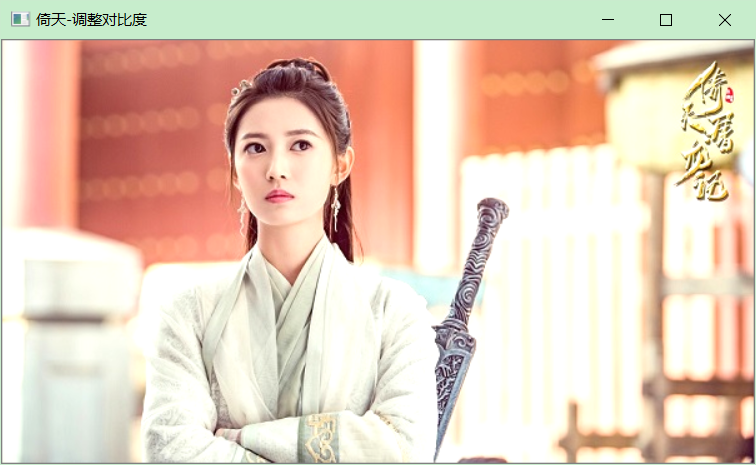 Adjust contrast: alpha = 1.2, beta = 0
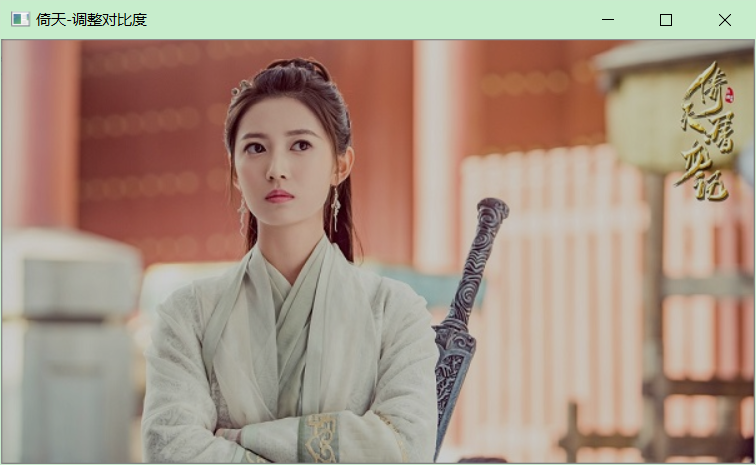 Adjust contrast: alpha = 0.8, beta = 0
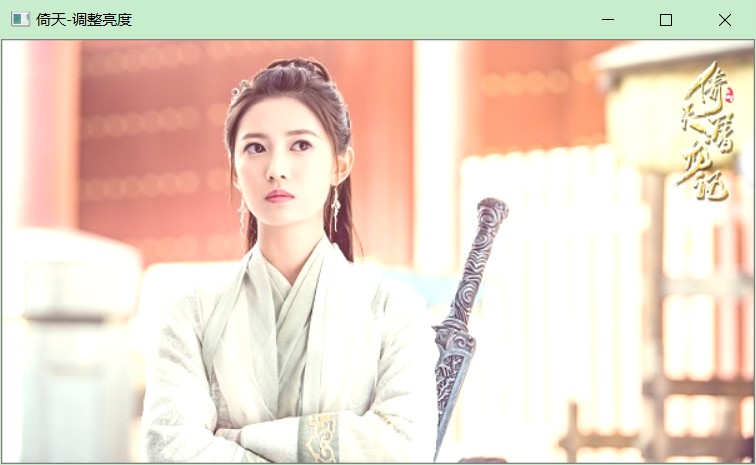 Adjust brightness: alpha = 1.0, beta = 50
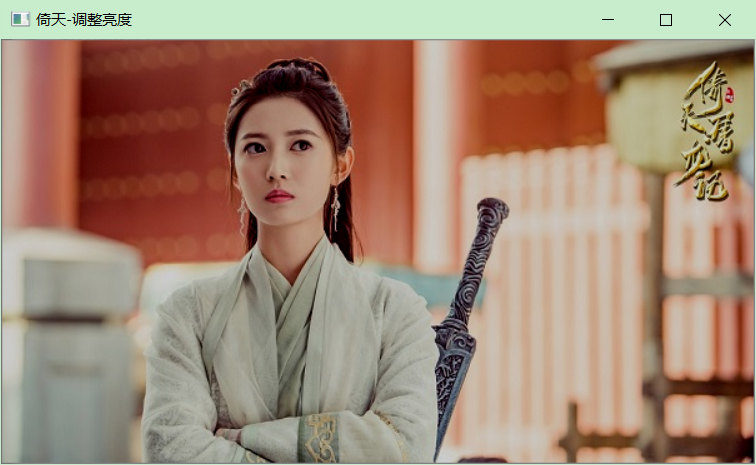 Adjust brightness: alpha = 1.0, beta = -50
4,API-convertScaleAbs
API-convertScaleAbs is provided in OpenCV to perform similar functions, which are:
Scale, calculate absolute values, and convert results to 8 bits.
The API s are as follows:
void convertScaleAbs(
    InputArray src,
    OutputArray dst,
    double alpha = 1,
    double beta = 0
);
The parameters have the following meanings:
(1) src of InputArray type, input image.
(2) OutputArray type dst, output image.
(3) alpha of double type, optional scale factor.
(4) beta of type double, an optional increment added to the zoom value.
Lift a chestnut:
	Mat YT = imread("./image/YiTian1.jpg");
	if (!YT.data)
	{
		cout << "ERROR : could not load image.\n";
		return -1;
	}
	imshow("Slaughter Dragon by Heaven", YT);

        Mat YT_convertScaleAbs;

	convertScaleAbs(YT, YT_convertScaleAbs,1.9,-50);
	imshow("Slaughter Dragon by Heaven-convertScaleAbs", YT_convertScaleAbs);
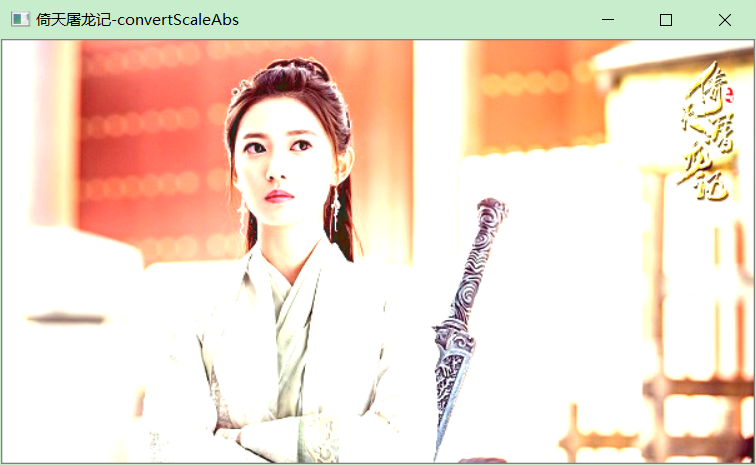 Adjusted image
2. Gamma Correction
1. Introduction of Gamma Correction
We used a linear method to adjust the brightness and contrast of the image before. After adjusting, the effect may not be so ideal, after all, "straight man" is too straight!
So we need to consider the non-linear adjustment to see if it is non-linear, what effect will it have?
This is the gamma correction that we will talk about next.
2. Gamma Correction Principle
The mathematical formula for gamma correction is simple:
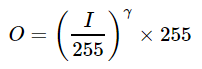
I represents the input image, O represents the output image, and gamma is a parameter. We can get different results by adjusting different gamma:
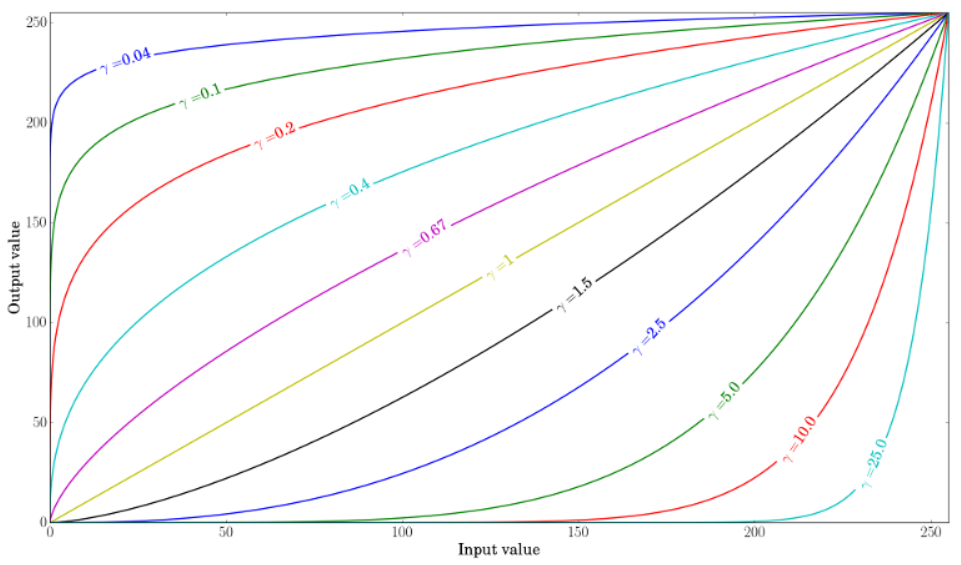 Drawing of different gamma values
3. Gamma Correction Code Implementation
Understanding the formula is easy to implement:
if (YT.channels() == 3) {
	float b = YT.at<Vec3f>(row, col)[0];// blue
	float g = YT.at<Vec3f>(row, col)[1]; // green
	float r = YT.at<Vec3f>(row, col)[2]; // red

	new_YT.at<Vec3b>(row, col)[0] = saturate_cast<uchar>(pow(b / 255.0, gamma) * 255.0);
	new_YT.at<Vec3b>(row, col)[1] = saturate_cast<uchar>(pow(g / 255.0, gamma) * 255.0);
	new_YT.at<Vec3b>(row, col)[2] = saturate_cast<uchar>(pow(r / 255.0, gamma) * 255.0);
}
else if (YT.channels() == 1) {
	float f = YT.at<uchar>(row, col);
	new_YT.at<uchar>(row, col) = saturate_cast<uchar>(pow(f / 255.0, gamma) * 255.0);
}
With the core code for these implementations, we can iterate through all the pixel points to adjust the image.The code is as follows:
Mat YT = imread("./image/YiTian1.jpg");
if (!YT.data)
{
cout << "ERROR : could not load image.\n";
return -1;
}
imshow("Slaughter Dragon by Heaven", YT);
Mat new_YT = YT.clone();
YT.convertTo(YT, CV_32F);
float gamma = 1.6;
for (int row = 0; row < YT.rows; row++) {
for (int col = 0; col < YT.cols; col++) {
if (YT.channels() == 3) {
float b = YT.at<Vec3f>(row, col)[0];// blue
float g = YT.at<Vec3f>(row, col)[1]; // green
float r = YT.at<Vec3f>(row, col)[2]; // red
new_YT.at<Vec3b>(row, col)[0] = saturate_cast<uchar>(pow(b / 255.0, gamma) * 255.0);
new_YT.at<Vec3b>(row, col)[1] = saturate_cast<uchar>(pow(g / 255.0, gamma) * 255.0);
new_YT.at<Vec3b>(row, col)[2] = saturate_cast<uchar>(pow(r / 255.0, gamma) * 255.0);
}
else if (YT.channels() == 1) {
float f = YT.at<uchar>(row, col);
new_YT.at<uchar>(row, col) = saturate_cast<uchar>(pow(f / 255.0, gamma) * 255.0);
}
}
}
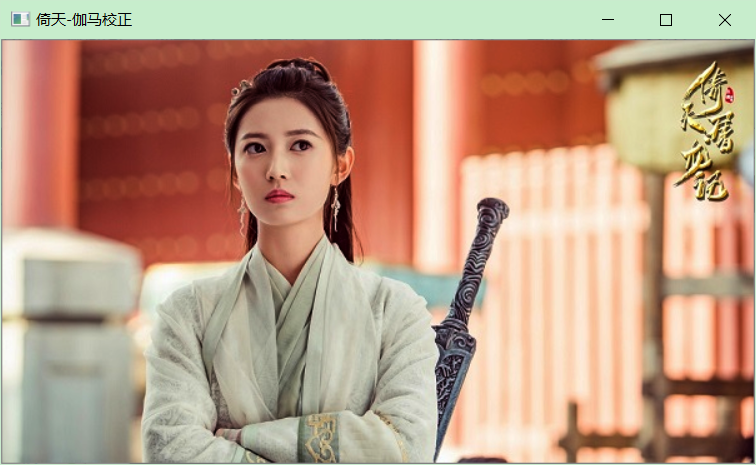
imshow("be backed up by Heaven-Gamma correction", new_YT);The results are as follows:
That's all we're talking about today. You need to do more exercises to get a deeper mastery!