[introduction to TLAIP series] ten lines AI projects
At this stage, there are many excellent open source AI projects. In order to have better scalability, the interface is often designed very complex, which requires a certain amount of time and energy to deal with. It may take a long time for unfamiliar or novice partners. The starting point of this series design is also very pure. It further reduces the time for small partners to select and use wheels, so that more small partners can quickly verify the effect of the algorithm. When the algorithm meets the effect, take a look. If you are not satisfied, you can directly look at the next one. If you have any questions or suggestions, please feel free to comment. The ten lines of code in the current series will be carried out in the following way:
import  crux py
1.Define input
2.Network initialization configuration
3.Start running and output results
4.Visualization results
It contains spaces and some necessary instructions. It is estimated that it is exactly ten lines. Ha ha ha (no less, no less my obsessive-compulsive disorder).
If you encounter any awesome AI projects or projects that you don't want to run but look good at first glance, you are welcome to leave a message. You can sort them into this project when you are free. It can be run with one key without complicated use process.
[text]
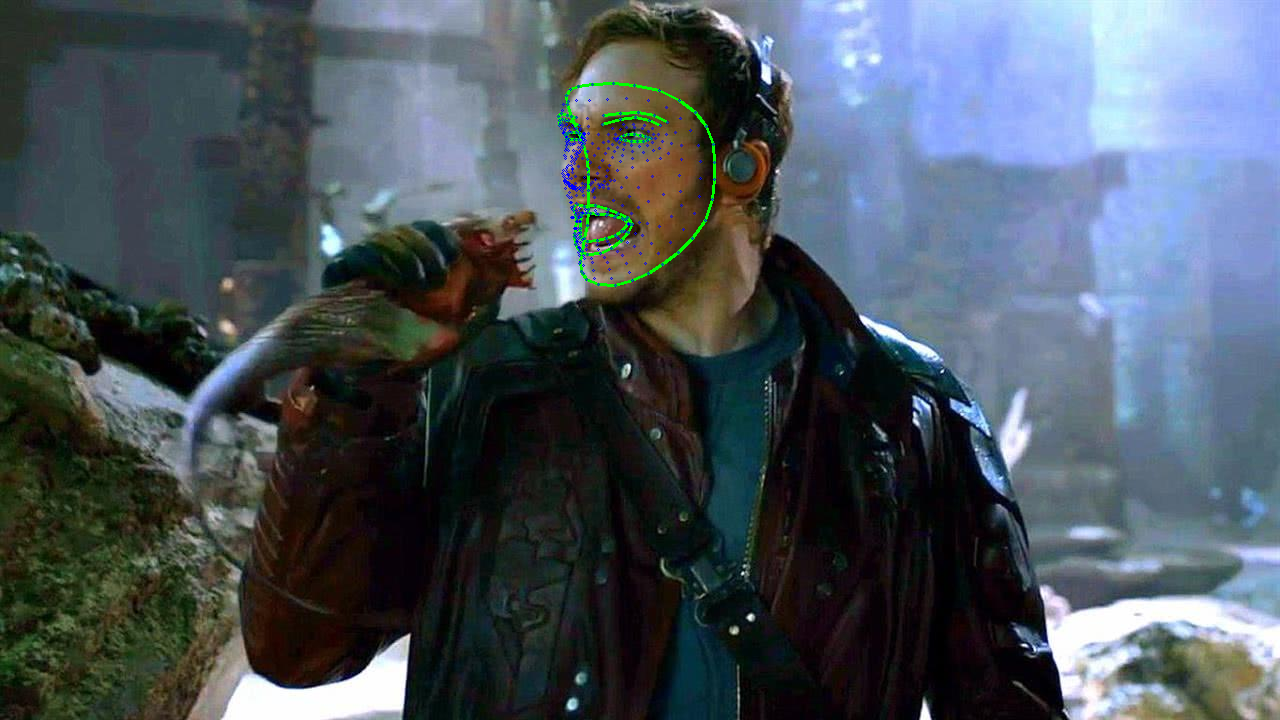
The protagonist of this paper is still Google's famous MediaPipe. Compared with the previous human body, there are many more application scenarios for face key point positioning. In addition to intuitively positioning to all parts of the face, it has a large number of applications in face changing, AR special effects, and even bank face authentication. Face related algorithms have the most landing scenes among the known algorithms. Similarly, this warehouse is also very suitable for entry. It is customary to put the results first (please drag the complete warehouse code and test videos and pictures directly to the end):

Based on this algorithm, many AR special effects can be completed (which requires art resources. The figure is the schematic diagram of Google's official website)

Ten lines of key code
Just ten lines, not many lines. You can find that the ten lines of code in this series are basically the same, clam clam.
from utils.face_mesh_mediapipe import InputData, InitFaceTracker, ShowResult

# Initialize the input source. File supports digital (camera) and video file path, picture path or folder path
input_data = InputData("test/face_tracking.mp4")  # input_data = InputData("test/imgs")
# Initialize face key tracking tracker
pose_track = InitFaceTracker(use_static_mode=input_data.use_img_list, faces_num=2)
# generator for obtaining images and results
run_pose_result = pose_track.run_face_tracking(input_data.get_next_img())
# When the result is displayed, ESC exits and the picture mode continues by pressing any key
ShowResult(input_data.wait_key).show_result(run_pose_result)
The configurations marked in red below are different from those in the previous articles.
InputData is used to process various inputs. At present, it is compatible with the following inputs (is it very good):
- For the system camera, enter the camera number, such as InputData(file=0)
- For a video file, enter the video path, such as InputData(file="test/hand_tracking.mp4")
- Just enter a picture path, such as InputData(file="test/imgs/0.jpg")
- For a directory containing many images, enter the directory path, such as InputData(file="test/imgs")
Initfacettracker is used to initialize the network. The main parameters are as follows:
- use_static_mode picture model or video mode. If it is a picture, the detection algorithm will be run first, otherwise it will be tracked directly
- faces_num is used to control the number of face detection
- detect_conf detects the confidence of the network (0.5 by default, generally not changed)
- track_conf the confidence level of the tracking network (0.5 by default, generally not changed)
ShowResult is used to visualize the results
- waitkey_mode is 1 by default, and the displayed video will be refreshed; Entering 0 will block the image display. Press any key to continue
Environment configuration and instructions
Configure conda (optional)
conda create -n mediapipe python=3.6
conda activate mediapipe
Install the necessary dependent packages
pip install opencv-python
pip install mediapipe==0.8.3
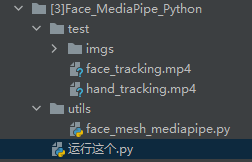
After configuring the environment, run "run this. py" directly
Function code analysis
Mediepipe is well encapsulated, which is basically the same as the code of hand tracking in the previous article (you can directly jump to the last to download the source code and test video). Some of the codes mentioned before will not be repeated, but mainly focus on some key configurations.
Network initialization module initfacettracker
Other configurations are consistent with hand tracking, faces_num is used to control the upper limit of face detection in the picture. You can refer to the following code:
class InitFaceTracker:
    def __init__(self, use_static_mode=False, detect_conf=0.5, track_conf=0.5, faces_num=2):
        self.use_static_mode = use_static_mode
        self.detect_conf = detect_conf
        self.track_conf = track_conf
        self.faces_num = faces_num
        self.face = None
        self.init_network()

    def init_network(self):
        self.face = mp.solutions.face_mesh.FaceMesh(
            static_image_mode=self.use_static_mode,
            max_num_faces=self.faces_num,
            min_detection_confidence=0.5,
            min_tracking_confidence=0.5)
        print("init hand tracking down")

    def run_face_tracking(self, get_nex_img):
        while True:
            img_origin = next(get_nex_img)
            if img_origin is None:
                yield [None, None]
                break
            img = cv2.cvtColor(img_origin, cv2.COLOR_BGR2RGB)
            yield [img_origin, self.face.process(img)]
Actual operation results and simple comments
Input InputData("test/face_tracking.mp4") under configuration, and you can directly see the effect:
The completion degree of face mesh is really high. It is better in a considerable number of open source face algorithms. The effect should be very good if some necessary filters are added in the actual project implementation.

Reuse the video in hand tracking. The key points are still very clear and stable.

Expand reading
If you want to try further after seeing the effect, you can carefully study the following two links
- MediaPipe https://github.com/google/mediapipe
- Official documentation Face Mesh - mediapipe
Write at the end
List of previous tlaips:
AI ten line code warehouse address (the most important →) link , the follow-up functions will also be updated here. You are welcome to make suggestions or requirements. Ha ha, all the codes and resources related to this article can also be found here Download here.
If the article is a little helpful to you, please have a three company (crazy hint).
