Alicloud (CentOS7.4) installs MySQL and connects MySQL locally and remotely
Install MySQL using yum
Step 1: check whether mysql exists on this machine
rpm -qa | grep mysql
yum info mysql-community-server
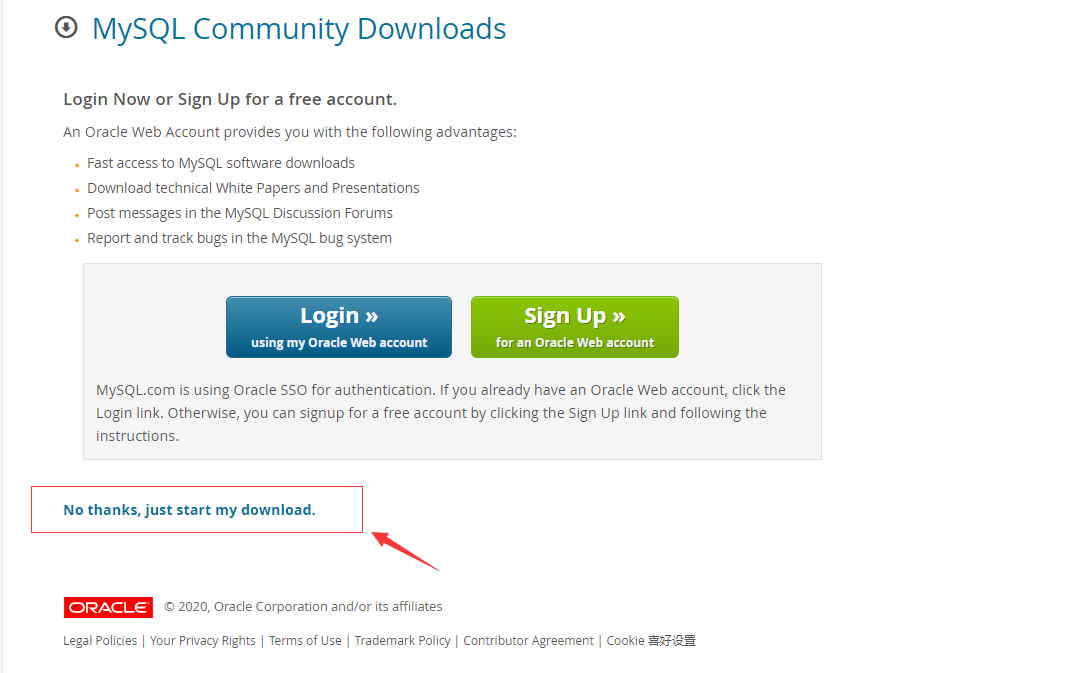
Step 2: copy the download address of Yum community mysql on the official mysql website
https://dev.mysql.com/downloads/

https://dev.mysql.com/downloads/file/?id=484922
Step 3: install MySQL community server
rpm -Uvh https://dev.mysql.com/get/mysql80-community-release-el7-3.noarch.rpm
Step 4: check the MySQL community server information again
yum info install mysql-community-server

Loaded plugins: fastestmirror
mysql-connectors-community                                                                                                      | 2.6 kB  00:00:00
mysql-tools-community                                                                                                           | 2.6 kB  00:00:00
mysql80-community                                                                                                               | 2.6 kB  00:00:00
(1/3): mysql-connectors-community/x86_64/primary_db                                                                             |  68 kB  00:00:00
(2/3): mysql-tools-community/x86_64/primary_db                                                                                  |  83 kB  00:00:00
(3/3): mysql80-community/x86_64/primary_db                                                                                      | 128 kB  00:00:00
Loading mirror speeds from cached hostfile
Available Packages
Name        : mysql-community-server
Arch        : x86_64
Version     : 8.0.22
Release     : 1.el7
Size        : 510 M
Repo        : mysql80-community/x86_64
Summary     : A very fast and reliable SQL database server
URL         : http://www.mysql.com/
License     : Copyright (c) 2000, 2020, Oracle and/or its affiliates. Under GPLv2 license as shown in the Description field.
Description : The MySQL(TM) software delivers a very fast, multi-threaded, multi-user,
            : and robust SQL (Structured Query Language) database server. MySQL Server
            : is intended for mission-critical, heavy-load production systems as well
            : as for embedding into mass-deployed software. MySQL is a trademark of
            : Oracle and/or its affiliates
            :
            : The MySQL software has Dual Licensing, which means you can use the MySQL
            : software free of charge under the GNU General Public License
            : (http://www.gnu.org/licenses/). You can also purchase commercial MySQL
            : licenses from Oracle and/or its affiliates if you do not wish to be bound by the terms of
            : the GPL. See the chapter "Licensing and Support" in the manual for
            : further info.
            :
            : The MySQL web site (http://www.mysql.com/) provides the latest news and
            : information about the MySQL software.  Also please see the documentation
            : and the manual for more information.
            :
            : This package includes the MySQL server binary as well as related utilities
            : to run and administer a MySQL server.
Step 5: install MySQL: we installed MySQL 8 Version 0.22
yum -y install mysql-community-server
Step 6: check the status of MySQL and start MySQL (here is the instruction of CentOS 7.4)
//Check the status of MySQL
systemctl status mysqld
//Start MySQL
systemctl start mysqld
Step 7: check the temporary password and reset the root password
//View the temporary password of the root account
grep "temporary password" /var/log/mysqld.log
//Reset the root password
//Note: the initial security level of passwords above MySQL 8 is medium: the password needs to be set to at least 8 digits, including uppercase letters and special characters
mysqladmin -u root -p password
 Enter the temporary password above first,Then enter the new password you set,Confirm the password at the same time
Step 8: at this time, you can use your root account and password to log in to MySQL
mysql -u root -p
 Input password: Your password
 Login succeeded!!!
Remote connection to Alibaba cloud MySQL database
1. Give the account remote login permission
MySQL only allows users to log in locally by default, and all users need to be given remote login permission. Go to MySQL,
mysql> grant all privileges on *.* to 'user'@'ip' identified by 'password' with grant option;
mysql> flush privileges;
In the first sentence,*.*Represents all library tables. If you want to give all IP jurisdiction,"ip"Write“%",So the first sentence sql Giving means giving from all IP Address through "user",
"The user logged in with "password" has all operation permissions on all library tables.
Second sentence sql,Refresh permissions.
Then restart again MySQL take effect systemctl restart mysql
Note: MySQL version 8 or above does not support the above writing method. You need to follow the following command:
CREATE USER 'root'@'%' IDENTIFIED BY 'Your password';
GRANT ALL ON *.* TO 'root'@'%';
ALTER USER 'root'@'%' IDENTIFIED WITH mysql_native_password BY 'Your password';
After the three commands are executed in sequence, refresh the permissions:
flush privileges
Finally, restart MySQL to take effect
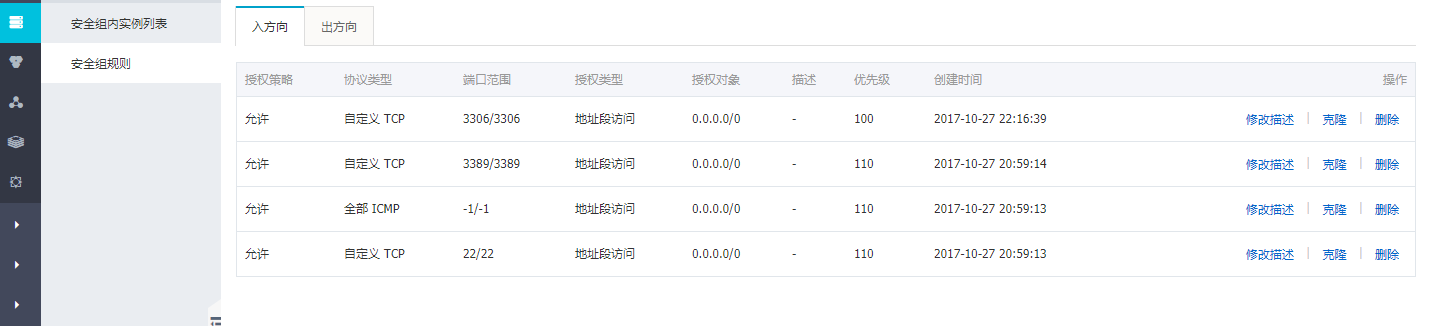
2. Check firewall
Whether the server has opened the firewall and whether the firewall allows 3306 port connection
Log in to ECS console - > Security Group - > configuration rules. By default, only ports 3389, 22 and - 1 are allowed to access Alibaba cloud in the incoming direction, so adding 3306 can succeed
The following error occurs when logging in to MySQL. Solutions
ERROR 1045 (28000): Access denied for user 'root'@'localhost' (using password)
This problem is usually caused by resetting the password, so we need to reset the password according to the following steps
Step 1: find my The location of CNF file, my The CNF file is in the / etc directory
Add the following code under [mysqld]
//Skip password to login directly
skip-grant-tables
Step 2: we log in to MySQL directly. At this time, we can log in successfully without a password
//1. Log in to MySQL
mysql -u root
//2. Reset and modify the password of the root account
mysql>alter user 'root'@'localhost' identitfied by 'The password you want to set';
If 1290 ERROR,use flush privileges Command to refresh the permissions and then perform the above operations
//3. Finally, refresh the permission
mysql>flush privileges
mysql>quit
//4. Set / etc / my Delete skip grant tables in CNF
//5. Restart mysql
systemctl restart mysqld
At this time, log in with your root account and the newly reset password, and then log in directly and perfectly!