To access Alexa's API, you must carry AccessToken, that is, you must login authorization. This paper mainly records the login authorization process of Amazon Alexa on Android platform.
1. Registering Applications on Amazon Developer Platform
Enter the Alexa column of Amazon Developer Platform
https://developer.amazon.com/edw/home.html#/
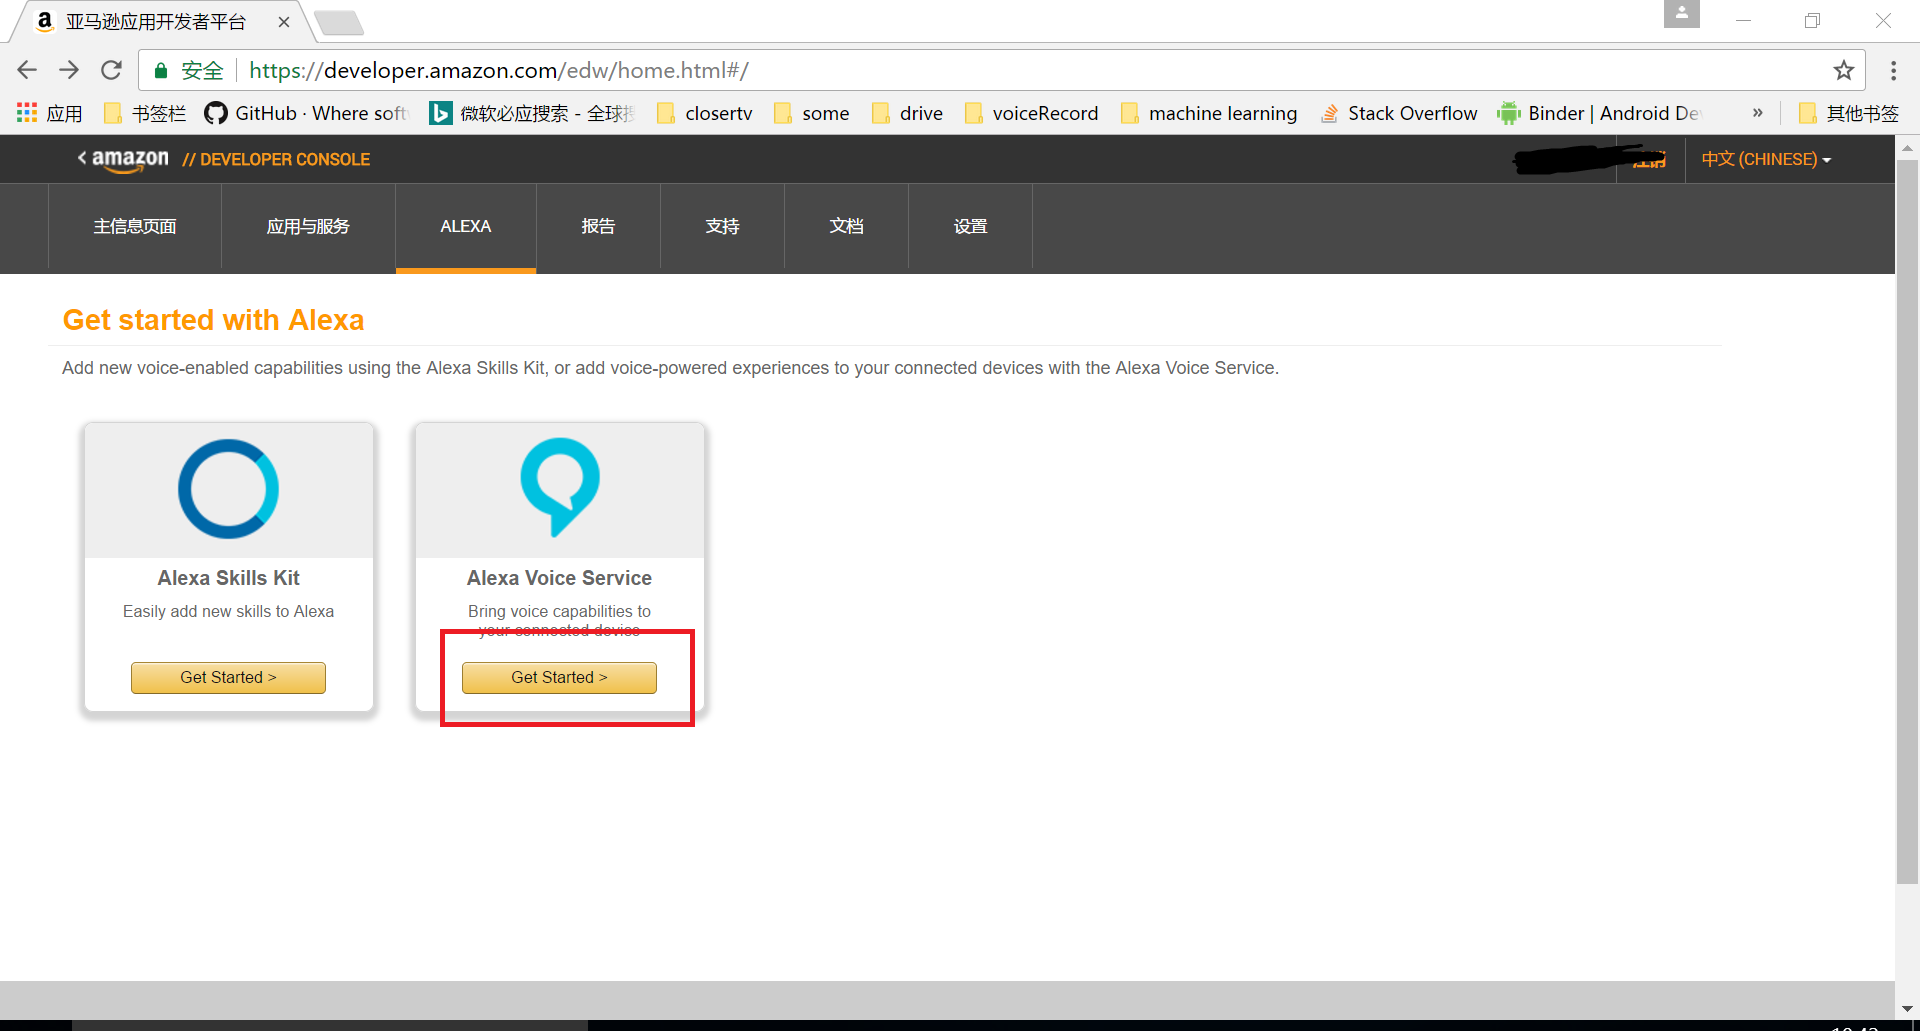
Click Get Started of Alexa Voice Service to go to the application management page

Choose to register a product, I choose the application here, and then start filling in the relevant information.
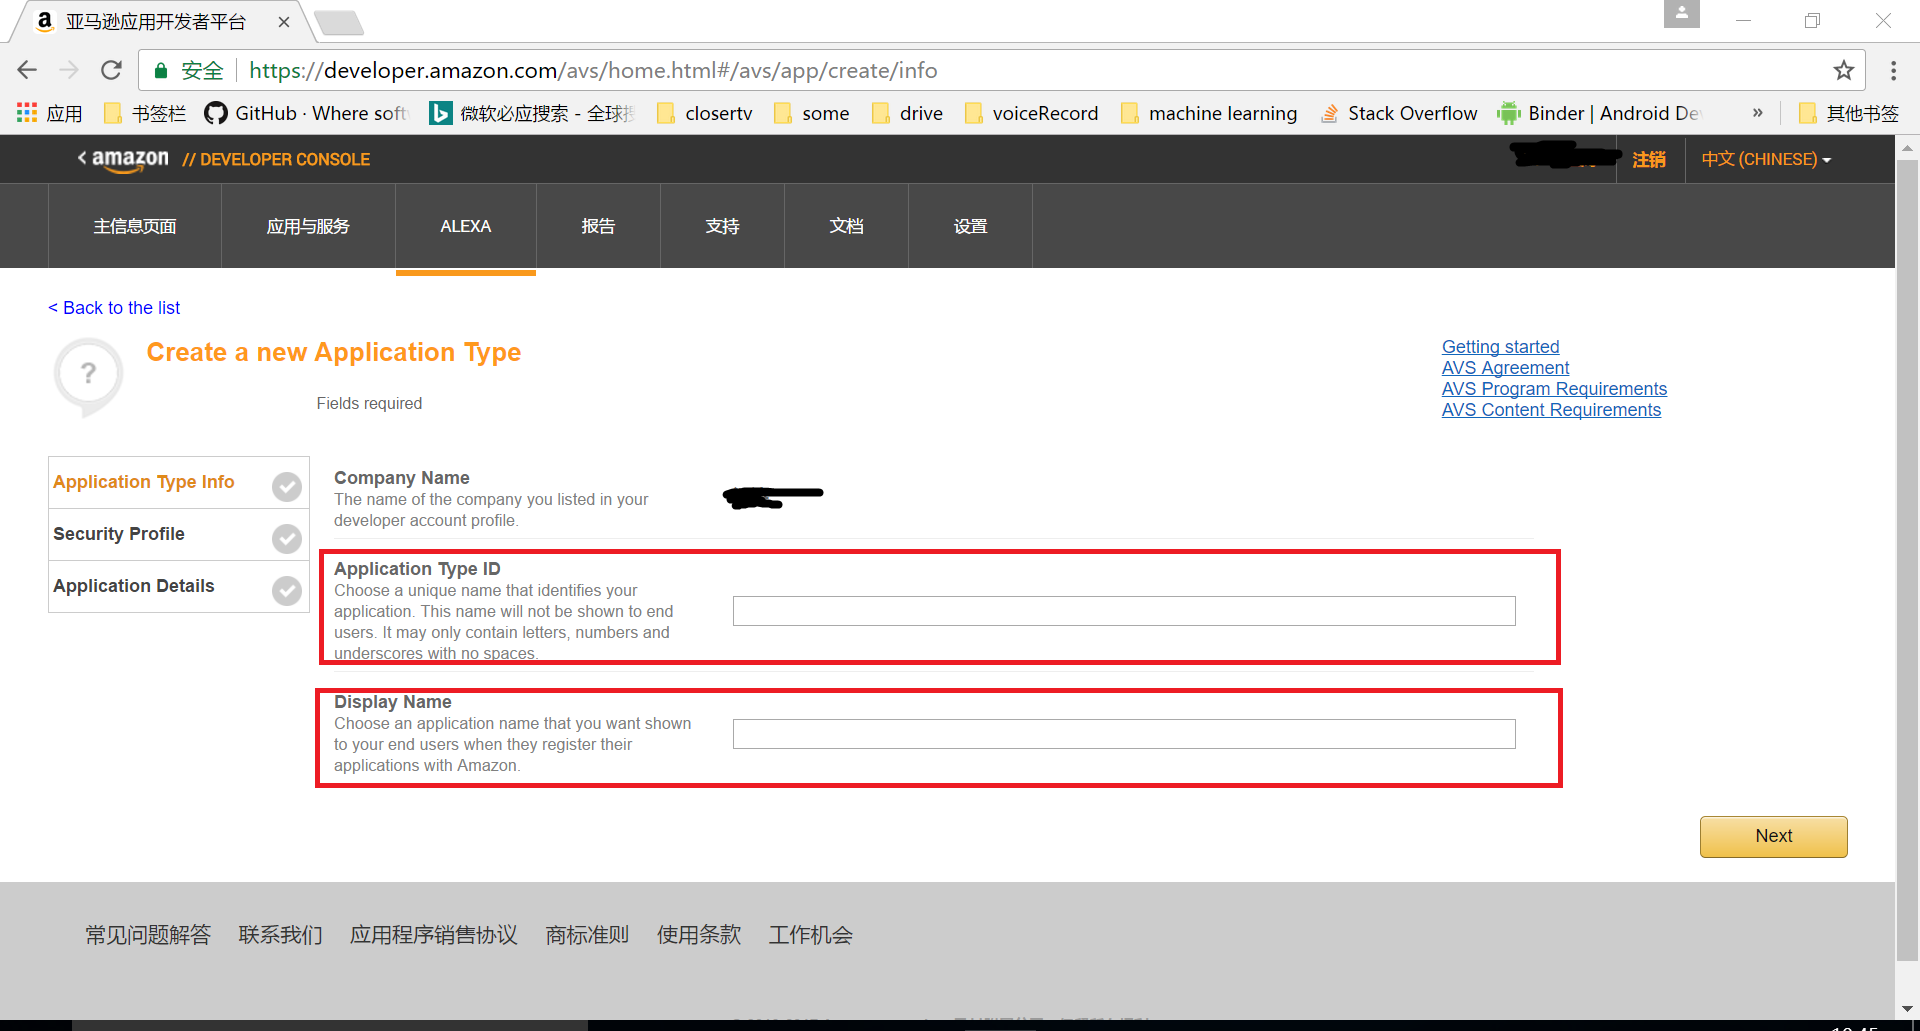
Here the Application Type ID must be unique, and it needs to be remembered. This id needs to be added to the code. Display Name is the name that the user will see when authorized. Fill in and move on to the next step
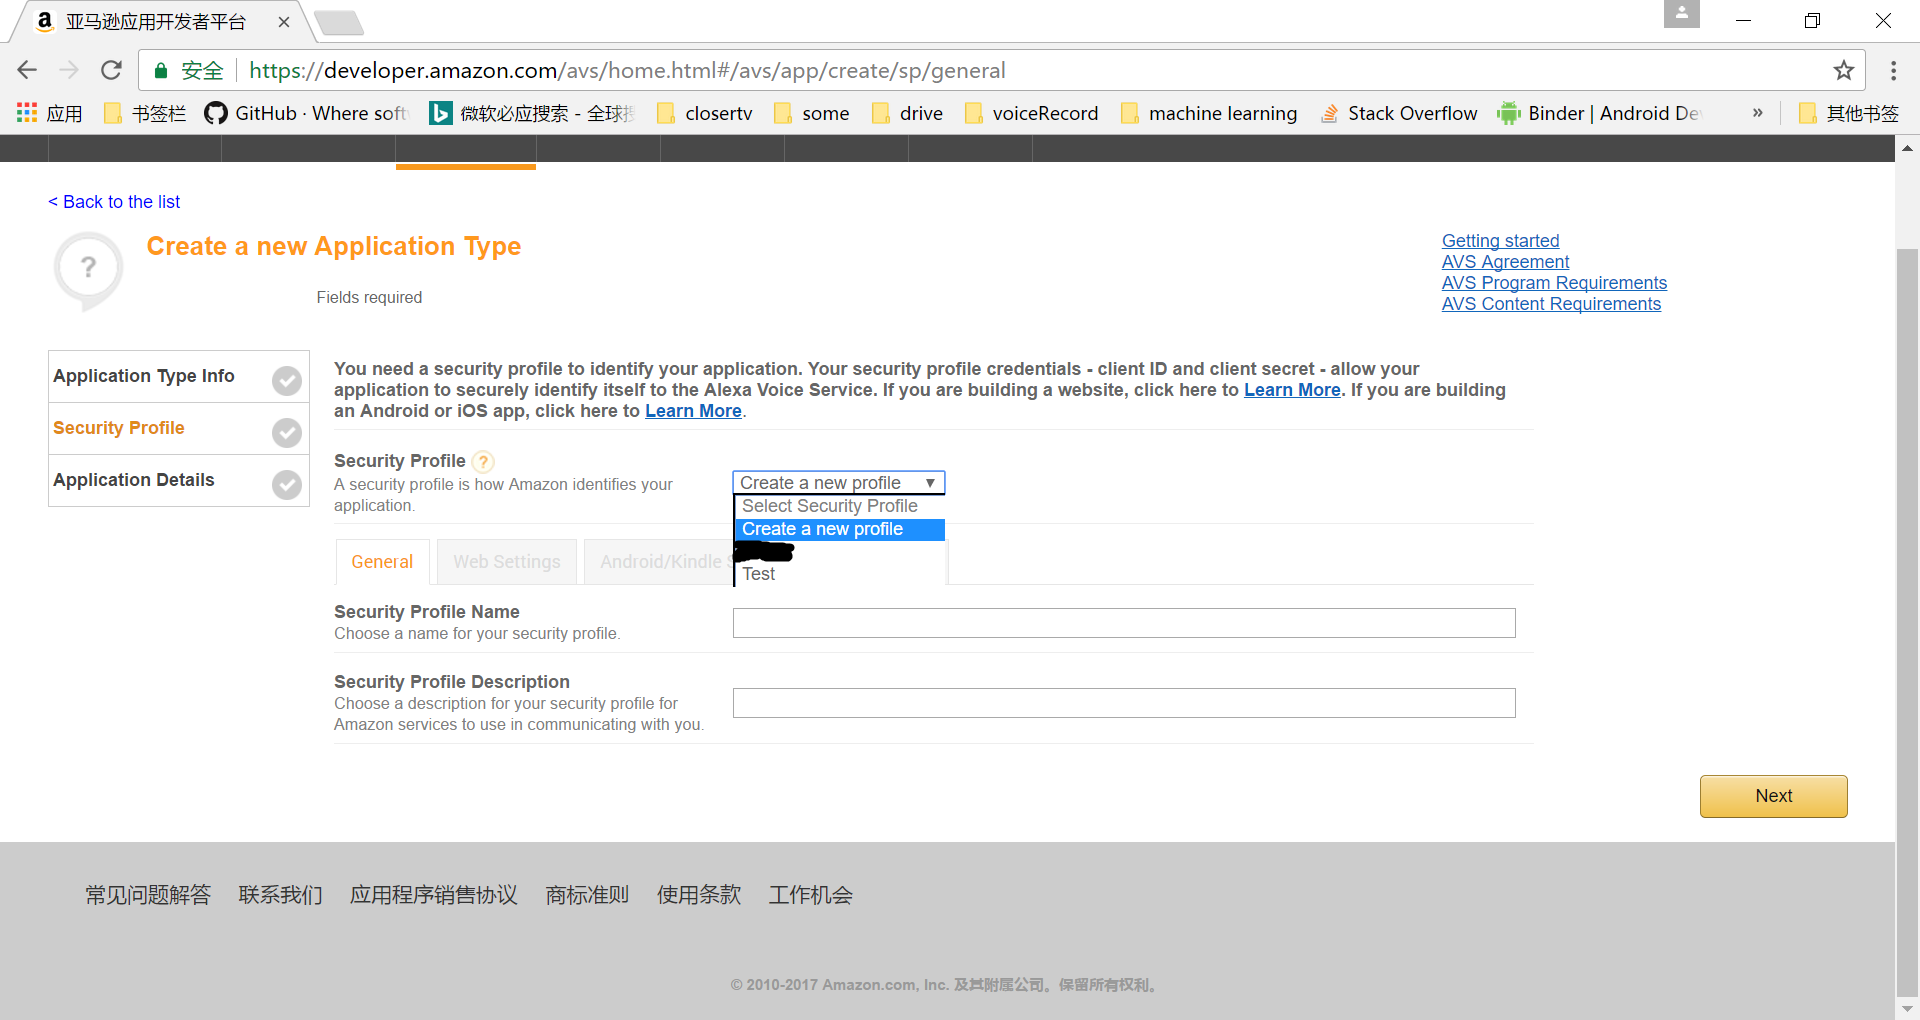
To create a Profile, Profile should be the information to be checked when login authorization. Here, choose a new one, fill in the information and enter next.
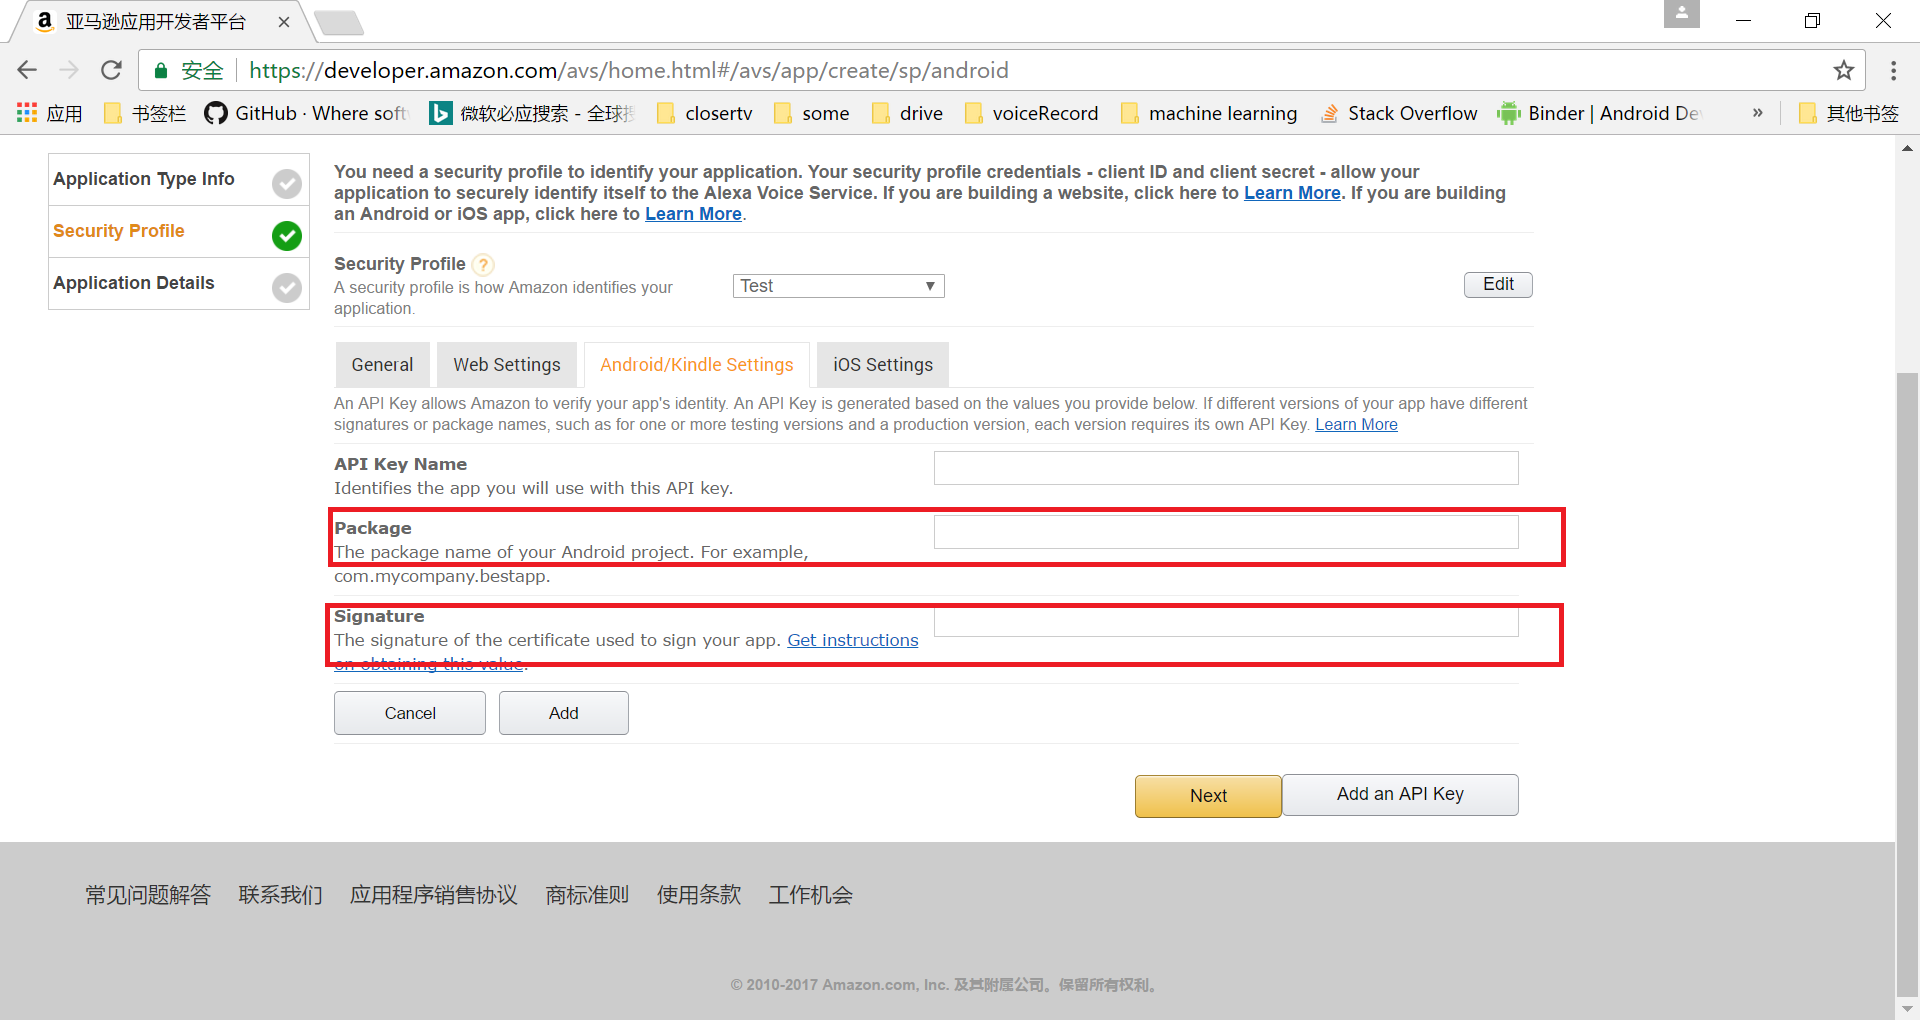
Select the Android/Kindle Settings column and fill in the relevant information. Package and ignition are the key to verification. Package is the package name of the actual Android project, Signature is the MD5 value of the signature, and debug stage also needs a debug signature.
Generate signatures:
keytool -genkey -alias xxx -keyalg RSA -validity 20000 -keystore yyy.keystore
xxx: alias of keystore
20000: Number of days available for keystore
yyy.keystore: The name of keystore
View signature information:
keytool -list -v -alias <xxx> -keystore <yyy.keystore>
After filling in, click add, and a key will be generated.
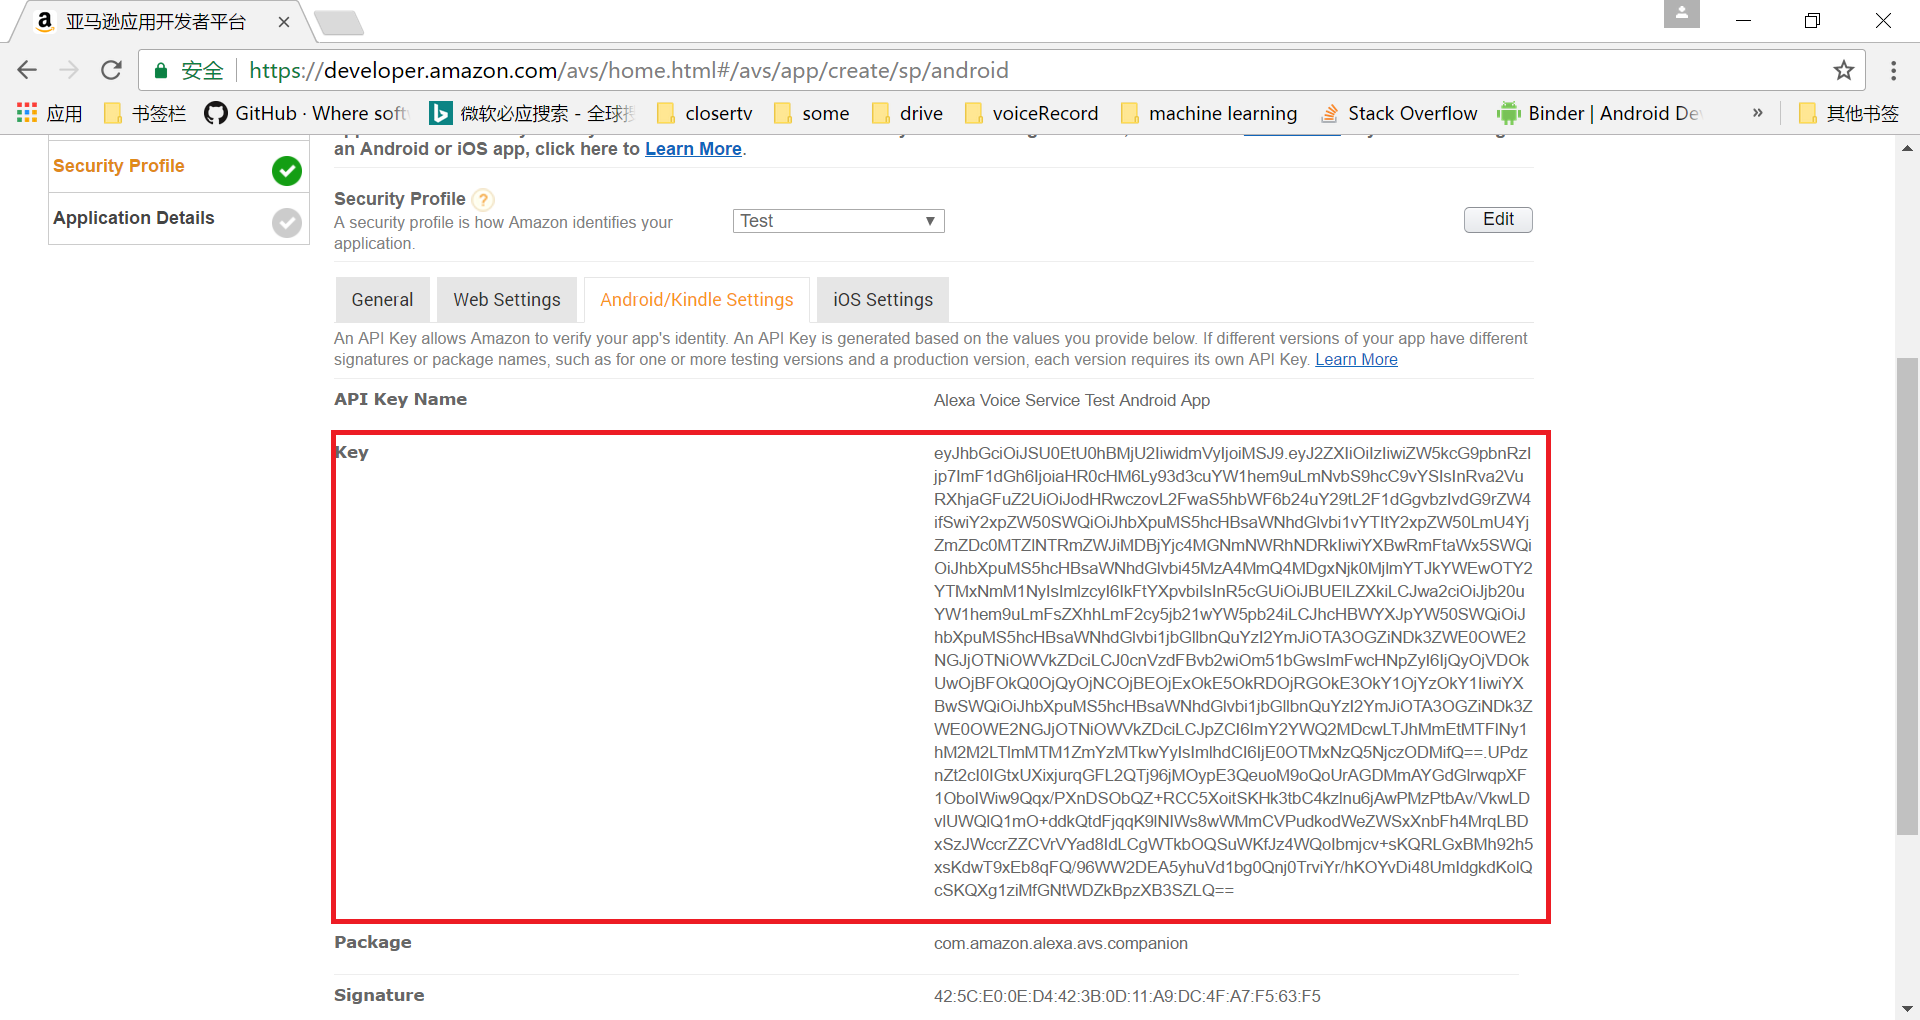
This key is very important and needs to be imported into the Android project. See the following section for specific imports. After the completion of the information project, we need to add the relevant code in the Android project.
Add login authorization related code to Android Project
1. Download login with Amazon sdk, download address: https://developer.amazon.com/sdk-download, download and add to the project.
2. Increase network access rights in manifest
<uses-permission android:name="android.permission.INTERNET"/>
<uses-permission android:name="android.permission.ACCESS_NETWORK_STATE"/>
3. Declare Workflow Activity in manifest
<activity android:name="com.amazon.identity.auth.device.workflow.WorkflowActivity" android:theme="@android:style/Theme.NoDisplay"
android:allowtaskreparenting="true" android:launchmode="singleTask">
   <intent-filter>
      <action android:name="android.intent.action.VIEW">
      <category android:name="android.intent.category.DEFAULT">
      <category android:name="android.intent.category.BROWSABLE">
      <!-- android:host must use the full package name found in Manifest General Attributes -->
      <data android:host="${applicationId}" android:scheme="amzn">
   </intent-filter>
</activity>
4. Add Key
Create a new api_key.txt file in the assets directory with the key in the previous profile
5. Increase the code related to login authorization
private RequestContext requestContext;@Override
protected void onCreate(Bundle savedInstanceState) {
super.onCreate(savedInstanceState);
requestContext = RequestContext.create(this);
requestContext.registerListener(new AuthorizeListener() {
/* Authorization was completed successfully. */
@Override
public void onSuccess(AuthorizeResult result) {
/* Your app is now authorized for the requested scopes */
// result.getAccessToken is the required AccessToken
    }

    /* There was an error during the attempt to authorize the
       application. */
    @Override
    public void onError(AuthError ae) {
        /* Inform the user of the error */
    }

    /* Authorization was cancelled before it could be completed. */
    @Override
    public void onCancel(AuthCancellation cancellation) {
        /* Reset the UI to a ready-to-login state */
    }
});
View loginButton = findViewById(R.id.login_with_amazon); loginButton.setOnClickListener(new View.OnClickListener() {
@Override
public void onClick(View v) {
final JSONObject scopeData = new JSONObject();
final JSONObject productInstanceAttributes = new JSONObject();
try {
productInstanceAttributes.put("deviceSerialNumber", Settings.Secure.getString(getContentResolver(),
Settings.Secure.ANDROID_ID));
scopeData.put("productInstanceAttributes", productInstanceAttributes);
scopeData.put("productID", PRODUCT_ID); //Here PRODUCT_ID is the Application ID previously applied for.
AuthorizationManager.authorize(new AuthorizeRequest.Builder(requestContext)
.addScope(ScopeFactory.scopeNamed("alexa:all", scopeData))
.forGrantType(AuthorizeRequest.GrantType.ACCESS_TOKEN)
.shouldReturnUserData(false)
.build());
} catch (JSONException e) {
Log.e(TAG,"JSONException = "+e);
}
});
}@Override protected void onResume() { super.onResume(); requestContext.onResume(); }
@Override
protected void onStart(){ super.onStart();
Scope[] scopes = { ALEXA_ALL_SCOPE };
AuthorizationManager.getToken(this, scopes, new Listener<AuthorizeResult, AuthError>() {

    @Override
    public void onSuccess(AuthorizeResult result) {
        if (result.getAccessToken() != null) {//It's just what you need. AccessToken
/* The user is signed in */
} else {
/* The user is not signed in */
} }
@Override
public void onError(AuthError ae) {
/* The user is not signed in */
} }); }
The code is relatively simple and easy to understand. See also for details.
https://developer.amazon.com/public/apis/engage/login-with-amazon/docs/use_sdk_android.html