Welcome to my GitHub
https://github.com/zq2599/blog_demos
Content: classification and summary of all original articles and supporting source code, involving Java, Docker, Kubernetes, DevOPS, etc;
Overview of this article
- This article records the process of setting up TensorFlow2 development environment on Ubuntu 16.04.7 LTS for reference during future reinstallation
- The hardware is the HP dark spirit 3rd generation graphics card GTX1060 purchased in 2018, and the Ubuntu 16 lts desktop version has been installed
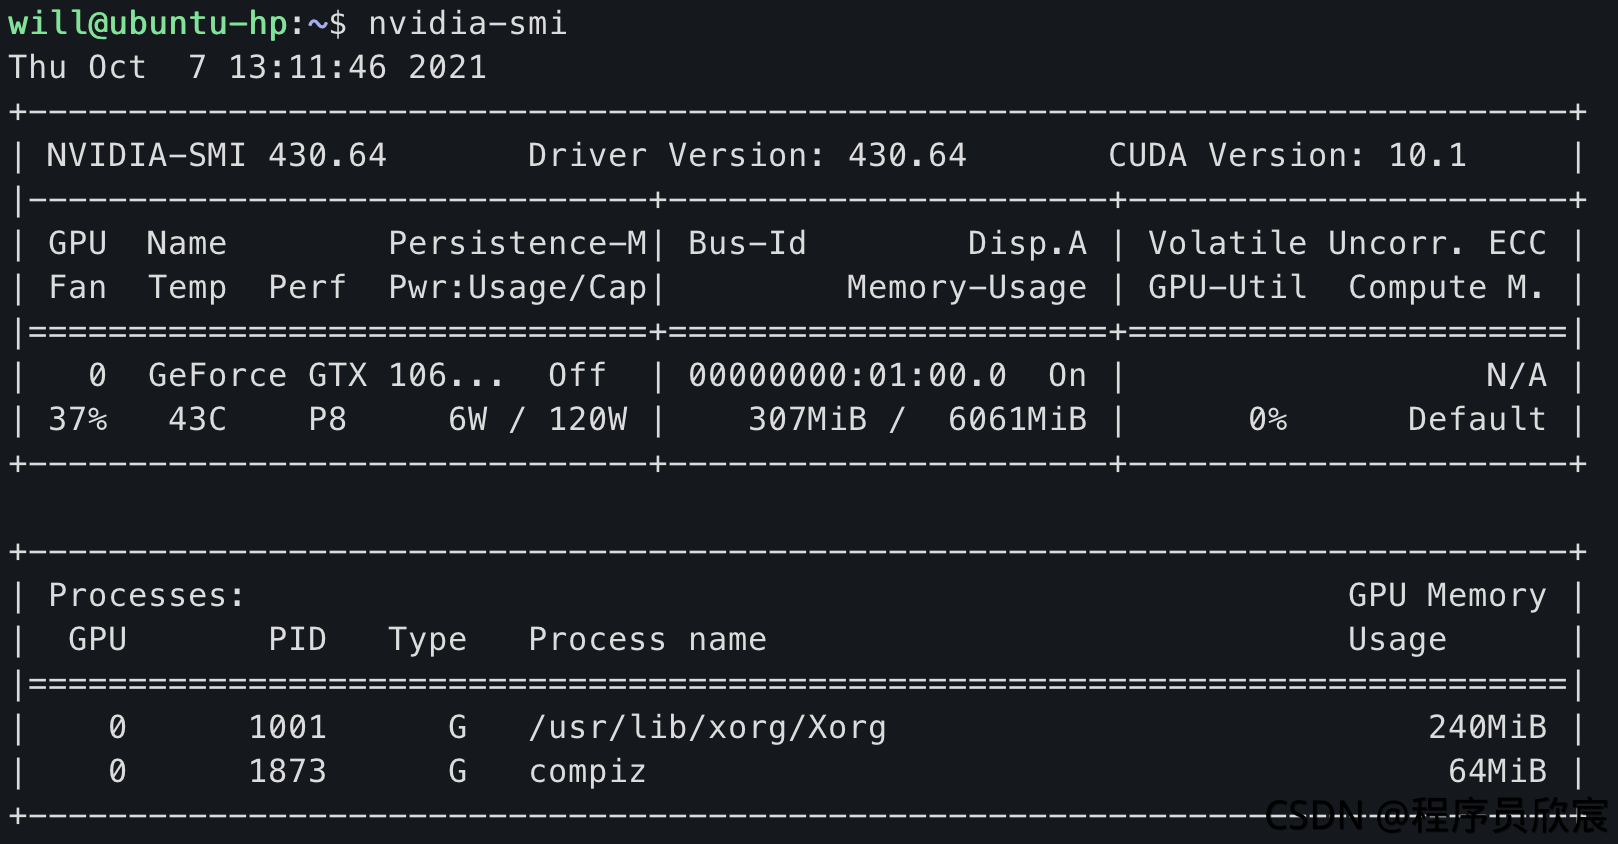
- Nvidia drivers need to be installed before performing this operation. Please refer to Ubuntu 16 installing Nvidia driver (GTX1060 graphics card)
- Check the driver information, as shown in the figure below. It can be seen that CUDA version is 10.1
Version matching
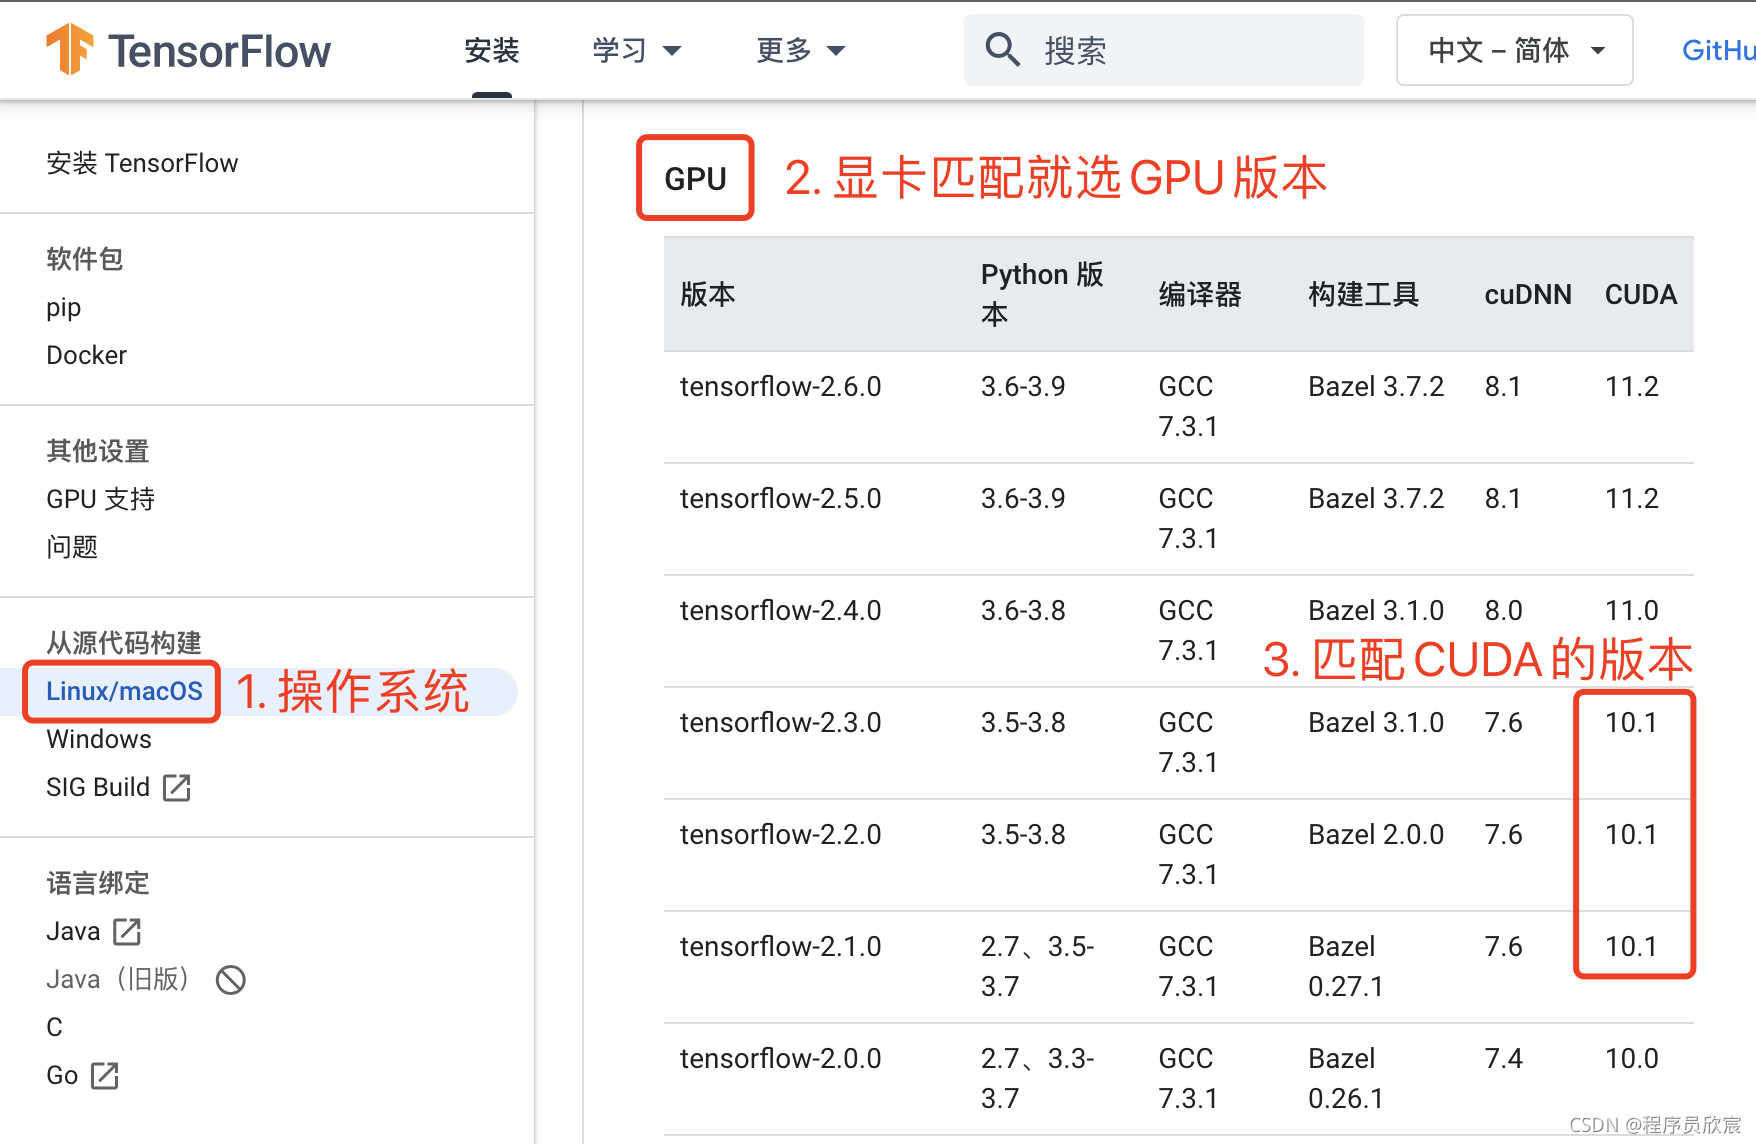
- Go to the official website of tensorflow to check the version matching relationship, address: https://tensorflow.google.cn/install/source
- As shown below, there are three suitable versions on my computer:
install
-
Note: the root account is not used for all subsequent operations
- Due to personal habits, my operations are from remote SSH on MacBook to Ubuntu 16 computer, which is no different from executing the command line locally. You can do it at will
- Add executable permissions:
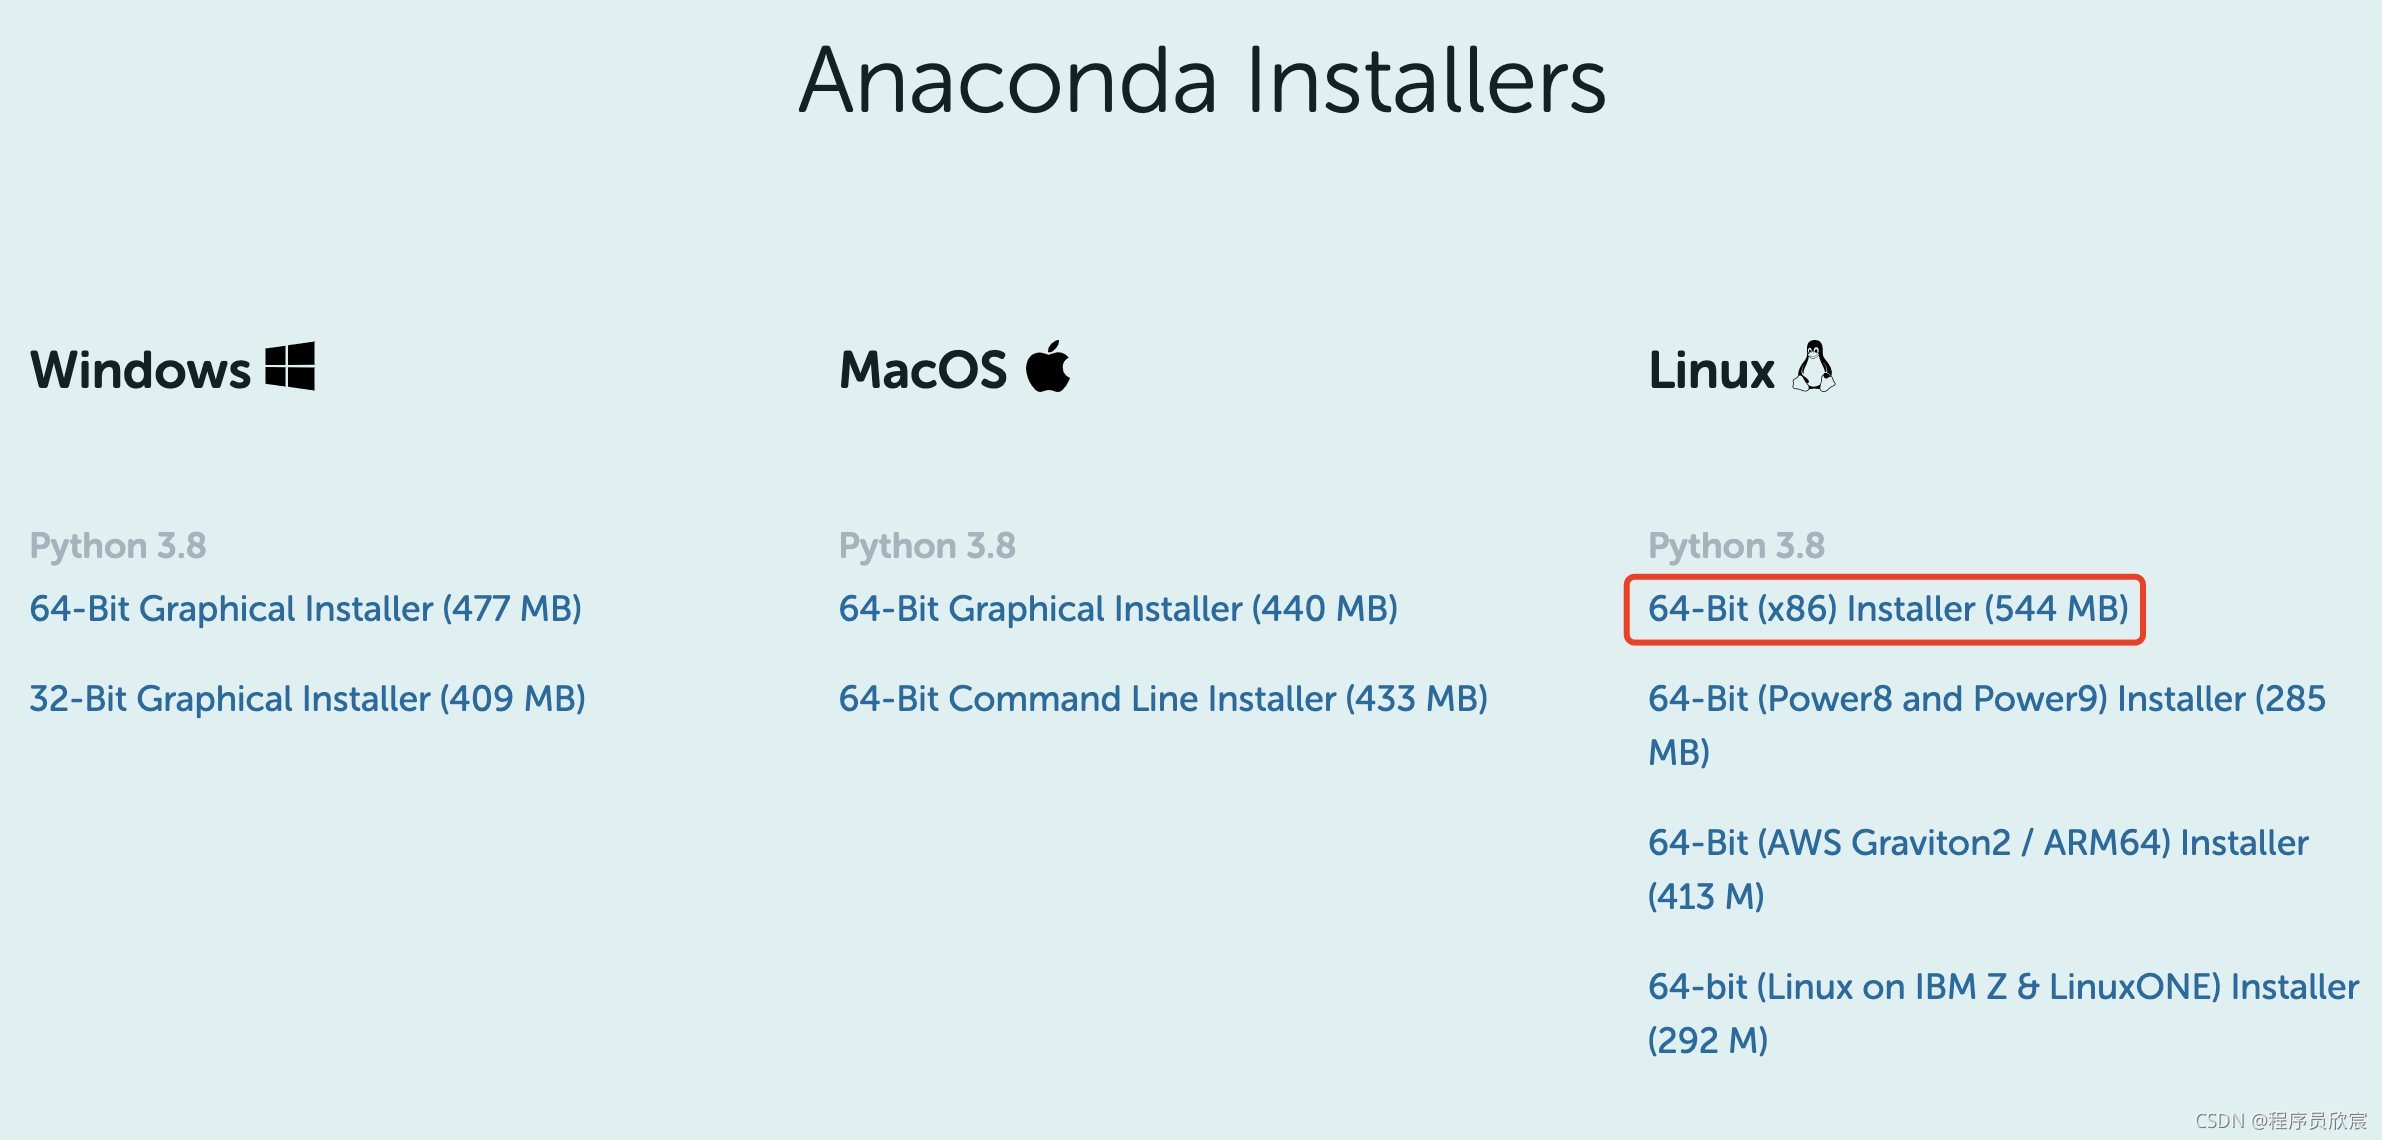
chmod a+x Anaconda3-2021.05-Linux-x86_64.sh
- function:
bash Anaconda3-2021.05-Linux-x86_64.sh
- Press enter when prompted:

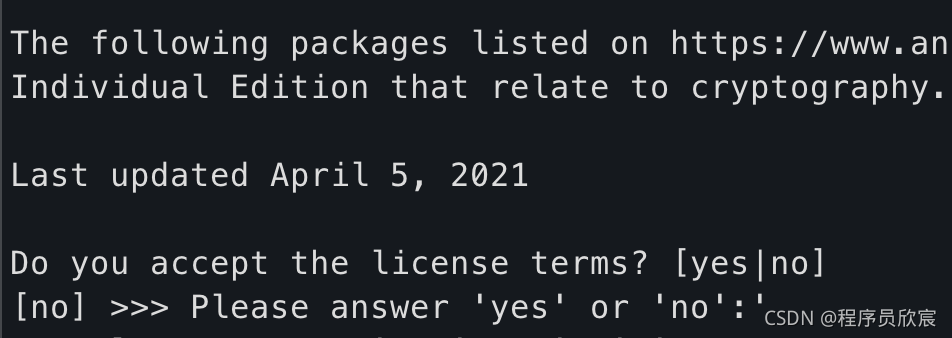
- Read the document and enter yes as required:
- Whether to initialize, enter yes:
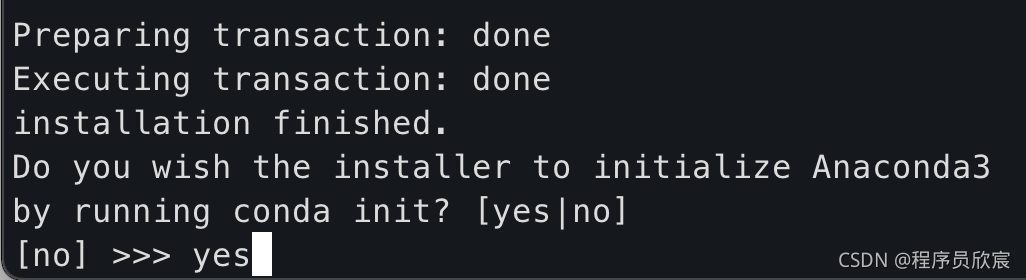
- Installation complete:
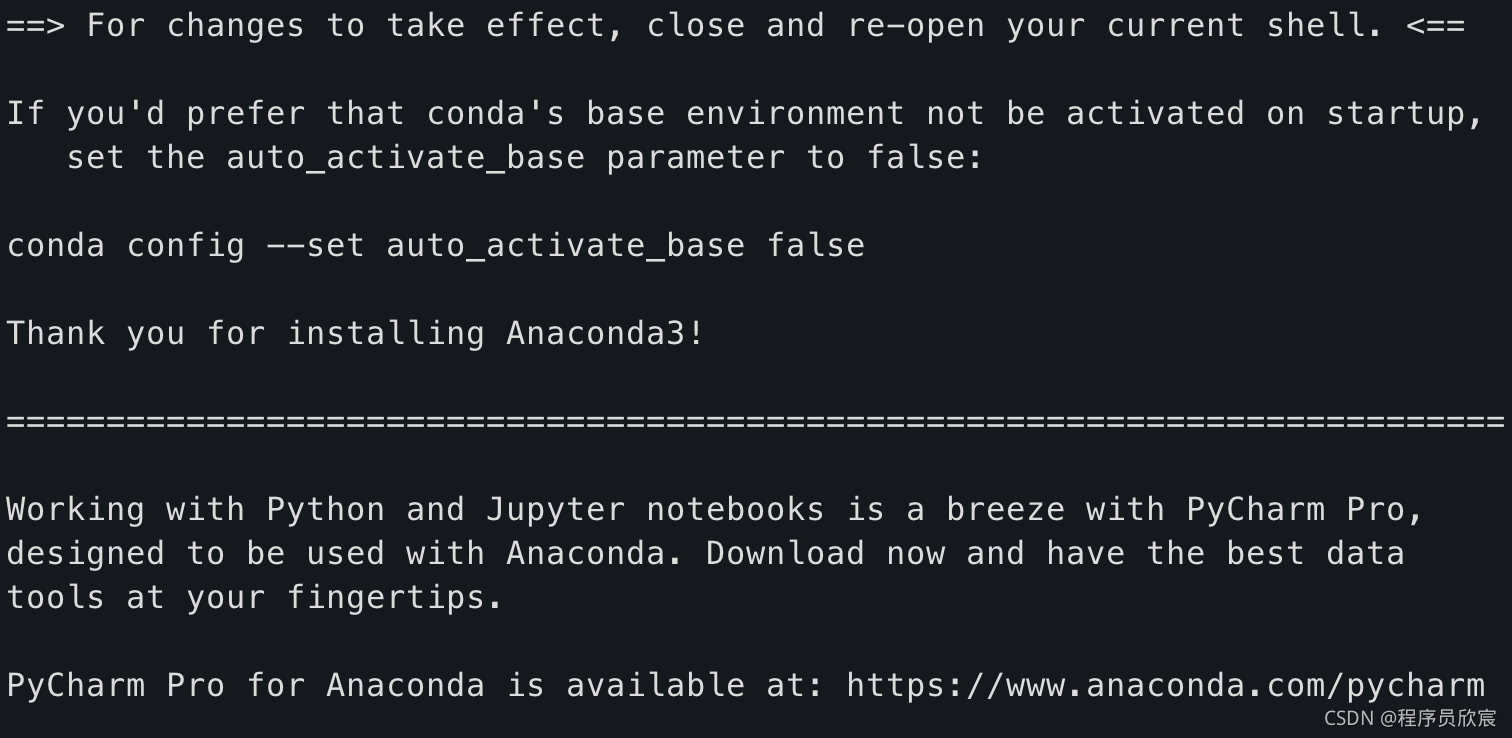
- Exit ssh, log in again, and enter python to enter python in anaconda environment:
(base) will@ubuntu-hp:~$ python
Python 3.8.8 (default, Apr 13 2021, 19:58:26)
[GCC 7.3.0] :: Anaconda, Inc. on linux
Type "help", "copyright", "credits" or "license" for more information.
- Create a new conda environment named py38:
conda create -n py38 python=3.8.8
- Activate py38:
conda activate py38
- Install the specified version of tensorflow and specify the domestic source to speed up the download:
pip install tensorflow-gpu==2.3.0 -i https://pypi.tuna.tsinghua.edu.cn/simple
- Install CUDA:
conda install cudatoolkit=10.1 -c https://mirrors.tuna.tsinghua.edu.cn/anaconda/pkgs/free/linux-64/
- Installation cudnn:
conda install cudnn=7.6.5
- After installation, verify whether TensorFlow of GPU version is successfully installed
verification
- Exit ssh and log in again
- Check which conda environments are available and which are being used. Enter the command conda info --e as follows. The line with an asterisk indicates that the base environment is being used, not the py38 we want to use:
(base) will@ubuntu-hp:~$ conda info --e
# conda environments:
#
base                  *  /home/will/anaconda3
py38                     /home/will/anaconda3/envs/py38
- Execute source activate py38 to switch to the py38 environment
- Enter python directly to enter python interactive mode
- Import tensorflow:
import tensorflow as tf
- Display import success:
2021-10-08 23:08:55.391471: I tensorflow/stream_executor/platform/default/dso_loader.cc:48] Successfully opened dynamic library libcudart.so.10.1
- The following code means to check whether tensorflow can be supported by CUDA. If it is supported, it will return True, otherwise it will return false:
tf.test.is_built_with_cuda()
- The following code checks whether tensorflow can get the GPU:
tf.test.is_gpu_available()
- If it can be obtained, it will return Ture, and some log information output is as follows. It can be seen that the graphics card information has been successfully obtained:
2021-10-08 23:09:34.367795: I tensorflow/stream_executor/cuda/cuda_gpu_executor.cc:982] successful NUMA node read from SysFS had negative value (-1), but there must be at least one NUMA node, so returning NUMA node zero
2021-10-08 23:09:34.368110: I tensorflow/core/common_runtime/gpu/gpu_device.cc:1402] Created TensorFlow device (/device:GPU:0 with 5088 MB memory) -> physical GPU (device: 0, name: GeForce GTX 1060 6GB, pci bus id: 0000:01:00.0, compute capability: 6.1)
True
- For comparison, the following figure shows the execution result of TensorFlow, the CPU version on MabBook:
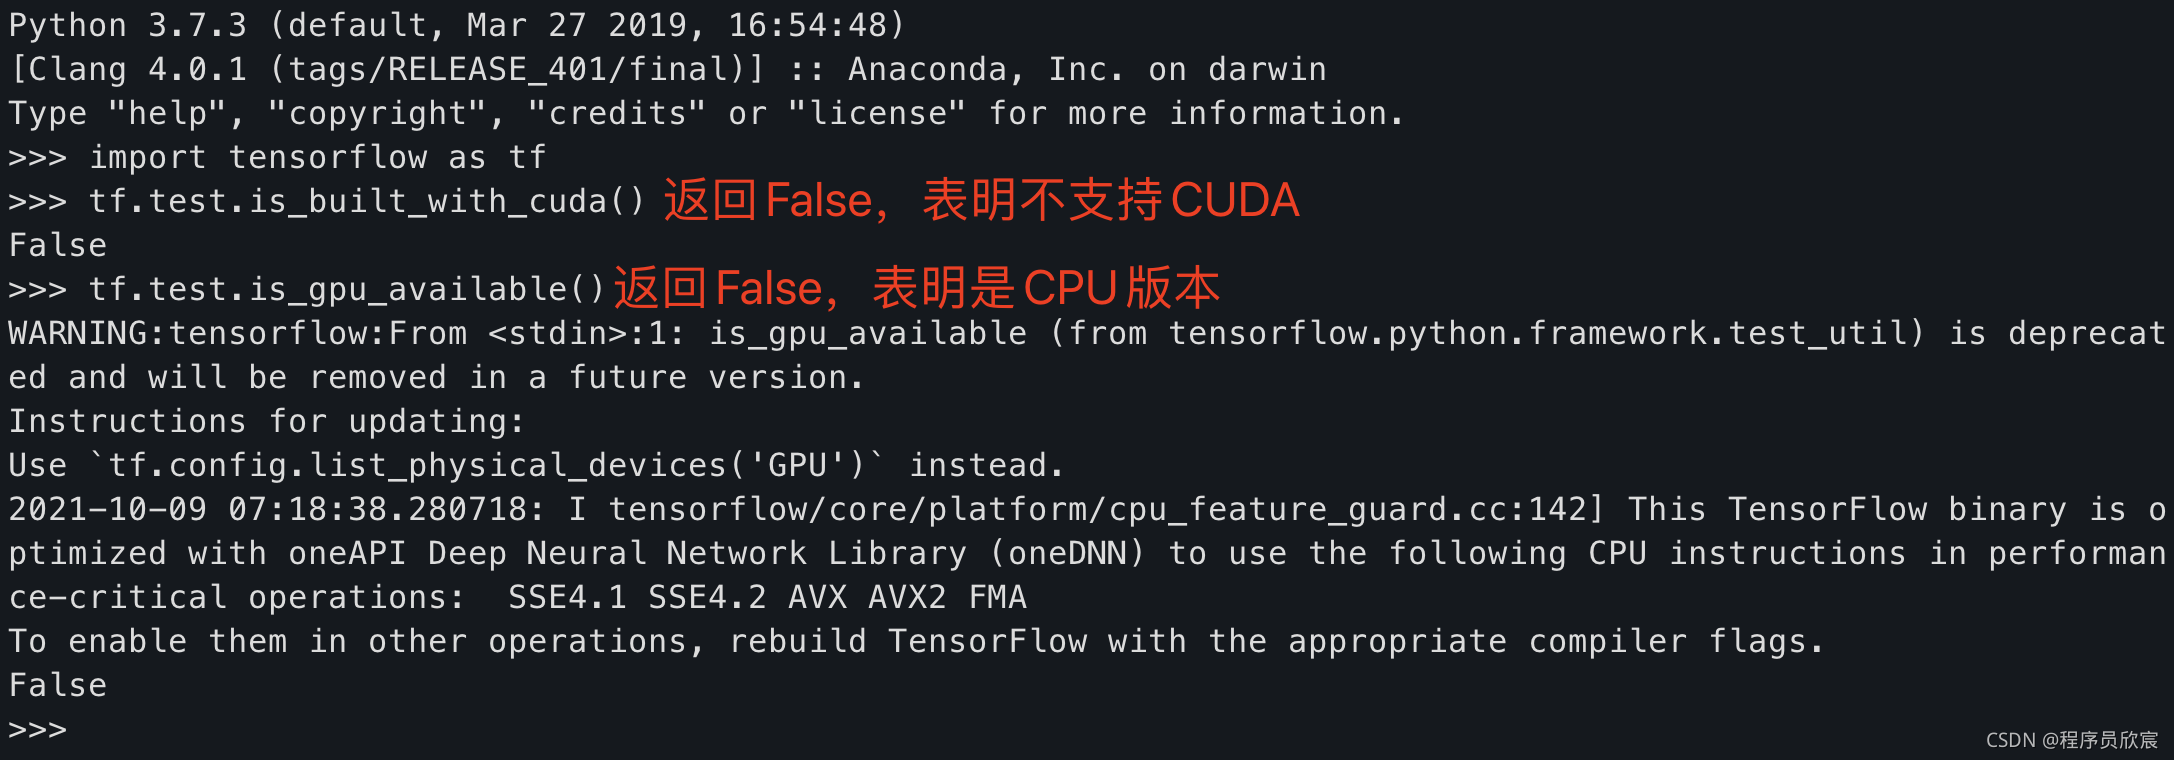
- At this point, the installation is complete.
You're not alone. Xinchen's original accompanies you all the way
- Java series
- Spring collection
- Docker series
- kubernetes series
- Database + middleware series
- DevOps series
Welcome to the official account: programmer Xin Chen
Wechat search "programmer Xinchen", I'm Xinchen, looking forward to traveling with you in the Java World
https://github.com/zq2599/blog_demos